Best Bread Machine Sourdough Recipe No Yeast
This post may contain affiliate links.
Looking for the best bread machine sourdough recipe (no yeast)? You've found it!
Hands up if you have a bread machine tucked away in the back of the cupboard? What if I told you that making sourdough bread in a bread machine is possible?
Well it is!
It's true, you cannot bake true sourdough bread in a bread machine from start to finish (unless you have a fancy one like this) - but you can use your bread machine to help you in the sourdough process.
Making sourdough bread in a bread machine can save you time and effort - and that's always a good thing, right?
If you're looking to bake a sourdough sandwich loaf from start to finish in your bread machine, check out this recipe.
Why Use A Bread Machine To Make Sourdough Bread?
Kneading sourdough bread in a bread machine can be helpful if you're short on time or perhaps you struggle to stretch and fold the bread by hand due to a medical condition.
Many people suffering conditions that limit the use of their hands use a stand mixer to aid in the kneading of their sourdough.
While gentle stretching and folding is one of the most popular ways to develop gluten in sourdough bread, kneading in a machine can make the process much faster.
A bread machine can also help you to get a handle on higher hydration dough, since it does all of the work for you.
Advantages of Using a Bread Machine to Make Sourdough Bread
- Can help to manage time better during the sourdough process
- Develop the gluten sufficiently
- Good if you are unable to stretch and fold the dough by hand
- Will handle higher hydration dough with ease
How Does Sourdough Rise Without Yeast?
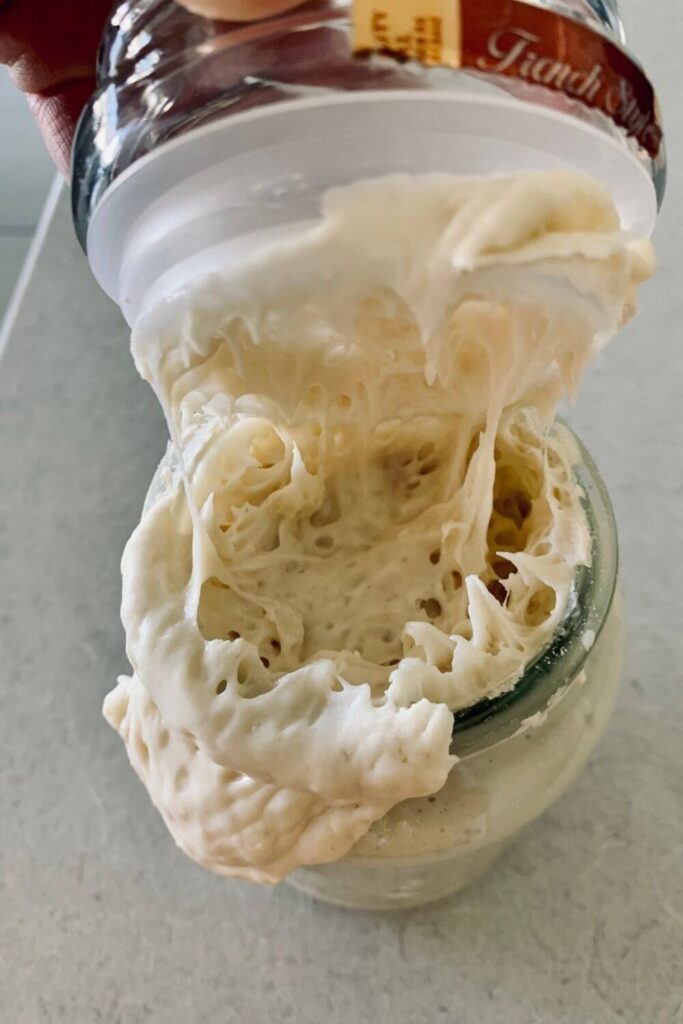
It doesn't! Sourdough uses yeast - just not commercial yeast. Your sourdough starter is full of "wild yeast" which occur naturally in the air around us. This yeast coexists with lactic acid bacteria to create your starter.
A starter is in fact a symbiotic culture of bacteria and yeast - or SCOBY. So you actually have a living, breathing organism right there on your kitchen counter.
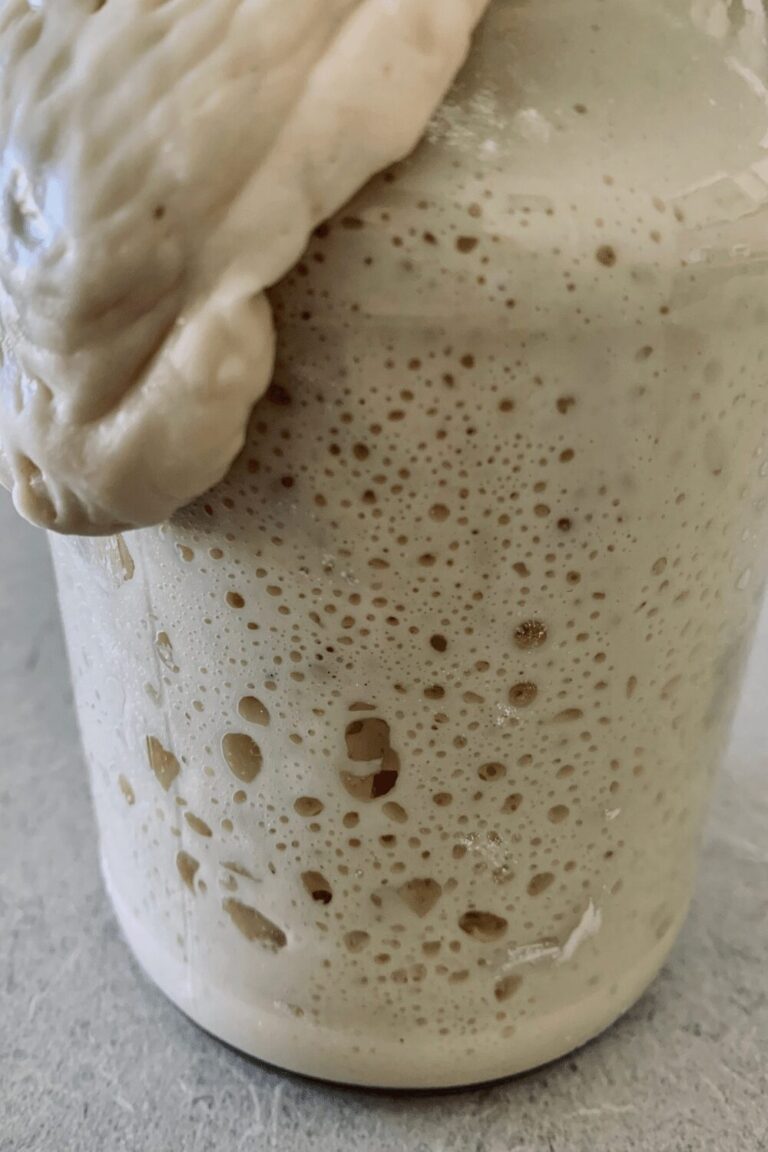
The naturally occurring yeast in your sourdough starter use the flour and water that you feed them to create CO2 gas. This is what creates the air bubbles in your sourdough bread.
You will need a strong gluten network to ensure your dough is able to hold the gas bubbles created by the sourdough yeast.
How To Make Sourdough Bread Using A Bread Machine
If you own a basic bread machine (that does not have customisable settings) you can still use it help you make traditional sourdough bread.
If you haven't made sourdough bread before, I would recommend the following resources to familiarise yourself with the process.
Beginner's Guide to Baking Simple Sourdough Bread
The Ultimate Sourdough Glossary
You'll also need an active and bubbly sourdough starter.
You cannot bake the sourdough bread from start to finish in the bread machine, but you can do the following things:
- Pre Mix / Autolyse
- Kneading and Resting
- Part of the Bulk Ferment
You will need to consult your bread machine's manual to find out exactly how you can use it for your sourdough, as every machine has different settings.
Most manuals can be found using a simple Google search.
Generally, your machine will have regular and express loaf baking cycles and then it will have mix/knead only cycles.
I have found that using a regular bread baking cycle, I can get my sourdough dough ready for the bulk ferment. You just have to do it a few times to take note of the timings, so you can stop the machine before it bakes!
This can take some research and experimentation to learn your bread machine's cycles and how they can be translated to the sourdough process.
A little bit of work that will save you time in the long run.
Utilising Bread Machine Programs for Sourdough
Bread machines are great at mixing, resting and kneading dough. They are also great for proving dough as they have thermostatic controls.
This is the basic process for using a bread machine to mix and knead your sourdough. You will need to experiment to find the timings of your bread machine (as explained above).
- Choose the full bread baking cycle on your bread machine.
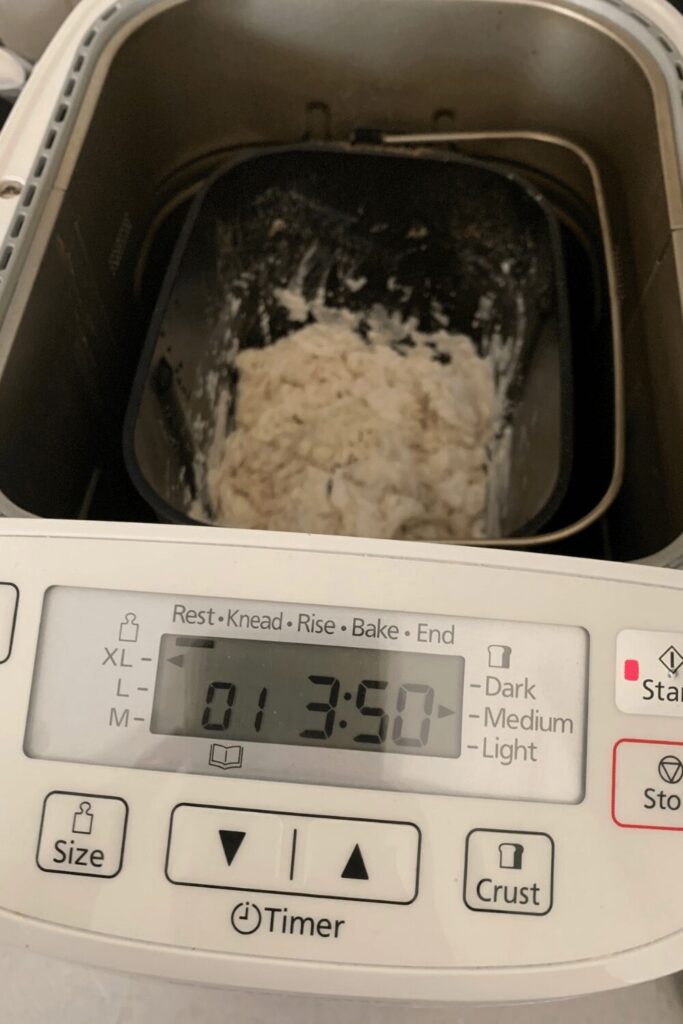
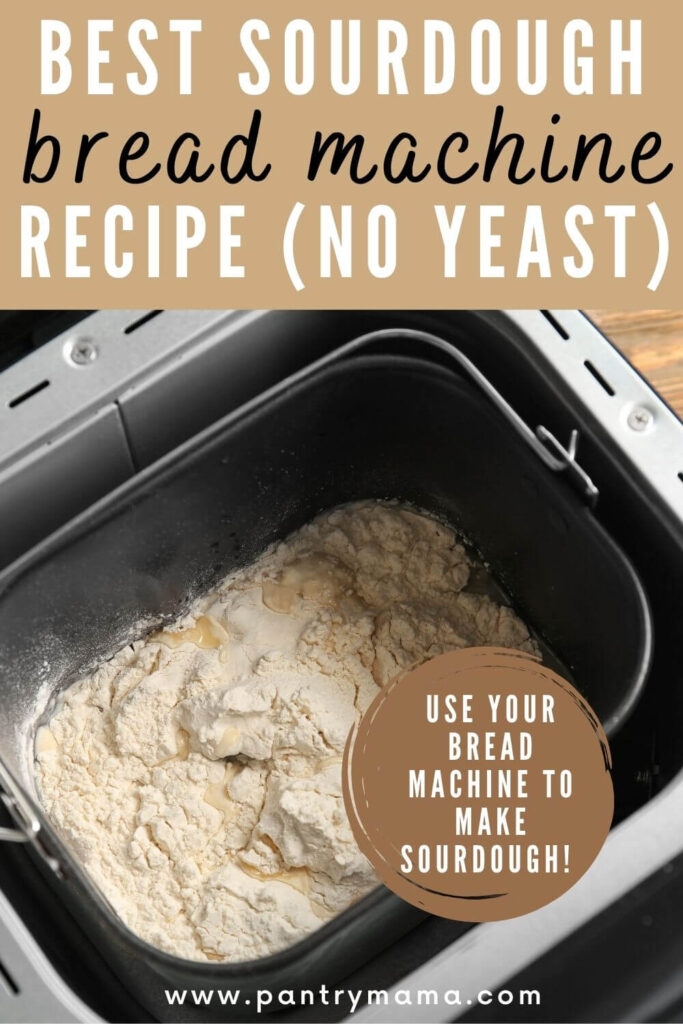
- Add all of your ingredients including your sourdough starter to the bread machine pan (you'll find the ingredient list here), mix them gently to form a shaggy dough (autolyse).
- Close the lid and let the machine run through the rest and knead functions (it's totally ok to lift the lid and check as it does this).
- Once the dough is kneaded it will start to bulk ferment. You can let the dough ferment in here up until it's nearly time for the machine to bake. You will need to remove it to a bowl at this point and let it finish.
- Shape your dough once it's fully fermented.
- Place into banneton and into fridge for cold ferment.
- Score and bake!
A Note On Bulk Fermentation in the Bread Machine
You can let your sourdough partially bulk ferment in the bread maker. There are a few issues with this that you will need to understand.
If you're not confident with bulk fermentation it is better to remove the dough as soon as it's finished kneading. Place it in a straight sided container and let it bulk ferment at room temp.
If you understand bulk fermentation and are more confident, you can let it sit in the machine up until just before it would bake the bread.
At that point you should remove it to a container and allow it to finish. Just understand that you are disturbing the dough so it won't be as easy to see when it's finished bulk fermentation.
These pointers will help you become more confident with bulk fermentation.
Extra Sourdough Resources To Help You
If you would like to know more about the steps in the process after mixing and kneading, you can consult the following resources - the steps are the same once the dough comes out of the machine.
If you want ALL my sourdough secrets, grab a copy of my e-book "Sourdough Made Easy" - you can even grab it in a bundle with "Scheduling Sourdough".

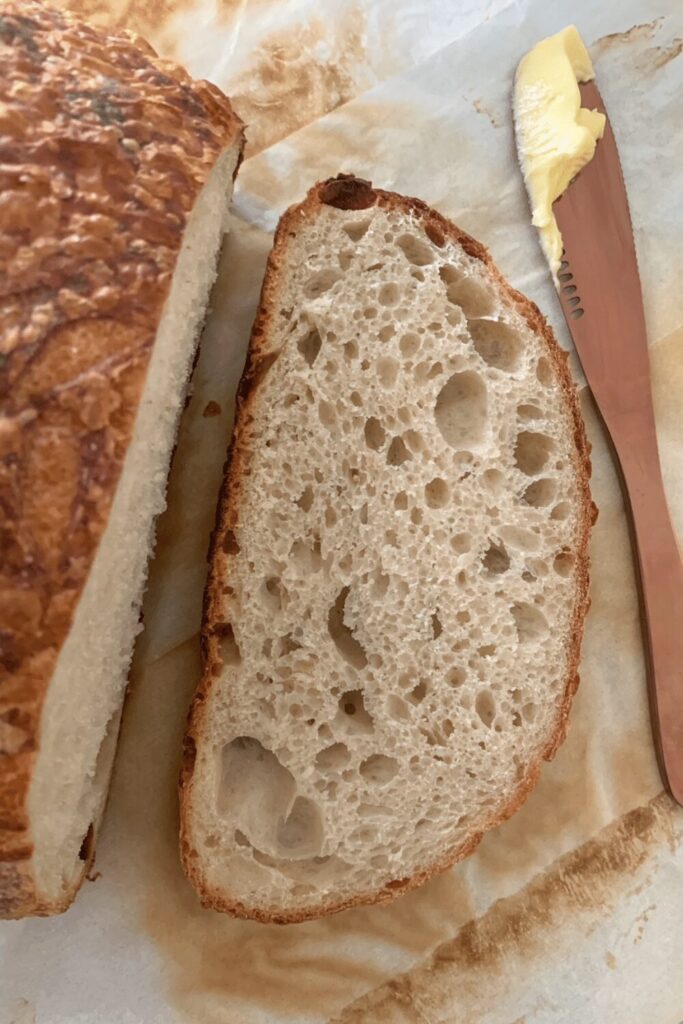
What Does Bread Machine Sourdough Look Like?
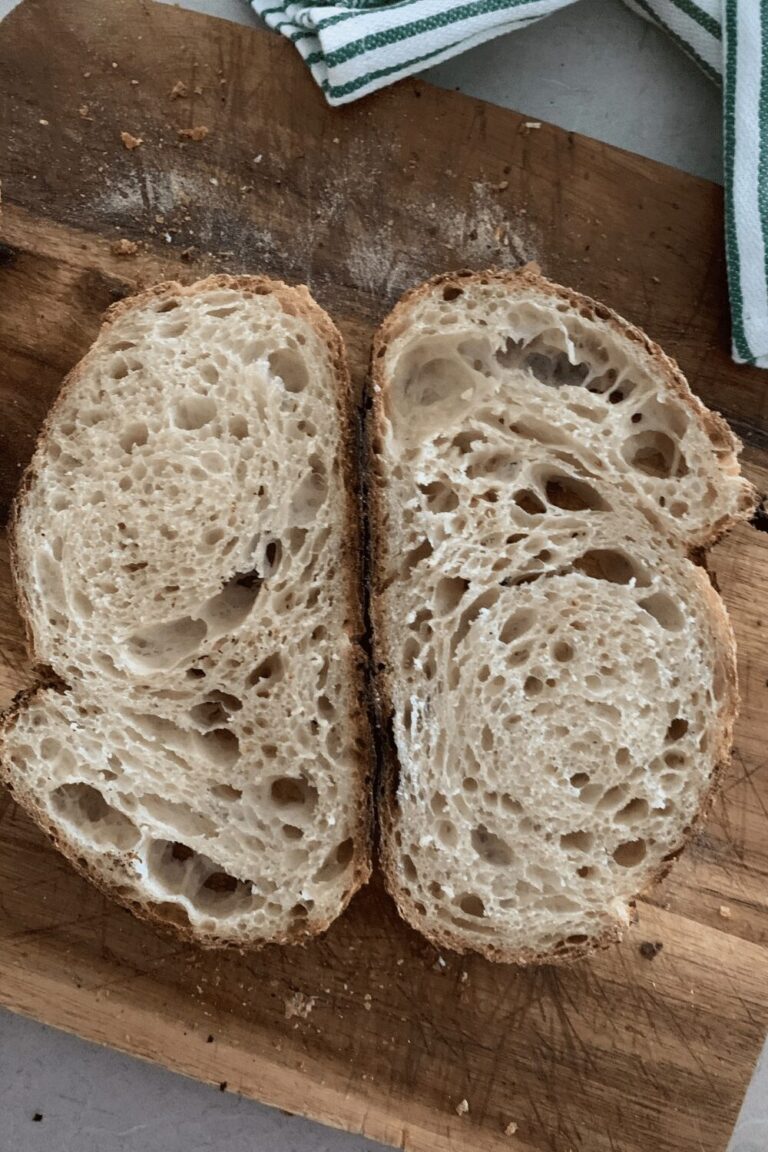
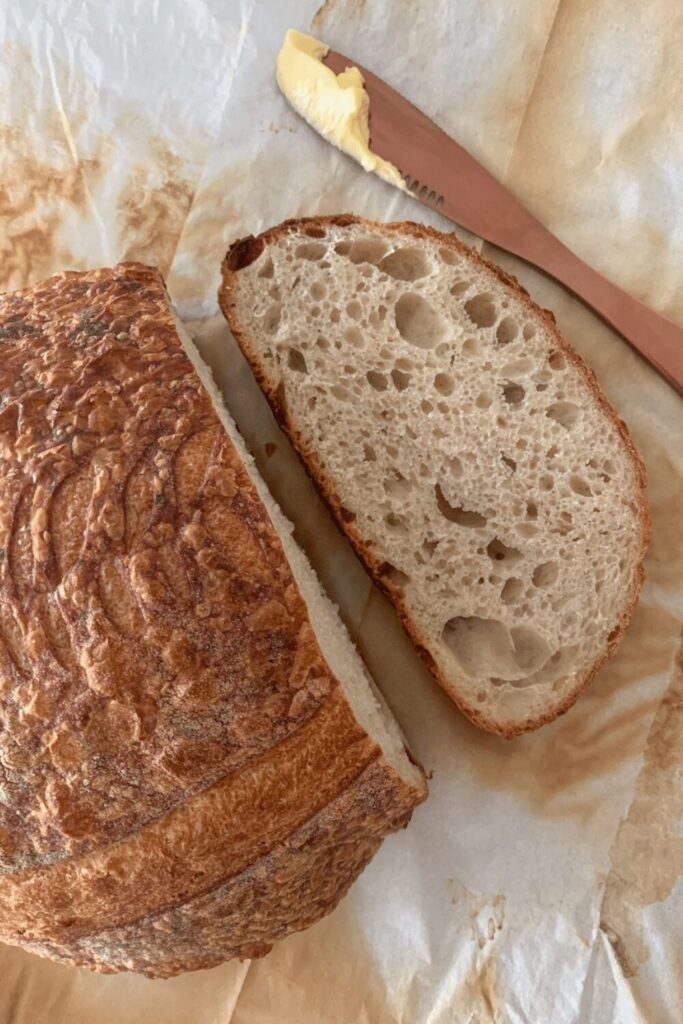
Bread Machine Sourdough can look just as good as hand stretched sourdough.
The knead function in your bread machine is actually very good at developing the gluten in your flour.
Many bread machine sourdough recipes use a lower hydration which results in a very tight crumb. There is no need to lower the hydration when kneading in your bread machine.
My simple sourdough recipe is 71%. You can successfully mix and knead this level of hydration in a bread machine. You'll find my traditional sourdough recipe here.
You could even increase the hydration of the sourdough bread in a bread machine as it will handle the wet dough easily.
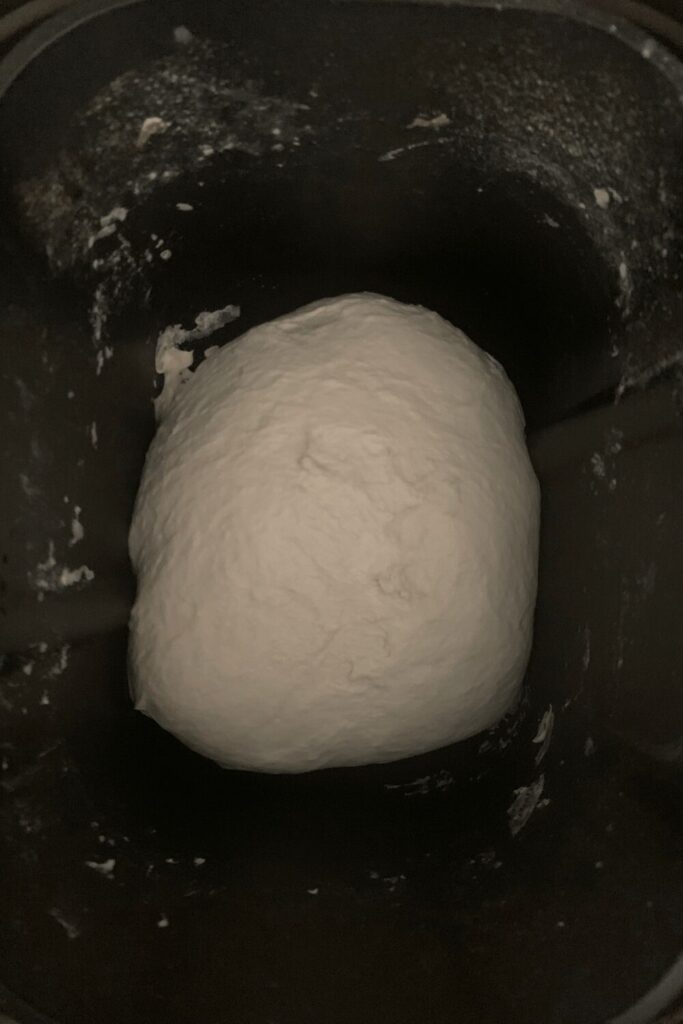
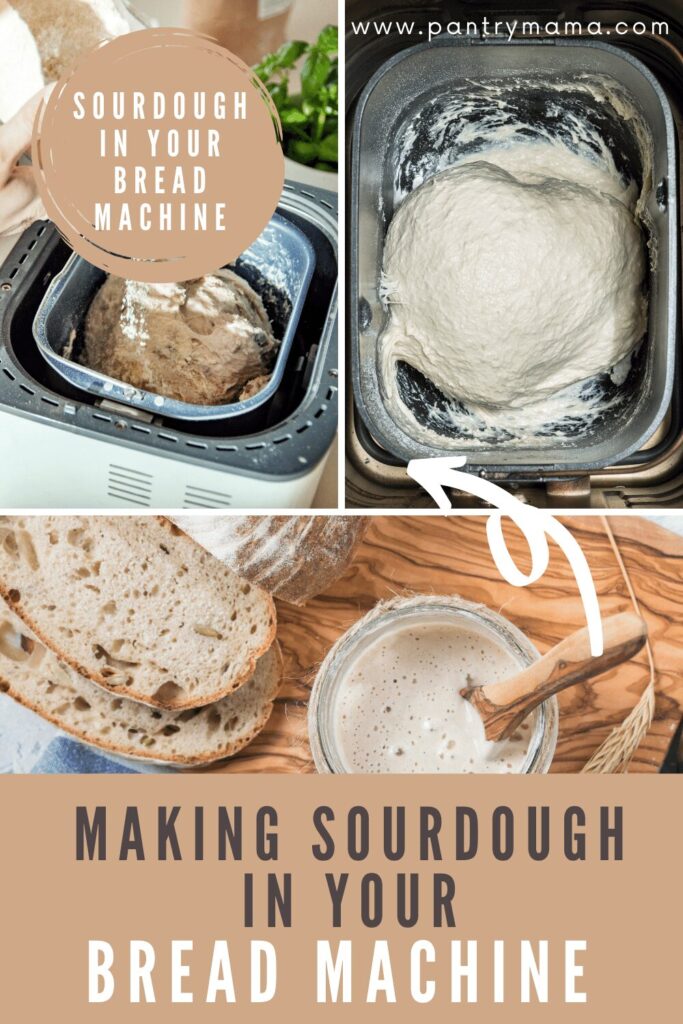
The dough will not be sticky when it's finished kneading. It will be stretchy and elastic. You should be able to transfer the dough to a bowl in one stretchy piece.
If you feel like the dough is sticky, wet your hands and it will help you to handle the dough more easily.
Making sourdough bread in a bread machine may not be the right method for everyone.
However, if using your bread maker means that you can enjoy baking sourdough bread more often, why not use the convenience?
Best Equipment for Sourdough In A Bread Machine
While a bread machine is obviously essential for making sourdough bread in a bread machine, you may also find these items handy to create the best sourdough bread.
- Straight sided container for bulk fermentation
- Kitchen scales so you can accurately measure ingredients.
- Silicone dough scraper to get the dough out of the bowl without losing the precious bubbles.
- Stainless steel bench scraper for easy sourdough shaping.
- Banneton for retaining shape while cold proofing.
- Bread Lame for perfect scoring.
- Dutch oven to ensure you get the best possible oven spring and crust.
- Good quality bread knife to ensure easy & consistent slicing of my sourdough bread.
Adding Flavors When Making Sourdough Bread In A Bread Machine
If you want to add flavors to sourdough whilst using a bread machine, you'll need to add them around half way through the kneading process.
Most bread machines will simply allow you to lift the lid and see what's happening inside - you can just add the inclusions this way.
There is more info and loads of inspo around adding flavors to sourdough bread here.
Frequently Asked Questions About Bread Machine Sourdough Bread
Yes, all sourdough bread has yeast - it's just naturally occurring yeast, rather than commercial yeast. Instead of adding commercial yeast, you'll need a sourdough starter.
For a basic sourdough bread, you'll need just 4 ingredients - water, flour, sourdough starter, salt. If you'd prefer to make an enriched dough, you might like this sourdough discard sandwich loaf in the bread machine.
No! You can use any bread machine or bread maker to make sourdough bread. It will not make the bread from start to finish, but you can use the dough cycle or part of the normal bread cycle to mix, autolyse, develop the gluten and start the bulk fermentation in your bread machine.
Further Reading
If you enjoyed reading about making sourdough bread in a bread machine, you may find the following articles helpful:
- Making a sourdough discard sandwich loaf from start to finish in a bread machine.
- These 10 products will make sourdough baking much easier - and everyone wants easier, right?
- Looking for a thinner more manageable crust? You'll find all the tips here.
Sourdough Recipe Using Bread Machine (No Yeast)
Equipment
- Digital Scales
- Bread Machine
- Dutch Oven
Ingredients
- 50 g Sourdough Starter Active & bubbly
- 500 g Bread Flour
- 350 g Water
- 10 g Salt
Instructions
- Starting the Bread Machine CycleChoose the full bread baking cycle on your bread machine. Add all of your ingredients including your sourdough starter to the bread machine pan, mix them gently to form a shaggy dough (autolyse). It's best to just use a silicon spatula or similar to just bring the dough together. That way autolyse will occur while the bread machine "rests" the dough at the beginning of its cycle.
- Close the lid and let the machine run through the rest and knead functions (it's totally ok to lift the lid and check as it does this).
- ShapingOnce your dough has finished it's first ferment, it's time to shape it into either a boule or a batard.You'll need to flour your counter top with rice flour for this (we use rice flour because it has no gluten). Try to be quite sparing with the rice flour, you only need a very light dusting.Use a silicone dough scraper to gently ease the dough out of the bowl. You want it to land upside down on your counter so that the smooth top of the dough is on the countertop and the sticky underside is facing up. This will make it easier to shape.You want to pull the edges of the dough into the centre and then flip it over so that the sticky side is now underneath. Using the stickiness, gently pull the dough into a tight ball.You will need a banneton to put your dough into. If you do not have a banneton, then a bowl or basket lined with a floured tea towel is perfectly fine. Make sure your bowl isn't too big though, you want your dough to retain some shape. Whatever you're using needs to be liberally floured with your rice flour. If you're using a banneton – liberally sprinkle it with rice flour (find out more about preparing a banneton here).If you're using a cloth or tea towel, rub the flour into it to ensure it becomes non stick.
- Once the dough is shaped into a tight ball, place it into your banneton smooth side down, so your seam is on the top – this way the top of your dough will get the pretty lines from the banneton.If you're using a cloth or tea towel in a bowl it's ok to put your dough with the smooth side up. Just make sure the dough is tight.Lift your dough around the edges to pop a little more rice flour if you feel it needs it. Just try to handle the dough as little as possible and be really gentle as you really want to preserve all the gases and air bubbles that have formed during your bulk ferment.
- Now the dough is in its "shaping container" cover it loosely with a plastic bag or damp tea towel and place into the fridge.I use a large plastic bag to cover it – I just reuse it each time.Try to leave it in the fridge for a minimum 5 hours up to a maximum of around 36 hours. The longer you leave it the better your bread will be! A longer cold ferment creates beautiful blisters on your crust and a deeper sourdough flavour. It will also ensure your dough forms a skin which makes it easier to score.
- Once you're ready to bake your sourdough, you'll need to preheat your oven to 230C/450F.Place your Dutch Oven into the oven when you turn it on so it gets hot. Try to preheat for around 1 hour to ensure your oven is super hot – but you know your oven so just adjust this time if you need to.Leave your dough in the fridge until the very last minute – placing a cold dough into a hot oven will give you a great "spring".
- Now it's time to bake!When your oven is at temperature, take your sourdough out of the fridge. Gently place it onto a piece of baking paper.Make sure that you make the baking paper big enough to use the edges as a handle to lower to dough into your Dutch Oven.Gently score your bread with a lame, clean razor blade or knife. At minimum a large cross is sufficient, but you can get as artistic as you like. Try to score it fairly deep to ensure the dough opens up.Carefully take your dutch oven out of the oven. Place the sourdough into the pot using the baking paper as a handle. Put the lid on and place into the hot oven.If you want to you can spritz your dough with extra water before you put the lid on.BAKE TIME:30 Minutes with the lid on at 230C/450F plus10-15 Minutes with the lid off at 210C/410F
- When you remove your dough from the oven, carefully remove it from the dutch oven as soon as possible and place on a wire rack to cool.
Notes
- Notes on Flour: This recipe is written using strong Bread Flour. Bread flour has a higher protein content than All Purpose flour. If you choose to use All Purpose flour you may have a different result because of this.
- Notes on Sourdough Starter: This recipe is based on you having an active starter that you have fed a few hours before starting your bake. For information on whether your starter is ready, go here.
- Notes on Bulk Fermentation: If your home is warm then your dough will ferment a lot faster and could be done in as little as a few hours. If it’s colder, it will take longer, possibly overnight. I would recommend that you try to do your first few bulk ferments during daylight hours so that you can watch your dough closely. Once you’re more familiar with the process – and the temperature of your home – you will be able to do overnight ferments.You will know your dough is ready to move to the next stage when it has *just* doubled in size. It will be fairly wobbly and full of bubbles. You should be able to see large air bubbles under the surface of the dough. You don’t want to let it go any further than doubled as it will be over fermented. If you want to do an overnight ferment, but your home is warm, consider using a little less starter (ie 25g). Less starter means your dough will take longer to ferment and you will reduce the risk of over fermenting your dough.
You’ll find more information on these topics here:When is my bulk ferment finished?What is the difference between cold ferment and bulk ferment?Why does the amount of starter matter?
- Notes on Baking: If you’re worried about the base of your bread burning, place a baking sheet on shelf underneath your Dutch Oven – it works!If you’re worried about your bread not being cooked all the way through, turn the oven off and place your dough straight onto the oven rack.
Leave the door ajar and let your bread rest there for a few hours. Make sure you don’t close the door or your sourdough will sweat and you’ll get a wrinkly, soggy crust.Remember not to cut into your loaf too soon – you’ll need to let it cool for at least a few hours (4-6 is best).
Nutrition

