Can You Use Yogurt To Make A Sourdough Starter?
This post may contain affiliate links.
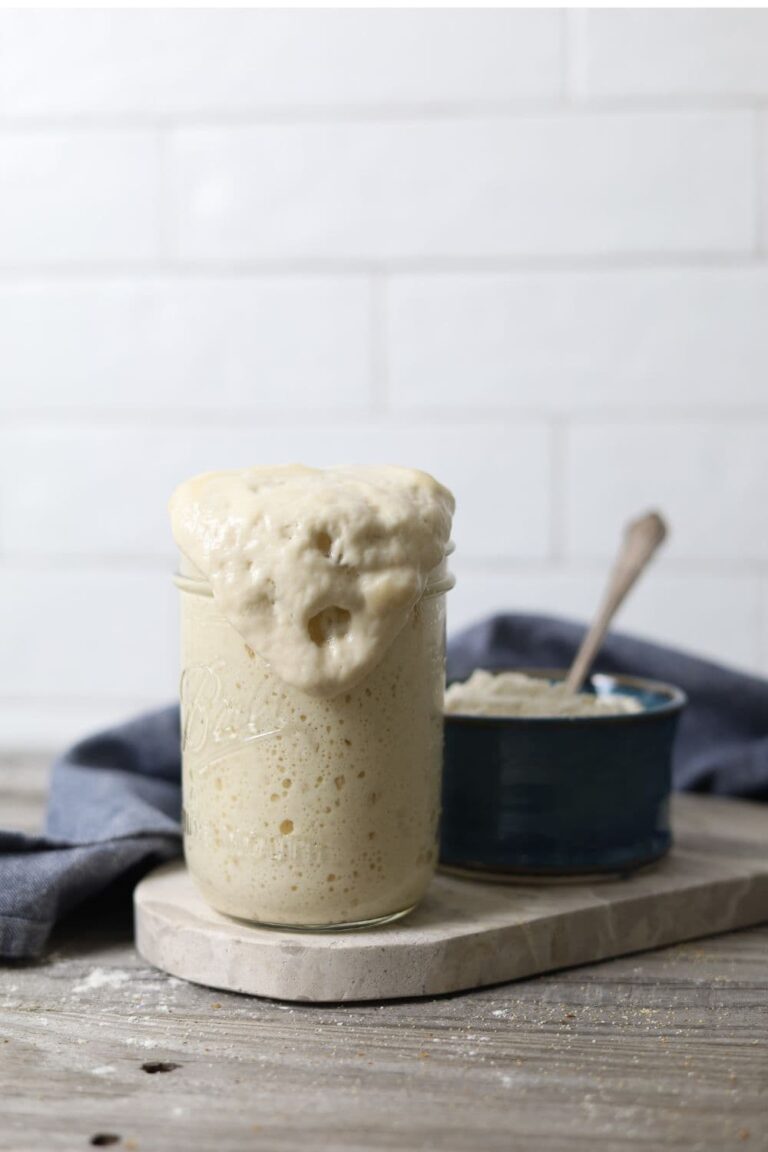
Have you ever considered using yogurt to make a sourdough starter? Using all natural plain yogurt when establishing a sourdough starter can lower the pH, creating an environment that discourages harmful bacteria and mold. The use of yogurt also encourages wild yeast to colonise much faster.
Traditional sourdough starters use just flour and water to colonise wild yeasts and lactobacillus bacteria for the purpose of rising bread.
This recipe for yogurt sourdough starter uses natural yogurt to help establish your sourdough starter. You can use Greek yogurt or any type of natural, plain yogurt with no added gums, thickeners or sugars.
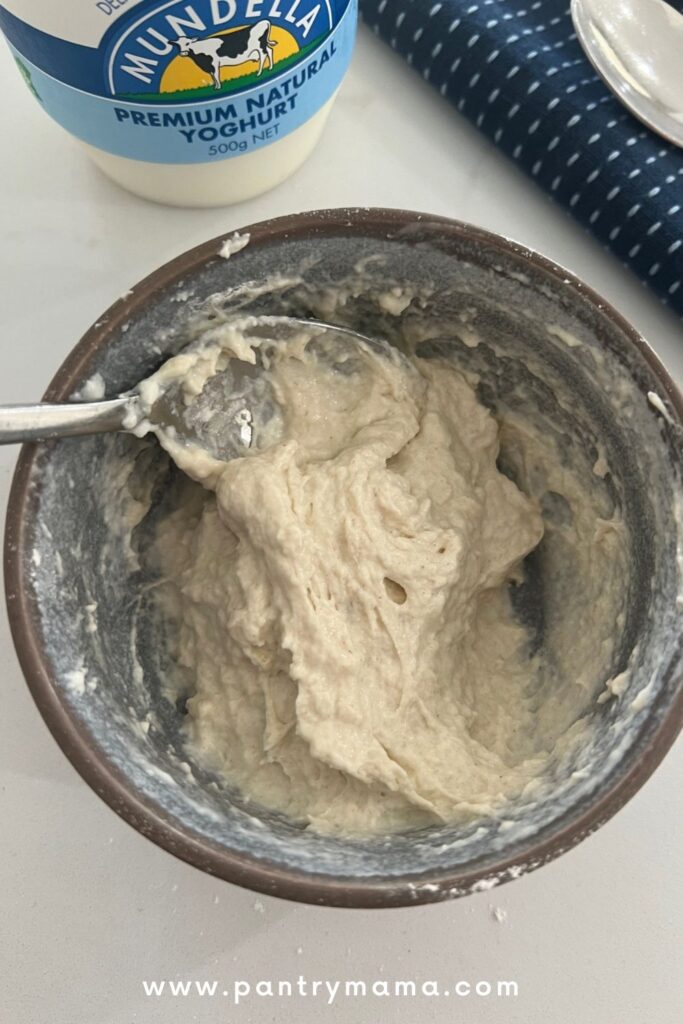
This sourdough starter recipe is a fun and effective way to establish a healthy sourdough starter with great sour flavors that could become an heirloom starter passed down through generations.
Using yogurt in your sourdough starter is definitely not cheating! It's just a different type of sourdough starter.
When making a sourdough starter from scratch, you might find these resources beneficial (they are relevant to making a sourdough starter with or without yogurt):
- Making a Sourdough Starter
- Why Weight Is So Important for Sourdough
- How To Keep Sourdough Starter Warm
- Sourdough Starter Troubleshooting
- How to Properly Take Care of A Sourdough Starter (Starter Refreshment)
Quick History of Sourdough
Traditional sourdough starters are made using flour, water ... and time! The first sourdough breads can be traced back to the Egyptians. It's more than likely that "sourdough" as we know it today was discovered by accident when bread dough was left out. The dough would have fermented and "acquired" wild yeasts that allowed it to rise. The resulting "sourdough bread" would have been lighter and fluffier than the dense, flat breads that were being made prior to this discovery.
Over time, sourdough bread has become more refined, but it's origins and story remain tied to the "sponges" or "starter" that have been passed down generations, many of which are still in use by families today!
You can read a full explanation of the history of sourdough bread here.
Sourdough is different to yeasted bread due to the strains of yeast present in each. Sourdough utilises wild yeast, present in the air, flour and on our hands. It's much more unpredictable.
Yeasted bread is made with commercial yeast which has been honed and refined, making it predictable and fairly easy to work with. This makes it a more viable option for commercial operations and making bread on a larger scale.
You can read more about the differences between sourdough bread and yeasted bread here.
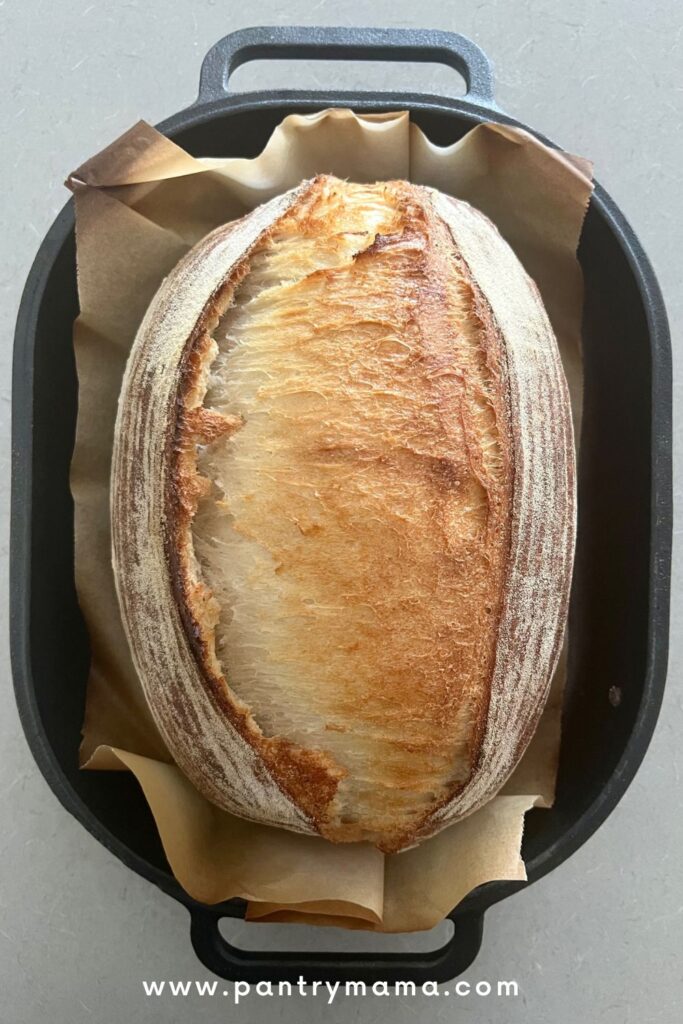
Why Use Yogurt To Make A Sourdough Starter?
While you can most definitely make a sourdough starter without yogurt, using yogurt to get your sourdough starter established does have some advantages. Using yogurt in your sourdough starter will:
- lower the pH of the initial starter, making it less susceptible to mold and bad bacteria.
- yogurt provides beneficial bacteria to strengthen your sourdough starter.
- increase the sourness of the starter for a more San Francisco style flavor.
- increase nutritional value of sourdough starter
Just like when you make a traditional sourdough starter, you won't be able to use the discard mixture for at least 7 days. After 7 days, you can use the discard (the unfed starter you remove when feeding) to create so many recipes!
What Type of Yogurt To Use for Sourdough Starter?
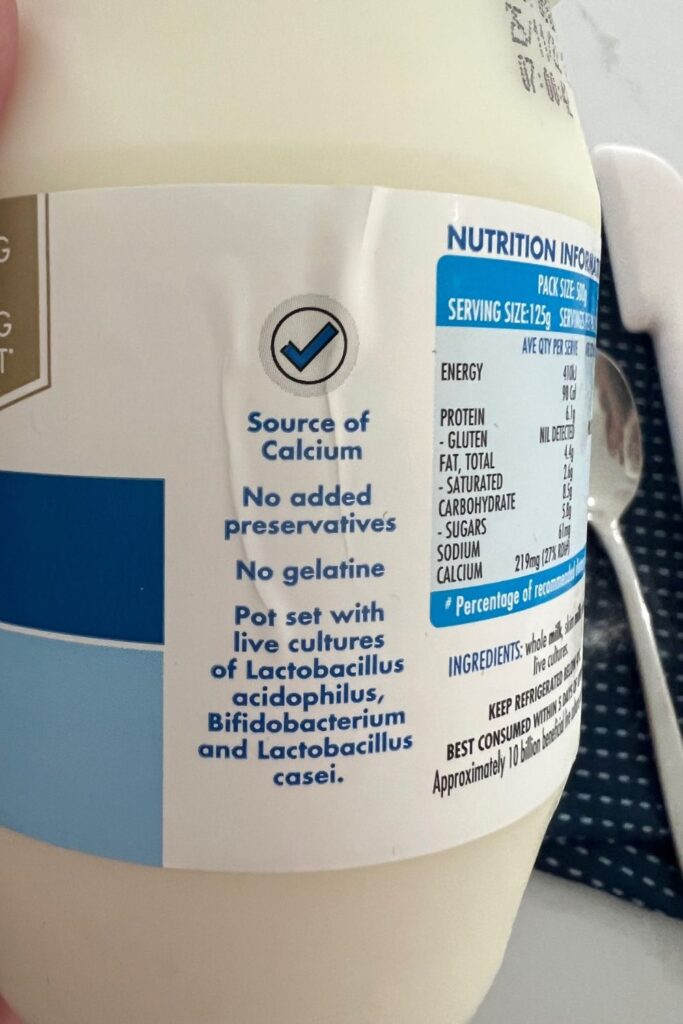
It's really important to use unsweetened, plain natural yogurt with live cultures. There are many of these types of yogurt on the market.
The best thing to do is look at the label on any yogurt you are planning on using. It needs to be free from sugar, gums, thickeners, fillers or anything like that. This is similar to when you use yogurt to make cultured butter.
The yogurt you use doesn't necessarily have to be organic, although you will get good results from organic yogurt.
I like using a thick, pot set yogurt. Homemade yogurt is even better!
Yoghurt Sourdough Starter Recipe
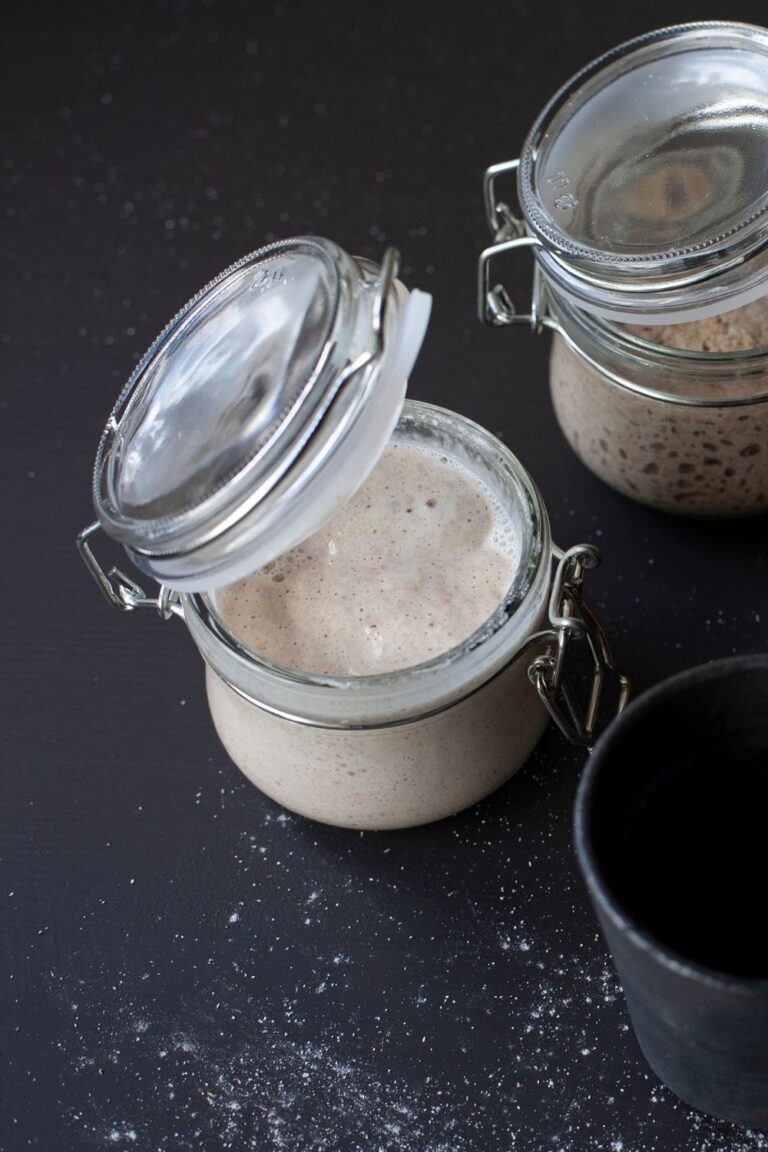
Making a yogurt sourdough starter is really easy! It's best to use a non-reactive container (you'll find a great guide to sourdough starter containers here).
Make sure that you use unsweetened yogurt with live active cultures (check those labels!). Having a warm place to keep your yogurt starter during the fermentation process is really important. Temperature is so important to sourdough!

Day 1
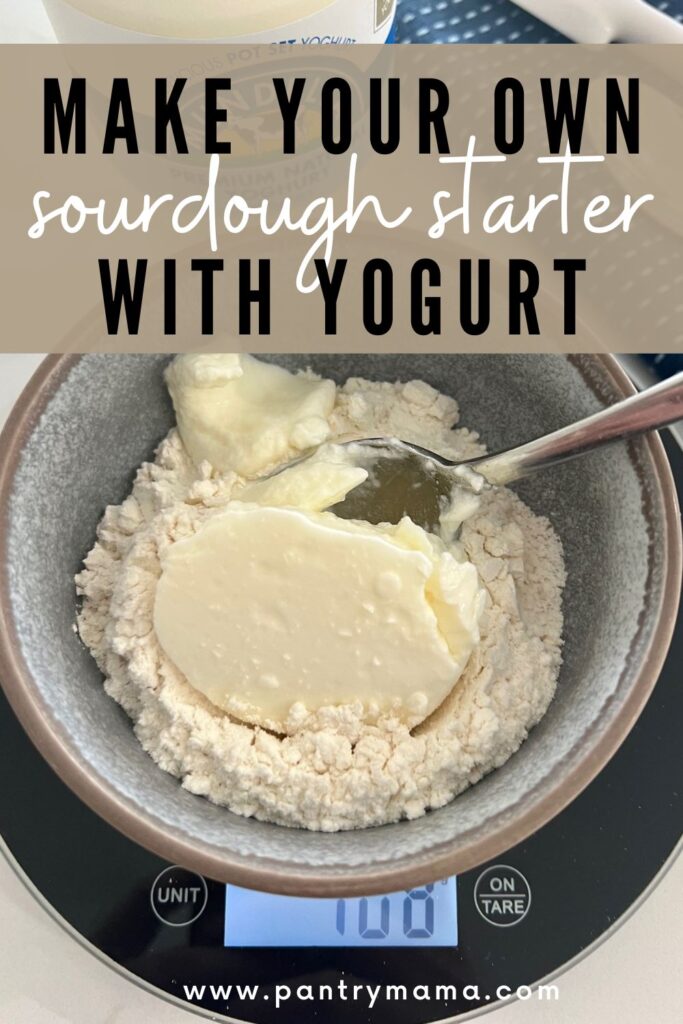
- All you need for today is 50g of flour and 50g of natural yogurt plus a clean jar.
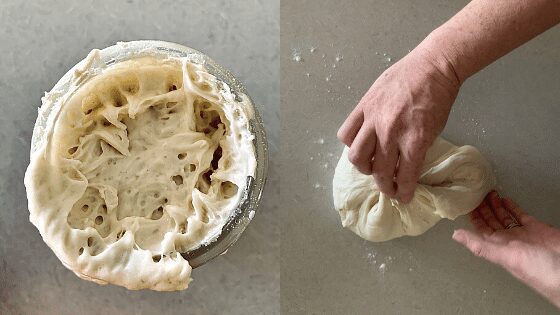
- Mix the water & yogurt together in the jar, pop the lid on loosely (or a piece of paper towel & elastic band). If you feel the starter is too thick or you can't mix it together properly, add just a little water to loosen it (no more than 25g). In the photos featured in this article, I've chosen to mix the starter in a bowl and then transfer to a jar (this helps to keep the jar a bit cleaner).
- Place the starter somewhere warm for the next 24 hrs. It's generally fine to keep your yogurt starter at room temperature, however, if your house is cold, pop it near the kettle or oven to keep it warm.
Day 2
- Once your starter is 24 hours old, you need to check on it and give it a good stir.
- You do not need to add anything today - just get some oxygen into your mixture and then recover and pop aside for another 24 hours.
- Your starter may already have some bubbles forming - this is a great sign. But it's also totally fine if it's not doing anything. Time is everything! Make sure it’s in a warm spot - you can find some ideas here.
Day 3
- On day 3 take 50g of the starter in your jar and place it into a clean jar, adding 50g of flour and 50g of yogurt. You shouldn't need to add water to this feeding as the fermented starter should be enough to loosen the new flour and yogurt.
- Mix it together, being sure to get lots of oxygen into your mixture. Replace the cover and pop it away until tomorrow. The starter should be the consistency of yogurt.
- Don’t worry if you keep checking it - it’s completely normal It’s good to notice how it changes in shape, size and smell over the 24 hours.
- At this stage it's completely normal for your starter to have a good sour smell (particularly because you're using yogurt). It's also quite normal for it to double in size and a have a few bubble. Bubbles are a sign the yeast in your starter are producing carbon dioxide .. and is a great sign! But it's also ok if your starter isn't doing these things ... just keep going, it will be fine!
Day 4
- Step 4 is to feed your starter in the same way as you did yesterday. Remove 100g of your starter and then add 50g of flour and 50g of yogurt to the remaining 50g of starter in your jar. Mix it all together with the end of a wooden spoon. Replace the cover.
- You’ll need to do this twice today, around 12 hours apart. While your starter will be fairly forgiving, set a reminder on your phone if you think you’ll forget it’s just like having a pet.
Day 5
- Step 5 is to feed your starter in the same way as you did yesterday. Remove 100g of your starter and then add 50g of flour and 50g of yogurt to the remaining 50g of starter in your jar. Mix it all together and replace the cover.
- You’ll need to do this twice today, around 12 hours apart.
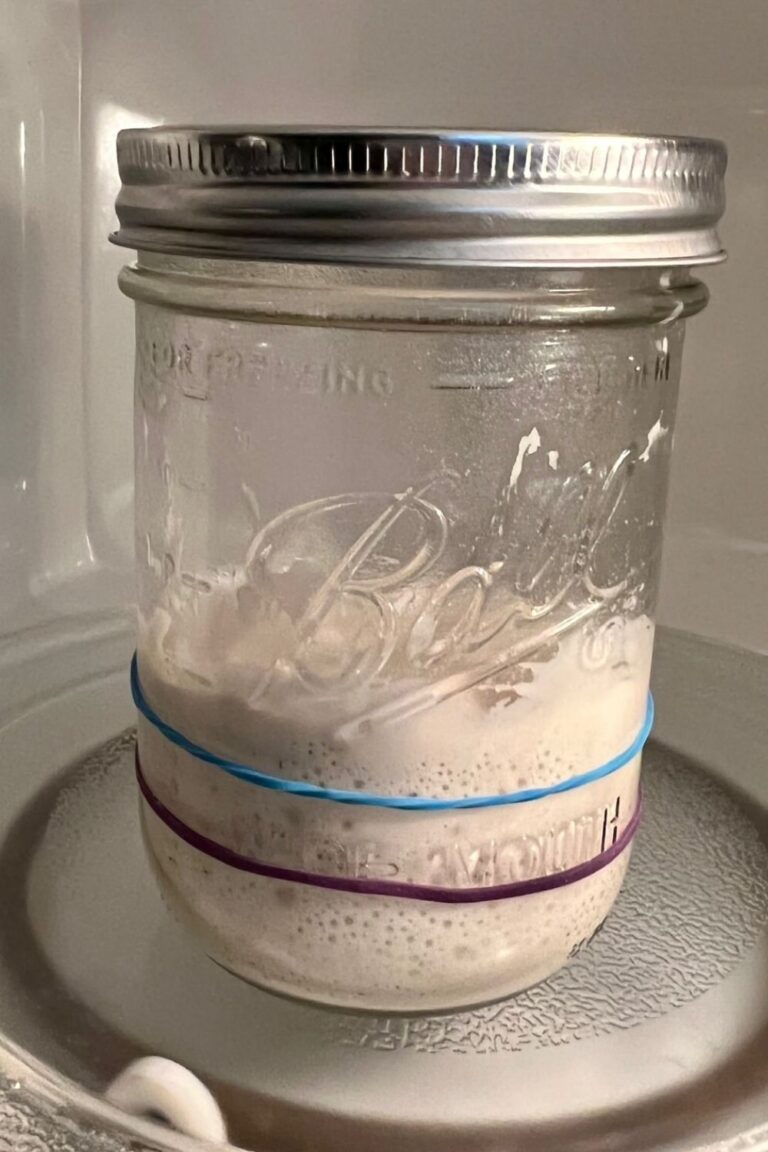
- It's a good idea at this stage to pop a rubber band around the jar you are using. Put the elastic band at the level of your starter when you feed it. This helps you to be able to see how far your starter is rising when it peaks.
Day 6
- Step 6 is to feed your starter in the same way as you did yesterday. Remove 100g of your starter and then add 50g of flour and 50g of yogurt to the remaining 50g of starter in your jar. Mix it all together and replace the cover.
- You’ll need to do this twice today, around 12 hours apart.
Day 7
- YAY! Your sourdough starter is a whole week old. Keep feeding twice a day as you have been for at least 14 days - except now you are going to use water instead of yogurt! Make sure you use the right kind of water for sourdough starter (like filtered water rather than tap water).
- Now I know you want to get to baking bread … but just remember that the most important thing about this whole process is time. Your starter might be ready, but chances are it will need a bit longer to mature - generally 14 days.
- You need to keep feeding your starter the same way as you have been, twice a day (discarding before you feed) until it's consistently doubling within around 2-6 hours after you've fed it. Once it's consistently doubling after every feed you can try and bake with it. Your starter will keep maturing as you use it.
- For more information on how to know when your starter is ready
Why Do I Swap Over To Water At Day 7?
By day 7, your starter should have a good supply of lacto acid bacteria to continue to colonise your sourdough starter.
The yogurt is used in the first 7 days to establish your colony of bacteria and yeast. After that, you can continue to develop the colony using just flour and water.
Of course, if you prefer, you can continue to feed your starter with yogurt, but it's not necessary.
If you make your own yogurt and have whey on hand, you could try creating a whey levain or even adding some whey to your sourdough bread.
Can You Use Yogurt Instead of Sourdough Starter To Make Sourdough Bread?
Technically you cannot make sourdough bread without sourdough starter, so using yogurt instead of sourdough starter does not make sourdough bread. You can however add store-bought yogurt to your sourdough bread.
You can also create a "cheat's sourdough" using instant dry yeast and tangy yogurt. While it is not true sourdough bread, it will give you a similar flavor (however it won't be exactly the same!).
Best Sourdough Recipes for Yogurt Sourdough Starter
If you're looking for a sourdough recipe to use your sourdough yogurt culture in, you might enjoy making some of these:
- Beginner Sourdough Bread Recipe
- Fluffy Sourdough Cinnamon Rolls
- Soft Sourdough Dinner Rolls
- Overnight Sourdough Bagels
Frequently Asked Questions
Yes you can use dairy free yogurt to make a yogurt sourdough starter, however as with a dairy based yogurt, you need to ensure that it is free from sugar, thickeners, fillers and gums.
No you do not need to add milk to a yogurt sourdough starter. Water is sufficient for loosening a thick sourdough starter in the first few days.
Adding yogurt to any bread will result in a softer, fluffier crumb because you are adding milk fats to the dough. Yogurt will also make the dough rise faster. You can add yogurt to most bread doughs, however you may need adjust the other liquids in the bread to ensure you do not end up with a wet, sloppy dough.
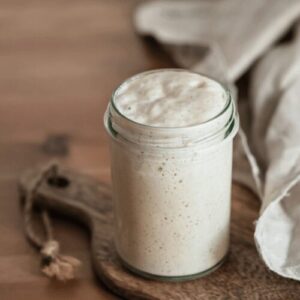
Yogurt Sourdough Starter Recipe
Equipment
- Clean Jar
- Digital Scales
- Silicone Spatula
Ingredients
- 50 g Flour Bread, All Purpose, Rye, Whole Wheat - whatever you'd prefer
- 50 g Yogurt Plain, natural yogurt with no added sugar
- 25 g Water Filtered (only if you need to loosen the starter)
Instructions
- DAY 1:All you need for today is 50g of flour and 50g of natural yogurt plus a clean jar. Mix the flour & yogurt together in the jar, pop the lid on loosely (or a piece of paper towel & elastic band). If you feel the starter is too thick or you can't mix it together properly, add just a little water to loosen it (no more than 25g).Place the starter somewhere warm for the next 24 hrs. If your house is cold, pop it near the kettle or oven to keep it warm.
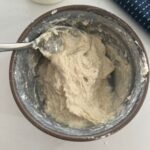
- DAY 2:Once your starter is 24 hours old, you need to check on it and give it a good stir. You do not need to add anything today - just get some oxygen into your mixture and then recover and pop aside for another 24 hours.Your starter may already have some bubbles forming - this is a great sign. But it's also totally fine if it's not doing anything. Time is everything! Make sure it’s in a warm spot - you can find some ideas here.
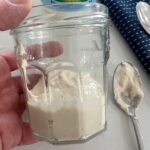
- DAY 3:On day 3 take 50g of the starter in your jar and place it into a clean jar, adding 50g of flour and 50g of yogurt. You shouldn't need to add water to this feeding as the fermented starter should be enough to loosen the new flour and yogurt.Mix it together, being sure to get lots of oxygen into your mixture. Replace the cover and pop it away until tomorrow.Don’t worry if you keep checking it - it’s completely normal It’s good to notice how it changes in shape, size and smell over the 24 hours.At this stage it's completely normal for it to smell really bad and to have developed a layer of liquid on top (this is called hooch). It might look like the water has separated from the flour but it's just telling you that it's hungry. Stir the hooch in when you feed your starter. It's also quite normal for it to double in size. Keep going - it will be fine
- DAY 4:Step 4 is to feed your starter in the same way as you did yesterday. Remove 100g of your starter and then add 50g of flour and 50g of yogurt to the remaining 50g of starter in your jar. Mix it all together with the end of a wooden spoon. Replace the cover. You’ll need to do this twice today, around 12 hours apart. While your starter will be fairly forgiving, set a reminder on your phone if you think you’ll forget it’s just like having a pet.
- DAY 5:Step 5 is to feed your starter in the same way as you did yesterday. Remove 100g of your starter and then add 50g of flour and 50g of yogurt to the remaining 50g of starter in your jar. Mix it all together with the end of a wooden spoon. Replace the cover. You’ll need to do this twice today, around 12 hours apart. It's a good idea at this stage to pop an elastic band around the jar you are using. Put the elastic band at the level of your starter when you feed it. This helps you to be able to see how far your starter is rising when it peaks.
- DAY 6:Step 6 is to feed your starter in the same way as you did yesterday. Remove 100g of your starter and then add 50g of flour and 50g of yogurt to the remaining 50g of starter in your jar. Mix it all together with the end of a wooden spoon. Replace the cover. You’ll need to do this twice today, around 12 hours apart.
- DAY 7:YAY! Your sourdough starter is a whole week old. Keep feeding twice a day as you have been for at least 14 days - except now you are going to use water instead of yogurt!Now I know you want to get to baking bread … but just remember that the most important thing about this whole process is time. Your starter might be ready, but chances are it will need a bit longer to mature - generally 14 days. You need to keep feeding your starter the same way as you have been, twice a day (discarding before you feed) until it's consistently doubling within around 2-6 hours after you've fed it. Once it's consistently doubling after every feed you can try and bake with it. Your starter will keep maturing as you use it.For more information on how to know when your starter is ready, go here.
Notes
Nutrition


