How To Use Diastatic Malt Powder in Sourdough Bread
This post may contain affiliate links.
You may have heard of diastatic malt powder - but you're not really sure what it is or what to do with it?
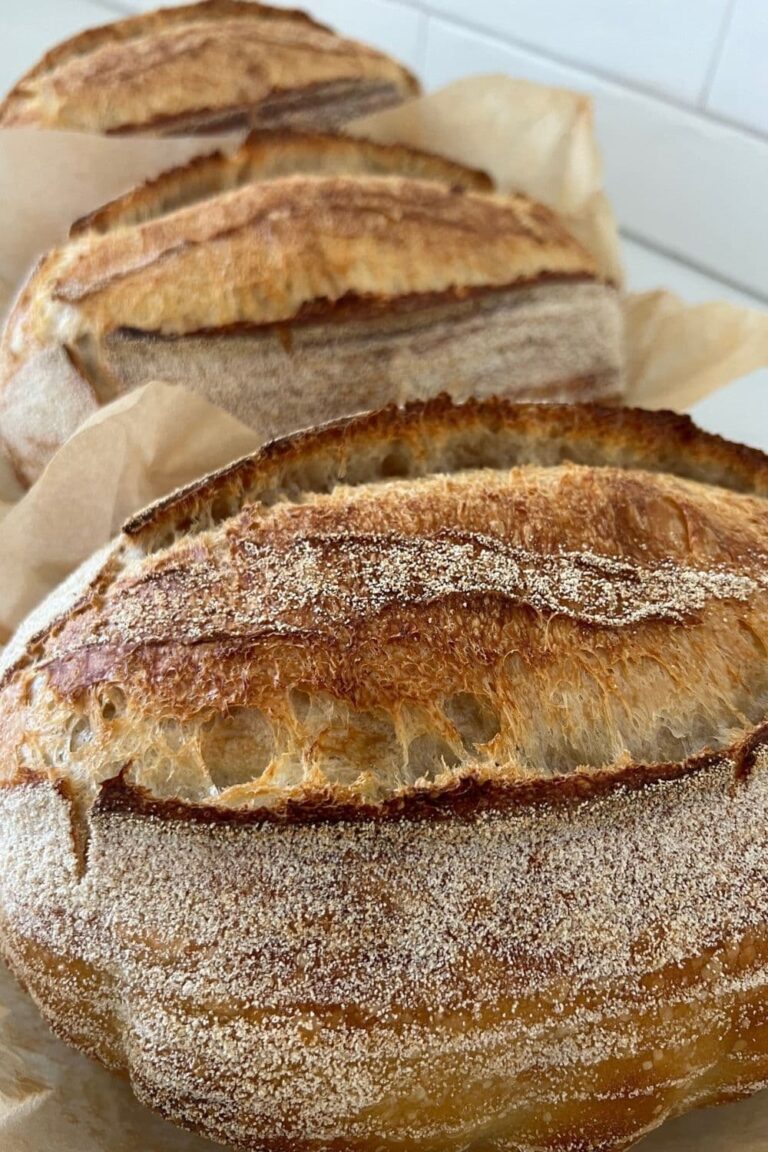
Here you'll learn how to use diastatic malt powder in sourdough bread to increase your oven spring, get a deeper, darker crust and improve the flavor of your bake.
Sounds good, right? Here's what you need to know about this secret sourdough ingredient!
What Is Diastatic Malt Powder?
Diastatic malt powder is a magic ingredient when it comes to sourdough bread.
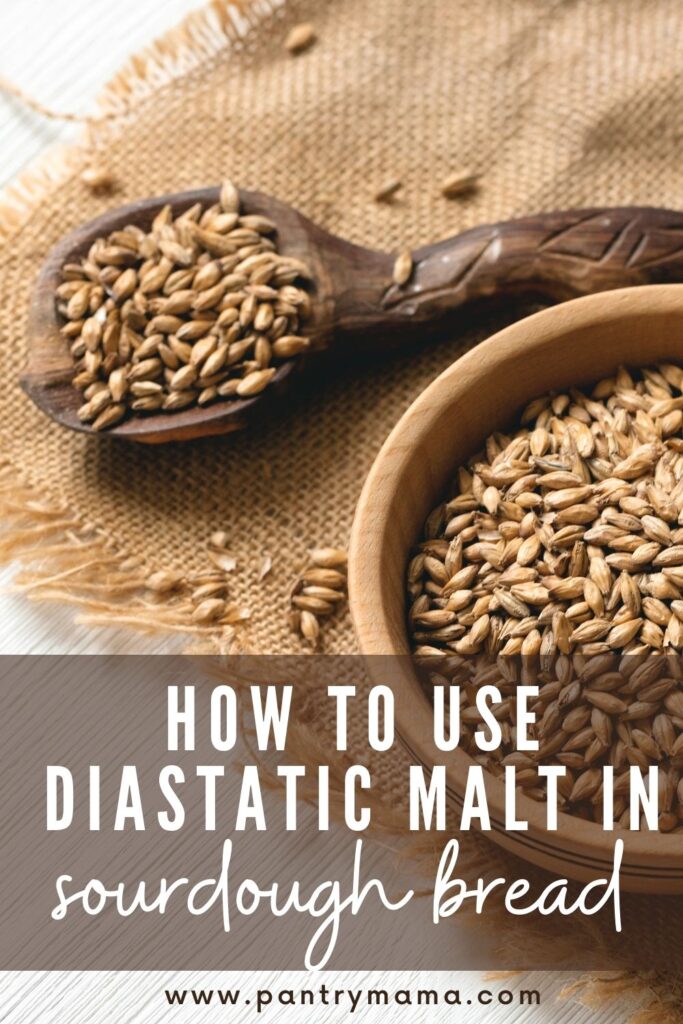
It's made from sprouted wheat or barley which is kilned at low temperatures to ensure that the enzymes (amalyse) are still active.
It's then ground into a powder which you can add to your flour.
These enzymes are magic when it comes to sourdough bread. They can help the yeast in your sourdough grow more efficiently to give you better oven spring.
Diastatic malt powder is generally added by millers in most United States bread flours.
In other countries, like Australia, for example, this is not the case. Australian bakers may find that adding diastatic malt powder to their bread flour will help them to bake better sourdough bread.
You can purchase diastatic malt powder for your sourdough bread here.
What Does Diastatic Malt Powder Do To Sourdough?
In essence, diastatic malt powder introduces enzymes to your dough that help bread down starch, which help the yeast feed more efficiently.
The lactic acid in your starter also do this, but diastatic malt powder helps this process even more.
The enzymes in diastatic malt powder actually convert the starchy sugars in your flour into more simple sugars.
This results in more efficient fermentation and can actually increase the speed at which bulk fermentation occurs.
Because the diastatic malt powder converts the starchy sugars into more simple sugars, there is an increase in the reducing sugars left in the dough when it hits the oven.
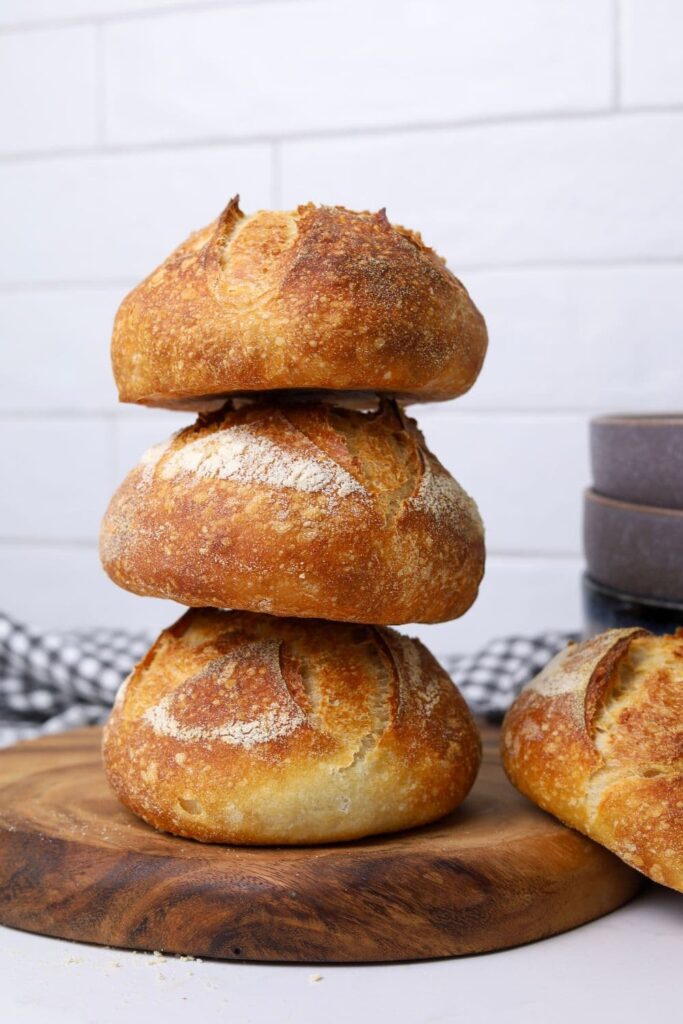
This results in a deeper, darker crust due to the Maillard Reaction.
In summary, diastatic malt powder will do the following to sourdough:
- stronger, more efficient fermentation and rise
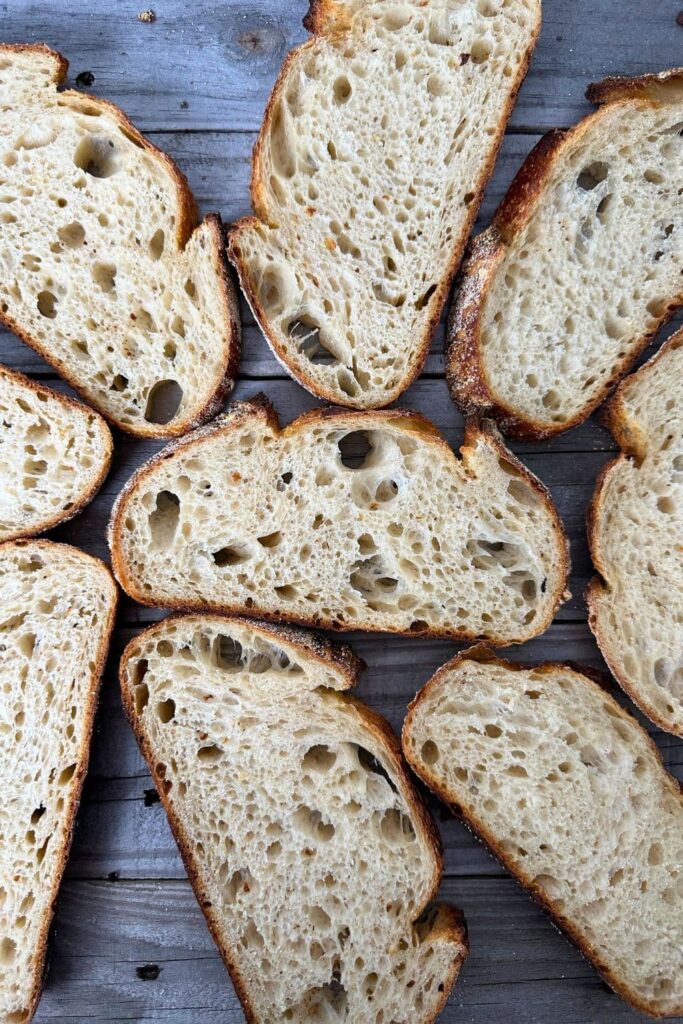
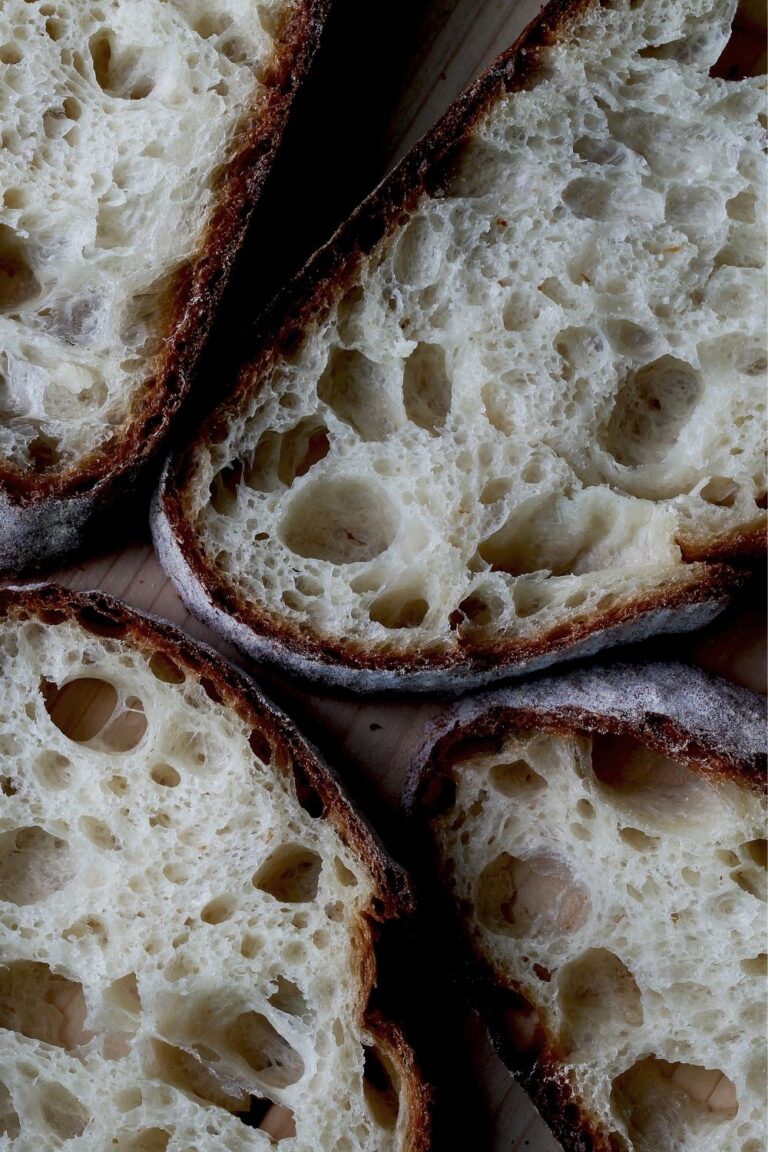
- better texture (and more open crumb)
- deeper, darker caramelised crust
When To Add Diastatic Malt To Sourdough
Diastatic malt powder should be added to your flour before you mix it with water, flour and salt.
You could choose to add the malt to a large quantity of flour and then use it as is. This would save you time when baking.
I would only advise doing this if you are going to use your flour in a timely manner as diastatic malt powder does expire.
However, if you use your flour for recipes other than bread, you may want to add the malt as you go.
Diastatic malt is fine to autolyse with the the flour and water.
How Much Diastatic Malt Powder To Use In Sourdough Bread?
You should add between 0.5% to 2% diastatic malt to total flour weight. So for 500g of flour you would add between 2.5g and 10g.
Diastatic Malt Powder vs Non Diastatic Malt Powder
There is a difference between diastatic malt powder and NON diastatic malt powder.
While diastatic malt powder contains active enzymes that assist fermentation, non diastatic malt powder does not have these active enzymes and will assist only in flavor and color. It is a sweet derivative of roasted barley.
It is dried at a much higher temperature so the enzymes become inactive.
You can use non diastatic malt powder in dough for bagels to give them that rich caramel color.
Purchase non diastatic malt powder here.
These are both different to malted milk powder (used for milkshakes for example) because this actually has milk solids added.
Can You Make Diastatic Malt Powder At Home?
You can actually make diastatic malt powder really easily at home. It is very simple and takes very little time.
You will need wheat berries or barley - you can purchase these here.
Here's how to make diastatic malt powder at home:
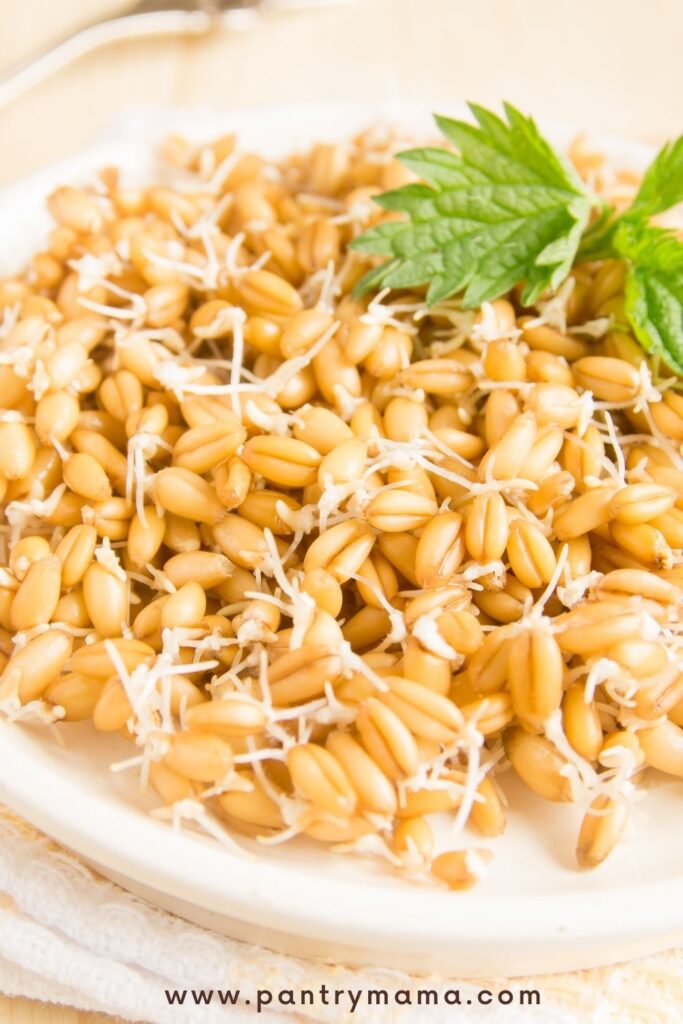
- Sprout some grains (barley or wheat berries are best - you could even use a combination of both). You just need to soak them first and then give them a few days to sprout. They don't need huge sprouts, just little white sprouts like the photo below.
- Now dry the sprouted grains at a low temperature (not above 40C/104F). If you dry them at a higher temperature than this, you'll kill all those precious enzymes).
Drying them in a dehydrator is perfect - I find 37C is perfect. The dehydrator keeps the air circulating around the sprouts to protect them from mold. You could also dry them in a very low temperature oven.
You can dry them at room temperature as long as there's plenty of air flow. This will take around 2 to 3 days though. - Once the sprouts are dried out completely (they should be rock hard) you can grind them into a powder.
I do this in the Thermomix but any high powered food processor will work. You could even do it in a large mortar and pestle if you need to.
Store your homemade diastatic malt powder in a clean, dry airtight jar in the pantry. It should last for around12 months like this.
Is There A Substitute for Diastatic Malt Powder?
While there is no real substitute for diastatic malt powder in terms of what it does for your sourdough, you can achieve increased fermentation and a deeper darker crust through alternative methods.
If you don't want to purchase diastatic malt powder or make it yourself, you can try these ideas:
- Try these tips for a deeper, darker crust.
- For increased fermentation give your starter a boost.
- Try these tips for a more open crumb.
Adding sugar to sourdough is not an alternative to using diastatic malt powder. While sugar may darken the crust and increase rise time, too much can damage the gluten network.
Further Reading
If you found this article about diastatic malt interesting, you may enjoy these ideas:
- Want to know more about Vital Wheat Gluten in sourdough bread?
- You'll find a full guide to adding sugar to sourdough bread here.
- Looking for that elusive sourdough ear? Check out these tips to getting a sourdough ear.




I'd like to add that the berries sprout better when kept completely dark. I spread mine into a thick layer in a jellyroll-sized baking sheet then cover it with a like baking sheet, inverted, and tape it on four sides to keep it in place. It keeps the berries dark and moist. Check after 48 hours. They will be ready to dry and de-sprout.
Removing the sprouts is easily done in a wire mesh strainer and a spatula or back of the hand, scrubbing them against the sides and bottom of the strainer. If left until the root appears, the berries may become bitter.
Kate, I developed a whole wheat sourdough recipe taken from your recipe, then adjusted it for the flours I use and an optimal hydration of 74%. I made and added homemade diastatic malt powder using a similar method to sprout then process the berries. I added a 1/2 tsp of diastatic powder per cup. I observed roughly a 20% improvement in both rise and oven spring, a faster bulk ferment and proof, and an improved flavor.
I’ve been making your sourdough from discard bread recipe (and love it!) Would adding 2% diastatic malt powder and/or 2% viral wheat gluten improve the results - color, oven spring?
I have a bag of diastatic malt powder and am not sure what to do with it and it's not expired yet. The bread flour I have, seems to be malted already. Is it still okay to add malt powder ?
Hi Kate,
Is the malt powder you find in a tin at the major supermarkets in Australia, diastatic? Or is that something else?
Thanks
Hi Sandra - no diastatic malt is different to the malt we find in the tin (for milk). I would check with your local health food retailer if they stock diastatic malt 🙂
Hi, how about malt barley flour , does it work the same as diastatic malt powder ? Looking forward to your reply, thanks a lot 🙂
Would the malt powder break down more gluten for those who are gluten sensitive? Or have the opposite effect?
Hi, does diastatic malt powder change the consistency of the sourdough while mixing? I.E. does it make it more slack and shorten the bulk fermentation time?