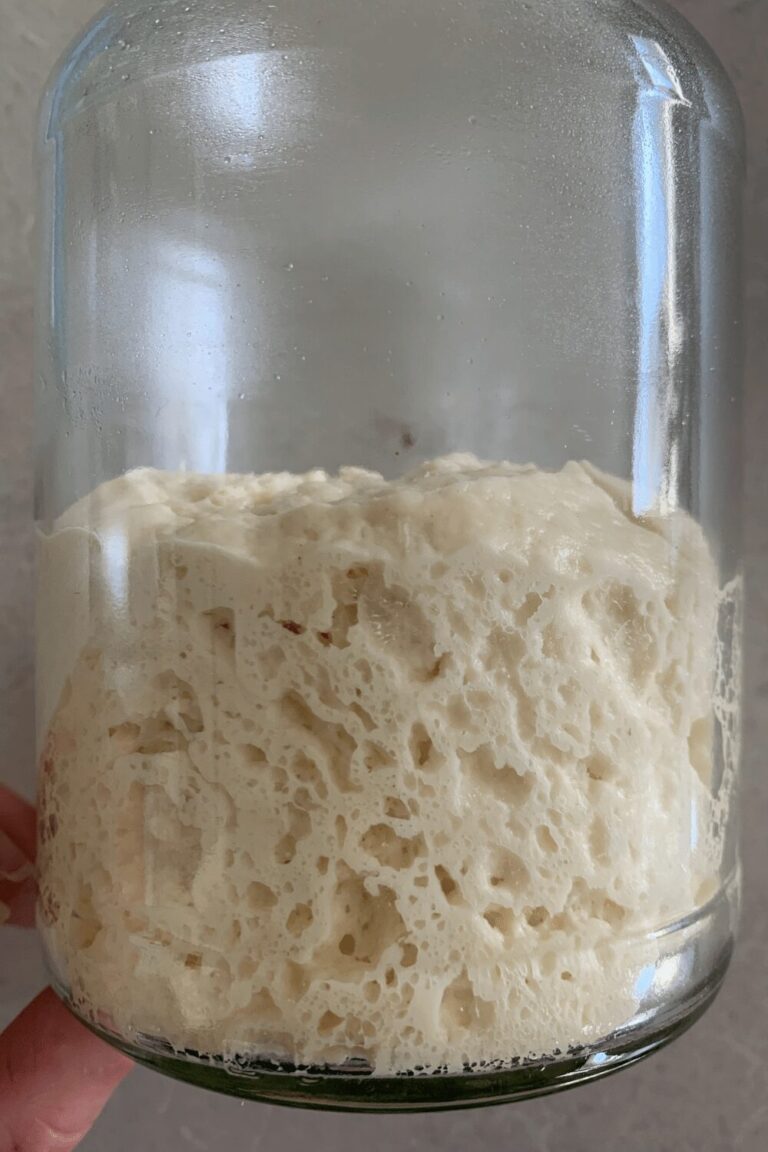
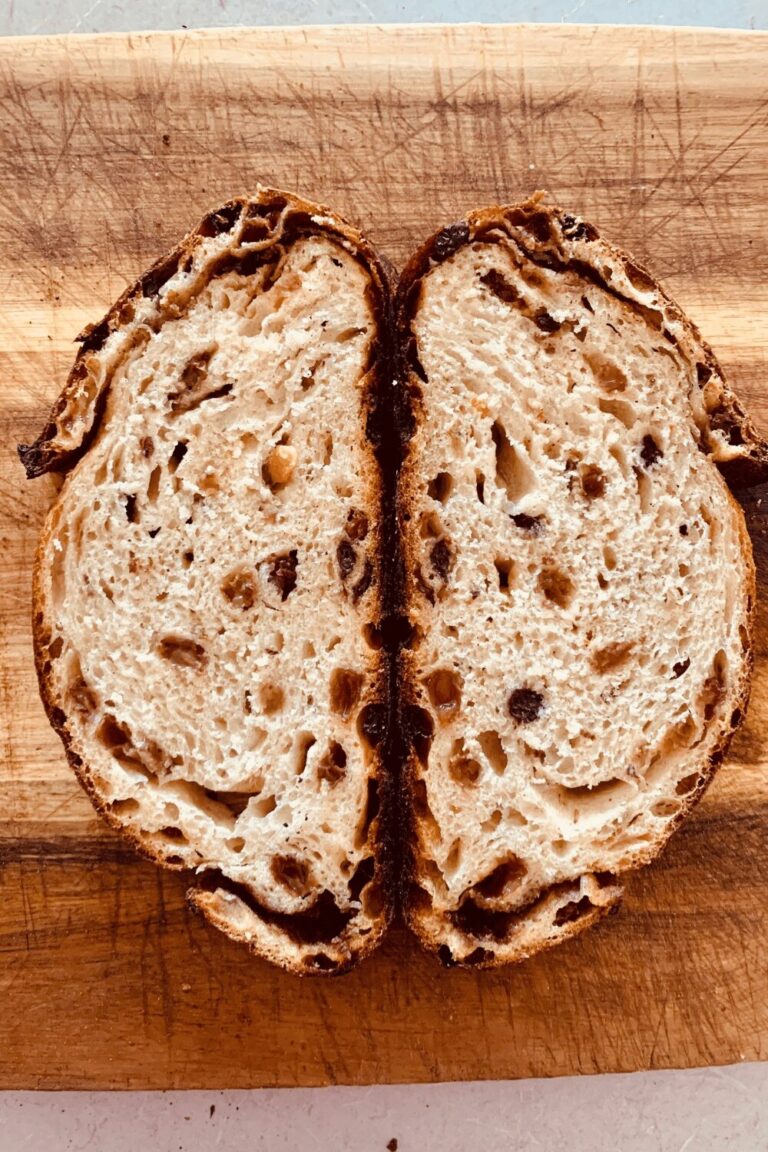
Lemon & White Chocolate Sourdough Bread [sweet & tangy sourdough flavor]
This post may contain affiliate links.
Lemon and white chocolate sourdough bread may sound like an unusual flavor combination. But trust me, it's well worth making - and might just become your new favorite!
This interesting sourdough flavor combination is actually pretty wonderful - tangy lemon sourdough bread paired with sweet, creamy white chocolate.
It's honestly a recipe you just have to try - I promise you will love it!
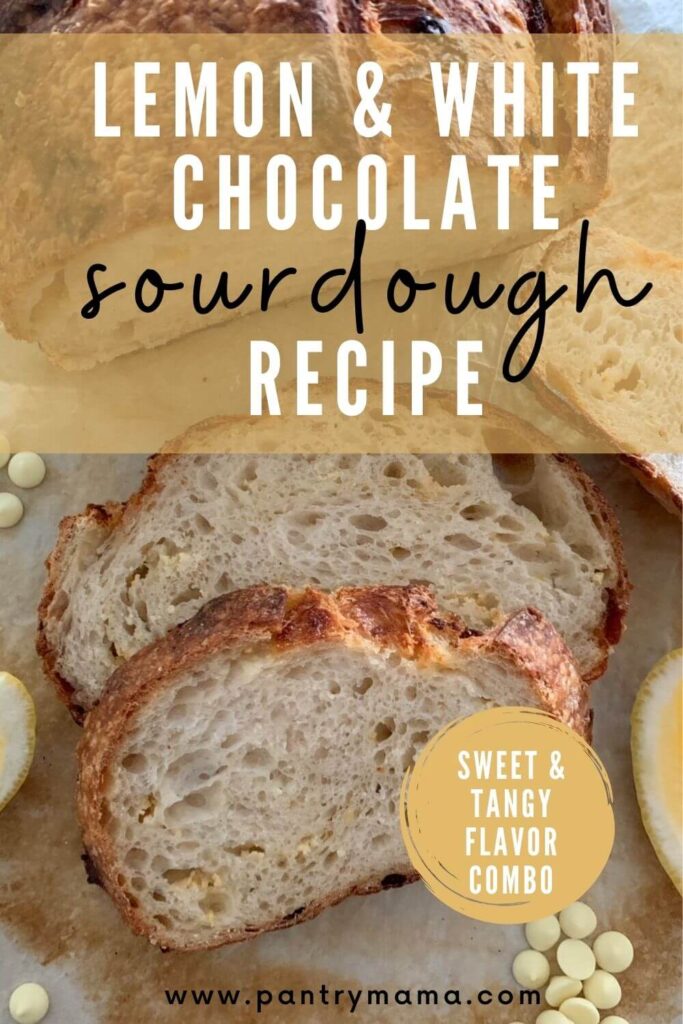
Something that is quite surprising about this lemon and white chocolate sourdough bread is that the oil from the lemon gives it the thinnest, crispiest crust ever. It's worth it just for this!
You might also enjoy this chocolate chip sourdough bread.
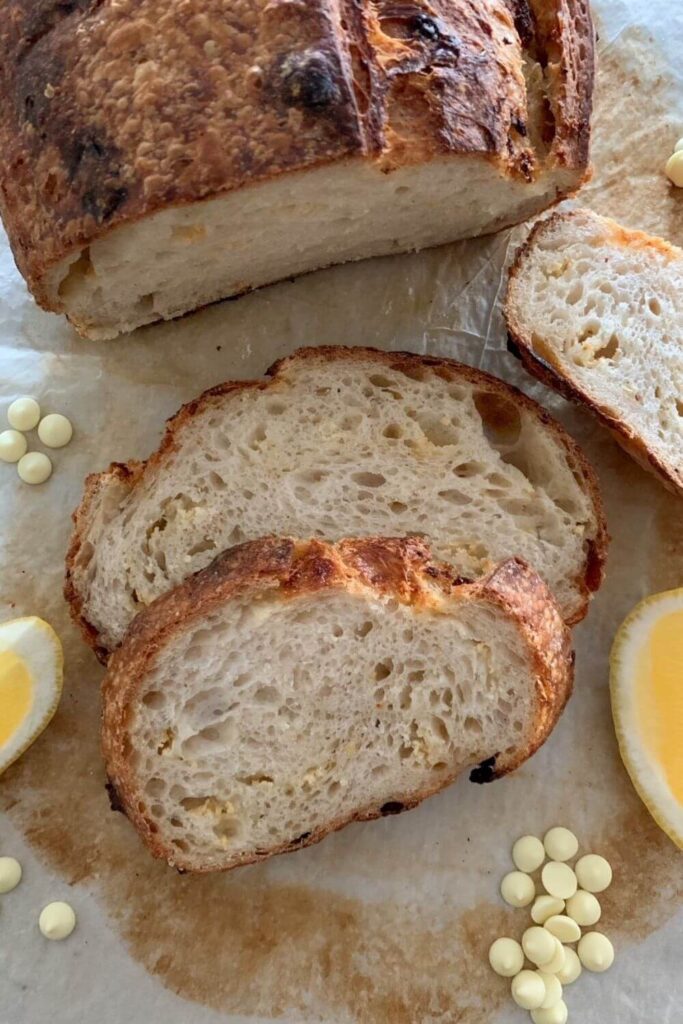
How To Make Lemon and White Chocolate Sourdough Bread
This sourdough flavor combo is pretty easy to put together. It's definitely worth trying!
You'll need the best quality lemons you can get - even better if you can use home grown. The skins are untreated and so much more fragrant, giving your sourdough bread a stronger flavor and aroma.
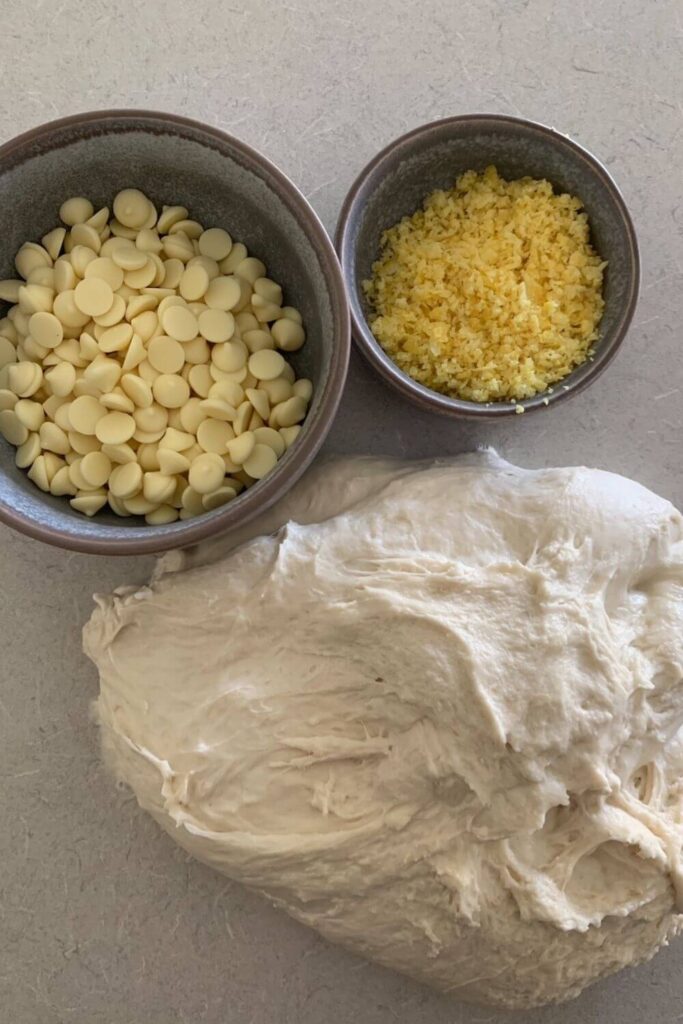
You can use white chocolate chips or chopped white chocolate - whatever you prefer. I've used white chocolate chips for this bread as it's what I had on hand. They worked really well.
How to make lemon sourdough bread with white chocolate:
- Autolyse the sourdough starter, water, flour and salt.
- Form up the dough and then let it rest.
- Develop gluten through stretches and folds and add the lemon zest and white chocolate.
- Bulk ferment the dough.
- Shape the dough and place inside the banneton.
- Cold ferment the dough.
- Score and bake!
I have chosen to use zest in this recipe as opposed to the juice of the lemon. I find that the zest gives a much stronger lemon flavor and the oil from the zest incorporates much more easily into the dough, giving the most amazing thin and crispy crust.
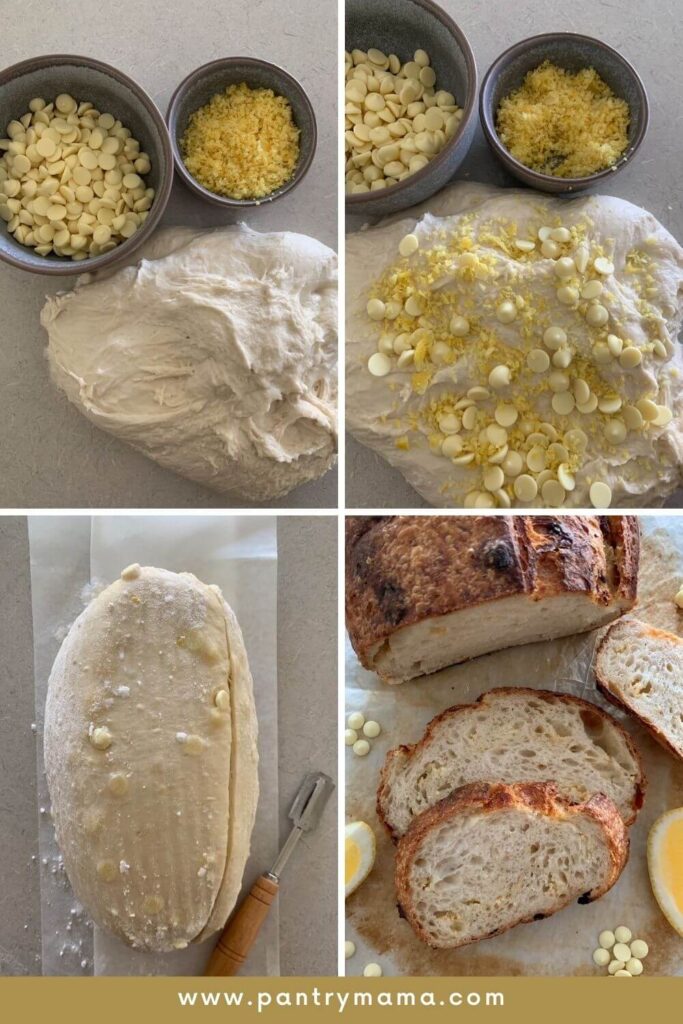
Why Add Flavors During Stretch and Fold?
Flavors can really be added at any time during the sourdough process. It is best to add them during stretch and fold though.
Adding the flavors during the autolyse process can inhibit the flour's ability to hydrate. Of course, if the flavor you're adding is liquid, it can be added with the water (like this coffee sourdough for example).
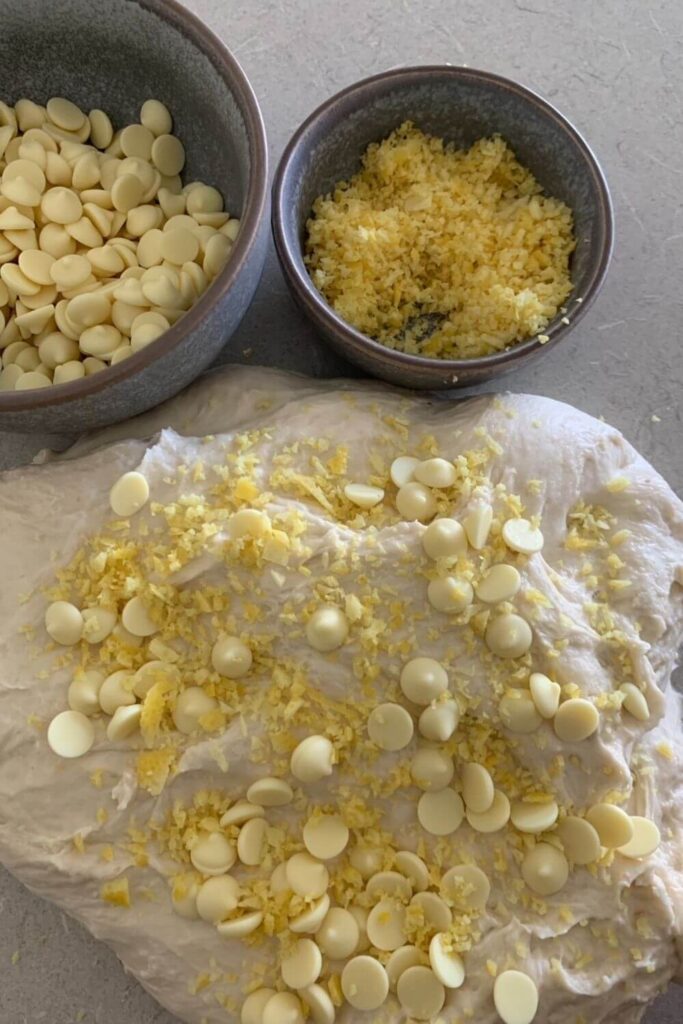
Solid ingrdients should be added around the second or third stretch and fold. This ensures they can be incorporated throughly. It also ensures that there is still time for the gluten structure in the dough to form, without too much tearing from sharp ingredients.
You can read more about adding flavors to sourdough bread here.
Can You Add Lemon To A Sourdough Starter?
The short answer is, you can add anything to a sourdough starter. The long answer is - you don't really need to add lemon to your starter.
Many people say that lemon can kick start a sourdough starter (a bit like using the acidity of pineapple juice). But if you are feeding correct ratios by weight and keeping the starter warm, there's really no need to add lemon juice to your starter.
You can simply add the lemon flavor to your bread through adding lemon zest (or even lemon juice if you want to).
If you want to try a flavored sourdough starter, why not try this chocolate sourdough starter.
Flavor Variations for Lemon and White Chocolate Sourdough Bread
While this white chocolate and lemon sourdough bread is amazing as it is, there are a few tweaks and additions you can make to take this unusual flavor next level!
- Add a handful of flaked almonds to the banneton before you place the shaped dough inside for a delicious almondy crust.
- Try adding 50g of shredded coconut to the dough, along with the lemon zest and white chocolate.
- For some extra crunch, add 50g of chopped, roasted pecans to the dough with the lemon and white chocolate.
- You could also add a powdered sugar lemon glaze to this loaf if you wanted to make it sweeter (so just stir powdered sugar and lemon juice together until it forms a spoonable consistency. Then drizzle over the cooled loaf of lemon and white chocolate sourdough.
Frequently Asked Questions About Lemon Sourdough Bread
There are literally hundreds of flavor combinations you can add to sourdough bread. From parmesan and rosemary to lemon and blueberry - you'll find a tonne of ideas here.
Autolyse is the process of allowing flour to absorb liquid (generally water). It is not as important when using modern, baker's flour. But if you are baking with whole grains, whole wheat or freshly milled flour it is necessary to allow the flour to absorb the water. This process makes the dough easier to work with. You'll notice that mixing the flour and water and then letting it rest will transform a shaggy, sticky dough into a smooth and pliable dough.
While many sourdough bakers choose to the salt and sourdough starter after autolyse, there is no evidence to suggest this actually improves the final product.
As such, my recipe sees you add the salt and sourdough starter at autolyse stage - it's quicker, easier and ensures you never forget to add the salt!
Sourdough bread does not actually need to be sour. Did you know that the term "sourdough" actually refers to the method of using a wild yeast starter, not the flavor of the bread.
The sourness in your baked sourdough can come from the flavors in your actual starter, but more often than not come from the amount of starter you use and the time you've allowed your dough to bulk ferment and cold ferment. Less starter and longer fermentation times generally result in a more sour dough. To reduce the sourness, you can try some of these tips.
Getting an ear on your sourdough bread is possible. While it's said to be unnecessary, an ear actually signifies the culmination of good gluten structure, correct fermentation times and precision scoring. So while it may seem like just a fad, it does have a purpose. You can find out my top tips for getting an ear on your sourdough here. An ear will give you "bunny bread" once the bread is cut open with the ear looking like ears on a little bunny.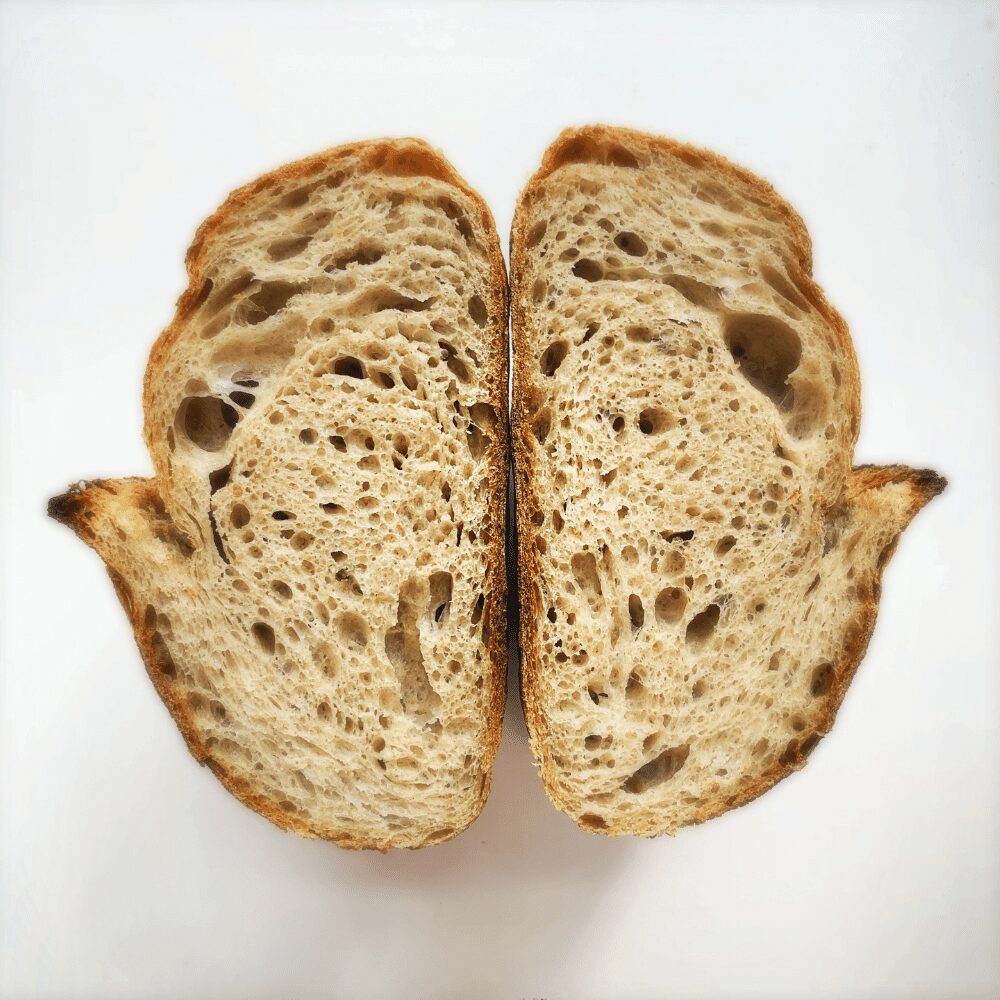

Further Reading
If you love this recipe, you might enjoy these ideas:
- Lemon & Blueberry Sourdough Bread
- Lemon Sourdough Muffins
- Chocolate Sourdough Starter
- For loads of other sourdough flavor ideas, check out this post.
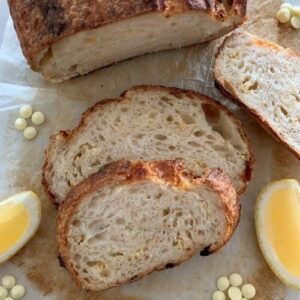
Lemon & White Chocolate Sourdough Bread
Equipment
- Mixing Bowl
- Digital Scales
- Banneton
- Dutch Oven
Ingredients
- 500 g Bread Flour 100%
- 350 g Water 70%
- 50 g Sourdough Starter 10% (Fed and Bubbly)
- 100 g White Chocolate Choc chips or chopped chocolate
- 10 g Salt increase or decrease according to your taste
- 20 g Lemon Zest unwaxed lemon
Instructions
- Autolyse - Premixing The DoughWeigh out your sourdough starter and water into a large ceramic or glass bowl. Glass is always good as you can see what's happening underneath your dough. This recipe is based on you having an active starter that you have fed a few hours before starting your bake.Mix the water and starter together briefly. Then add your flour and salt and mix whole lot together to form a shaggy dough. I find a dough scraper the easiest way to mix it as you can keep the sides of bowl clean.The dough will be fairly shaggy and only just brought together (see photo). You might wonder how this will turn into bread, but just wait, time is your friend and the dough will change in around an hour.
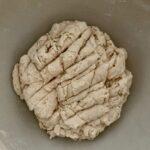
- Cover your bowl with cling film or a damp tea towel and let it sit for around 1 hour. It's ok if it's a little bit longer, it's not going to matter too much.This process is called the "autolyse" and allows your flour to soak in all the water and become hydrated. You can see how the dough has changed in this photo.
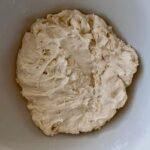
- Forming Up The DoughAfter the dough has been through autolyse you need to bring it together into a ball. Work your way around the bowl, grabbing the dough from the outside, stretching it up and over itself, into the centre, until a smooth ball is formed. You shouldn't need more than about 20-25 stretches to form the ball.You'll notice that the dough is fully hydrated after soaking all the water up. It will be fairly sticky but as you bring it into a ball, it will become smoother and shinier.

- Once the dough has formed into a smooth ball, pop the cling film back on and let it rest for 30 minutes.
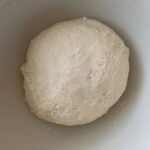
- Stretch & Fold +Adding the White Chocolate & Lemon ZestOver the next few hours you need to create some structure for your dough by "stretching and folding", as well as incorporating the white chocolate and lemon zest.Aim to do around 4-6 sets of stretches and folds. For each set, stretch the dough up and over itself 4 times. Leave around 15 minutes in between each set. Again you do not have to be exact with time, but you need to do at least 4 sets over 2 hours.You'll need to add the white chocolate and lemon zest around the second set of stretch and folds.
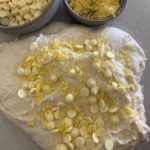
- Bulk FermentOnce you've finished your stretch and folds, place the cling film or damp tea towel back over your dough and let it rest and ferment. See notes below for more info on this step.
- Shaping The DoughOnce your dough has finished it's first ferment, it's time to shape it into either a boule or a batard. You'll find full shaping instructions for a batard here and a boule here.
- Placing Into A BannetonOnce the dough is shaped into a tight ball, place it into your banneton smooth side down, so your seam is on the top - this way the top of your dough will get the pretty lines from the banneton. If you're using a cloth or tea towel in a bowl it's ok to put your dough with the smooth side up. Just make sure the dough is tight.Lift your dough around the edges to pop a little more rice flour if you feel it needs it. Just try to handle the dough as little as possible and be really gentle as you really want to preserve all the gases and air bubbles that have formed during your bulk ferment.
- Cold FermentNow the dough is in its "shaping container" cover it loosely with a plastic bag or damp tea towel and place into the fridge. I use a large plastic bag to cover it - I just reuse it each time. Try to leave it in the fridge for a minimum 5 hours up to a maximum of around 36 hours. The longer you leave it the better your bread will be! A longer cold ferment creates beautiful blisters on your crust and a deeper sourdough flavour. It will also ensure your dough forms a skin which makes it easier to score.

- Preparing To BakeOnce you're ready to bake your sourdough, you'll need to preheat your oven to 230C/450F. Place your Dutch Oven into the oven when you turn it on so it gets hot. Try to preheat for around 1 hour to ensure your oven is super hot - but you know your oven so just adjust this time if you need to.Leave your dough in the fridge until the very last minute - placing a cold dough into a hot oven will give you a great "spring".
- Bake Time!Now it's time to bake!When your oven is at temperature, take your sourdough out of the fridge. Gently place it onto a piece of baking paper. Make sure that you make the baking paper big enough to use the edges as a handle to lower to dough into your Dutch Oven.Gently score your bread with a lame, clean razor blade or knife. At minimum a large cross is sufficient, but you can get as artistic as you like. Try to score it fairly deep to ensure the dough opens up.Carefully take your dutch oven out of the oven. Place the sourdough into the pot using the baking paper as a handle. Put the lid on and place into the hot oven. If you want to you can spritz your dough with extra water before you put the lid on.BAKE TIME:30 Minutes with the lid on at 230C/450F plus10-15 Minutes with the lid off at 210C/410F
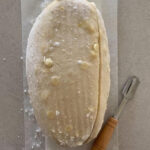
- Finishing The BakeWhen you remove your dough from the oven, carefully remove it from the dutch oven as soon as possible and place on a wire rack to cool.
Notes
- Notes on Flour: This recipe is written using strong Bread Flour. Bread flour has a higher protein content than All Purpose flour. If you choose to use All Purpose flour you may have a different result because of this.
- Notes on Sourdough Starter: This recipe is based on you having an active starter that you have fed a few hours before starting your bake. For information on whether your starter is ready, go here.
- Notes on Stretch & Folds: If you are going to do the stretch & folds on your bench top, spray your surface with water mist rather than using flour. You can leave the dough in the bowl if you want to. Wet your hands to stop the dough sticking - although it shouldn't be too sticky. It will get less sticky as you do your stretches and folds.
- Notes on Bulk Fermentation: If your home is warm then your dough will ferment a lot faster and could be done in as little as a few hours. If it's colder, it will take longer, possibly overnight.
I would recommend that you try to do your first few bulk ferments during daylight hours so that you can watch your dough closely.
Once you're more familiar with the process - and the temperature of your home - you will be able to do overnight ferments. You will know your dough is ready to move to the next stage when it has *just* doubled in size. It will be fairly wobbly and full of bubbles. You should be able to see large air bubbles under the surface of the dough.
You don't want to let it go any further than doubled as it will be over fermented.
If you want to do an overnight ferment, but your home is warm, consider using a little less starter (ie 25g).
Less starter means your dough will take longer to ferment and you will reduce the risk of over fermenting your dough. You'll find more information on these topics here:
When is my bulk ferment finished? What is the difference between cold ferment and bulk ferment? Why does the amount of starter matter?
- Notes on Baking: If you're worried about the base of your bread burning, place a baking sheet on shelf underneath your Dutch Oven - it works! If you're worried about your bread not being cooked all the way through, turn the oven off and place your dough straight onto the oven rack. Leave the door ajar and let your bread rest there for a few hours. Make sure you don't close the door or your sourdough will sweat and you'll get a wrinkly, soggy crust. Remember not to cut into your loaf too soon - you'll need to let it cool for at least a few hours (4-6 is best).
Nutrition


