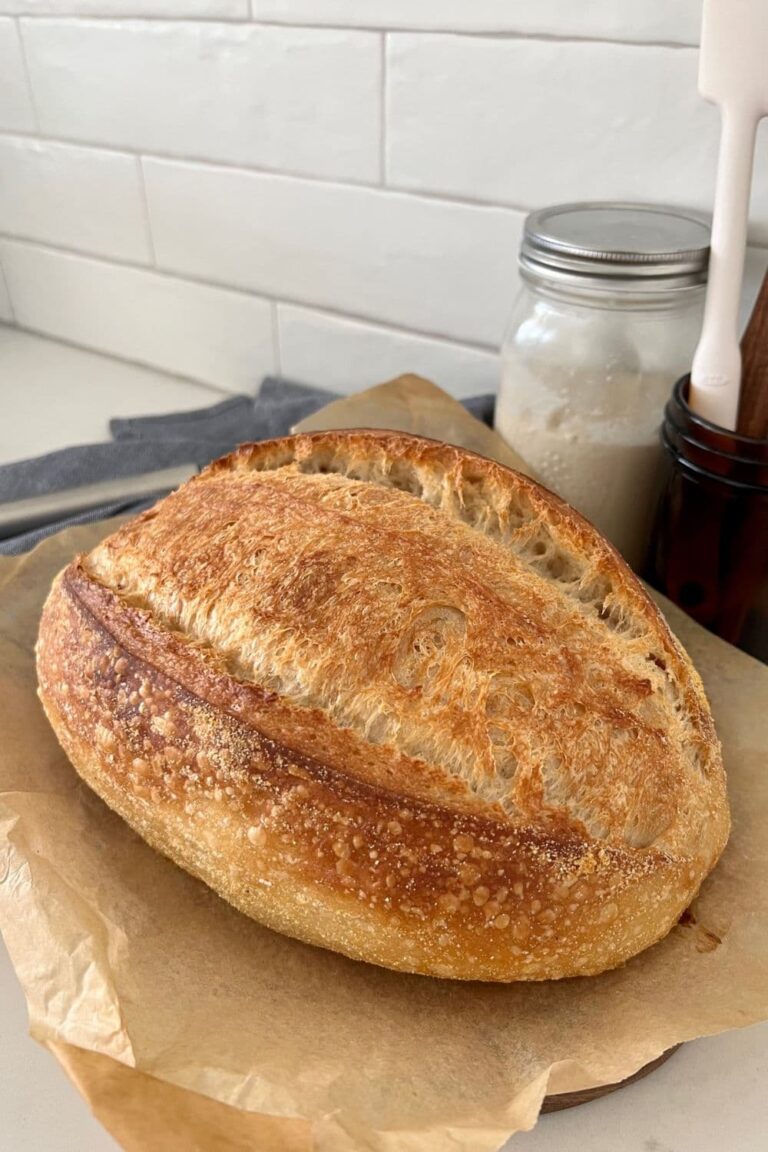
Pane Di Casa vs Sourdough: What's The Difference?
This post may contain affiliate links.
Ever wondered about pane di casa vs sourdough and what the differences are?
Maybe you've wanted to try pane di casa with sourdough? Well, look no further!
This recipe uses sourdough discard to bake sourdough pane di casa bread - it's simple, easy and absolutely delicious!
This easy sourdough bread recipe uses 100g of sourdough discard, along with bread flour, water, salt, yeast, sugar and semolina flour to create the most delicious table bread.
This recipe has been created as an easy to mix, bake and share in a few hours type of bread.
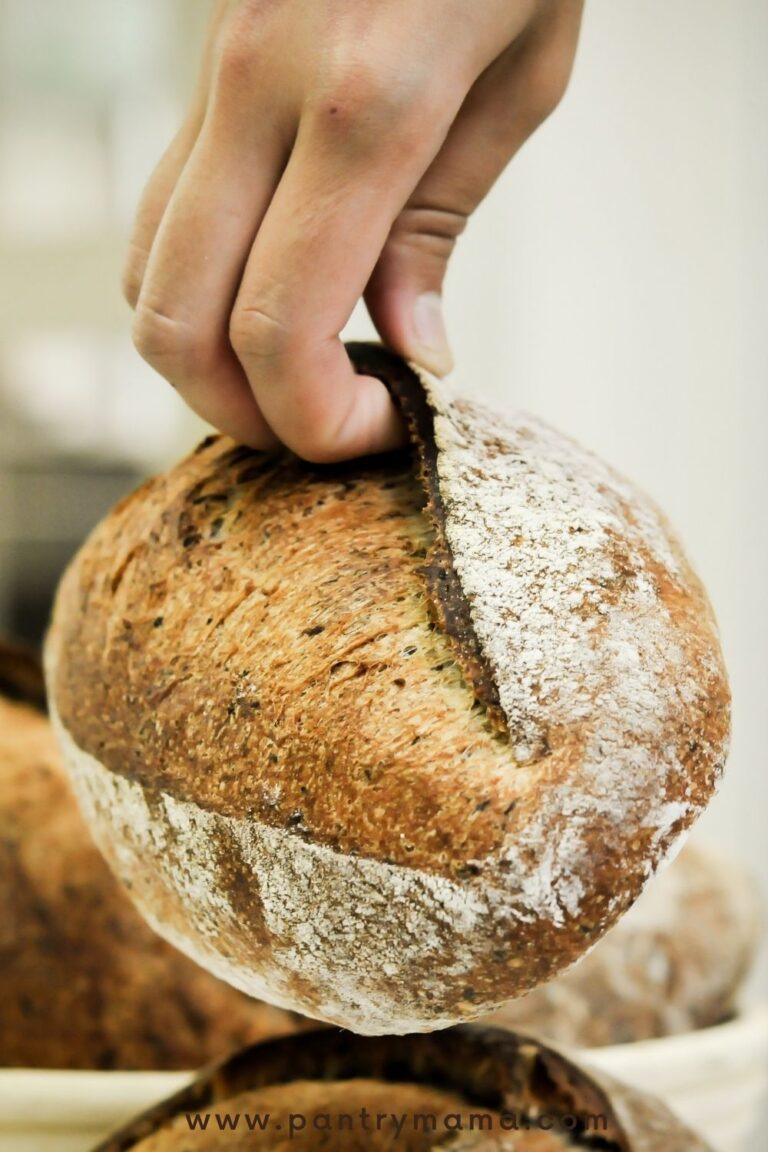
It has a very rustic feel with a dark, crunchy crust and a closed crumb, perfect for slathering in butter and sharing at the family dinner table. I also love making smaller loaves and then turning it into sourdough garlic bread or even yummy croutons!
I love to make this bread for my family for quick, easy weeknight dinners - think hearty minestrone soup served with a big side plate of this lovely sourdough pane di casa bread, slathered in homemade butter. Perfect in every way!
If you love quick, no wait sourdough recipes, you might also like to try the easiest sourdough discard bread ever or this easy sourdough discard sandwich loaf. And this Sourdough French Bread is a cinch!
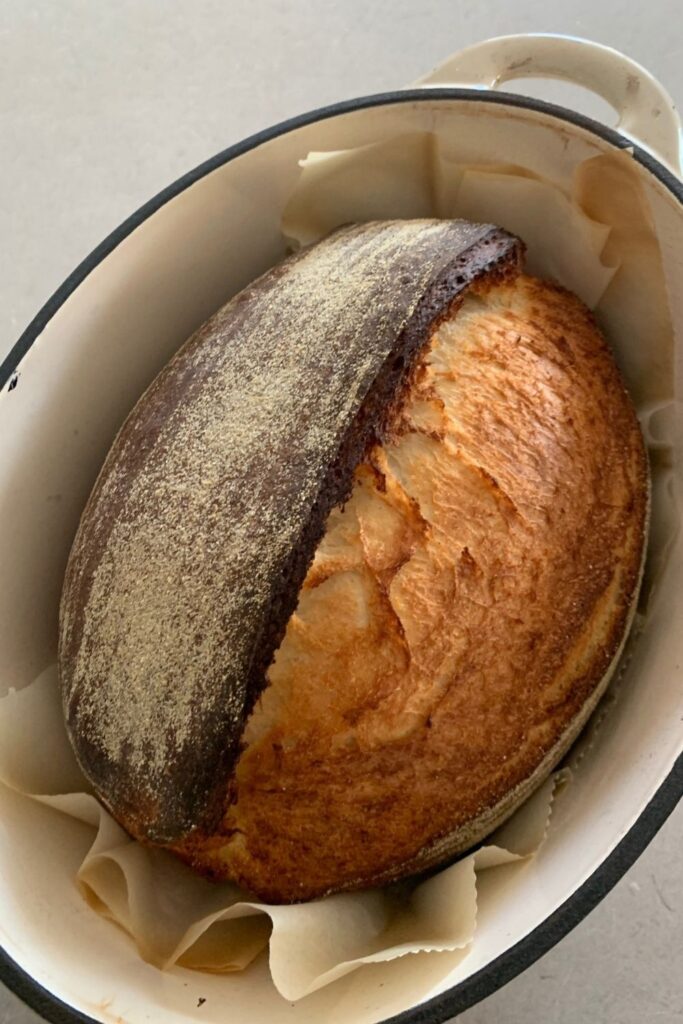
What is The Difference Between Sourdough and Pane Di Casa?
Pane Di Casa (house bread) is generally made using commercial yeast, whereas sourdough is made using a sourdough starter which requires a longer fermentation time.
Pane Di Casa generally has a more dense crumb with a crunchy crust (due to the semolina flour).
Sourdough on the other hand has a more chewy crust and a more open crumb.
The flavor and texture of pane di casa bread is different to traditional sourdough because of the different leaving agents.
With a very short rising time due to commercial yeast, pane di casa is all about the chewy, dense crumb and crackling crust from being baked in a hot oven.
Sourdough on the hand gains its distinct sour flavor from a long, slow ferment, often at lower temperatures which allow the good bacteria colonies to flourish in the dough.
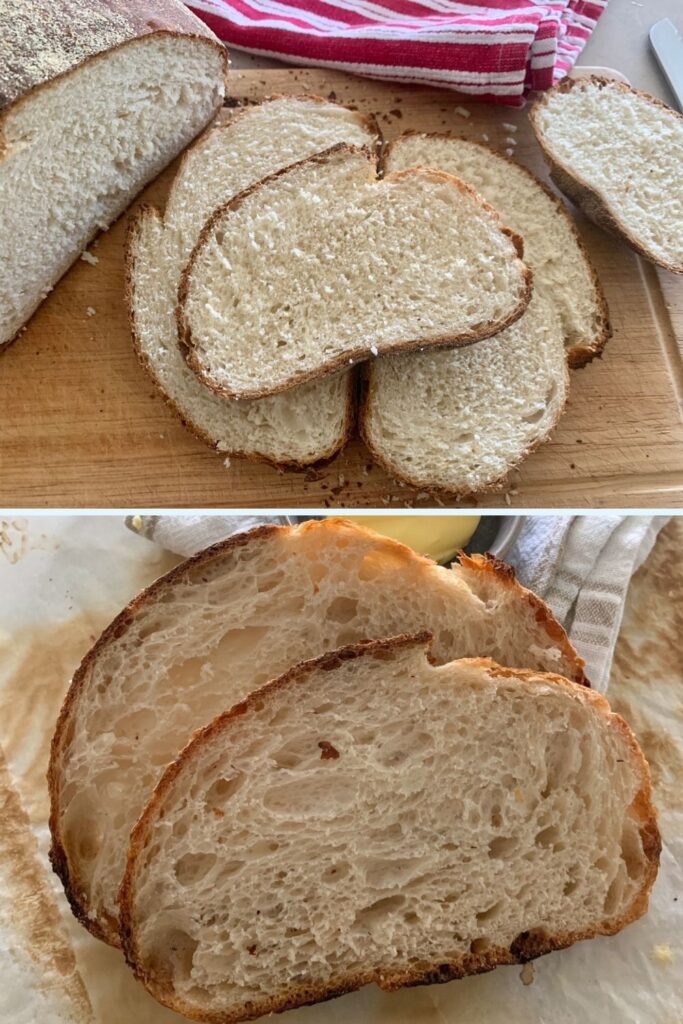
Pane Di Casa Origins
Pane Di Casa has its origins from Italy. Translated directly from Italian, pane di casa means bread of the house.
It is in fact, simple bread that is quick and easy to make at home.
It pairs well with most dishes in Italian cuisine from pasta, salad, antipasto, meat & cheese - in fact it can be found on the kitchen table in many an Italian home at meal times.
Pane di casa has also become a popular bread to buy commercially with many bakeries having their own version featuring a brittle exterior crust and fluffy inside.
In most cases the bread is baked to be eaten same day and doesn't store well over a few days. It's much better eaten fresh.
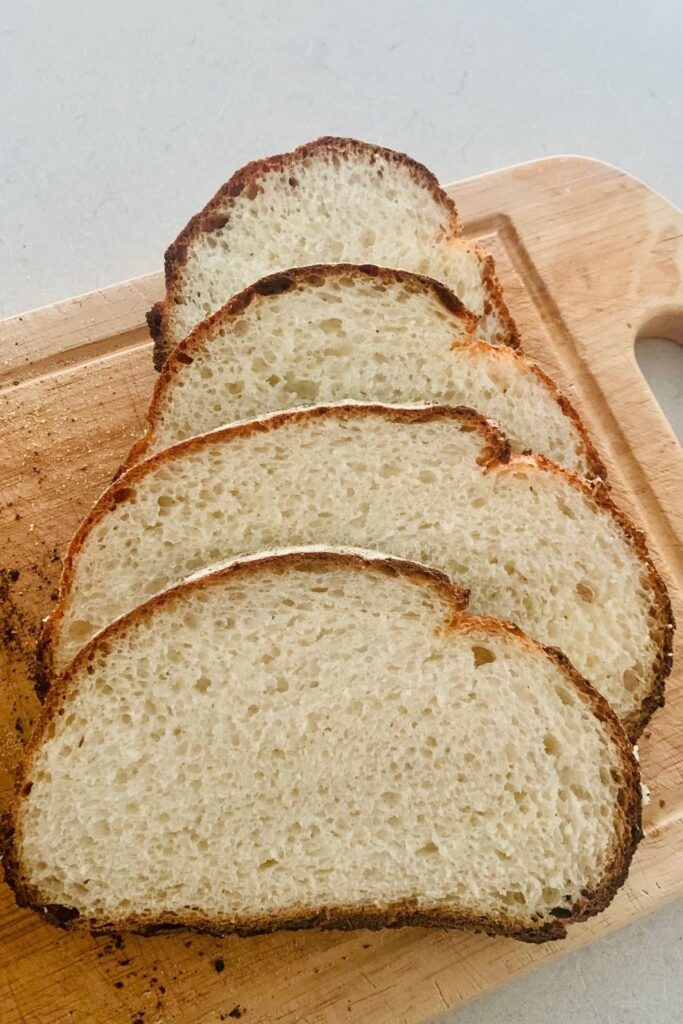
Can Pane Di Casa Be Made Using Sourdough?
Technically, pane di casa is made using commercial yeast. There is no fermentation needed and so adding sourdough starter is not necessary.
However, I have developed a recipe which uses commercial yeast and sourdough discard together.
The discard adds a little flavor to the bread and gives it a bit of a different look than a traditional pane di casa bread.
This recipe delivers a dense crumb and crunchy crust, just like traditional pane di casa - just with some sourdough discard added.
This is a great way to use your sourdough discard up as it uses a good amount at 100g.
I have added sugar to the dough, which isn't traditional, however it helps to give you a dense yet fluffy crumb and crusty exterior.
You don't have to use discard - you can use fed starter if you want to. Whether you use fed starter or discard, you're basically adding flavor because the commercial yeast will do the leavening.
How To Make Pane Di Casa Bread with Sourdough Discard
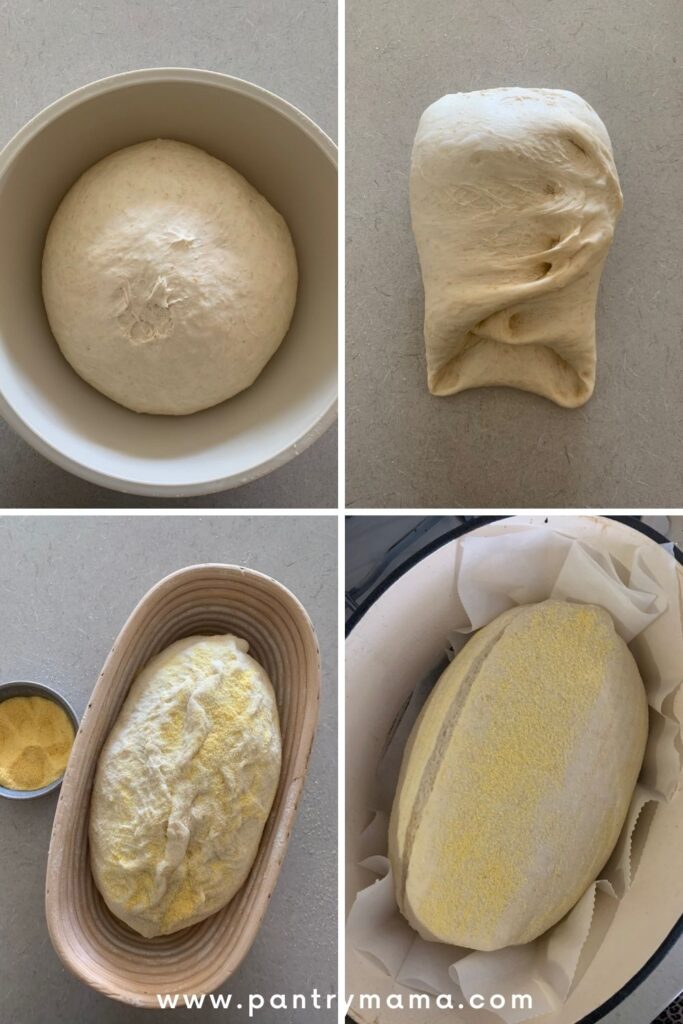
This sourdough pane di casa bread recipe is really simple. It takes around 2 to 3 hours, depending on the ambient temperature in your home.
It requires 100g of sourdough discard, along with a few other pantry staples.
Here's how to make sourdough pane di casa bread:
- Add the sugar, yeast and water together and mix until the sugar has dissolved.
- Now add the sourdough starter and flour and mix to a rough, shaggy dough.
- Allow to sit for 10 minutes.
- Add the salt and knead until the dough comes together (if you're using a stand mixer, the dough should be pulling away from the sides of the bowl.
- Allow the dough to rise until double.
- Now shape the dough into a batard and place into a banneton.
- Let the dough proof until ready to bake.
- Bake in a hot Dutch Oven for around 40 minutes until the crust is golden and crunchy.
How To Shape Sourdough Pane Di Casa Bread
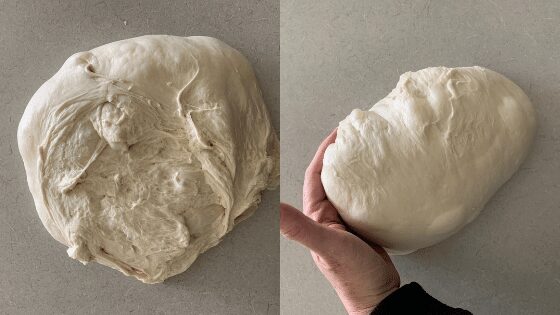
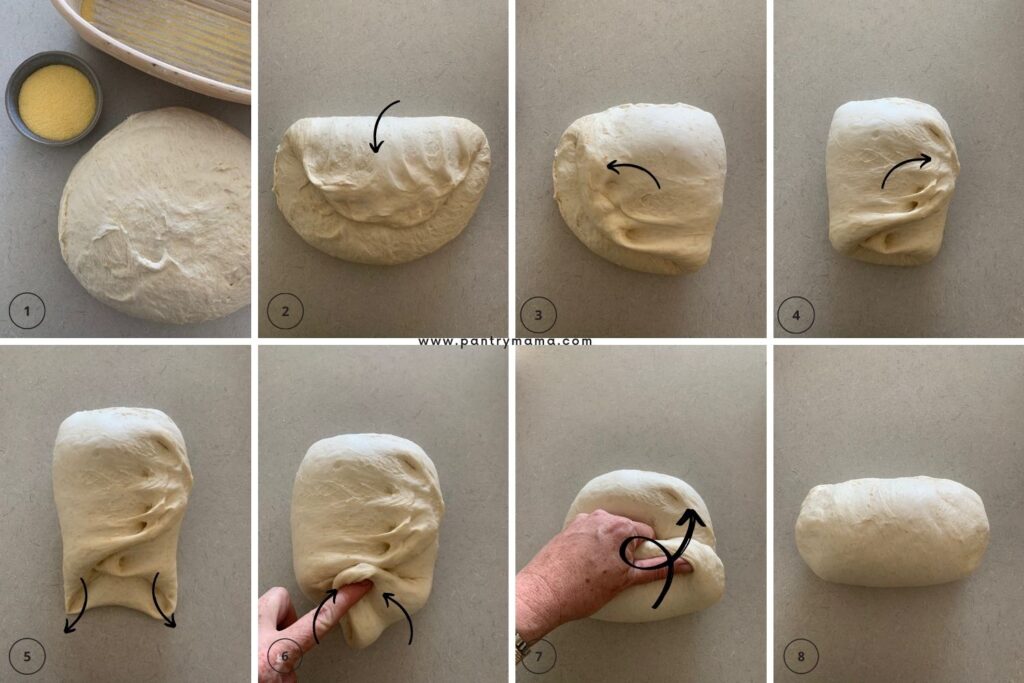
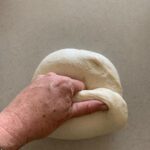
This bread is super easy to shape. It is a lot easier than traditional sourdough bread as it is a stiffer dough.
You can use some semolina or cornmeal to help you to shape this too.
It shouldn't be sticky at all but if you do run into trouble, you can use the cornmeal or semolina to help.
While using a banneton is generally for holding sourdough for long periods, I love to use bannetons for this short proofing time as it gives the dough a good shape.
Here's a diagram to show you how to easily shape the bread. At the end, you want to use your hands to pull the loaf towards you and create lots of surface tension.
This will give you a good oven spring and a lovely crunchy crust!
Further Reading
If you enjoyed this article exploring pane di casa vs sourdough, you might enjoy these:
- Sourdough Discard Crackers with Rosemary + Parmesan
- Sourdough Focaccia Bread
- Soft Sourdough Dinner Rolls
Sourdough Pane Di Casa Bread Recipe
Equipment
- Stand Mixer
- Digital Scales
- Dutch Oven
Ingredients
- 500 g Bread Flour
- 340 g Water Warm (you can add a little extra if the dough is too dry)
- 10 g Salt
- 4 g Instant Yeast or Rapid Yeast (you can use up to 7g but you'll have yeast from your sourdough starter too).
- 100 g Sourdough Discard unfed sourdough starter
- 40 g White Sugar
- Semolina Or Cornmeal for Dusting
Instructions
- I like to use a stand mixer for this recipe simply because it makes it super quick and easy - you can knead by hand also (see notes below).
- Add warm water, sugar, yeast and sourdough discard to the bowl of your stand mixer. Mix them together until the sugar is dissolved and the mixture is somewhat frothy.
- Add the flour to the bowl and knead for a few minutes until a very rough dough has formed. Allow this to sit for 10 minutes.
- Add the salt to the dough and use your stand mixer to knead the dough until it's smooth and pulling away from the edge of the bowl. This will take around 3 to 8 minutes (depending on the strength of your stand mixer).If you feel the dough is a little dry, add a touch more water. Similarly, if it's too wet, add a little extra flour. I use 10-20g of semolina flour at this point if the dough is too wet.
- Once the dough is kneaded, transfer into a bowl.
- Cover the bowl in cling film and set it somewhere warm for 1 - 2 hours. It really depends on the temperature of your house with this one. If your house is warm, 1 hour will be plenty. In the depths of winter or with air con, you may need more than 2 hours. You just want it to double in size, no more or it won't rise in the oven.
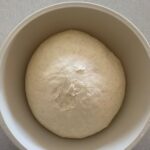
- Once the dough has doubled, you'll need to shape it and place it into a banneton (see notes in the main blog post for shaping).I like to shape this into a batard and dust liberally with semolina or cornflour for that rustic "pane di casa" feel.
- Around 45 minutes before you want to put your bread into the oven, you'll need to put a dutch oven into the oven and preheat it to around 220C/430F.
- You'll need to let the dough proof - but because you're using commercial yeast it really won't take long. If your kitchen is warm, I recommend proofing in the fridge (or even the freezer) to ensure that it doesn't overflow the banneton.It will take around 30 minutes generally.
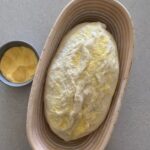
- Once you're ready to bake, tip the shaped dough onto a piece of parchment paper (the top of the dough becomes the bottom).
- Score your dough if you're able to - otherwise just leave it and it will open up naturally in the oven.
- Carefully take your dutch oven out of the oven and remove the lid. Use the parchment or baking paper as a handle to gently place your discard bread inside the pot and put the lid back on.
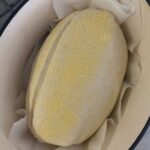
- Bake in the oven, with the lid on for 30 minutes at 220C/430F. Then remove the lid of the pot and bake for a further 10 minutes at 200C/390F. Remove the bread from the oven and allow to cool on a wire rack.
- Try to let it cool for at least an hour before cutting it. It will still taste great if you cut it hot, but it's so much easier to cut if you let it cool!
