This post contains affiliate links. Please see our disclosure policy.

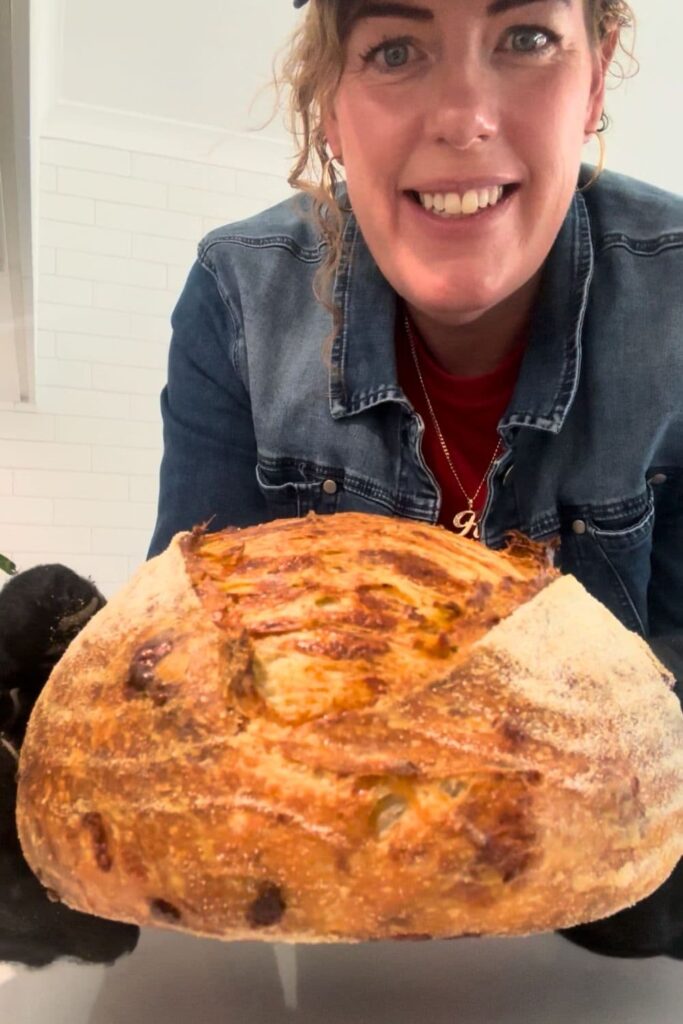
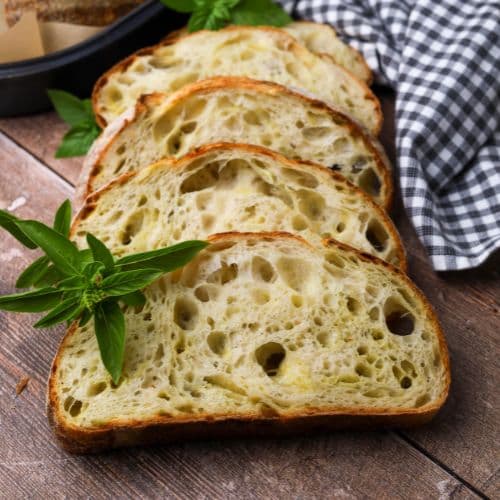
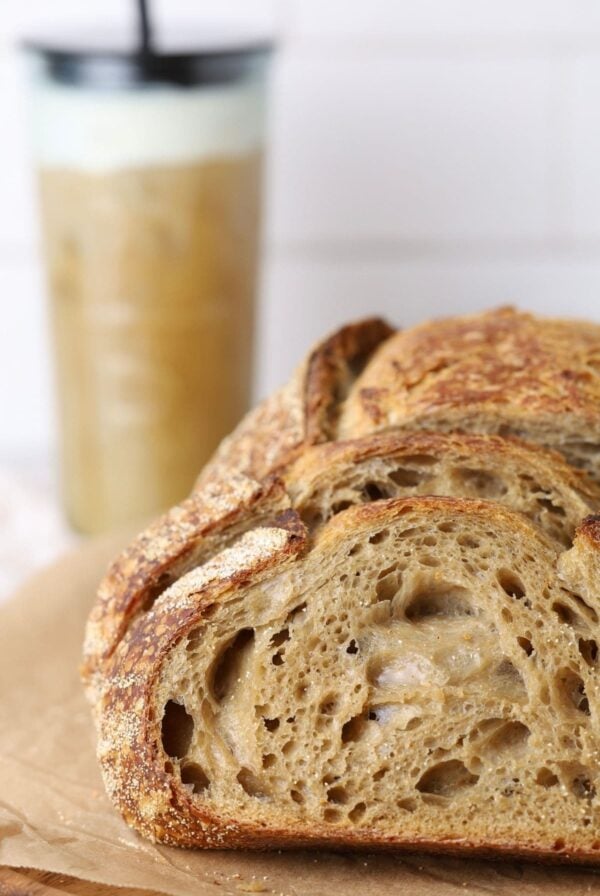
A delicious sourdough bread filled with fragrant basil pesto and cheesy mozzarella. I love making this mediterranean inspired sourdough loaf during summer when basil is abundant! It makes a delicious accompaniment to almost any summer dish! You can even swap the basil pesto out for red pesto if you prefer.

Why You’ll Love This Recipe!
Summer Flavors – if you love the summer flavors and aromas of basil then this is one loaf of sourdough you just have to try! It’s a fun twist on the classic Italian herb and cheese sourdough bread!
Perfect Accompaniment to Pasta – the aromatics in this loaf make it the perfect accompaniment to your favorite pasta dish! It’s something just a little different to plain sourdough.
Use Up Leftovers – you don’t need a lot of basil pesto to make this loaf of sourdough, so it’s a great way to use up the last bit of pesto left in the jar! Waste not, want not.

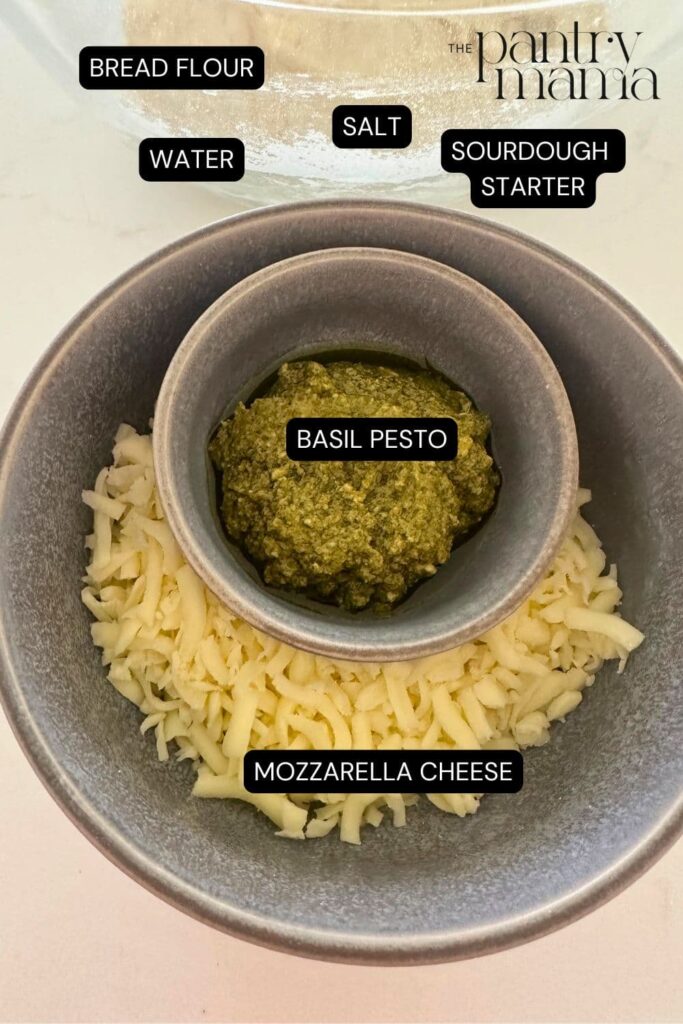
Ingredients
- Sourdough Starter – a super active and bubbly sourdough starter that has been fed and is at it’s peak is necessary to make this loaf.
- Water – Try to stick to the 350g of water for this recipe, even if it feels a little dry. Once you add the basil pesto, the dough will loosen up as the pesto is oily. I found that a drier dough works better for this recipe and makes the dough easier to handle at shaping, rather than a really wet dough that’s unmanageable. If you’re unsure about hydration, read my beginner’s guide to sourdough hydration.
- Bread Flour – this recipe has been developed using good quality bread flour, not all purpose flour.
- Salt – you’ll need to add salt for flavor and to strengthen the gluten network of your dough. You can read more about the role of salt in sourdough bread here.
- Mozzarella Cheese – I usually always recommend shredding your own cheese when adding it to sourdough bread, however, for this loaf I use pre shredded mozzarella because I actually didn’t want it to be too wet. It worked really well and the crumb on this bread was incredible!
- Basil Pesto – I’ve used store bought basil pesto to create this recipe. To be honest, I was cleaning out the pantry and found a jar of Aldi pesto that needed to be used so I decided to put it in a sourdough loaf and it worked so well that I just had to share it. You can of course use homemade pesto – and I recommend it because it will taste even better! I’ve also made this loaf with a jar of red sun dried tomato pesto and it works just as well!
How To Make Pesto Mozzarella Sourdough Bread
This loaf is really easy to pull together. After testing adding the pesto at various stages, including with the water, during stretching and folding, as well as during lamination, I have found that I get the best results adding it during the stretching and folding process. Adding it this way gives your sourdough starter plenty of time to work it’s magic before you add the pesto.
The garlic in the pesto will affect the fermentation process, which is one of the reasons I think that store bought pesto works better (the garlic isn’t as fresh and potent).
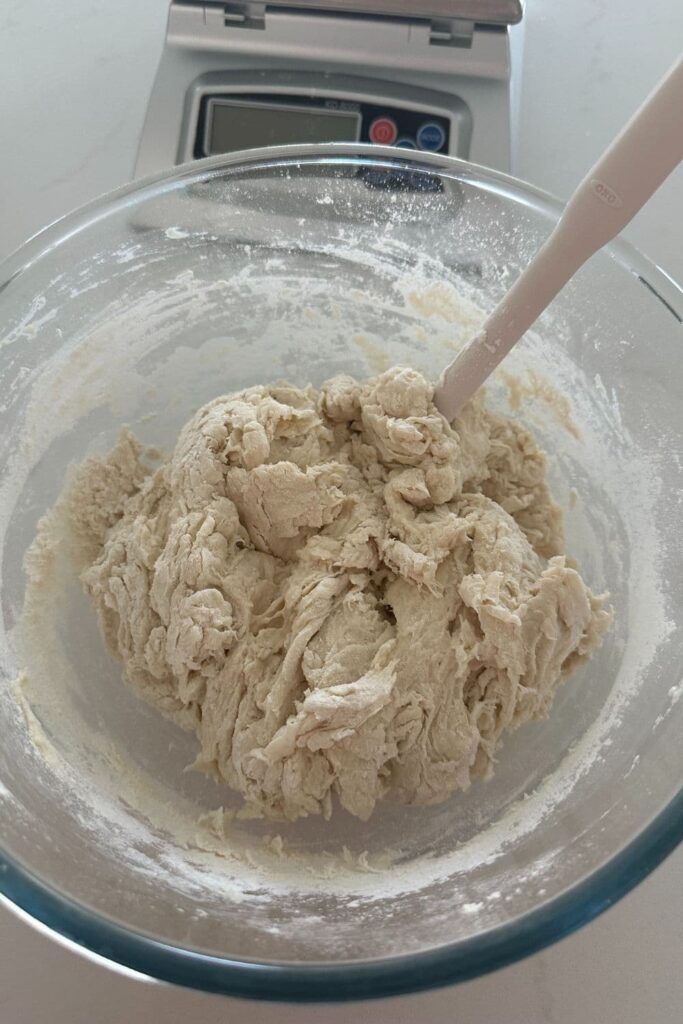
Pre Mix & Autolyse
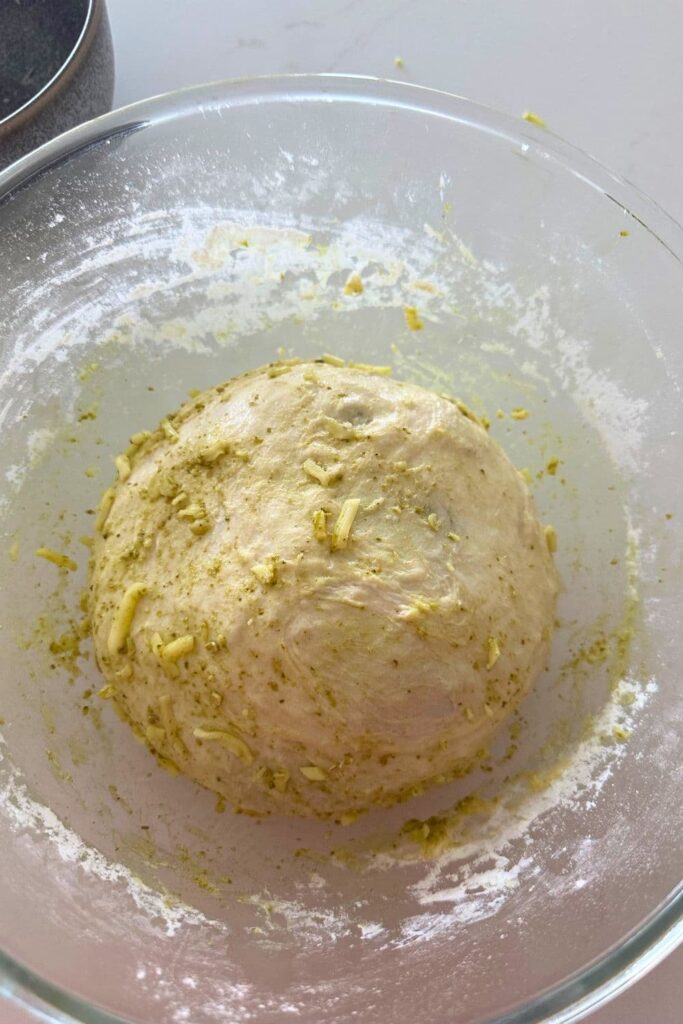
Weigh out your starter and water in a glass or ceramic bowl. Mix them together.Then add your flour and salt and mix altogether with a spatula. The dough will be fairly shaggy and only just brought together. Cover your bowl with cling film or a damp tea towel and let it sit for around 1 hour.
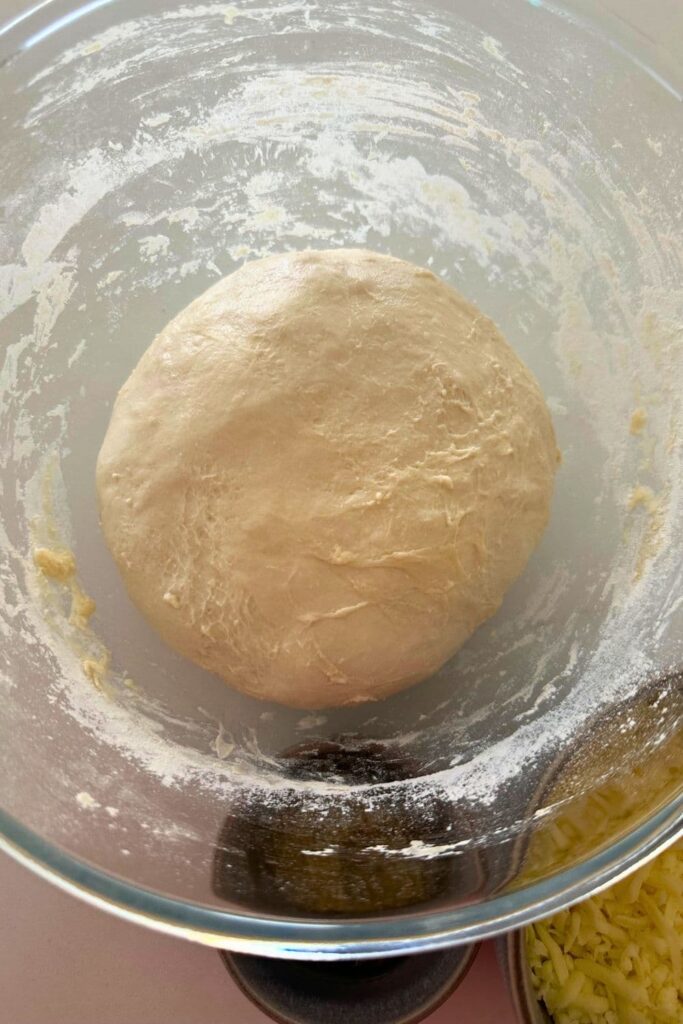
Forming Up Your Dough
Work your way around the bowl, grabbing the dough from the outside, stretching it up and over itself until a smooth ball is formed.
You shouldn’t need more than about 20-25 folds to form the ball. Once the dough has formed into a smooth ball, pop the cling film back on and let it rest for 30 minutes.

Stretch & Fold – Creating Structure
You need to add the pesto and mozzarella to your dough during the stretch and fold phase. It’s very easy to do!
Try to add them around the second or third set of stretch and folds. So do your first set of stretch and folds with the dough as is and then add the pesto and mozzarella on the second (or third) set depending on how your dough is behaving.
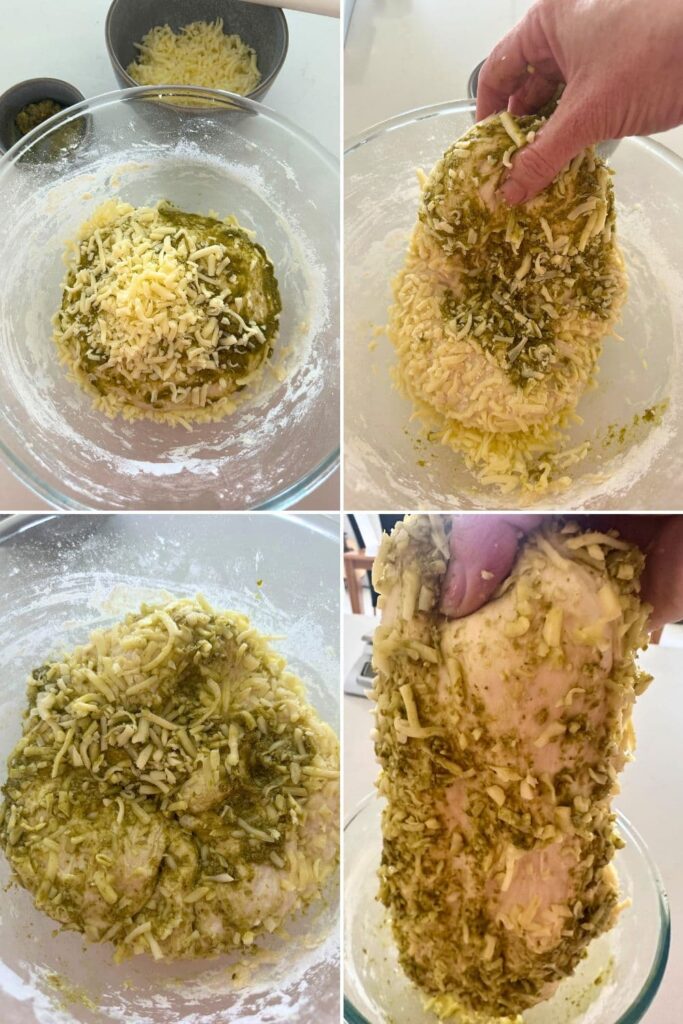
Remember that the pesto is quite wet and oily so it will make your dough fairly squishy to start with, but don’t worry, as you stretch and fold the dough, it will work into the dough and your dough will feel normal again. Try to do around 4 sets of stretch and folds with around 15 to 30 minutes between each set.
Bulk Ferment
Once you’ve finished your stretch and folds, place the cling film or damp tea towel back over your dough and let it rest and ferment at room temperature. You want the dough to double to signal that it’s time to shape your dough.
Shaping Your Dough
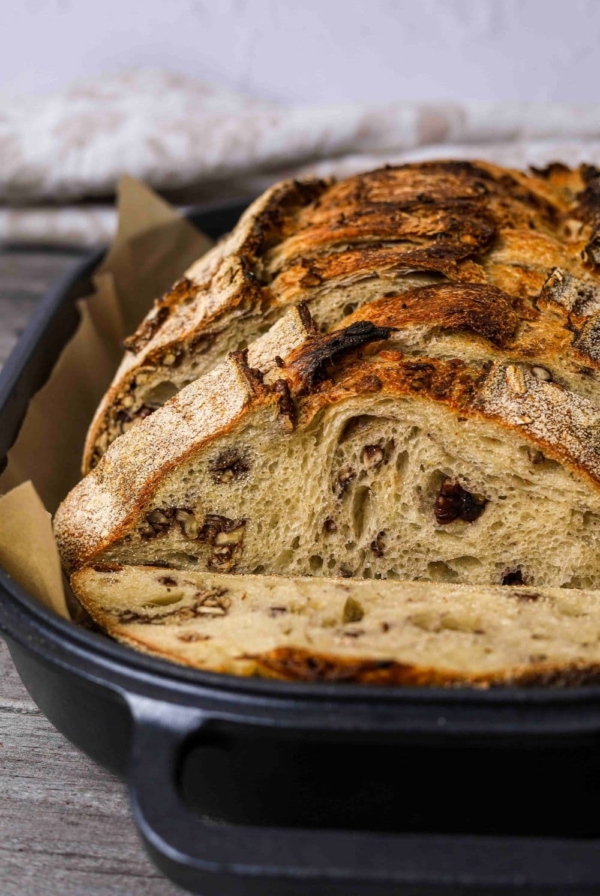
Once your dough has finished its first ferment, it’s time to give it some shape and surface tension.I think this recipe lends itself to a batard however it’s completely up to you what shape you would like.Before you place your dough into your banneton, give it a good dusting of rice flour or semolina. Place your shaped dough into the banneton, seam side up.
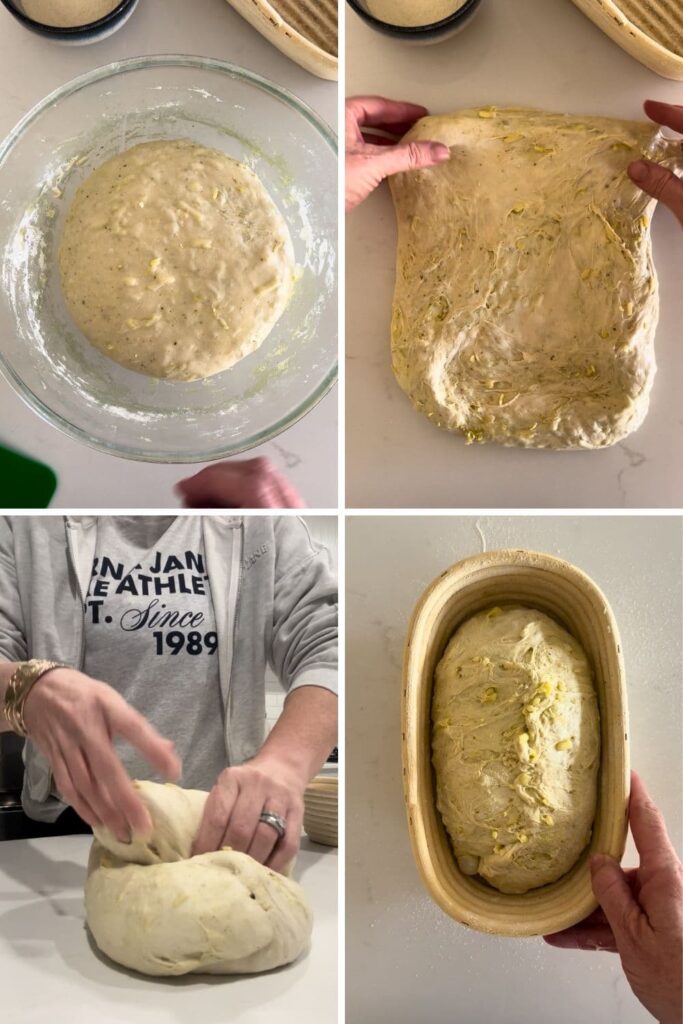
Stitch the base together if you need to (I found that I needed to with this loaf because the pesto made it quite wet).
Cold Ferment
Now your dough is in it’s “shaping container” cover it loosely with a plastic bag or damp tea towel and place into the fridge. I use a large plastic bag to cover it – I just reuse it each time.
Try to leave it in the fridge for a minimum 5 hours up to a maximum of around 36 hours. The longer you leave it the better your bread will be! A longer cold ferment creates beautiful blisters on your crust and a deeper sourdough flavour.
Preparing to Bake Your Sourdough
Once you’re ready to bake your sourdough, you’ll need to preheat your oven to 230C/450F.Place your Dutch Oven into the oven when you turn it on so it gets hot. Try to preheat for around 1 hour to ensure your oven is super hot – but you know your oven so just adjust this time if you need to.
Leave your dough in the fridge until the very last minute – placing a cold dough into a hot oven will give you a great “spring”.
Baking Your Sourdough
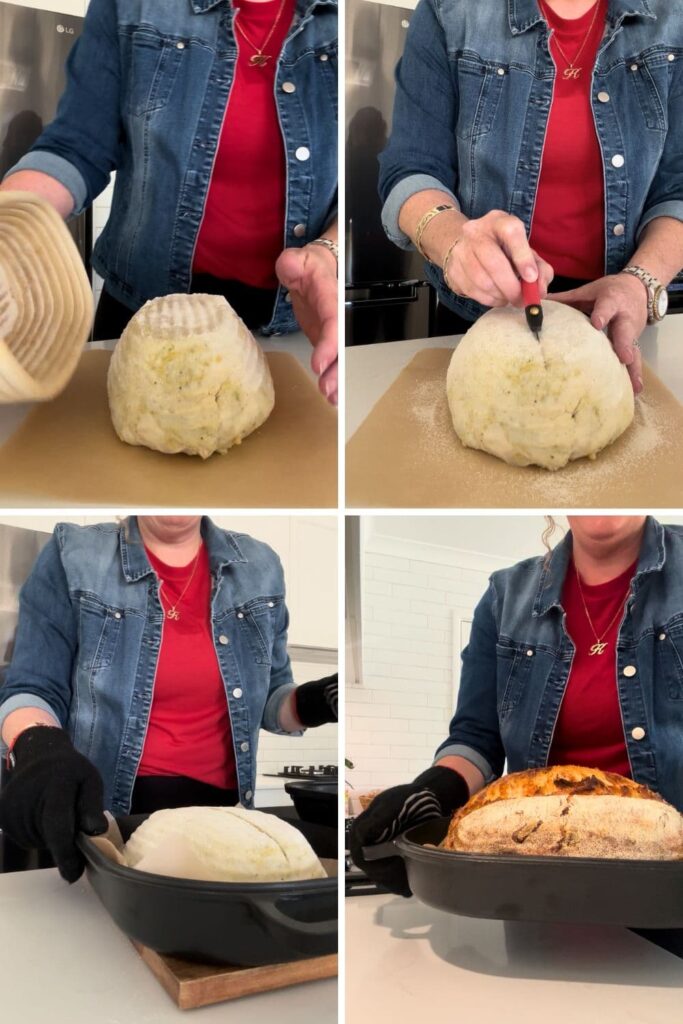
Now it’s time to bake!When your oven is at temperature. Take your sourdough out of the fridge. Gently place it onto a piece of baking paper. Gently score your bread with a lame, clean razor blade or knife.Carefully take your dutch oven out of the oven. Place the sourdough into the pot using the baking paper as a handle. Put the lid on and place into the hot oven.
BAKE TIME:
30 Minutes with the lid on at 230C/450F plus
10-15 Minutes with the lid off at 210C/410F
If you’re worried about the base of your bread burning, place a baking sheet on shelf underneath your Dutch Oven – it works! When you remove your dough from the oven, carefully remove it from the dutch oven as soon as possible and place on a wire rack to cool.

Baking Timeline
This is a sample baking timeline for making a pesto mozzarella sourdough loaf. You will need to adjust the times to suit your own temperature and environment, but this timeline works well for my sourdough starter and kitchen temperature.
| TIME | PROCESS |
|---|---|
| 9 am | Premix and autolyse for around an hour, forming up the dough and leaving to rest for another 30 minutes before stretch and folds. |
| 11 am | 1st stretch and fold. |
| 11.30 am | 2nd stretch and fold – add the pesto and mozzarella cheese. |
| 12 pm | 3rd stretch and fold – continue working the pesto and mozzarella cheese into the dough. |
| 12.30 pm | 4th stretch and fold. |
| 1 pm | Bulk fermentation at room temperature. |
| 6 pm | Shape dough into a batard, place into banneton and then into fridge for cold fermentation. |
| 9 am | Wake and bake! The next morning, you can get up, make a coffee and bake your pesto mozzarella sourdough bread! |
Serving Suggestions
Here are some delicious ways to serve this aromatic pesto mozzarella sourdough bread!
- I love using it as the base to my sourdough bruschetta! It elevates the basil flavor even more and there’s definitely something so summery about this dish!
- Serve it alongside a dish of homemade sourdough pasta! My kids love pasta topped with sourdough meatballs!
- This loaf makes a great appetiser served alongside a dish of creamy avocado dip or easy bread dipping oil.

How To Store + Freeze
This sourdough bread is always best eaten the day of baking, however because of the oil in pesto, the crumb does stay soft for around 3 days. I store this in a paper bread bag on the counter or under a glass cloche, depending on what’s happening in my kitchen!
This sourdough bread with pesto and mozzarella freezes really well. You can find instructions for how to freeze sourdough bread here.

Pesto Mozzarella Sourdough Bread
Equipment
- Mixing Bowl
- Digital Scale
- Banneton
- Dutch Oven
Ingredients
- 100 g Sourdough Starter
- 350 g Water
- 500 g Bread Flour
- 10 g Salt
- 150 g Mozzarella Cheese, (shredded)
- 50 g Basil Pesto, (see notes)
Instructions
- Pre Mix & Autolyse:Weigh out your starter and water in a glass or ceramic bowl. Mix them together.Then add your flour and salt and mix altogether with a spatula. The dough will be fairly shaggy and only just brought together.Cover your bowl with cling film or a damp tea towel and let it sit for around 1 hour.
- Forming Up Your Dough:Work your way around the bowl, grabbing the dough from the outside, stretching it up and over itself until a smooth ball is formed. You shouldn't need more than about 20-25 folds to form the ball.Once the dough has formed into a smooth ball, pop the cling film back on and let it rest for 30 minutes.
- Stretch & Fold – Creating Structure:You need to add the pesto and mozzarella to your dough during the stretch and fold phase. It's very easy to do! Try to add them around the second or third set of stretch and folds. So do your first set of stretch and folds with the dough as is and then add the pesto and mozzarella on the second (or third) set depending on how your dough is behaving. Remember that the pesto is quite wet and oily so it will make your dough fairly squishy to start with, but don't worry, as you stretch and fold the dough, it will work into the dough and your dough will feel normal again.Try to do around 4 sets of stretch and folds with around 15 to 30 minutes between each set.
- Bulk Ferment:Once you've finished your stretch and folds, place the cling film or damp tea towel back over your dough and let it rest and ferment at room temperature. You want the dough to double to signal that it's time to shape your dough.
- Shaping Your Dough:Once your dough has finished its first ferment, it's time to give it some shape and surface tension. I think this recipe lends itself to a batard however it's completely up to you what shape you would like. Before you place your dough into your banneton, give it a good dusting of rice flour or semolina. Place your shaped dough into the banneton, seam side up. Stitch the base together if you need to (I found that I needed to with this loaf because the pesto made it quite wet).
- Cold Ferment:Now your dough is in it's "shaping container" cover it loosely with a plastic bag or damp tea towel and place into the fridge. I use a large plastic bag to cover it – I just reuse it each time.Try to leave it in the fridge for a minimum 5 hours up to a maximum of around 36 hours. The longer you leave it the better your bread will be! A longer cold ferment creates beautiful blisters on your crust and a deeper sourdough flavour. A blistery, cheesey crust is just out of this world, trust me!
- Preparing to Bake Your Sourdough:Once you're ready to bake your sourdough, you'll need to preheat your oven to 230C/450F. Place your Dutch Oven into the oven when you turn it on so it gets hot. Try to preheat for around 1 hour to ensure your oven is super hot – but you know your oven so just adjust this time if you need to.Leave your dough in the fridge until the very last minute – placing a cold dough into a hot oven will give you a great "spring".
- Baking Your Sourdough:Now it's time to bake!When your oven is at temperature. Take your sourdough out of the fridge. Gently place it onto a piece of baking paper.Gently score your bread with a lame, clean razor blade or knife.Carefully take your dutch oven out of the oven. Place the sourdough into the pot using the baking paper as a handle. Put the lid on and place into the hot oven. BAKE TIME:30 Minutes with the lid on at 230C/450F plus10-15 Minutes with the lid off at 210C/410FIf you're worried about the base of your bread burning, place a baking sheet on shelf underneath your Dutch Oven – it works!
- Finishing Your Bake:When you remove your dough from the oven, carefully remove it from the dutch oven as soon as possible and place on a wire rack to cool.
Notes
- Notes on Sourdough Starter – This recipe is based on you having an active starter that you have fed a few hours before starting your bake. For information on whether your starter is ready, go here.
- Mozzarella Cheese – I used pre shredded mozzarella with no issues. Parmesan also works as an alternative.
- Basil Pesto – I’ve used store bought basil pesto for this recipe. I stirred it well to ensure the oil was well distributed and it wasn’t all oil. You can use homemade pesto if you prefer, just make sure it’s not too oily.
- Notes on Stretch & Folds – If you are going to do the stretch & folds on your bench top, spray your surface with water mist rather than using flour.
- Notes on Bulk Fermentation – If your home is warm then your dough will ferment a lot faster and could be done in as little as a few hours. If it’s colder, it will take longer, possibly overnight. I would recommend that you try to do your first few bulk ferments during daylight hours so that you can watch your dough closely.
Once you’re more familiar with the process – and the temperature of your home – you will be able to do overnight ferments.
You will know your dough is ready to move to the next stage when it has *just* doubled in size. It will be fairly wobbly and full of bubbles. You should be able to see large air bubbles under the surface of the dough.
You don’t want to let it go any further than doubled as it will be over fermented. If you want to do an overnight ferment, but your home is warm, consider using a little less starter (ie 25g).
Less starter means your dough will take longer to ferment and you will reduce the risk of over fermenting your dough. You’ll find more information on these topics here:
When is my bulk ferment finished? What is the difference between cold ferment and bulk ferment? Why does the amount of starter matter?
- Notes on Baking – If you’re worried about the base of your bread burning, place a baking sheet on shelf underneath your Dutch Oven – it works! If you’re worried about your bread not being cooked all the way through, turn the oven off and place your dough straight onto the oven rack. Leave the door ajar and let your bread rest there for a few hours. Remember not to cut into your loaf too soon – you’ll need to let it cool for at least a few hours (4-6 is best).
Nutrition
Nutrition information is automatically calculated, so should only be used as an approximation.
Like this? Rate and comment below!


Hi
I have some feta cheese to clear, can I use it instead of mozzarella?
Yes feta will work nicely too 🙂
Can I replace pesto with sun dried tomatoes, not in oil?
Yes you can do that 🙂
This is one of my favorite! So far I have made it twice. It is so light and fluffy. I made it with my homemade pesto. It goes well with so many things.
Baked it this morning, and we had it for lunch. So delicious! Bread is fluffy soft with crispy crust. Spread with some salty butter, so yummy. Thank you for a wonderful recipe!
the taste of the bread was delicious. I don’t think the cook time was long enough since mine was kinda chewy. this is the first time I’ve done cold fermentation for the dough. I will try this again but with a longer cook time.
This sounds more like a fermentation issue than a cook time issue. Try extending your bulk fermentation time to ensure your dough rises sufficiently 🙂
Can I bake this in a loaf pan?
Absolutely you can bake this in a loaf pan 🙂 You can either use the loaf pan as a banneton or just transfer to the loaf pan when you’re ready to bake. This guide to baking sourdough in a loaf pan will help too 🙂