Sourdough Dinner Rolls Recipe
This post may contain affiliate links.
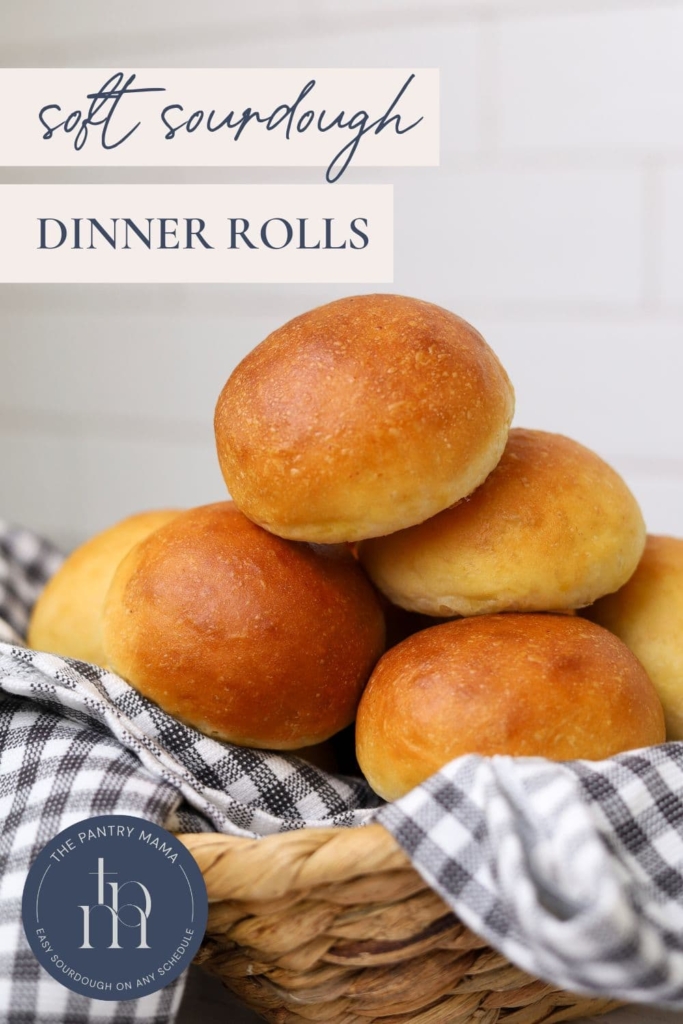
Soft Sourdough Dinner Rolls - is there anything better to sit on the side of your dinner plate?
These rolls are the softest sourdough bread rolls ever and they will become a staple at your house (especially if you have kids who like soft squishy bread). They are free from commercial yeast and egg.
You might also like to try these sourdough buttered knot rolls, sourdough discard rolls or these sourdough skillet rolls with honey thyme butter.
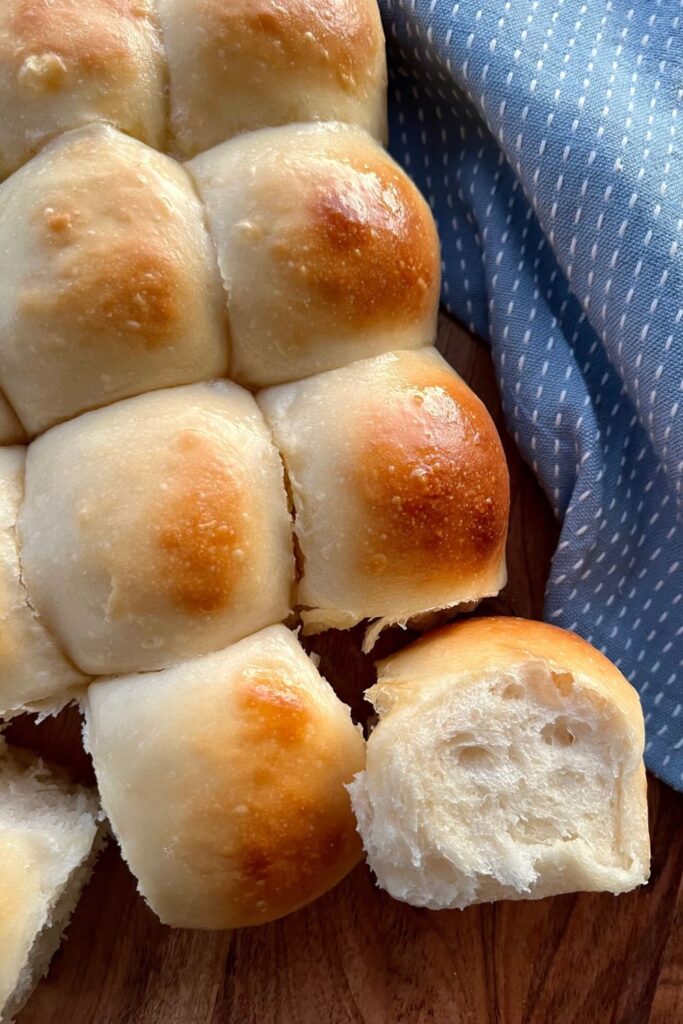
What if I told you that your sourdough starter can not only make amazing loaves of crusty sourdough bread - it can also produce this sourdough dinner rolls recipe! Squishy, soft, slightly sweet centres surrounded by a soft, golden crust.
Perfect simply buttered but begging to be filled with your favorite meats and cheeses these sourdough bread rolls are sure to be a crowd pleaser at your house.
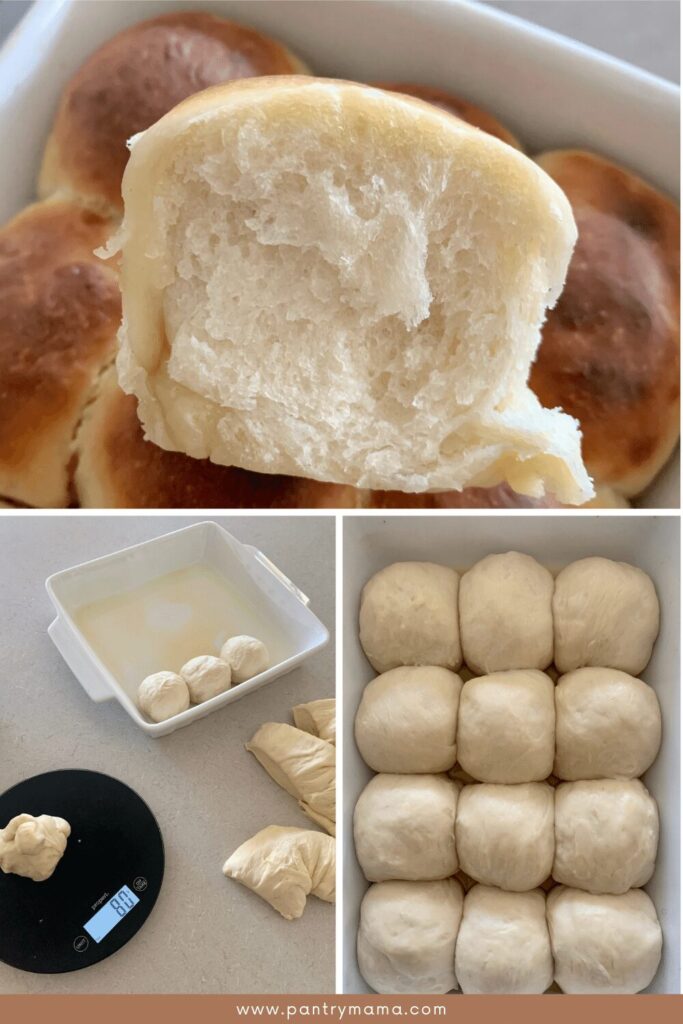
You can choose to make them whatever size you'd like. I find that this recipe makes around 12 rolls at 80g (I use a scale to ensure they are all the same size but you don't have to).
Alternatively, you could make 18 rolls at 50g. You could make 6 larger rolls if you wanted to. They would make great burger buns at that size.
The easiest way to make them consistent is to weigh your dough at the end of bulk ferment.
Divide the weight of your dough by the number of rolls you'd like to make.
Then weigh each piece of dough as you shape them - adding or removing dough as necessary so they all weigh the same.
Ideally you want them to be within a few grams of each other for consistency.
Making your rolls all the same size will ensure they cook evenly in the oven.
Baking Notes for Sourdough Bread Rolls
Here are a few tips, tricks and explanations for baking your sourdough dinner rolls:
- You can use bread flour for this recipe, but all purpose is better. You'll get a softer roll as the protein content is generally lower. They will still be soft if you use bread flour, but will have a slight chew to the bite. If you want to use whole wheat flour, I recommend using this recipe for whole wheat sourdough dinner rolls.
- I choose to make these in a stand mixer because it makes them quick and easy to throw together. You can knead the dough by hand - you will need to knead it until it's soft and silky and still slightly tacky. It's very easy to work with so you shouldn't have any trouble. One tip for doing it by hand - do not add extra flour, just keep kneading until it comes together. Extra flour will alter the texture of the cooked rolls.
- These soft sourdough dinner rolls are perfect to make in the Thermomix.
- You can reduce the sugar if you want to but it will change the composition and flavor of the rolls. They are meant to have a slight sweetness to them. If you're looking for a sweeter roll, try these sourdough Hawaiian rolls.
- You can bake these rolls in a square tin or a round tin - even a spring form tin, depending on how you want them to look. If cooking in a tin, place some parchment paper inside to stop them sticking. If I cook them in a baking dish, I generally just oil the dish. Do what works for you.
- Placing these into a cold oven and then turning it on means that the crust will not form too quickly and won't burn (you'd be surprised how quickly it can burn if you have them too hot). They will puff up beautifully and be just golden on the top.
- You don't have to brush with melted butter once cooked, that step is completely optional - but if you do like to use butter, why not try using a flavored butter like whipped honey cinnamon butter or whipped herb butter for a fun twist!
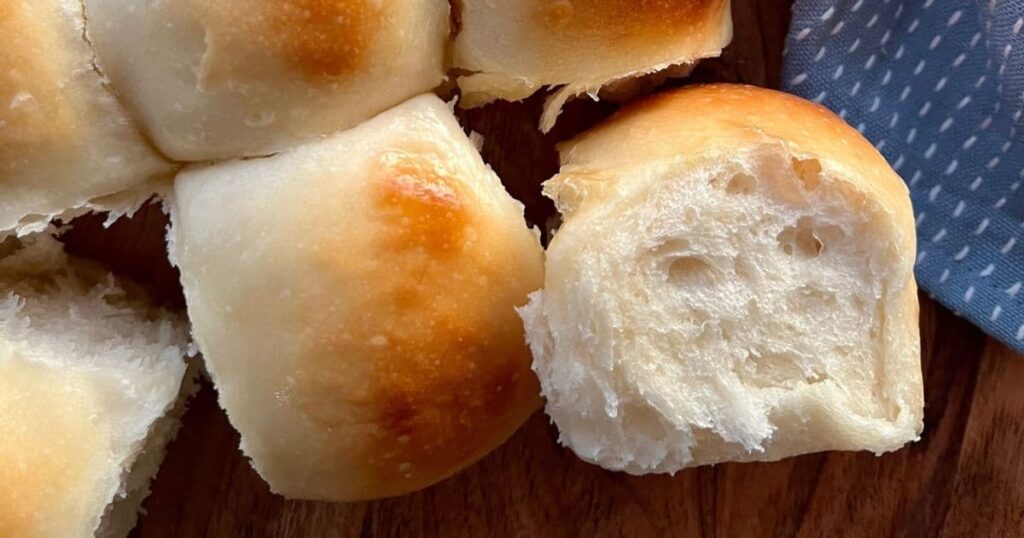
- These soft sourdough rolls are best served warm. When you take them out of the oven, let them sit on a cooling rack for around 15 minutes before breaking them into individual rolls.
How To Make Sourdough Dinner Rolls
Let's see how easy it is to make these sourdough dinner rolls with active sourdough starter! I've used a stand mixer to create soft and fluffy dinner rolls, but you can absolutely knead this by hand if you prefer.
Add the milk, melted butter, warm water, sugar and salt to the bowl of your stand mixer. Mix the ingredients together so that the sugar and salt are dissolved and the butter is mixed through the milk.
Now add your flour and active sourdough starter to the liquid in the bowl. Mix the flour and sourdough starter through the liquid so it just comes together.
Depending on the type of mixer you're using, you may need to add your dough hook on for the next step. You want to knead the dough using your stand mixer until it forms a silky, slightly tacky dough. The dough is enriched with butter and milk so will be glossy. It will generally come away from the sides of the bowl when it's done. It can take anywhere from 3 to 8 minutes depending on the type of stand mixer you're using.
Bulk Ferment - Once the dough is sufficiently kneaded you need to let it ferment and rise. You can leave it in your stand mixer bowl for this (saves washing up) or you can transfer it to another bowl if you like. Cover the bowl with plastic or a damp tea towel and let it rest at room temperature.
As always, the time it takes will depend on your starter and the temperature in your home. You want it to come to just under double.This is an enriched dough and will take a lot longer to bulk ferment than regular sourdough.
On a side note - do not worry about leaving your dough out when it has milk and butter in it. Sourdough starter bacteria is wonderful stuff and it will not go bad - even if you leave it on your counter overnight. I do this often and I promise it will be absolutely fine.
Shaping - Once your dough has risen you need to shape it into the rolls. This recipe will give you 12 rolls around 80g in weight. To shape the dough, tip it onto your counter (I don't use a lightly floured surface because the dough isn't sticky). Using a metal dough scraper, cut the dough into 12 equal pieces. I like to use a scale to ensure that all the pieces are exactly the same. Gently shape each piece of dough into a round ball. Arrange the dough balls into a parchment lined tin or an oiled baking dish. They need to be just touching each other in the tin.
Second Rise - Cover the tin with a dish towel or plastic wrap and allow the rolls to double in size. They will look puffy and squished - this is good! It will generally take around 2 hours for them to double - but of course will take longer if your house is cold (ideally you want to put them someplace warm).
Bake The Rolls - Once the rolls have doubled, spray liberally with water. Place the rolls into a cold oven set to 180C (350F) and bake for around 30 minutes. You'll know they're done when they are golden brown on top.
Take them out of the oven and brush immediately with melted butter (this is completely optional but gives your rolls a lovely shine). Once cooked, place your rolls onto a cooling rack to cool slightly before tearing apart and enjoying them! (As always, you know your oven, so if you need to adjust the temperature for your oven, go right ahead) - see notes below.
Baking Timeline
This recipe has 100g of active sourdough starter - you can reduce the amount of starter if you wish to ferment the rolls overnight.
I would not however recommend increasing the amount of starter as it will make the dough too sticky.
The dough is an enriched dough so it will take longer to ferment than a lean dough.
It's perfectly safe to ferment them overnight with milk in the dough.
You can read more about creating a baking timeline to suit you here.
Here's a sample timeline to help you manage your bake:
DAY 1
- 1pm - Feed your sourdough starter.
- 8pm - Mix and knead the dough.
- 9pm - Bulk ferment the dough at room temperature overnight (remember this is enriched dough so it will take a while to bulk ferment).
DAY 2
- 7am - Shape the rolls and allow them to proof for a few hours before you bake them. Remember you want them to be light and puffy.
- 11am - Bake the Soft Sourdough Dinner Rolls for around 30 minutes.
Serving Ideas for Soft Sourdough Dinner Rolls
These squishy sourdough rolls are perfect just on their own - seriously try not to eat them all at once!
They will be the stars of your Thanksgiving table!
But just in case you need some inspiration, these are some of the ways that we use them in our home:
- Fill with good quality deli ham and swiss cheese for a quick easy breakfast or lunch.
- Instead of plain butter, brush them with whipped herb butter after baking and serve with your fave Italian dish.
- Serve with a dish of flavored butter like whipped honey cinnamon butter or jalapeño honey butter to wow your family.
- Perfect accompaniment to your favorite soup.
- Serve instead of tortillas or taco shells next time you make pulled pork.
- Make your dinner rolls into this cheesy garlic Sourdough Christmas Tree Pull Apart Bread.
When serving them at the table, I like to place a linen cloth or tea towel into a basket, pop the buns in it and then cover them with the cloth to keep them warm.
You could even place a wheat pack that's been heated in the microwave in the bottom of the basket before placing the cloth on top. This will keep the buns soft and warm.
Freezing & Reheating
These soft sourdough buns can be frozen. I advise freezing once they are cooked and cooled thoroughly. If freezing, do not pull the rolls apart, leave them in one whole piece.
Place into a ziploc bag, seal tightly and freeze.
When they are defrosted, wrap them in aluminium foil and place into a warm oven until they're warmed through.
You can brush with melted butter just before you serve if you want to. Once warm, pull them apart.
Frequently Asked Questions
Like any sourdough, the bulk fermentation time will vary depending on the strength of your sourdough starter, the temperature of your kitchen and the amount of starter you use in the dough. Because the dough has milk and butter, it is considered an enriched dough which means it will take longer to ferment than a lean dough. My best tip is to practice making these ahead of time so you can create a baking timeline that works for you - that way you won't be stressed if you're making these for a special occasion like Christmas or Thanksgiving.
Like any recipe - you don't have to follow it exactly. However, the reason these rolls are placed into a cold oven is that you don't end up with a crusty top and the rolls don't burn (which they are prone to given they contain sugar, milk and butter). Placing them into a cold oven means the rolls will finish proofing as the oven warms up - giving you the softest, squishiest rolls ever!
You can add yeast to these if you would like a faster dinner roll. You will still get lovely soft rolls, but they will not have the tangy sourdough taste as they will not be fermented for long enough.
Further Reading
If you love this recipe, you might like these ideas:
- Prefer hamburger buns? You might enjoy these quick sourdough discard hamburger buns.
- If you're after a sweeter bun, these Hawaiian Sourdough Rolls are soft and sweet or perhaps these Sourdough Pumpkin Dinner Rolls are more your style.
- Want to get a better result from your starter? Why not give it a boost!
These soft sourdough dinner rolls have been created using parts of my super soft sourdough sandwich bread - it's another soft sourdough recipe you might enjoy.

Sourdough Dinner Rolls
Equipment
- Stand Mixer
- Digital Scales
- Baking Tray
Ingredients
- 200 g Whole Milk
- 80 g Water
- 40 g Sugar
- 10 g Salt
- 500 g All Purpose Flour (see notes for using Bread Flour)
- 100 g Sourdough Starter fed and bubbly
- 50 g Butter Melted
Instructions
- Add the milk, melted butter, water, sugar and salt to the bowl of your stand mixer. Mix the ingredients together so that the sugar and salt are dissolved and the butter is mixed through the milk. It won't take long, like 30 seconds - you just don't want gritty sugar and salt through your dough.
- Now add your flour and sourdough starter to the liquid in the bowl. Mix the flour and sourdough starter through the liquid so it just comes together.
- Depending on the type of mixer you're using, you may need to add your dough hook on for the next step. You want to knead the dough using your stand mixer until it forms a silky, slightly tacky dough. The dough is enriched with butter and milk so will be glossy. It will generally come away from the sides of the bowl when it's done. It can take anywhere from 3 to 8 minutes depending on the type of stand mixer you're using.
- Bulk Ferment:Once the dough is sufficiently kneaded you need to let it ferment and rise. You can leave it in your stand mixer bowl for this (saves washing up) or you can transfer it to another bowl if you like. Cover the bowl with plastic or a damp tea towel and let it bulk ferment. As always, the time it takes will depend on your starter and the temperature in your home. You want it to come to just under double.This is an enriched dough and will take a lot longer to bulk ferment than regular sourdough.On a side note - do not worry about leaving your dough out when it has milk and butter in it. Sourdough starter bacteria is wonderful stuff and it will not go bad - even if you leave it on your counter overnight. I do this often and I promise it will be absolutely fine.
- Once your dough has risen you need to shape it into the rolls. This recipe will give you 12 rolls around 80g in weight.To shape the dough, tip it onto your counter (you won't need flour as it won't be a sticky dough). Using a metal dough scraper, cut the dough into 12 pieces. I like to use a scale to ensure that all the pieces are exactly the same. Gently shape each piece of dough into a round ball. Arrange the dough balls into a parchment lined tin or an oiled baking dish. They need to be just touching each other in the tin.
- Second Rise:Cover the tin with a tea towel and allow the rolls to double in size. They will look puffy and squished - this is good! It will generally take around 2 hours for them to double - but of course will take longer if your house is cold (ideally you want to put them someplace warm).
- Baking The Rolls:Once the rolls have doubled, spray liberally with water.Place the rolls into a cold oven set to 180C (350F) and bake for around 30 minutes. You'll know they're done when they are golden on top.Take them out of the oven and brush immediately with melted butter (this is completely optional but gives your rolls a lovely sheen).Once cooked, place your rolls onto a cooling rack to cool slightly before tearing apart and enjoying them! (As always, you know your oven, so if you need to adjust the temperature for your oven, go right ahead) - see notes below.
Notes
Nutrition

