Sourdough Beer Bread - How To Add Beer To Sourdough
This post may contain affiliate links.
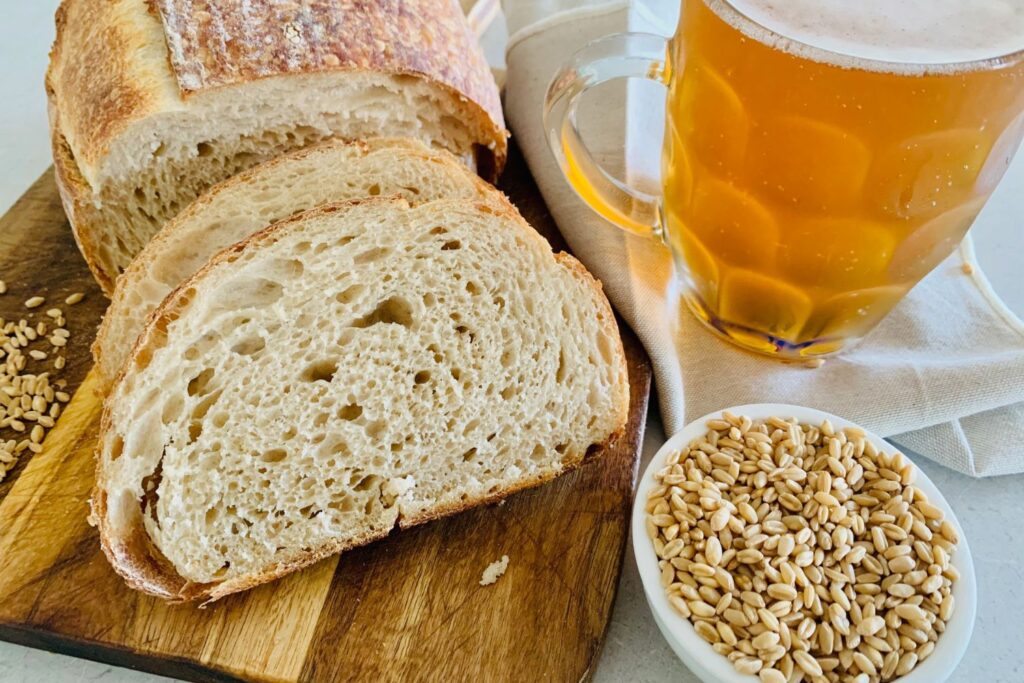
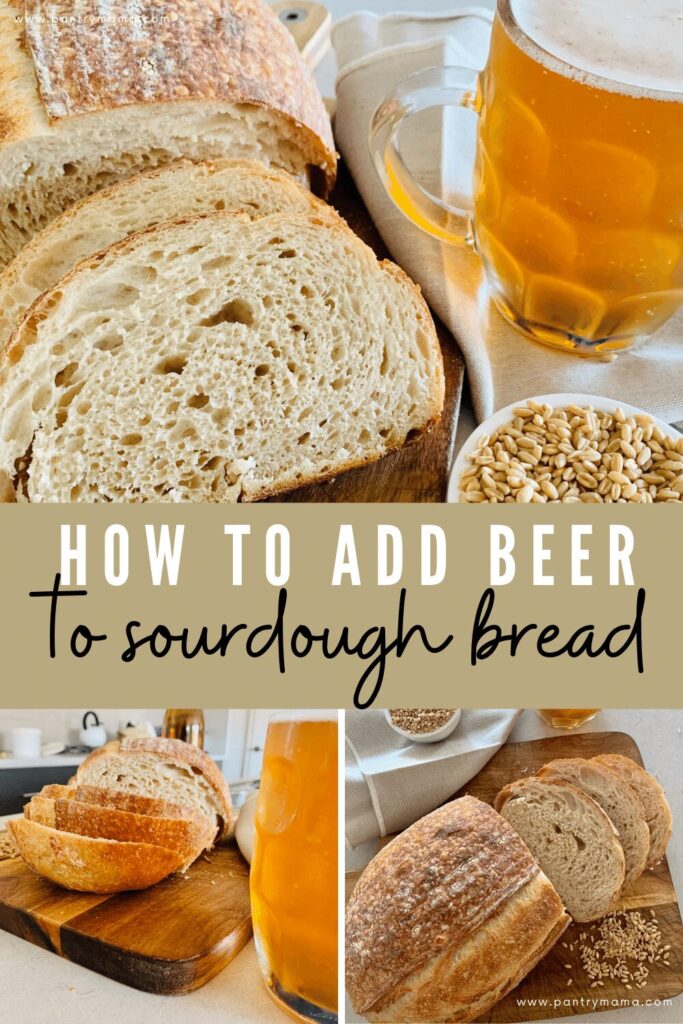
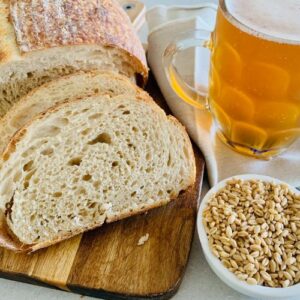
Sourdough beer bread is a delicious variation on regular sourdough bread, where beer is used to hydrate the dough instead of water.
The yeast contained in the beer marries well with the yeast in your sourdough starter and produces a rich and complex sourdough flavor.
You can use any type of beer you want, including craft beer, stout, pale ale, lager ... pretty much anything you have on hand. Each type of beer will add different levels of intensity and complementary flavors. For something different, you could try making this sourdough Guinness bread.
Why Use Beer In Sourdough Bread?
My husband loves to brew beer. We have all sorts of beer in our cellar - lager, pale ale, Mexican beer - it's a treasure trove of yeasty goodness. So I thought I would marry our hobbies together - sourdough and beer - a match made in heaven, right?
Well, did you know that sourdough and beer actually have almost the same ingredients?
And if you were really clever, you could actually brew beer from a sourdough starter? Not sure what the flavors would be like, but anything is possible! It does take a bit of experimentation to create a decent brew from a sourdough culture, but you can do it.
How To Add Beer To Sourdough
I adapted my Simple Sourdough Recipe and replaced the water for beer.
I used 350g of Pale Ale (just because that is what came to hand first when I opened the cellar).
I didn't make any other changes for my Sourdough Beer Bread Recipe - just a straight swap with beer instead of water. So easy! But you can find a full write up of the process in the recipe card at the end of this post.
Sometimes you might. notice the bulk fermentation will be a little faster, but as always this is dependent of how much starter you use and the temperature you're fermenting at.
In my straight swap with beer for water I didn't notice anything out of the ordinary with the bulk fermentation.
Except for the smell! It was a yeast explosion - sweet, earthy and well, beery.
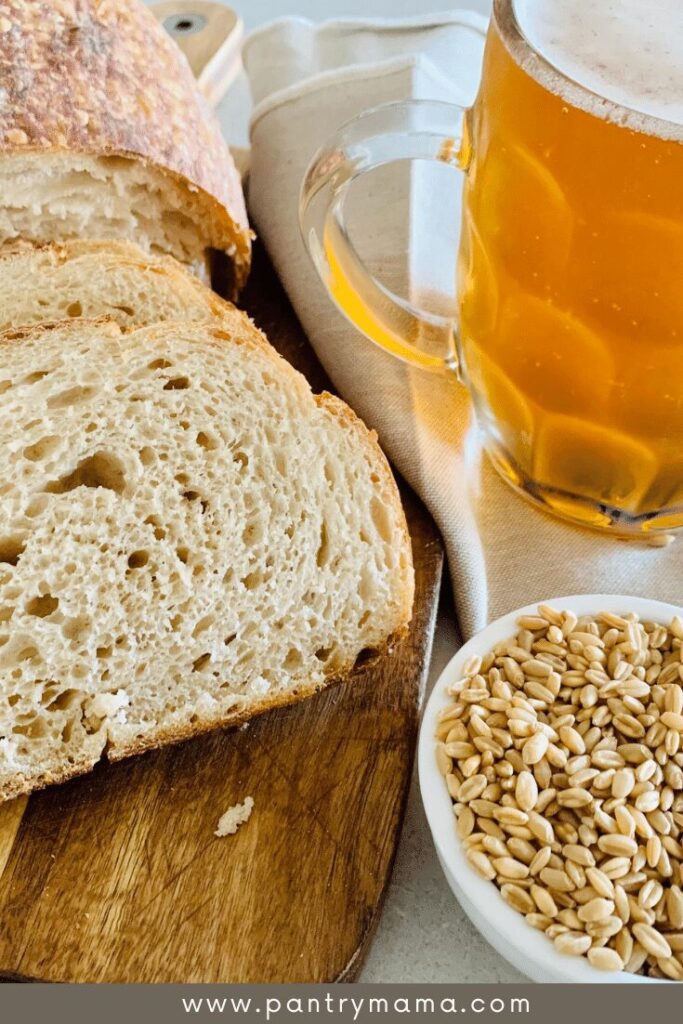
One thing I did notice about using beer in sourdough bread was the smell while the bread was baking. It honestly smelled like a brewery in my kitchen!
When I took the lid off the Dutch Oven to finish the bake - wow! It was so strong. But I found that once the bread was baked, the smell toned down quite a bit.
You could definitely tell there was beer in the bread upon tasting, but it was a very pleasant flavor (I actually don't like beer, but I loved the bread!).
The beer added a richness and complexity to the sourdough. The crust was also quite light which was nice.
We now love to make beer sourdough bread for Sunday night grilled cheese - the flavor works so well with cheese!
Changing The Flavor Of Sourdough Bread Made With Beer
Obviously the flavor of your sourdough beer bread will depend on which kind of beer you choose to use.
A lighter beer will give you a lighter flavor, while a darker, stronger tasting beer will come through differently.
The great thing about sourdough is that it's so much fun to experiment. And most of the time, your experiments are completely edible!
You could even have a go at brewing your own beer!

Additions to Sourdough Beer Bread
While you can literally just replace the water in your sourdough bread with beer, there are also a few other things you can add in to take the flavor profiles to the next level.
Honey - Honey adds a delicious sweetness to the sourdough beer bread. It marries well with the yeasty goodness and will provide a balance to the sometimes bitterness of the beer. Honey is particularly important if you add rye flour to your loaf, it will balance out the bitterness that can come through.
Rye Flour - Rye is such an earthy, rich flour. I just had to try it with beer! I wouldn't recommend substituting more than 20% of Rye Flour (so 100g if you're using my recipe). 20% is enough to give you good flavor, but not sacrifice gluten development or oven spring.
Oats - adding oats along with your flour can make a hearty addition to sourdough beer bread. I like to add 50g into my bread mix and then dust the banneton with oats before I place the dough into it so that the oats stick to the top. They give such a nice finish to the beer sourdough bread.
Strong Cheddar Cheese - Beer Sourdough Bread pairs so well with a strong, crumbly cheddar. Adding 100g of an aged cheddar cheese during your second set of stretch and folds will take your bread to the next level. You could even add some shredded parmesan to the banneton before placing your dough on top. Seriously it is a stellar flavor combo!
Try adding beer to this easy whole wheat rye sourdough recipe.
Beer and Sourdough Starters
A few people have asked whether it would be ok to add beer to their sourdough starter or even start a sourdough starter with beer instead of water.
My advice is not to add beer to your sourdough starter. Just keep it to flour and water - and keep the beer for your actual sourdough bread. You can find instructions for making a sourdough starter here.
If you are wanting to boost your sourdough starter - beer isn't the best way to do it.
Frequently Asked Questions
The beer doesn't need to be warm, but I recommend not using it straight out of the fridge. Room temperature is best so that it helps the sourdough starter to ferment, rather than hinders it.
Beer is generally lower in alcohol than other alcoholic beverages and by the time you've baked the bread for around 40 minutes to an hour, most of the alcohol will be baked out of the bread, leaving very minimal traces.
Yes, you can use craft beer to make sourdough bread. Swap the water for the same amount of beer and enjoy the flavor it creates.
Yes it is possible to brew beer from a sourdough starter culture. It takes some experimentation and you will need to vary the amount of hops you use, but it is definitely possible.
Sourdough Beer Bread Recipe
Equipment
- Mixing Bowl
- Digital Scales
- Banneton
- Dutch Oven
Ingredients
- 500 g Bread Flour
- 350 g Beer any type of beer, room temperature
- 100 g Sourdough Starter see notes, can be reduced
- 12 g Salt
Instructions
PREMIX THE DOUGH
- Weigh out your sourdough starter and beer into a large mixing bowl and mix together briefly.
- Now add your flour and salt and mix whole lot together to form a dry dough.
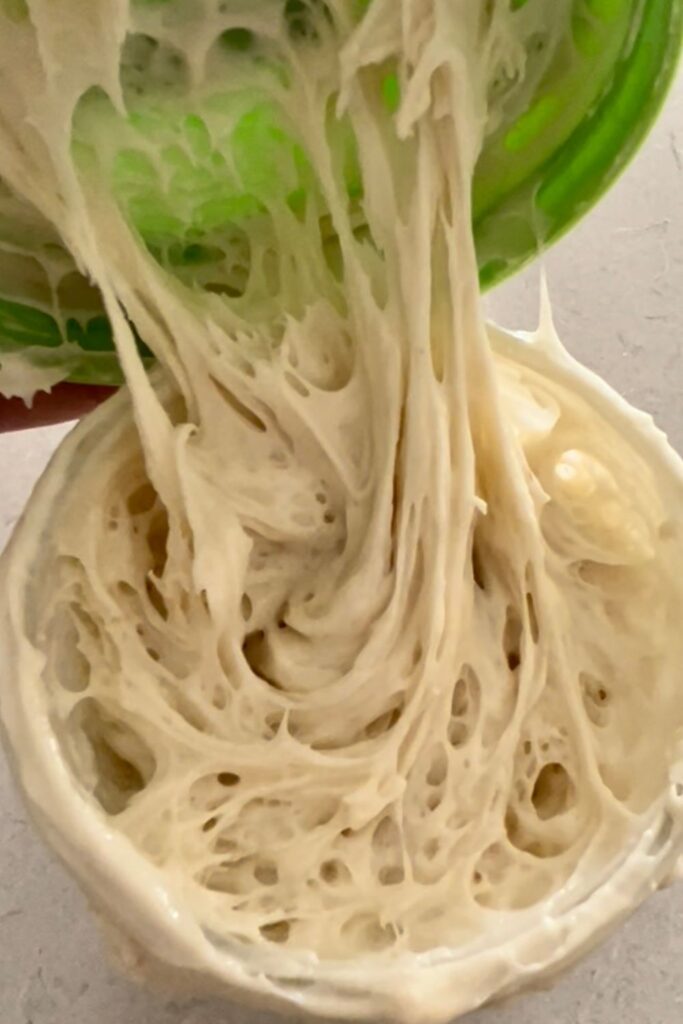
- Cover your bowl with cling film or a damp tea towel and let it sit for around 1 hour. This process is called the "autolyse" and allows your flour to soak in all the water and become hydrated. You can see how the dough has changed in this photo.
FORMING UP THE DOUGH
- Bring the dough together into a ball. Pull the edges of the dough into the centre until it's smoother and more formed.You'll notice that the dough is fully hydrated after soaking all the water up. It will be fairly sticky but as you bring it into a ball, it will become smoother and shinier.
- Once the dough has formed into a smooth ball, pop the cling film back on and let it rest for 30 minutes.
STRETCH & FOLD PHASE (STRENGTHENING PHASE)
- Over the next few hours you need to create some structure for your dough by "stretching and folding". Aim to do around 4-6 sets of stretches and folds. For each set, stretch the dough up and over itself 4 times. Leave around 15 minutes in between each set. Again you do not have to be exact with time, but you need to do at least 4 sets over 2 hours.
BULK FERMENTATION (RISE PHASE)
- Once you've finished your stretch and folds, place the cling film or damp tea towel back over your dough and let it rest and ferment (a plastic cover is a better option for this stage).
SHAPE THE DOUGH
- Once your dough has finished it's first ferment, it's time to shape it into either a boule or a batard. You'll need to flour your counter top with rice flour for this (we use rice flour because it has no gluten). Try to be quite sparing with the rice flour, you only need a very light dusting.Use a silicone dough scraper to gently ease the dough out of the bowl. You want it to land upside down on your counter so that the smooth top of the dough is on the countertop and the sticky underside is facing up. This will make it easier to shape.You want to pull the edges of the dough into the centre and then flip it over so that the sticky side is now underneath. Using the stickiness, gently pull the dough into a tight ball.You will need a banneton to put your dough into. If you do not have a banneton, then a bowl or basket lined with a floured tea towel is perfectly fine. Make sure your bowl isn't too big though, you want your dough to retain some shape.Whatever you're using needs to be liberally floured with your rice flour. If you're using a banneton - liberally sprinkle it with rice flour. If you're using a cloth or tea towel, rub the flour into it to ensure it becomes non stick.
PUT DOUGH INTO THE BANNETON
- Once the dough is shaped into a tight ball, place it into your banneton smooth side down, so your seam is on the top - this way the top of your dough will get the pretty lines from the banneton. If you're using a cloth or tea towel in a bowl it's ok to put your dough with the smooth side up. Just make sure the dough is tight.Lift your dough around the edges to pop a little more rice flour if you feel it needs it. Just try to handle the dough as little as possible and be really gentle as you really want to preserve all the gases and air bubbles that have formed during your bulk ferment.
PROOFING
- Now the dough is in its "shaping container" cover it loosely with a plastic bag or damp tea towel pop it into the fridge for the cold ferment.You can leave it for a minimum of 5 hours up to 36 hours or anywhere in between.
PREPARE TO BAKE YOUR DOUGH
- Once you're ready to bake your sourdough, you'll need to preheat your oven to 230C/450F. While your oven is preheating, place your sourdough in the freezer.Place your Dutch Oven into the oven when you turn it on so it gets hot. Try to preheat for around 1 hour to ensure your oven is super hot - but you know your oven so just adjust this time if you need to.
BAKE YOUR SOURDOUGH BREAD!
- Now it's time to bake!When your oven is at temperature, gently tip your sourdough out of the banneton and onto a piece of parchment paper. If it hasn't been in the freezer, just handle it very gently as it may be very soft.Make sure that you make the baking paper big enough to use the edges as a handle to lower to dough into your Dutch Oven.Gently score your bread with a lame, clean razor blade or knife. At minimum a large cross is sufficient, but you can get as artistic as you like. You can find my full guide on how to score sourdough bread here.Carefully take your dutch oven out of the oven. Place the sourdough into the pot using the baking paper as a handle. Put the lid on and place into the hot oven. If you want to you can spritz your dough with extra water before you put the lid on.BAKE TIME:30 Minutes with the lid on at 230C/450F plus10-15 Minutes with the lid off at 210C/410F
LET YOUR BREAD COOL
- When you remove your dough from the oven, carefully remove it from the dutch oven as soon as possible and place on a wire rack to cool.
Notes
- Notes on Beer: You can use any type of beer you like, from stout to ale and anything in between. I've chosen Pale Ale for the loaf photographed, but you can absolutely use anything you prefer or have on hand.
- Notes on Flour: This recipe is written using strong Bread Flour. Bread flour has a higher protein content than All Purpose flour. If you choose to use All Purpose flour you may have a different result because of this. You can read more about the differences between All Purpose Flour and Bread Flour here.
- Notes on Sourdough Starter: This recipe is based on you having an active starter that you have fed a few hours before starting your bake. For info on how to make a sourdough starter, go here.
- Notes on Stretch & Folds: If you are going to do the stretch & folds on your bench top, spray your surface with water mist rather than using flour. You can leave the dough in the bowl if you want to. Wet your hands to stop the dough sticking - although it shouldn't be too sticky. It will get less sticky as you do your stretches and folds. For more information on how to do stretch and folds, go here.
- Notes on Bulk Fermentation: If your home is warm then your dough will ferment a lot faster and could be done in as little as a few hours. If it's colder, it will take longer. You will know your dough is ready to move to the next stage when it has *just* doubled in size. It will be fairly wobbly and full of bubbles. You should be able to see large air bubbles under the surface of the dough.
You don't want to let it go any further than doubled as it will be over fermented.
You'll find more information on these topics here:
When is my bulk ferment finished? What is the difference between cold ferment and bulk ferment? Why does the amount of starter matter?
- Notes on Baking: If you're worried about the base of your bread burning, place a baking sheet on shelf underneath your Dutch Oven - it works! If you're worried about your bread not being cooked all the way through, turn the oven off and place your dough straight onto the oven rack. Leave the door ajar and let your bread rest there for a few hours. Make sure you don't close the door or your sourdough will sweat and you'll get a wrinkly, soggy crust. Remember not to cut into your loaf too soon - you'll need to let it cool for at least a few hours (4-6 is best).
Nutrition




Do you think a non-alcohol beer would work well in a sourdough beer bread? Some interesting non-alcoholic craft beers have entered the American market. Non-alcoholic craft beers have been popular in Germany and the rest of Europe for many years, but they are new to the USA. The blood alcohol limit for driving is much lower, and the penalties for driving under the influence of alcohol are much higher in Europe than in the US.
I'm trying your whey sourdough recipe today, and am intrigued with your experiments.
If I am using diastatic malt and vital wheat gluten do I count them in my dry ingredients to determine the hydration???
I baked this today as a seeded discard version with yeast and it's perfect. Thank you for sharing so many wonderful recipes!
Hi. I noticed there is no instructions for the bulk fermentation stage in the recipe. It doesn’t say for how long??
Thanks,
Sarah
Can I use beer instead of water in your Easy Whole Wheat Rye recipe? Would you change anything? And would I add 400g beer?
Yes you can 🙂 You can sub water for beer in the same amounts 🙂
This is a good guide to using beer in sourdough also.
Can I just bake this in a loaf pan? If so, what size loaf pan(s)? TIA.
There is no stated time or mention for the step labeled as first rise? It just states place a plastic wrap over the bowl and then goes direct to bulk fermentation.
Is the first rise 1 hr. or 2 hrs. or till it doubles?
Thanks for this !
When you say:
"My advice is not to add beer to your sourdough starter. Just keep it to flour and water - and keep the beer for your actual sourdough bread. You can find instructions for making a sourdough starter here."
Is there any actual reasons behind this advice ?
Happy Baking !
Hi Theo - there's just no need to add beer to your sourdough starter, flour and water is just fine 🙂
When adding cheese, why only 100g ? In your cheese bread it says add 200g. We love love cheese! Does it hurt anything to add 200g to the beer bread recipie? Also, I'm using sharp cheddar.
It's just personal preference, feel free to add 200g 🙂
Can this bread be made in a loaf pan? If so, do the steps change?
You can. Use the ingredients and follow the steps in this recipe. 🙂
Would this work the same way if I used hard cider in place of beer?
I haven't tried it with hard cider, but it should work. If you try it, make sure you let me know how it goes 🙂