Sourdough Buttered Knot Rolls
This post may contain affiliate links.
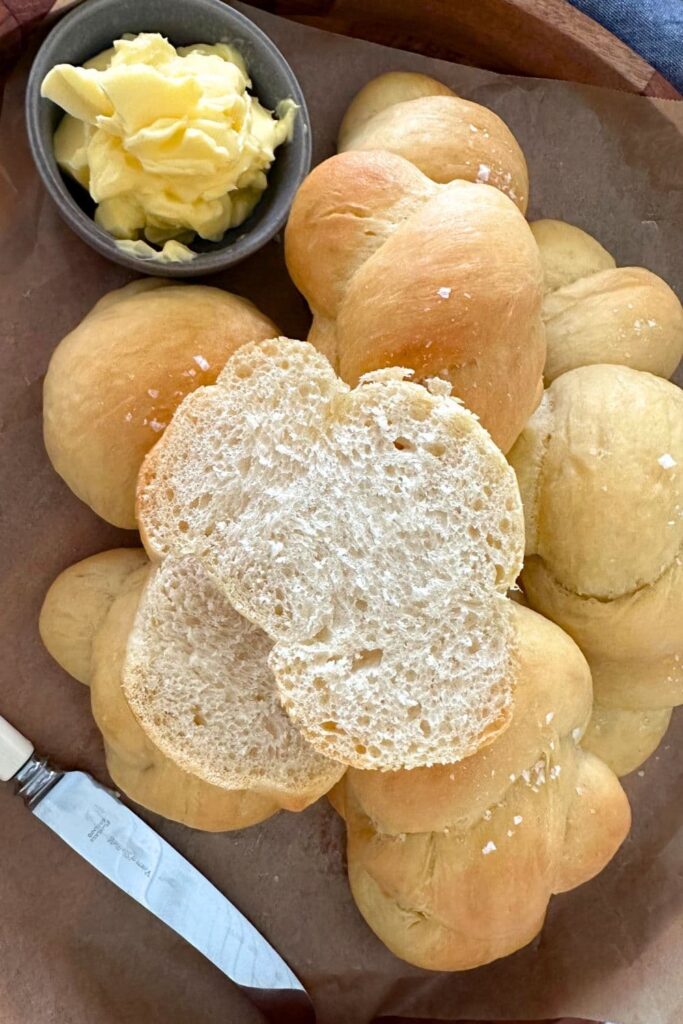
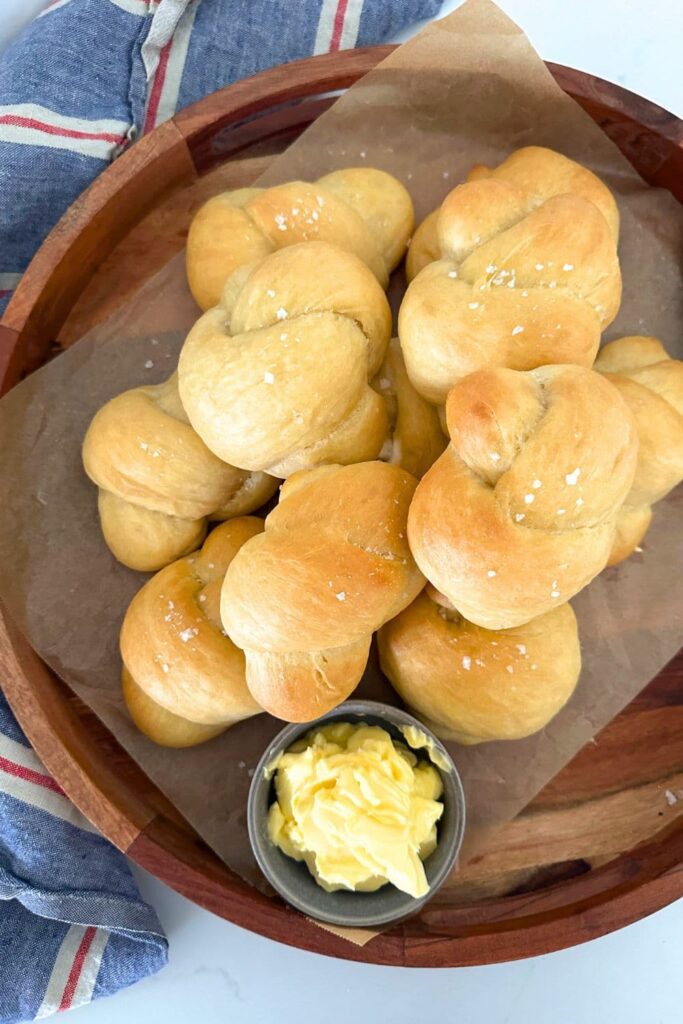
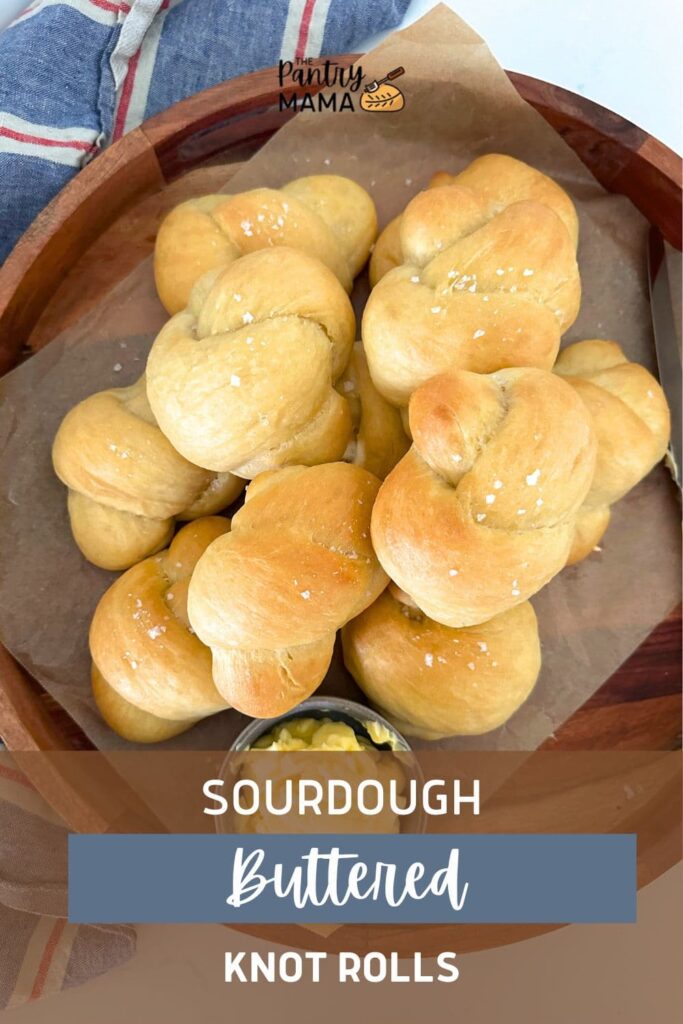
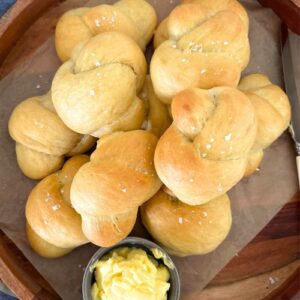
Charming sourdough butter knot rolls, drizzled in melted butter make the perfect dinner roll for any occasion. These sourdough buttered knots are so good, you're going to want to eat them for any occasion! They're so soft and flavorful!
If you're looking for some other sourdough roll options then make sure you check out these sourdough discard rolls, sourdough hotdog rolls or these sourdough brioche rolls.
Why You'll Love This Recipe!
A Little Bit Fancy - soft and buttery, with just a little bit of sophistication! Tying the sourdough into a simple knot elevates these rolls from a humble dinner roll to something a little bit special.
Minimal Ingredients - you need basic ingredients like flour, water, butter and salt to create these rolls, all of which you would already have in your pantry!
They Freeze Well - these sourdough buttered knot rolls freeze so well, you can always have a stash in your freezer to call upon!
Use An Active, Bubble Sourdough Starter
The key to these beautiful, soft and buttery sourdough buttered knot rolls is a super active, bubbly sourdough starter.
You'll want to feed your sourdough starter a few hours before you want to mix the dough to ensure that your starter has plenty of time to double and activate all the wild yeast inside your jar.
If you're looking for some tips to improve your sourdough starter, then check out these articles:
- 5 Tips to Boost Your Sourdough Starter
- How to Get Bigger Bubbles in Your Sourdough Starter
- Best Time To Use Sourdough Starter
How To Make Sourdough Buttered Knot Rolls
I've used a stand mixer for this recipe, but you can easily knead by hand if you prefer. The dough is silky and elastic and not at all sticky. I've used a KA Stand Mixer with a dough hook attachment to create this recipe. However, in testing the recipe I've also kneaded the dough by hand and either method works just as well.
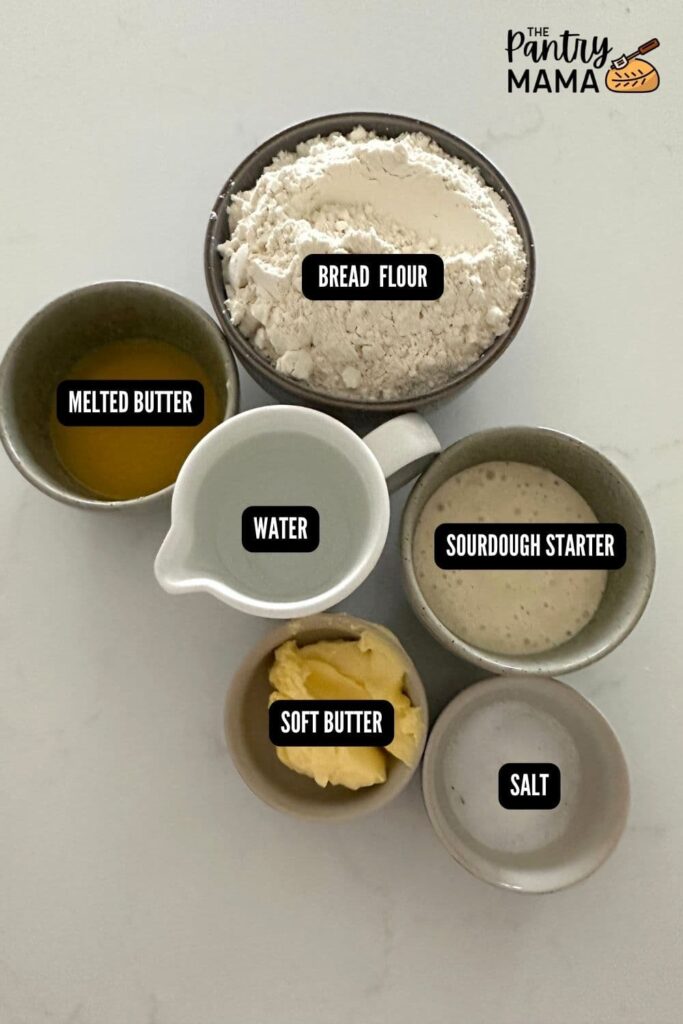
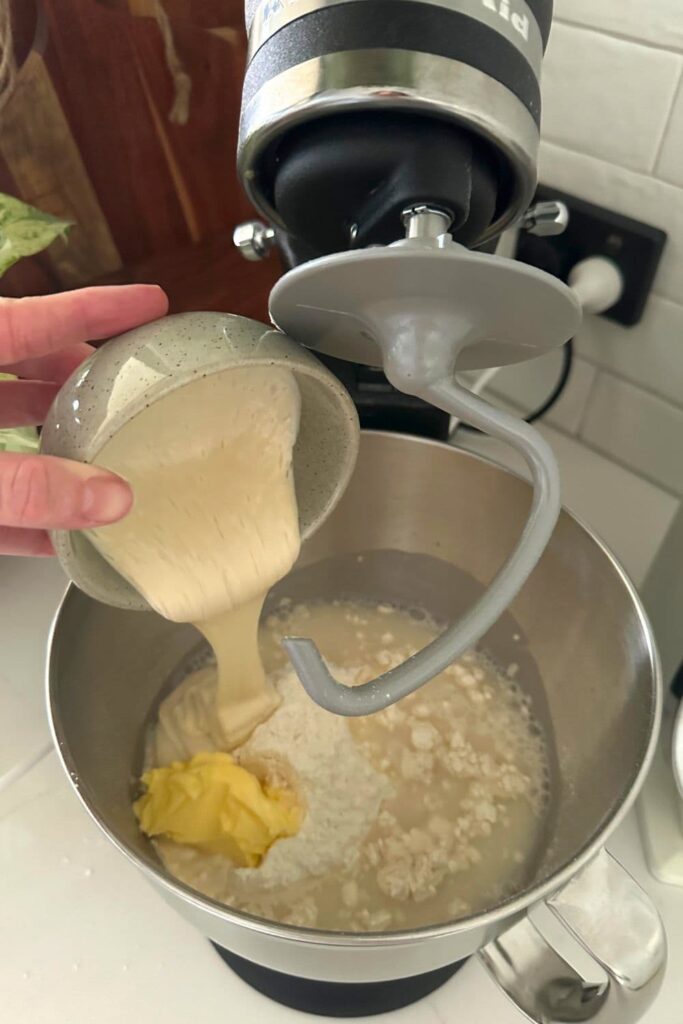
To a stand mixer bowl (with dough hook attachment) add bread flour, sourdough starter, water, salt and softened butter. Knead at speed 2 for around 2 minutes or until a shaggy dough has formed. Turn the stand mixer off and allow the dough to stand for around 10 minutes.
Now, run the stand mixer at speed 1 for around 5 minutes (if you cannot run your mixer continuously, then do this in 1 or 2 minute increments). My mixer handles 5 minutes with ease, however, it really depends on your mixer.
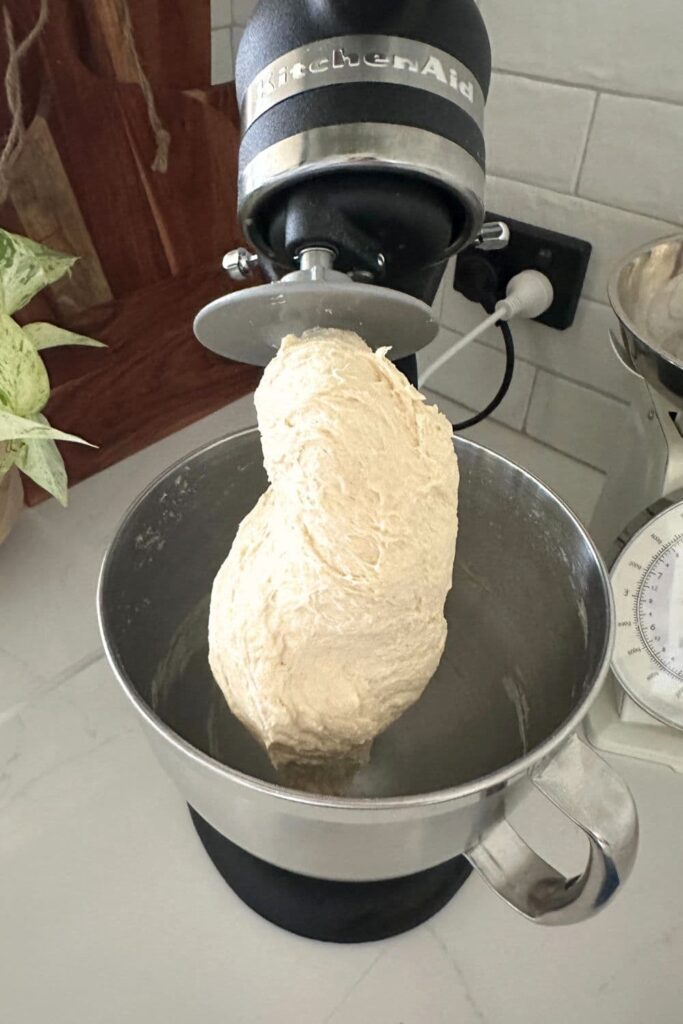
Once the dough is kneaded sufficiently, turn the mixer off and cover the dough to rise (bulk fermentation). The dough will be elastic and soft, not at all sticky. It should easily come away from the sides of the bowl and the dough hook.
You can see in the photo below how clean my bowl and hook are after removing the dough - it's not sticky, just nice and elastic!
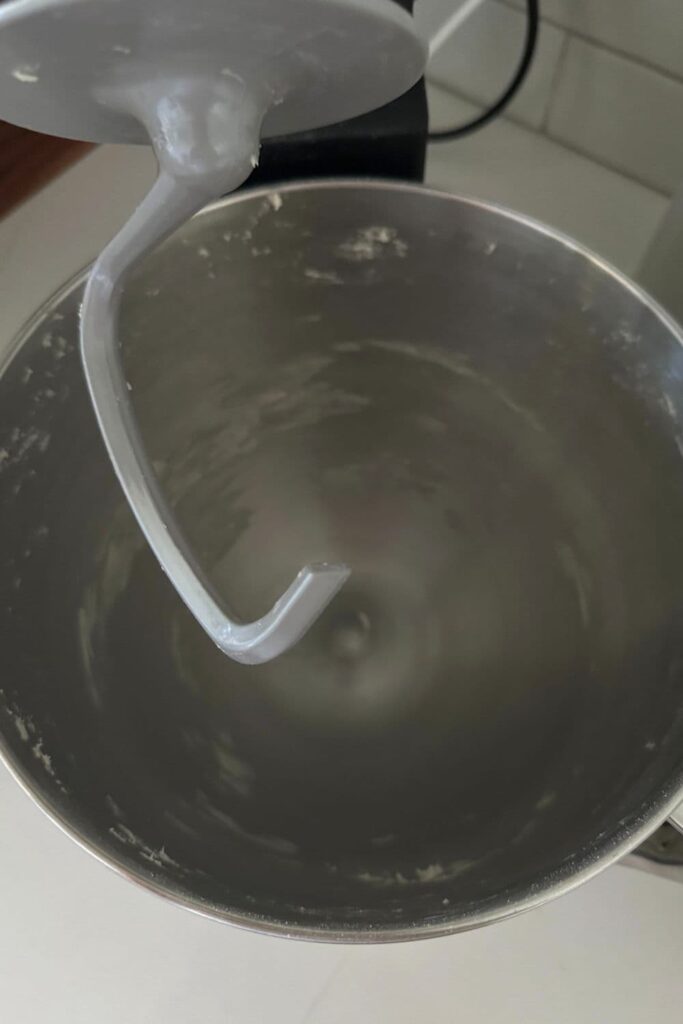
You want the dough to rise around 30%.
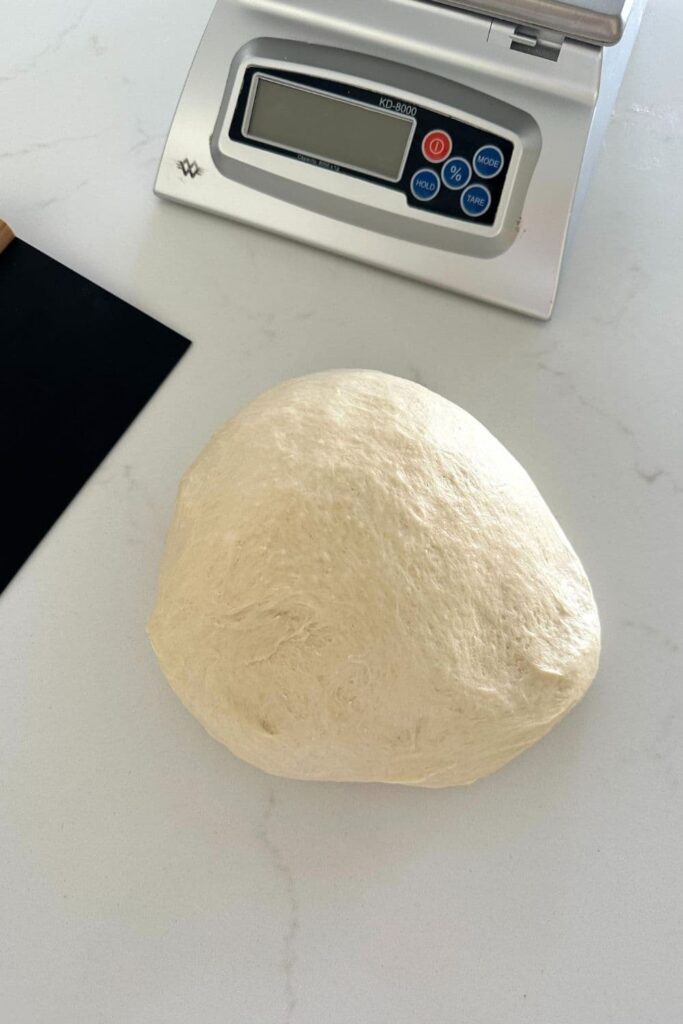
Once the dough has risen at room temperature, tip it out onto a clean surface and divide the dough into equal portions. I've used 85g dough portions to make 11 rolls (you can make your bigger or smaller if you prefer).
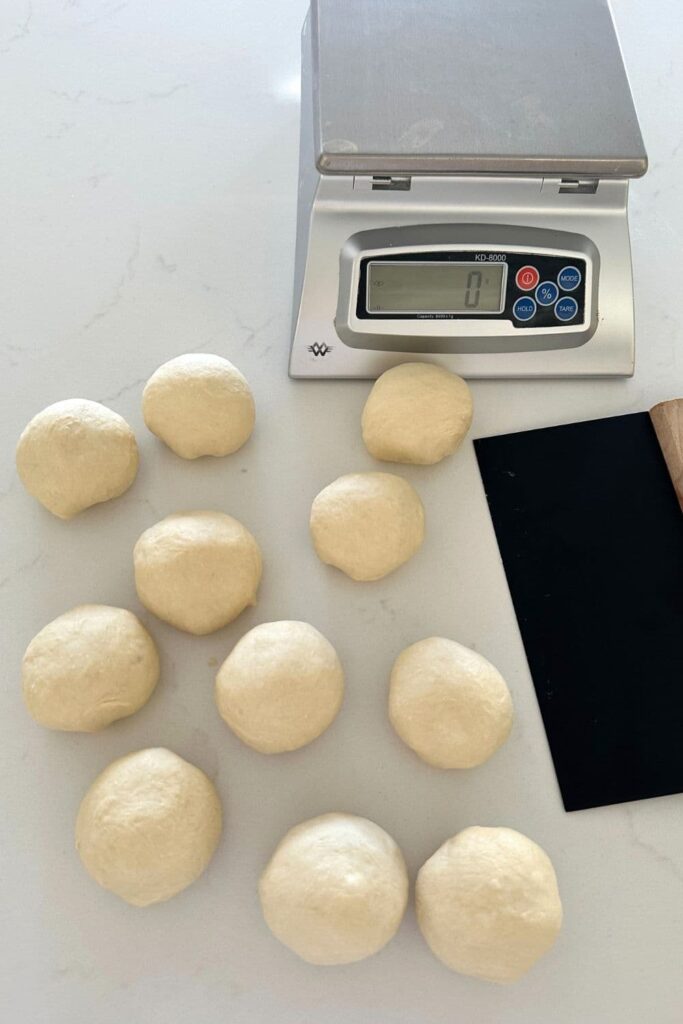
Once you've divided the dough into portions, carefully roll each portion into a rope (I've made mine around 8" or 20cm long). Tie a knot in each one and arrange them on a large baking sheet with plenty of room around each one. Just create a little loop and pull one end through the hole, it's a super simple knot!
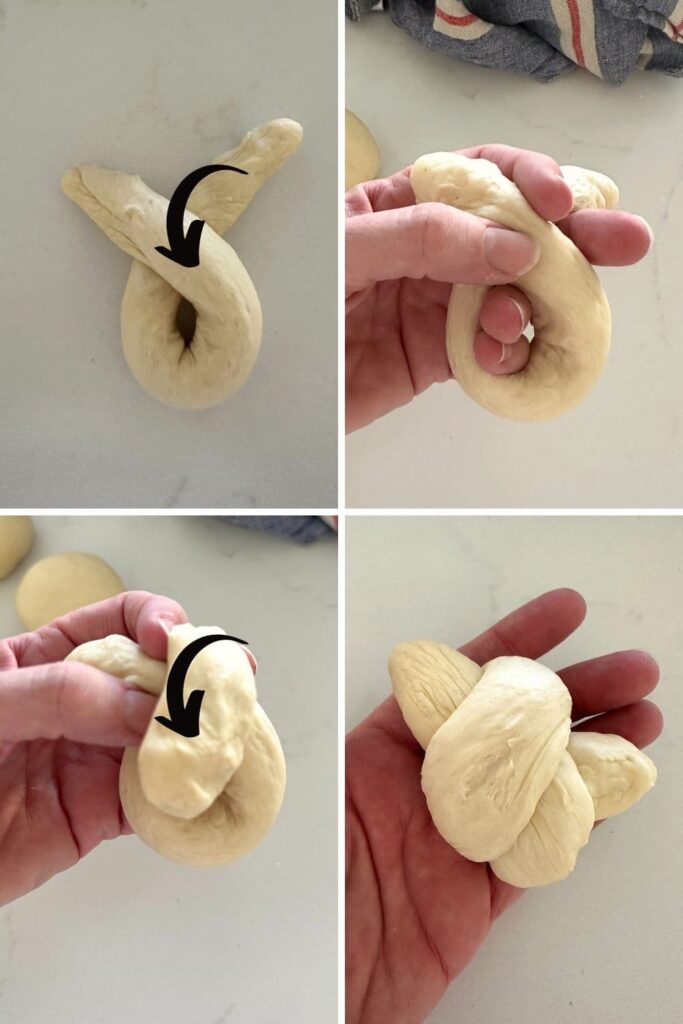
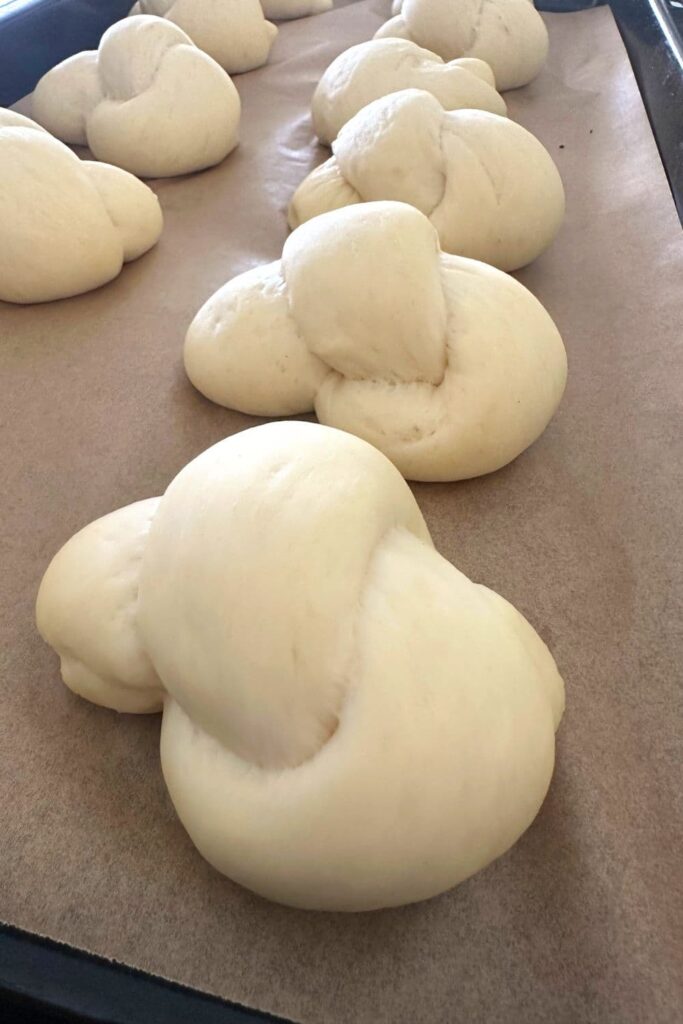
Cover sourdough butter knot rolls with a dish towel and allow to rise until soft and puffy (this will take a few hours at room temperature). To make this faster, I place in my oven with a bowl of boiling water. This makes them super puffy and soft as they love the humidity.
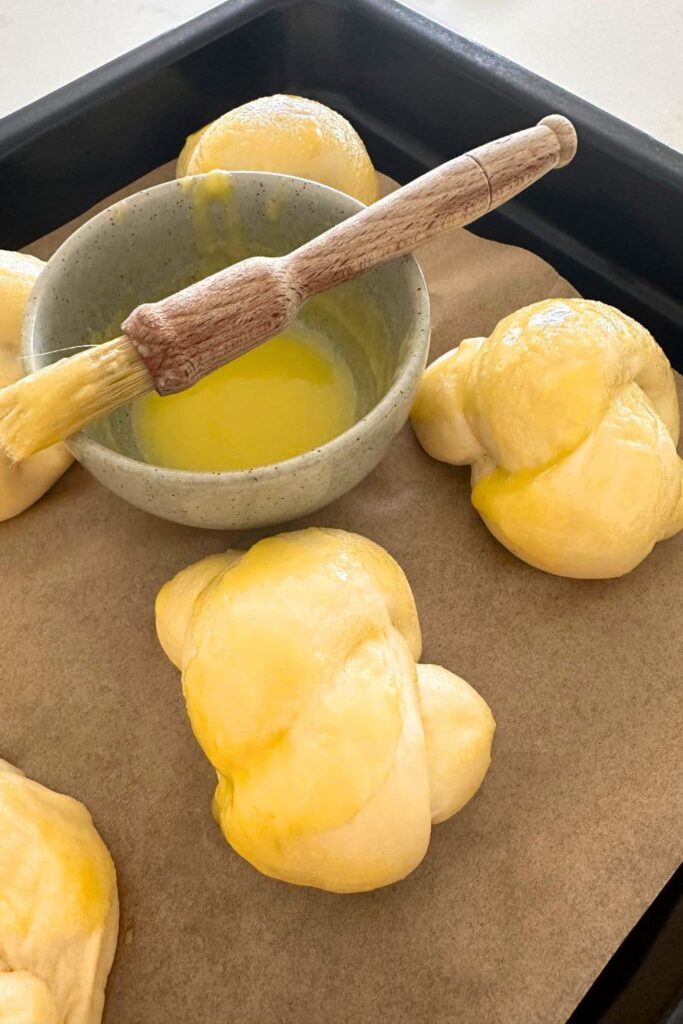
Once you're ready to bake, preheat the oven to 180C (350F) and brush each knot roll with melted butter and sprinkle with salt (salt is optional).
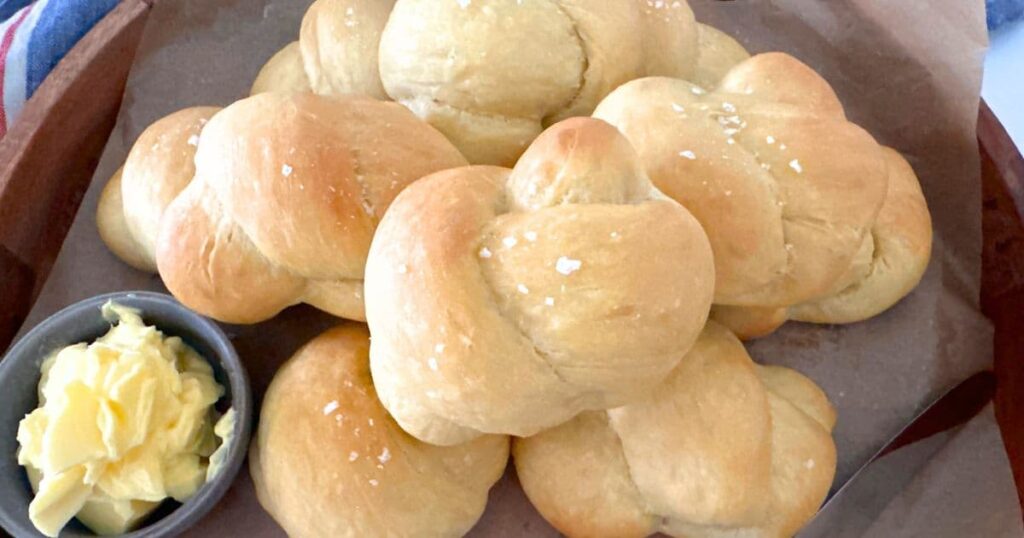
Bake the rolls at 180C (350F) for around 25 minutes or until golden brown.
Remove from the oven and brush again with melted butter. Serve warm.
Baker's Timeline for Sourdough Buttered Knot Rolls
This is the rough timeline I use when making these sourdough buttered knot rolls. You could adapt this timeline to suit your own situation. You might also find this article on creating a sourdough baking timeline helpful in adapting it.
The Night Before
7pm - Feed your sourdough starter (I do 1:3:3 because I want it to peak in the morning).
The Next Morning
7am - Mix the dough, knead and allow to rise around 30% (bulk fermentation).
2pm - Shape the knot rolls and then leave covered on a baking tray to get super puffy (remember the oven trick I posted above).
6pm - Bake rolls and smother in melted butter ready for dinner.
If you want to hit pause on this recipe, you can place the shaped rolls, covered, into the fridge. When you want to bake them, allow them to come to room temperature and get nice a puffy before you bake them - remember you want them to be puffy, otherwise you'll get dense, gummy rolls.
Can You Use Sourdough Discard in This Recipe?
While I love using active sourdough starter for these sourdough buttered knot rolls, you can definitely use sourdough discard if you prefer.
I recommend adding 7g of commercial yeast to your sourdough discard to ensure the rolls rise in a sufficient time frame. I recommend using active dry yeast in this case.
Obviously, adding commercial yeast will mean that the rising time will be much, much shorter.
Topping Ideas for Sourdough Buttered Knot Rolls
I absolutely love the simplicity of these sourdough buttered knot rolls, but there's also something truly special about jazzing these up! Here are some ideas to create something even more special!
- Sourdough Garlic Knots - add 2 teaspoons of diced garlic to the melted butter, along with a pinch of salt, before brushing the warm baked knot rolls. A sprinkling of fresh parsley makes for a pretty garnish too! You can also brush them with this whipped herb butter for a herby twist!
- Honey Butter Knots - add a tablespoon of honey to the melted butter before you brush on the baked rolls. For an even sweeter twist, try brushing them with this whipped honey cinnamon butter.
- Spicy Jalapeño Butter - for a spicy twist, brush the baked knot rolls in this spicy jalapeño honey butter.
How To Store + Freeze
These sourdough buttered knot rolls are best eaten on the day they are baked. They will stale quite quickly after the first 24 hours.
The great news is they freeze really well, and can be reheated so they are just like freshly baked rolls. Place rolls in a ziploc bag and freeze for up to 2 months.
Thaw at room temperature. When ready to serve, warm gently in a moderate oven and brush with melted butter before serving.
Sourdough Buttered Knot Rolls
Ingredients
- 500 g Bread Flour
- 100 g Sourdough Starter
- 10 g Salt
- 50 g Butter (salted, softened at room temperature)
- 270 g Water
- 50 g Butter (salted, melted)
Instructions
- I've used a stand mixer for this recipe, but you can easily knead by hand if you prefer. The dough is silky and elastic and not at all sticky. I'm using a KA Stand Mixer with a dough hook attachment.
- To a stand mixer bowl (with dough hook attachment) add bread flour, sourdough starter, water, salt and butter. Knead at speed 2 for around 2 minutes or until a shaggy dough has formed. Turn the stand mixer off and allow the dough to stand for around 10 minutes.
- Now, run the stand mixer at speed 1 for around 5 minutes (if you cannot run your mixer continuously, then do this in 1 or 2 minute increments).
- Once the dough is kneaded sufficiently, turn the mixer off and cover the dough to rise (bulk fermentation). The dough will be elastic and soft, not at all sticky. It should easily come away from the sides of the bowl and the dough hook. You want the dough to rise around 30%.
- Once the dough has risen at room temperature, tip it out onto a clean surface and divide the dough into equal portions. I've used 85g dough portions to make 11 rolls (you can make your bigger or smaller if you prefer).
- Once you've divided the dough into portions, carefully roll each portion into a rope. Tie a knot in each one and arrange them on a large baking sheet with plenty of room around each one.
- Cover sourdough butter knot rolls with a dish towel and allow to rise until soft and puffy (this will take a few hours at room temperature).
- Once you're ready to bake, preheat the oven to 180C (350F) and brush each knot roll with melted butter and sprinkle with salt (salt is optional).
- Bake the rolls at 180C (350F) for around 25 minutes or until golden brown.
- Remove from the oven and brush again with melted butter. Serve warm.
Nutrition




I'd love to try your wonderful recipes but cannot because there's no option for translation from grams to American standard measurements as so many sourdough recipes offer above the recipes.
It's so much easier to use a scale and measure in grams than it is to use volume measures! Read this - I promise you'll never look back!
The dough seemed particularly wet and didn't rise up very well. They more just spread out and ended up a bit dense. Maybe my starter was having a bad day, and the flavor was good, so I'd be inclined to test this again, but next time with less water.
There is butter listed twice in the recipe. Is the 50g melted butter supposed to be added into the mix with the 50g of softened butter or is the 50g melted butter to be used solely for the basting of the knots pre and post bake?