This post contains affiliate links. Please see our disclosure policy.

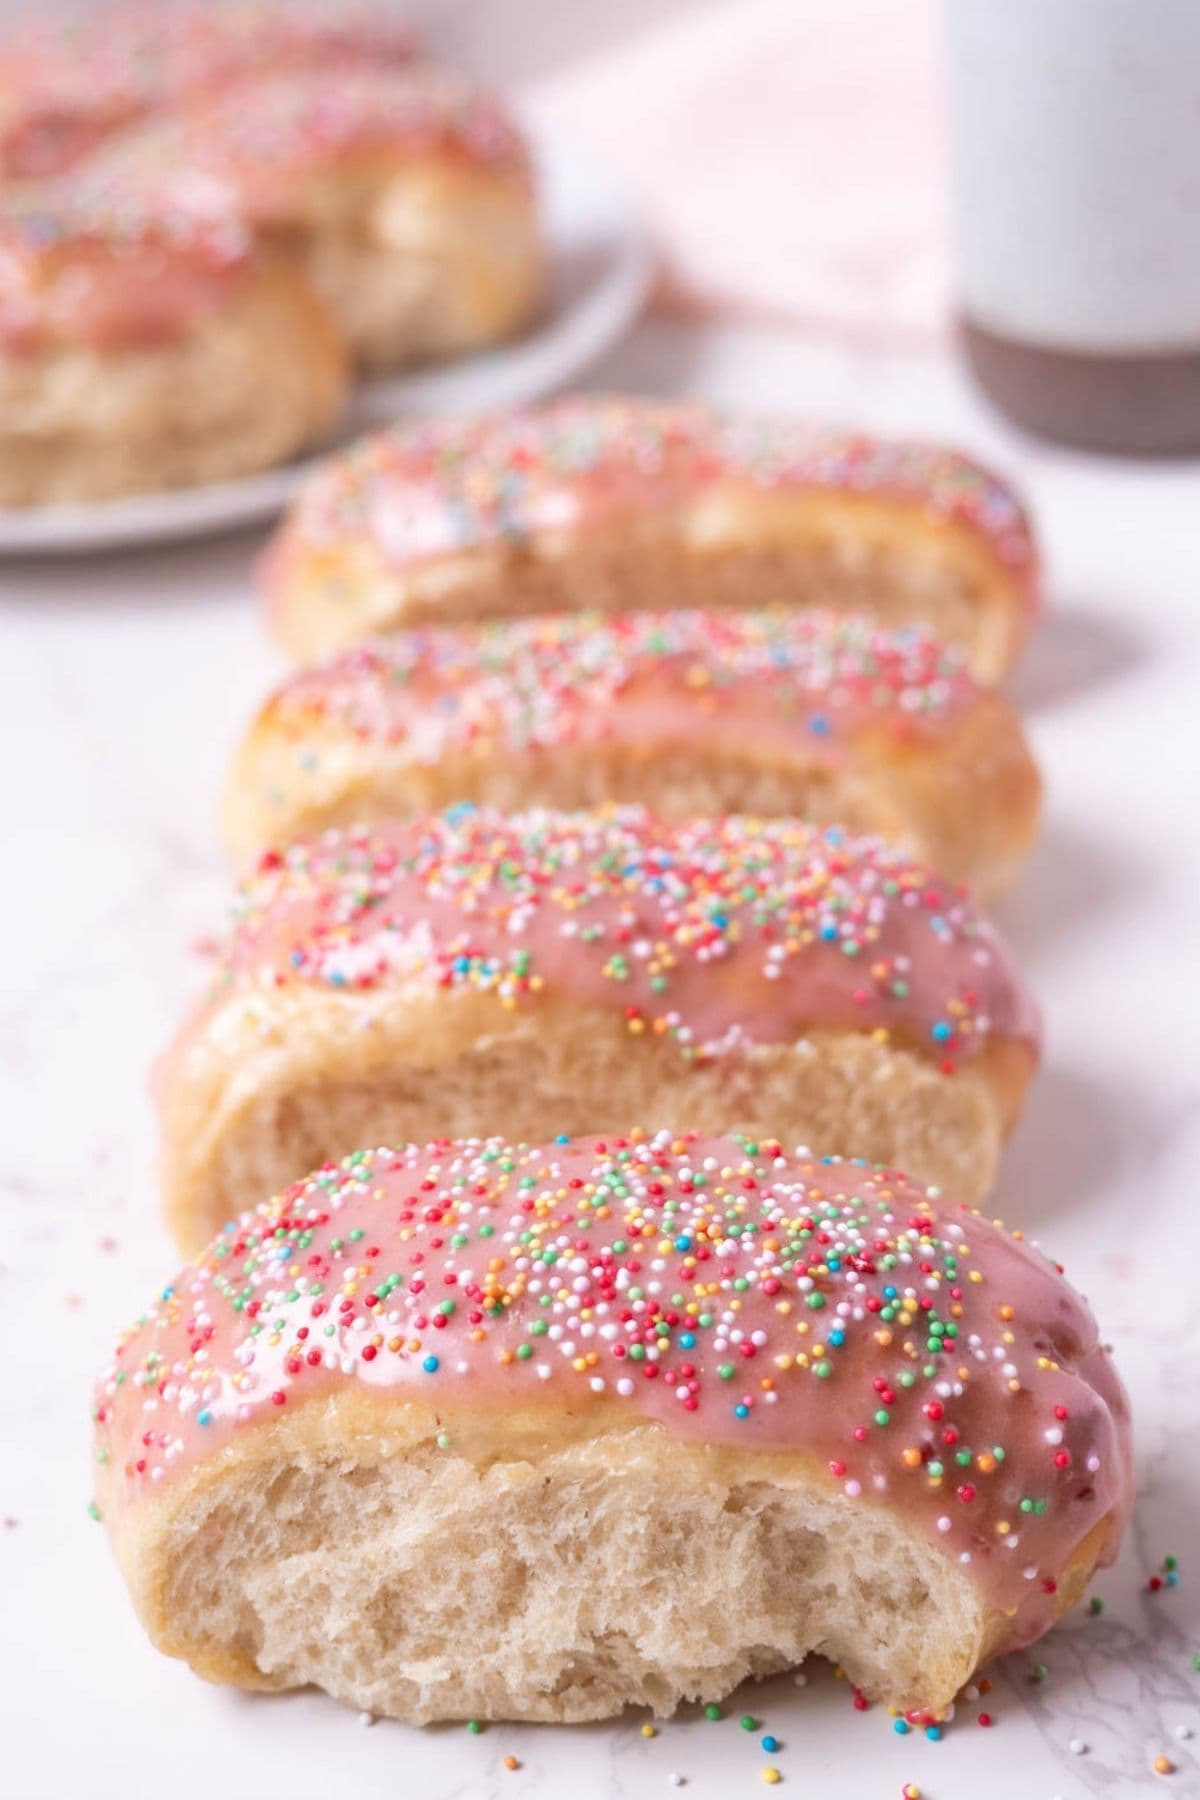
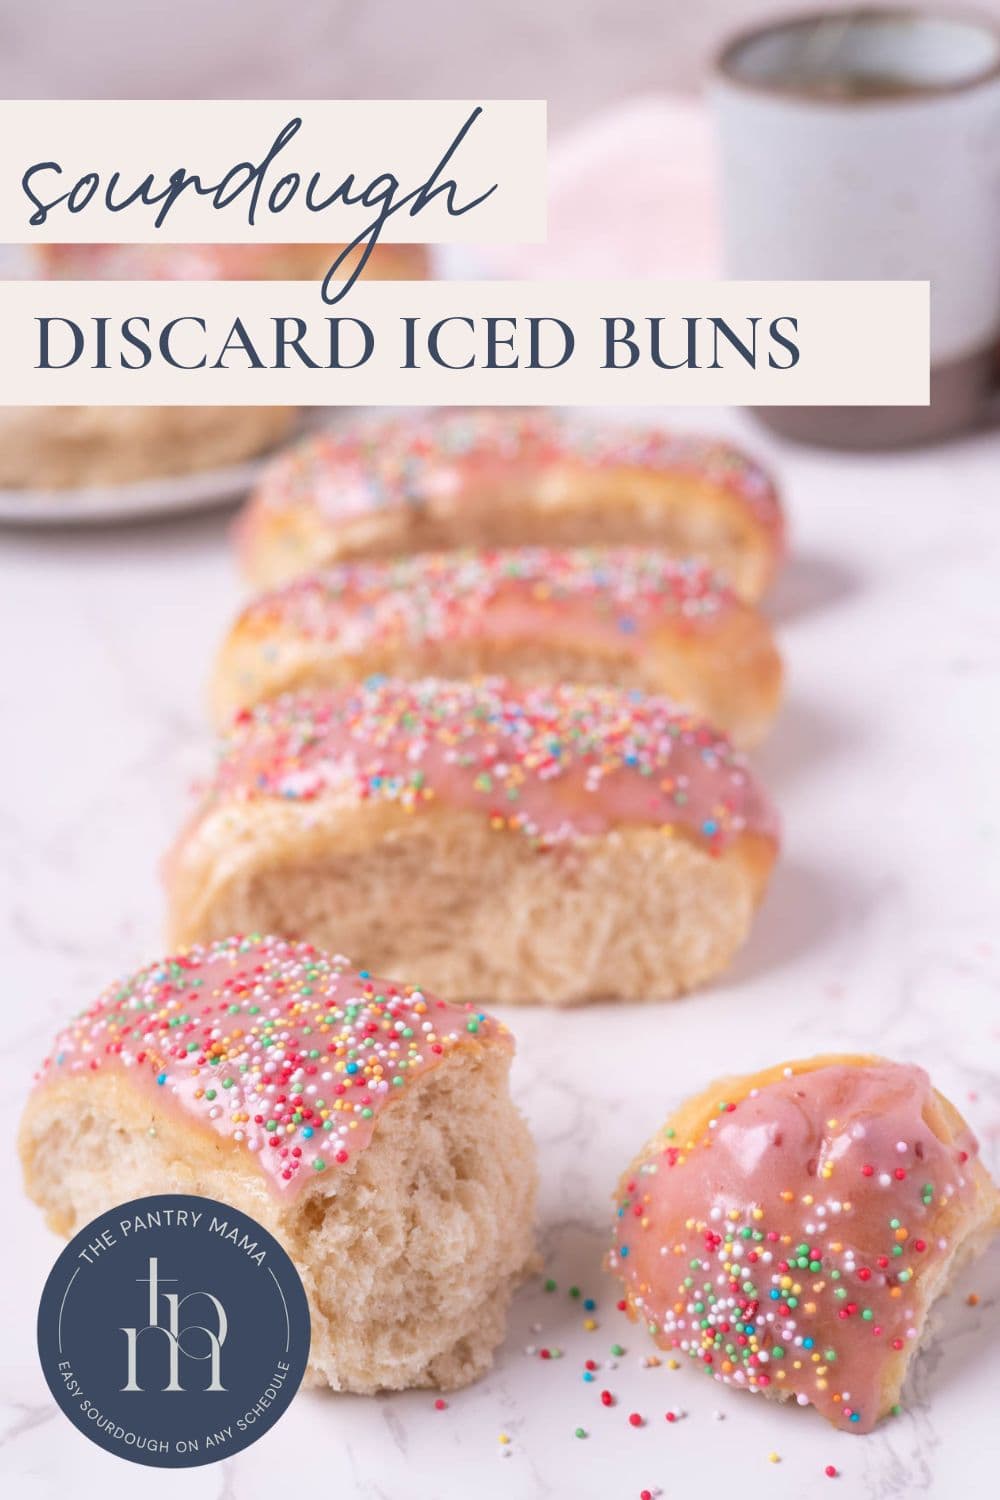
These sourdough discard iced buns are really easy to make, take very little hands on time and are sure to delight all that try them! They’re soft, fluffy, and topped with a simple sweet glaze and colorful sprinkles. Made with sourdough discard and a little yeast for an easy rise, they’re a fun baking project that’s perfect for morning tea, lunchboxes, or sharing with friends.
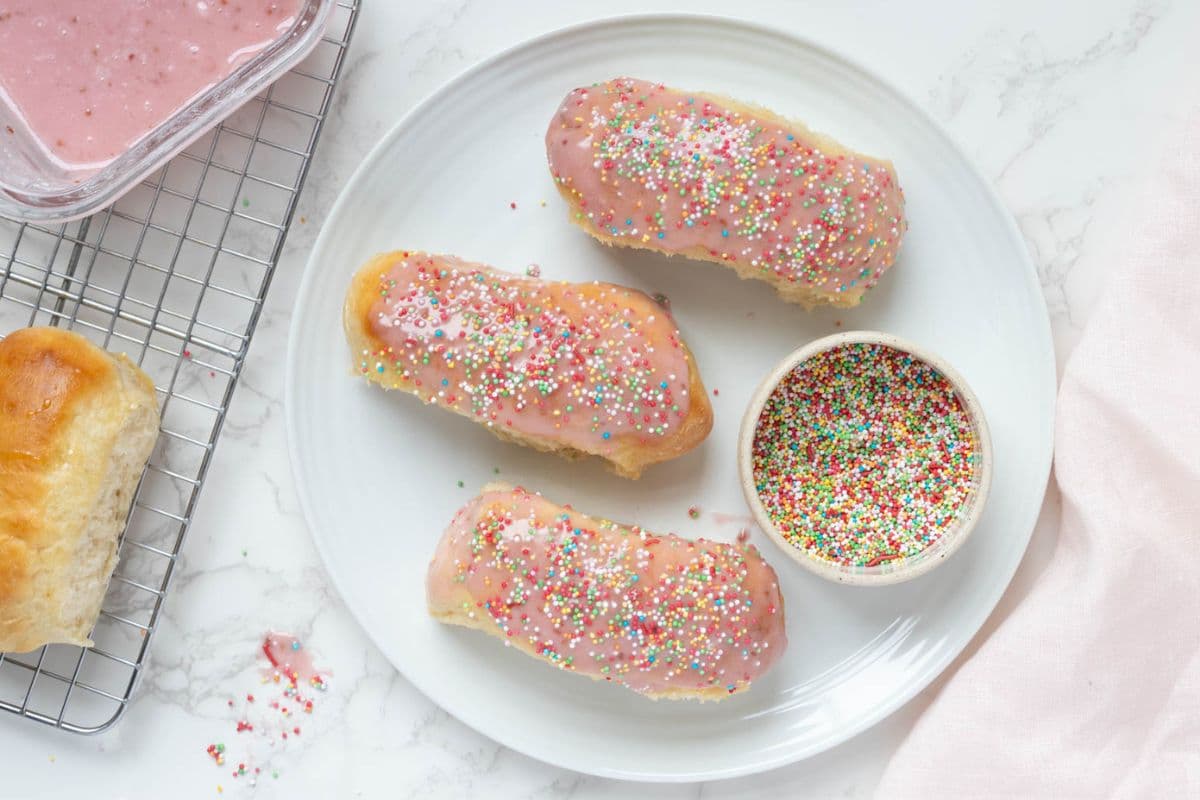
If you aren’t familiar with iced buns, the concept is basically a hot dog shaped, sweet roll covered in a pink or white sugar glaze.
Iced buns are also referred to as finger buns or iced finger buns in some countries. They are a popular choice at many bakeries. These iced buns are different from sourdough cinnamon buns, which are typically filled before they are baked.
They’re popular around Easter, just like these sourdough hot cross buns.
Why You’ll Love This Recipe!
Soft and Fluffy – Brushing with honey butter after baking keeps the buns tender and gives them that classic squishy finish.
Fun to Decorate – Dip in glaze, add sprinkles, or customize with fillings. Kids love helping with this part!
Use Starter or Discard – A small amount of instant yeast helps the dough rise beautifully, and faster than using your starter alone. This makes it easy to use your sourdough discard or starter to make perfect iced buns.
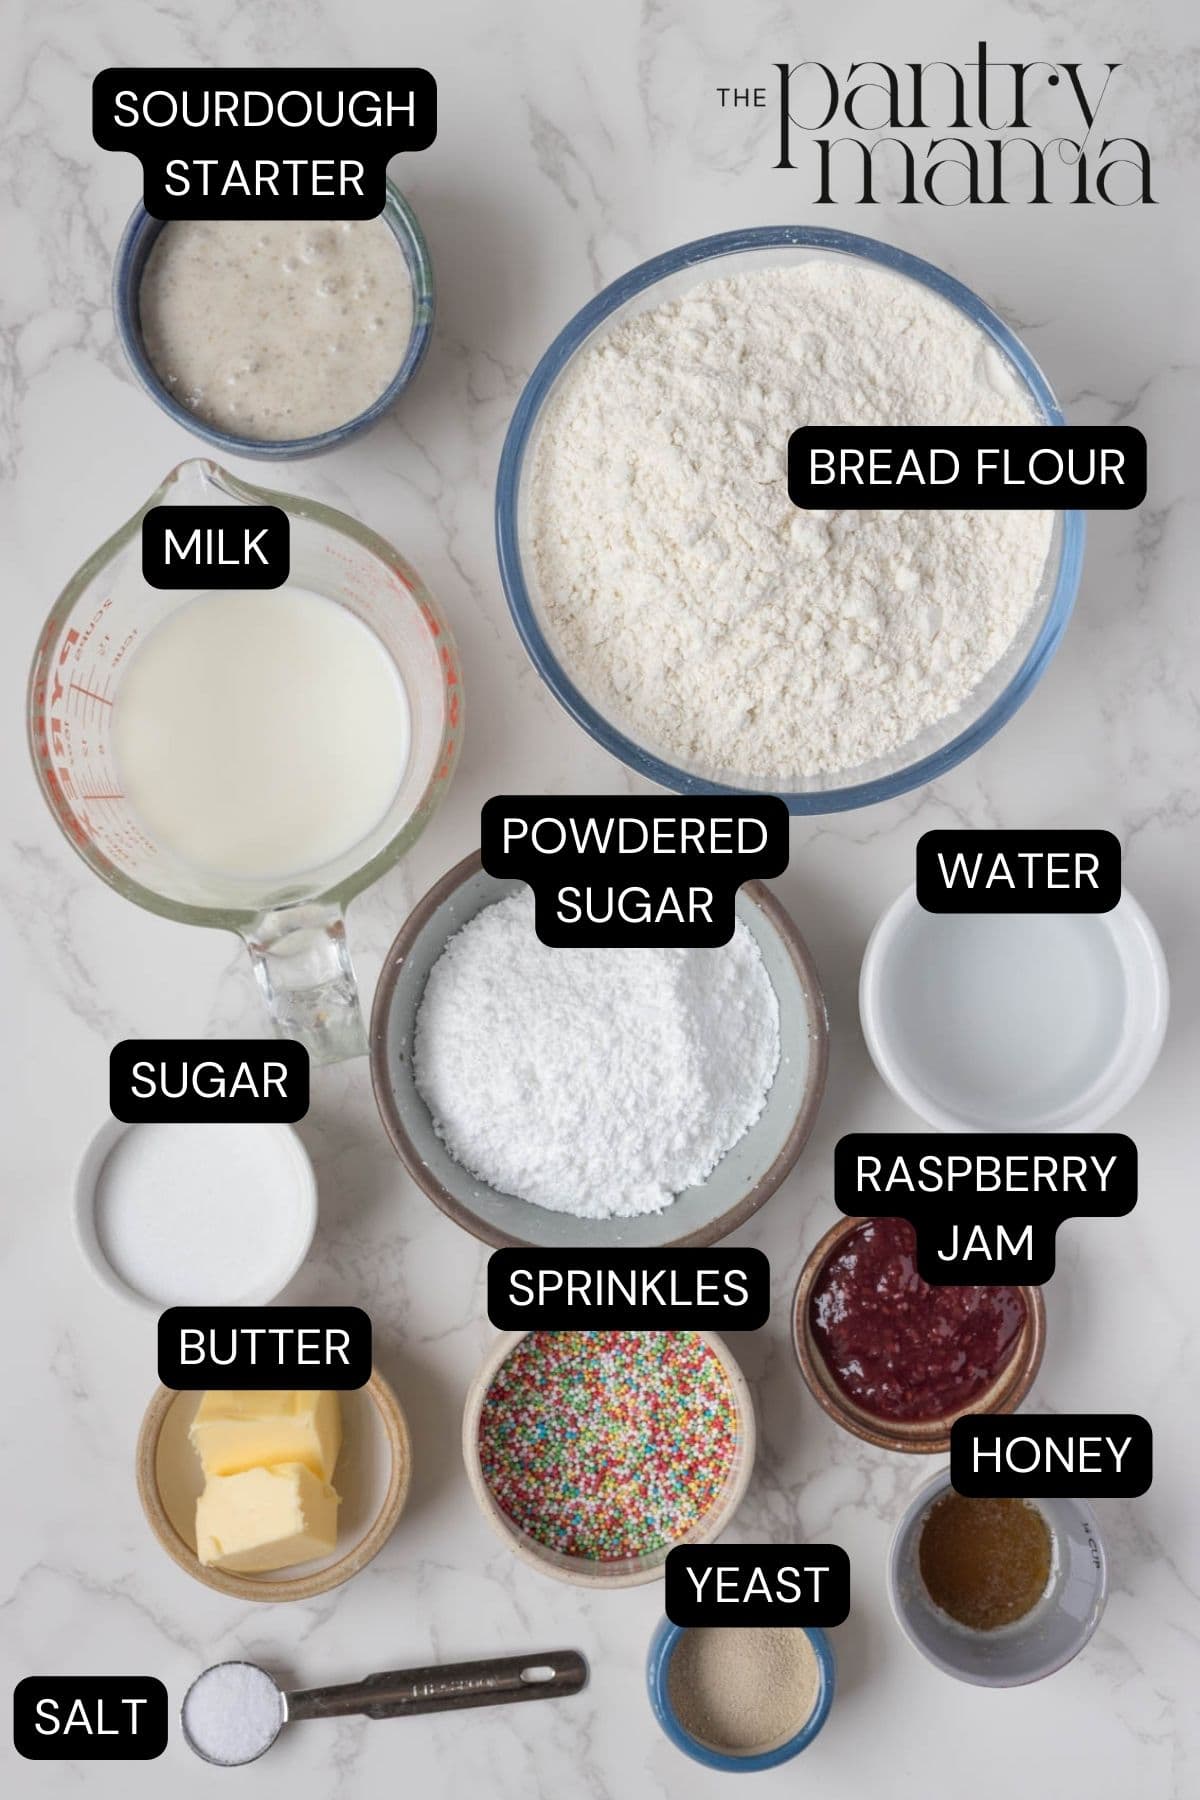
Ingredients
- Sourdough Discard – You can use discard or active starter if that’s what you have. The discard adds flavor and softness rather than providing the main rise.
- Milk – Warm milk helps kickstart the yeast and creates that soft, enriched texture. Whole milk gives the best results, but 2% or even a dairy-free alternative will work if needed.
- Water – A small amount of water helps balance the dough hydration. You’ll also use a bit for the glaze.
- Sugar – Adds a light sweetness and helps feed the yeast for a good rise. It also contributes to the soft, fluffy crumb.
- Salt
- Butter – Softened butter enriches the dough, giving the buns their tender, pillowy texture. I like salted, but unsalted is fine too.
- Bread Flour – The higher protein content gives the dough strength and structure and keeps the buns light and tender.
- Instant Yeast – You can rely on sourdough alone, but a little yeast makes the process much quicker and gives you a reliably soft, fluffy result every time.
- Honey + Butter (For Brushing) – Brushing the warm buns with honey butter keeps the crust soft and adds a subtle sweetness and shine. This step is key for that classic bakery-style finish.
- Powdered Sugar – Creates a smooth, sweet glaze that sets nicely on top of the buns.
- Raspberry Jam – Adds a hint of flavor to the glaze and gives it the traditional pink color. You can swap for vanilla extract if you prefer a white glaze.
- Sprinkles – Totally optional, but they give these iced buns their fun, nostalgic bakery look. Use any colors or styles you like.
How To Make Sourdough Discard Iced Buns
I developed this recipe while testing out sourdough hot dog rolls! Crazy, right? But it works!
These sourdough discard iced buns are super simple to make. They take very little hands on time and can even be a fun baking project to get the kids involved in. I created the recipe using a stand mixer, but you can also knead by hand.
Add warm milk, water, sugar and instant yeast to the bowl of your stand mixer. Mix together until the sugar has dissolved and the yeast is foamy.
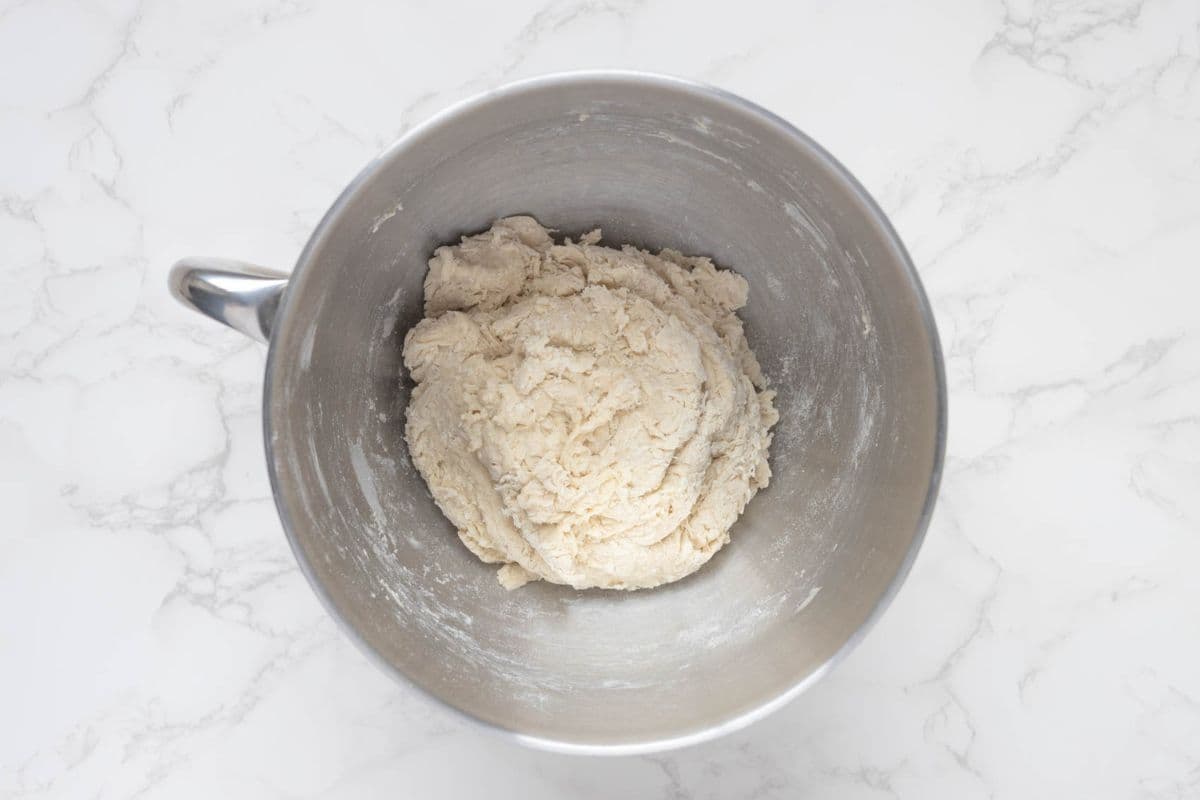
Now add your sourdough starter, bread flour and salt. Bring the ingredients together to form a shaggy dough. This just means that the liquid and flour are brought together – the dough will look a bit dry at this stage.
Now, using the dough hook of your stand mixer, knead the dough for a few minutes until it becomes smoother.
Add the butter and continue to knead the dough until it is smooth and elastic. This dough is not a sticky dough and should some together in one big ball. This should not take too long using a stand mixer – no more than 5 minutes once the butter is added.
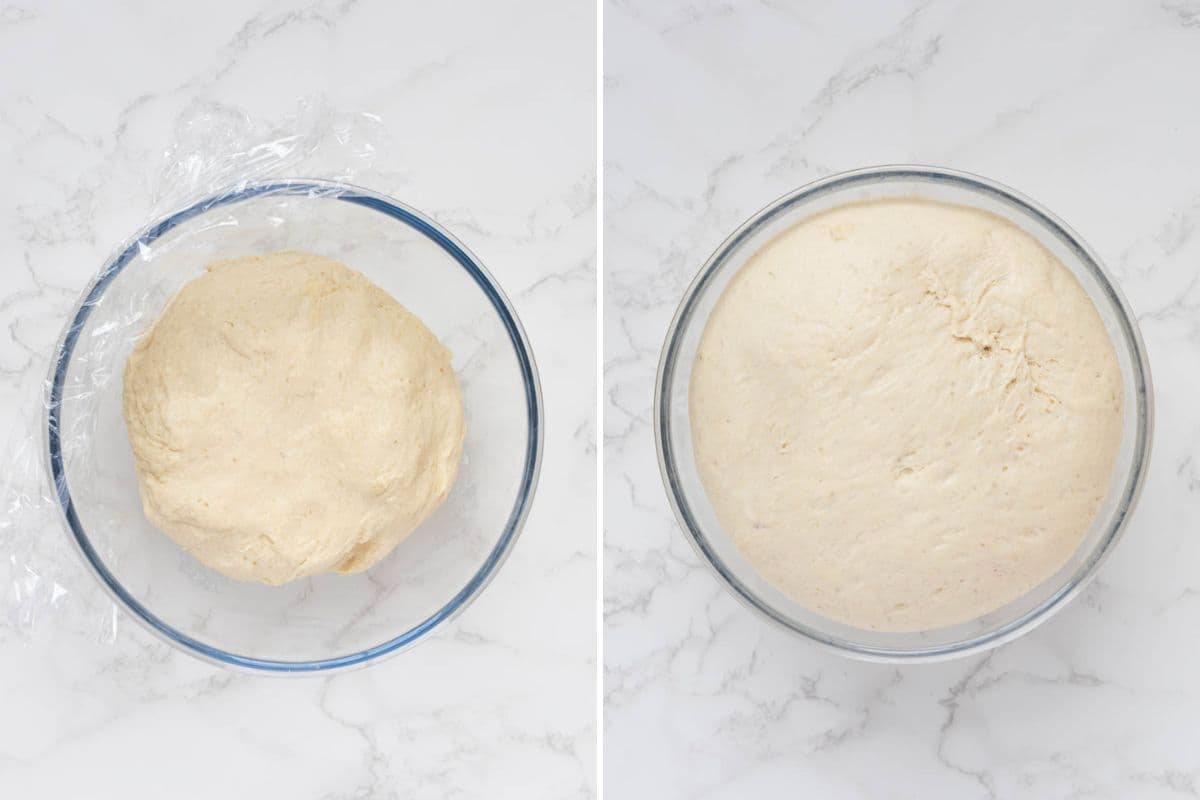
Remove the dough from your stand mixer, place into a bowl and cover with plastic wrap. Leave the dough to rise until it’s doubled. The dough must double – if it doesn’t, your buns won’t be as fluffy.
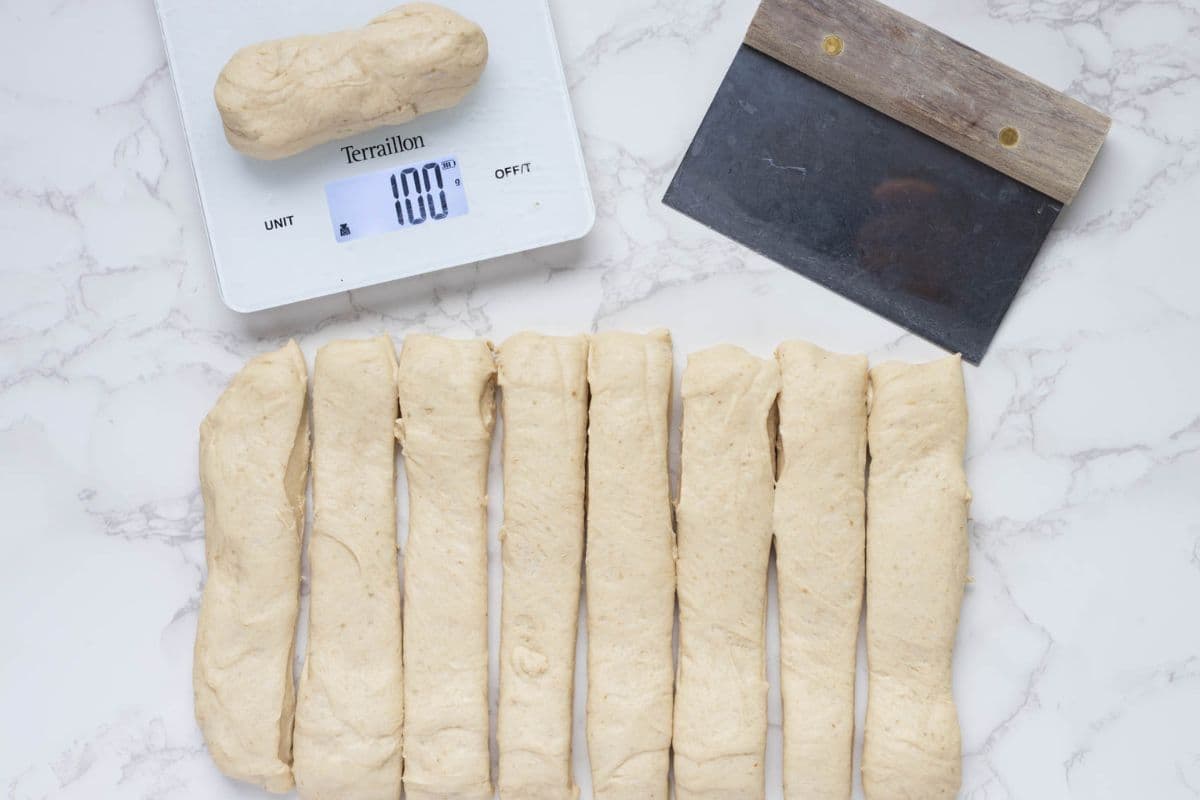
Once the dough has doubled, turn it out onto the counter and form into a rough rectangle. Using a dough scraper, cut the dough into 9 strips (more if you want smaller rolls of 50g).
Using a scale, weigh out each piece, adding or removing dough until you get 9 pieces that are 100g each.
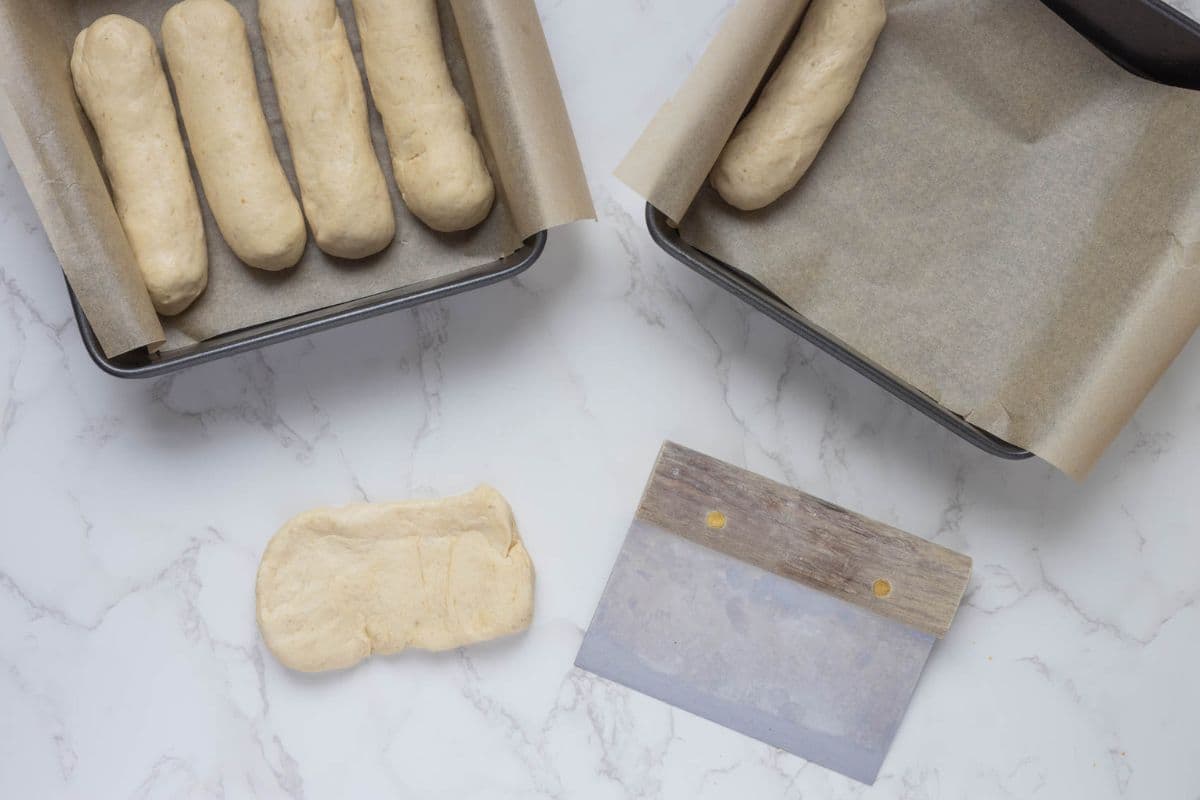
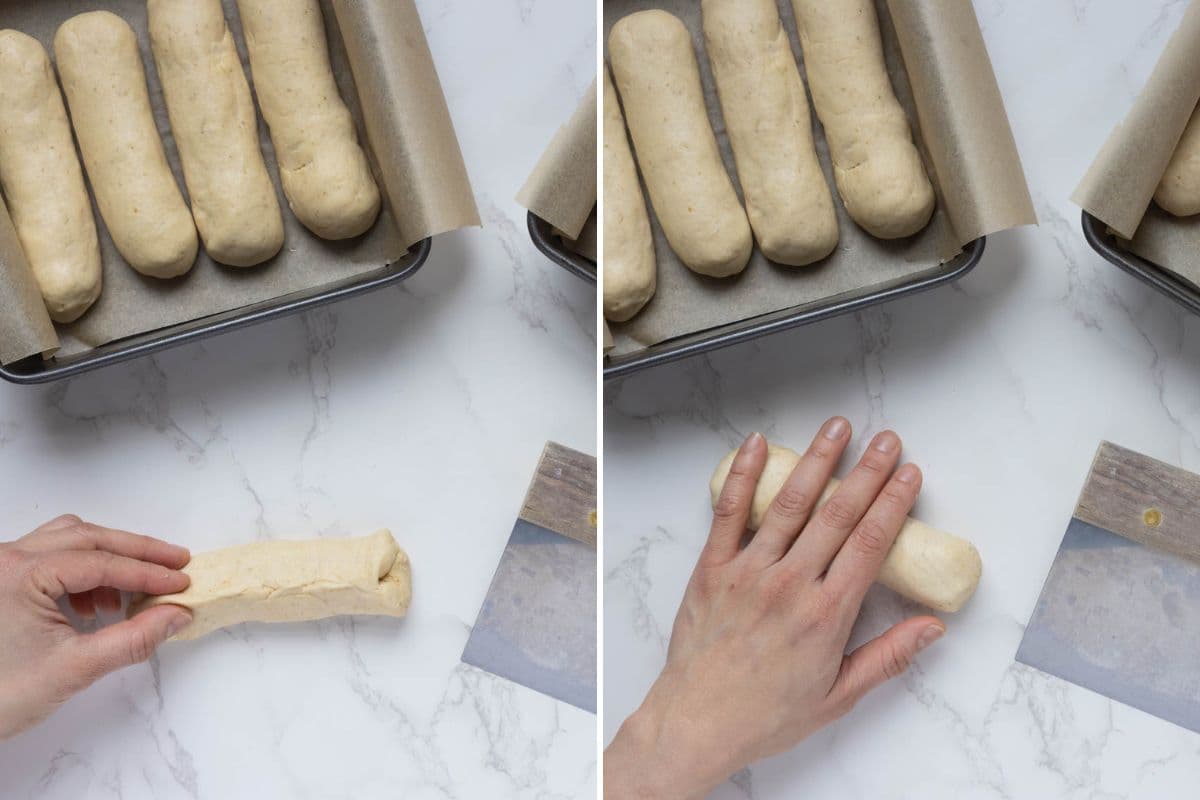
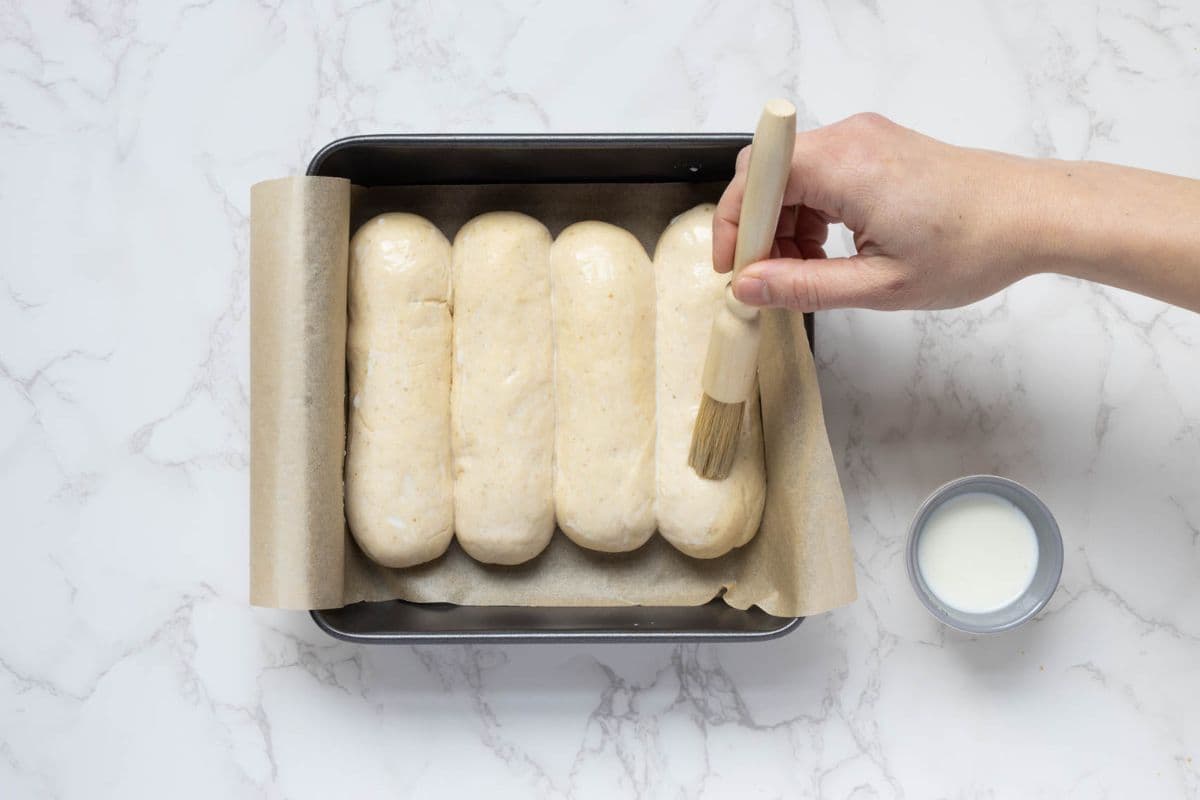
Shape each piece of dough into a log and place on a baking sheet. Leave a little gap between them – but you want them to be touching once they’ve risen. This helps them to maintain their shape when baked.
Preheat your oven to 180ºC/356ºF and set the rolls aside for a second rise – you want them to be puffy (it won’t take too long – around 30 minutes to an hour). Allowing the dough to double is paramount to getting that beautiful fluffy texture to the buns. Allow the dough to double on the first rise and then make sure the buns get nice and puffy after the second rise.
Once the rolls are puffy and touching each other, brush them with some milk.
Place into the oven and bake at 180ºC/356ºF for around 15 minutes. The rolls should be lightly browned on top.
While the buns are baking, mix the honey and butter together in a small dish.
Take the rolls out of the oven and brush generously with the honey butter.
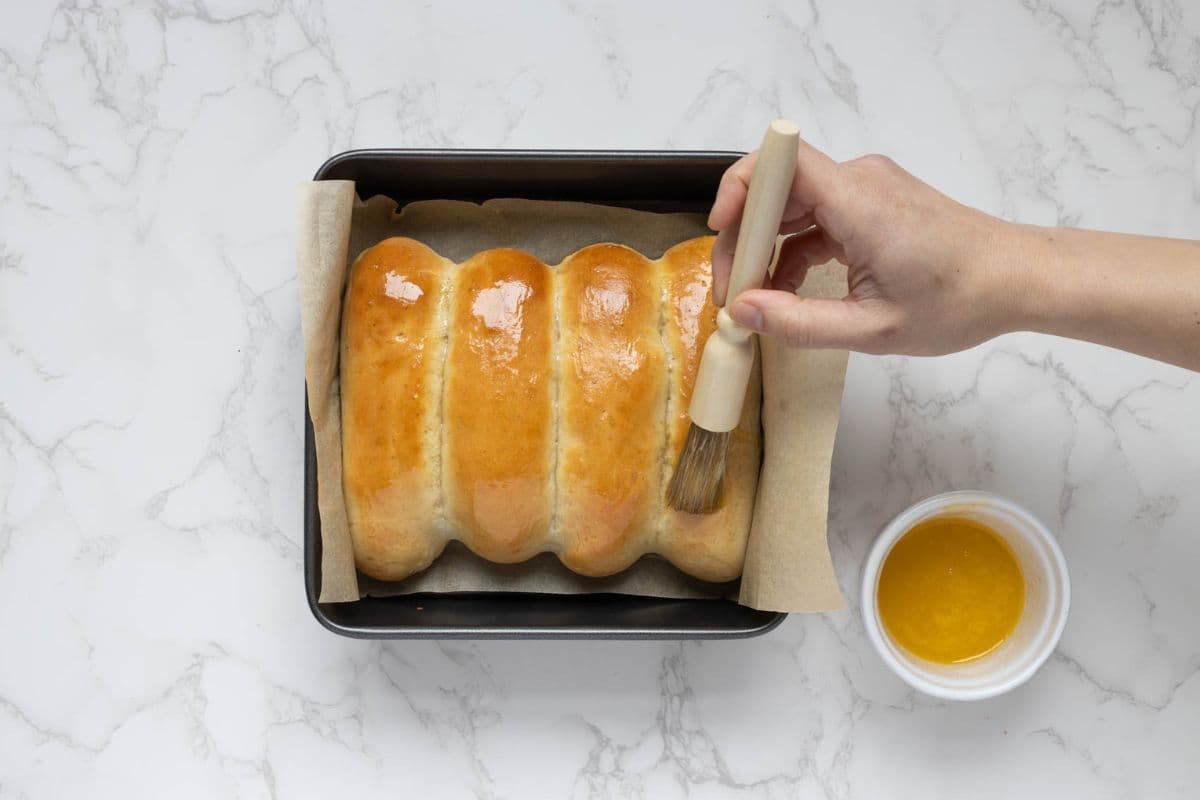
Place the rolls onto a wire rack to cool. Once the rolls are cool, it’s time to ice them!
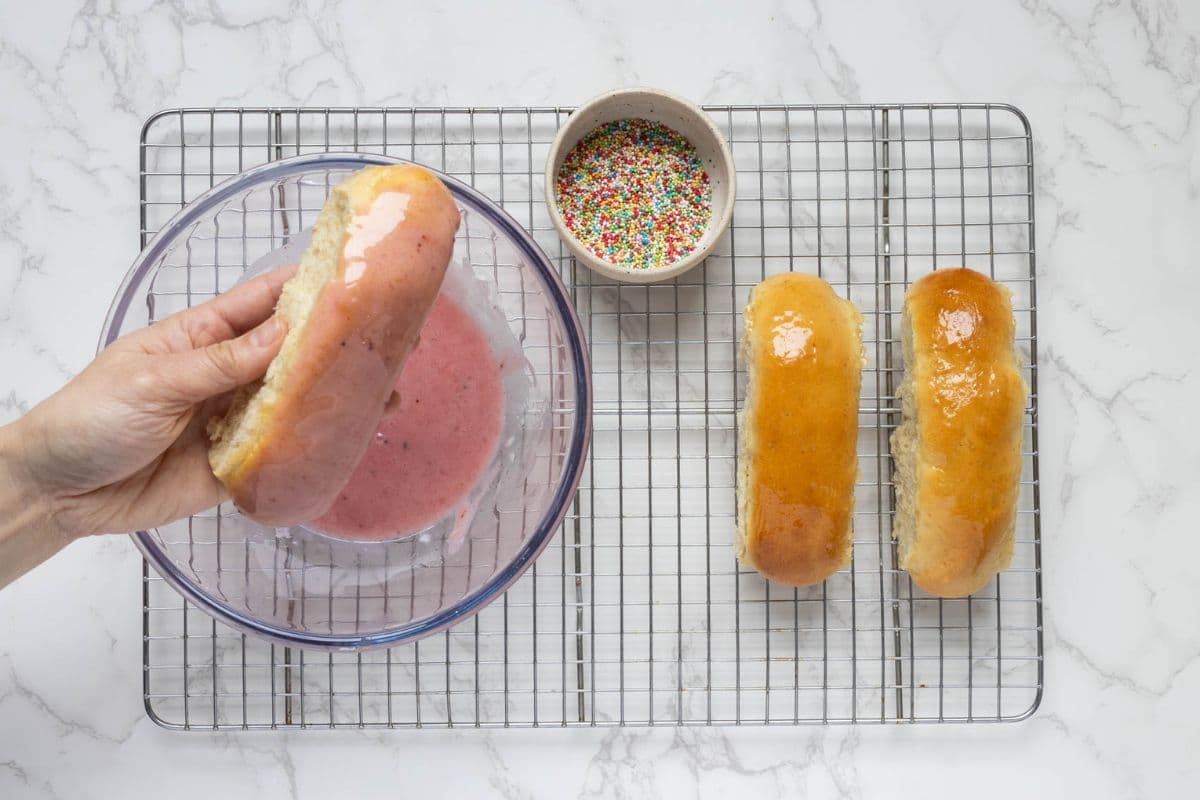
Add the powdered sugar and raspberry jam into a bowl. Add just enough water to bring it together into a smooth paste. You don’t want it too runny – but smooth enough that you can dip the buns in.
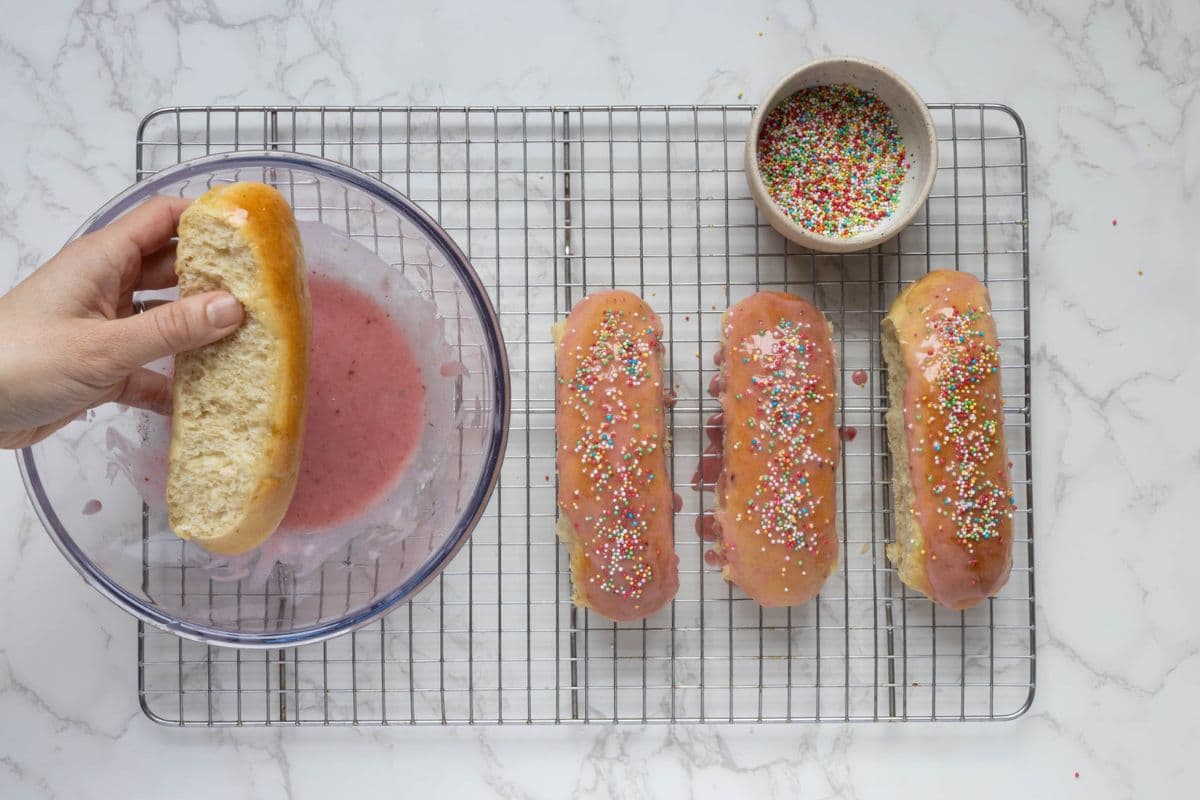
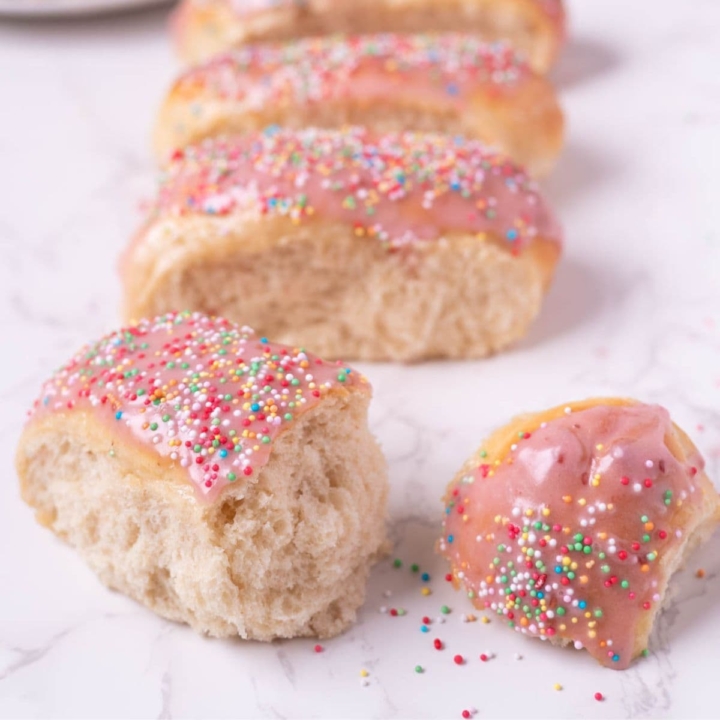
Place each bun top down into the glaze so it covers the top surface of the bun. Then dip into the sprinkles (or just sprinkle them over the top – whatever you prefer).
Kate’s Pro Tips
To get soft, squishy buns …
Brush the buns with milk before you bake them to give them a nice, even color when baked.
Don’t over bake the buns, you want them just baked so that the crust doesn’t get too dark or crusty.
Brushing them with honey butter as soon as they are removed from the oven is important to give them that soft, squishy hot dog bun texture.
Sourdough Discard Iced Buns Variations
We’ve made these so many ways at my house, depending on what we have on hand, what the kids are in the mood for, or whether I’m baking for a special occasion. Once you’ve made the basic dough, it’s simple to change the glaze, adjust the size, or add fillings to create a completely different treat every time.
Make Them Vegan
- Swap the milk for any plant-based milk. Soy, oat and coconut all work well.
- Use the same amount of vegan butter.
- Brush the buns with vegan butter and maple syrup (instead of honey) once they’re cooked to keep them soft.
Change Up the Flavors
- Dip the buns in vanilla glaze and chocolate sprinkles (just use vanilla extract instead of raspberry jam for the glaze).
- Shape the buns into 50g buns (so half the regular size). Sprinkle the warm buns in cinnamon sugar and then inject them with raspberry filling. Easy peasy sourdough jam donuts (you could also try these baked sourdough donuts).
- Dip the buns in vanilla sugar and then split open and fill with jam and cream (these are addictive … don’t say I didn’t warn you).
How to Store + Freeze
Keep the buns in an airtight container for up to 2 days. They stay soft and are best enjoyed within the first day. If your kitchen is warm, you can refrigerate them for up to 4 days. Bring to room temperature or warm slightly before serving.
Freeze baked buns with or without glaze for up to 6 months. I find that if you’re freezing with the icing, it’s best to place them into a large plastic container that allows enough room so the lid doesn’t touch the icing.
Once the rolls are inside the container, place it into the freezer and allow the buns to freeze through. Once they’re frozen, you can transfer to a zip loc bag as the icing won’t be disturbed.
When you want to use them, leave them at room temp to defrost. If you’ve put them into a zip loc bag, you’ll want to arrange them so the icing will not be smeared once they’re defrosted.
Sourdough Discard Iced Buns
Ingredients
- 100 g Sourdough Starter, Discard is fine
- 200 g Milk, warm (37C)
- 80 g Water, room temp
- 40 g Sugar
- 5 g Salt
- 30 g Butter
- 500 g Bread flour
- 7 g Instant Yeast, optional
- 20 g Honey, for brushing warm buns
- 20 g Butter, for brushing warm buns
Sweet Icing Glaze
- 100 g Powdered sugar
- 20 g Raspberry Jam
- 20 g Warm Water, just enough to make a glaze
- 100 g Sprinkles, any color you choose
Instructions
- This recipe was created using a stand mixer. See notes for info on kneading by hand.Add warm milk, water, sugar and instant yeast to the bowl of your stand mixer. Mix together until the sugar has dissolved and the yeast is foamy.
- Now add your sourdough starter, bread flour and salt. Bring the ingredients together to form a shaggy dough. This just means that the liquid and flour are brought together – the dough will look a bit dry at this stage.
- Now, using the dough hook of your stand mixer, knead the dough for a few minutes until it becomes smoother.
- Add the butter and continue to knead the dough until it is smooth and elastic. This dough is not a sticky dough and should some together in one big ball.This should not take too long using a stand mixer – no more than 5 minutes once the butter is added.
- Remove the dough from your stand mixer, place into a bowl and cover with plastic wrap. Leave the dough to rise until it's doubled. The dough must double – if it doesn't, your buns won't be as fluffy.
- Once the dough has doubled, turn it out onto the counter and form into a rough rectangle. Using a dough scraper, cut the dough into 9 strips (more if you want smaller rolls of 50g).
- Using a scale, weigh out each piece, adding or removing dough until you get 9 pieces that are 100g each.
- Shape each piece of dough into a log and place on a baking sheet. Leave a little gap between them – but you want them to be touching once they've risen.
- Preheat your oven to 180ºC/356ºF and set the rolls aside for a second rise – you want them to be puffy (it won't take too long – around 30 minutes to an hour).
- Once the rolls are puffy and touching each other, brush them with some milk.
- Place into the oven and bake at 180ºC/356ºF for around 15 minutes. The rolls should be lightly browned on top.
- While the buns are baking, mix the honey and butter together in a small dish.
- Take the rolls out of the oven and brush generously with the honey butter.
- Place the rolls onto a wire rack to cool.
- Once the rolls are cool, it's time to ice them!
- Add the powdered sugar and raspberry jam into a bowl. Add just enough water to bring it together into a smooth paste. You don't want it too runny – but smooth enough that you can dip the buns in.
- Place each bun top down into the glaze so it covers the top surface of the bun. Then dip into the sprinkles – or just sprinkle them over the top! Enjoy!
Notes
Nutrition
Nutrition information is automatically calculated, so should only be used as an approximation.
Like this? Rate and comment below!


Can I substitute raspberry jam with strawberry jam ?
I would imagine the flavor of jam would be a personal preference and not affect the actual creation of the bun!
How would the amount of milk change if using a nut milk?
Would this type of bun be appropriate for a Long John, dipped in chocolate icing (on top) but filled with custard?
Yes you can definitely do this with these 🙂
Totally recommend. Very easy & quick to make (used to making sourdough, no instant yeast). Grandkids are loving them. Apparently they’re better than the bakeries finger buns!