Sourdough Pumpernickel Bread [Dark Rye Sourdough Recipe]
This post may contain affiliate links.
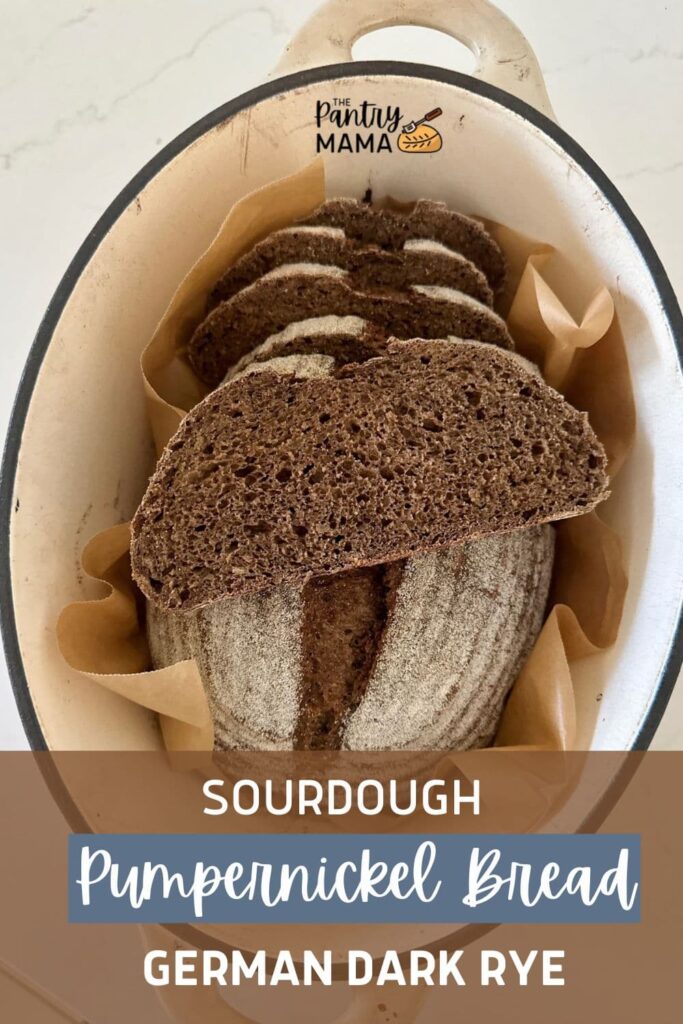
Naturally leavened with sourdough starter, this hearty sourdough pumpernickel bread is made using dark rye flour (or pumpernickel flour) and molasses. It's robust aroma, deep color and intense flavor will have you making this many times over.
A traditionally German bread, sourdough pumpernickel can be a difficult dough to work with due to the lack of gluten in dark rye flour. For this reason, I have balanced out this dough with bread flour so that it is a recipe accessible to sourdough beginners.
This sourdough pumpernickel bread recipe will give you a denser bread than you may be used to. The crumb is more moist and tighter than sourdough bread made with white flour because rye flour has less gluten-forming protein. It has a unique flavor - it's intense and has a distinct sweetness that sits well alongside the familiar tangy sourness that comes from using sourdough starter to leaven the bread.
Why You'll Love This Recipe?
There are so many reasons to love this sourdough pumpernickel rye bread! It's a little different to making a simple white sourdough loaf, which is why I love baking this for something a little different.
- Uses Dark Rye Flour or Course Rye Meal - if you enjoy a challenge and using whole grain flours, you're really going to love this recipe! Dark rye flour can be difficult to work with, but the reward is so worth it!
- Deep Color & Hearty Aroma - this is a modern take on a classic pumpernickel loaf - I've added a dark rye/bread flour blend and then built in richness and intense flavors using dark malt powder and molasses (there are notes on alternatives to these further down).
- Quicker Cooking Time - using some different ingredients to build color and flavor, this version of sourdough pumpernickel bread is able to cook much faster than traditional pumpernickel bread. This makes it a convenient recipe for modern life.
If you love using rye flour for sourdough baking, you might also enjoy this rustic sourdough rye bread, sourdough rye bagels or this easy whole wheat rye sourdough bread.
Quick Ingredient List (and Where To Find Them)
Here are the main ingredients of this sourdough Pumpernickel with links so you can purchase them easily. Some of them may not be available at your local grocery store so you might need to go to a specialist bread making store or purchase them online. I've also added some variations and substitutions further down the post.
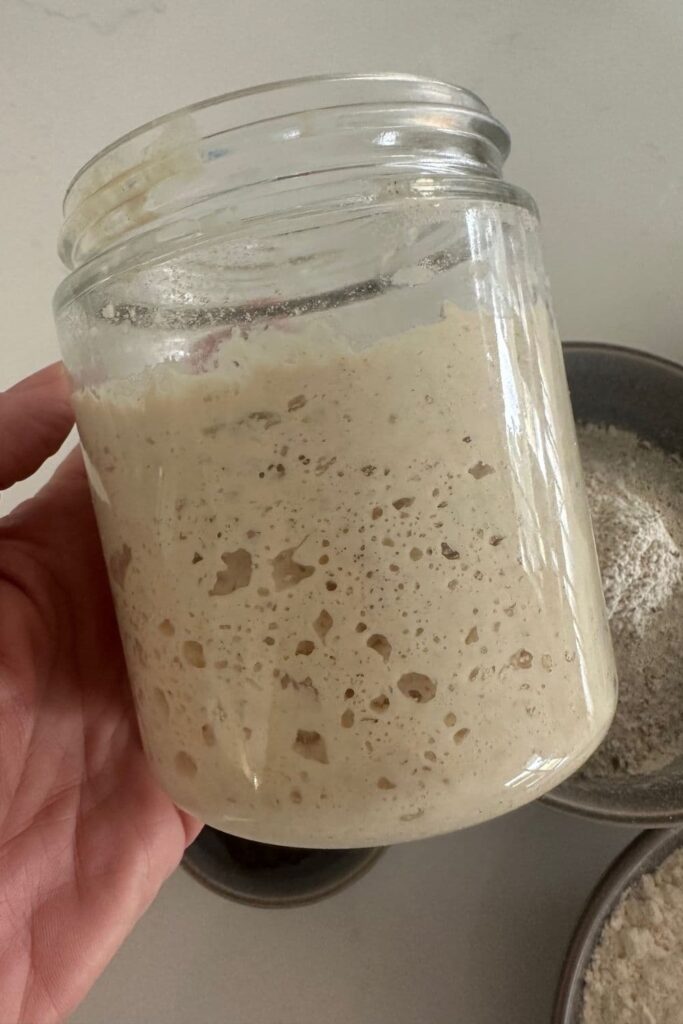
- Sourdough Starter - You don't need a rye sourdough starter for this sourdough bread, but you can enhance the rye flavor by building a rye levain specifically for this loaf. If you do like the idea of using rye for your starter you could build a rye sourdough starter or use your existing sourdough starter to build a rye levain for this sourdough bread. To build a rye levain, take 20g of your own sourdough starter and feed it with 50g of warm water and 50g of rye flour. Allow the levain to double before you use it in this recipe. This will give your bread an intense rye flavor and can help to build a more sour flavor profile.
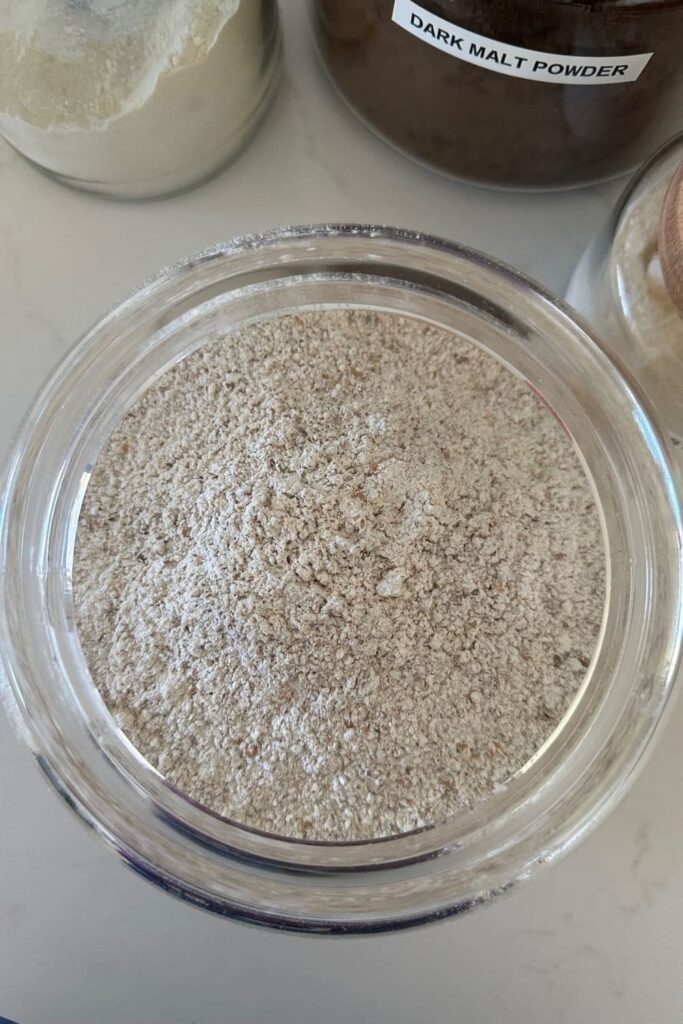
- Dark Rye Flour or Coarse Rye Meal - this can be hard to find. You can use flour labelled as "Pumpernickel" or Dark Rye Flour. If you're in Australia, you can purchase this flour here. In the US, you can purchase dark rye flour from Amazon. Dark rye flour is different to regular or light rye flour.
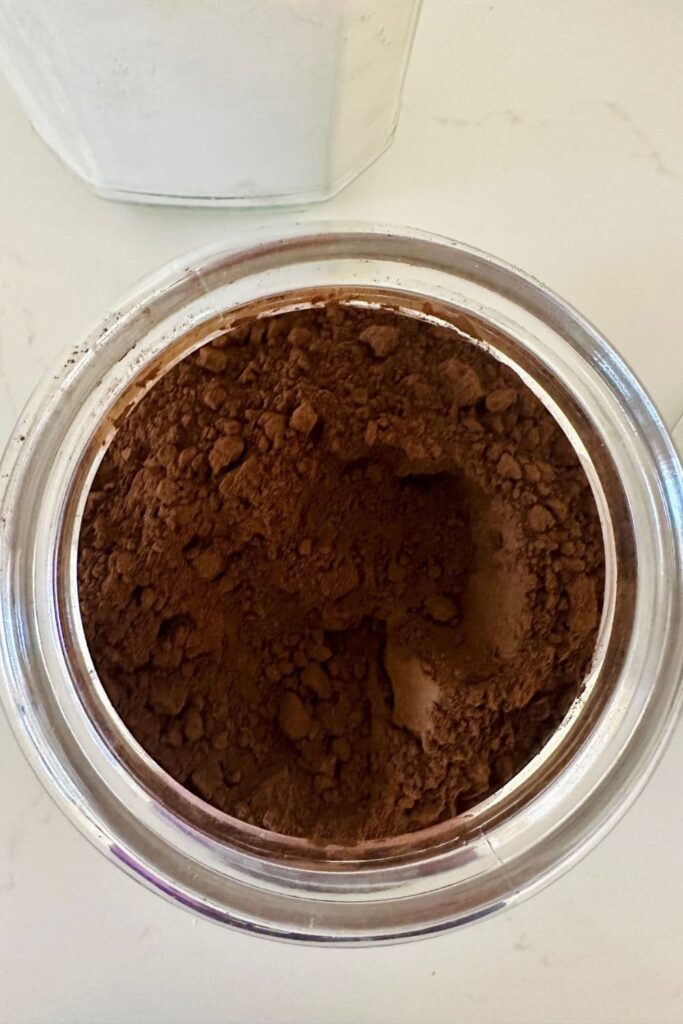
- Dark Malt Powder - this is also known as non-diastatic malt powder. You are going to love this stuff for flavor! In Australia, you can buy dark malt powder here. In the US, you can purchase it from Amazon. If you can't find it, you can use dark cocoa as a substitute or even this King Arthur Espresso Powder. Another idea is to use liquid coffee in place of the water in this recipe if you cannot find dark malt powder.
- Molasses - usually found in the grocery store with the sugars. I've used liquid molasses for this bake. If you can't find it at the store, then you can purchase it here.
What is Sourdough Pumpernickel Bread?
Sourdough pumpernickel is a dark rye bread leavened with sourdough starter or wild yeast. It is German in origin and known for its rich, dark color and flavor.
Traditionally, Pumpernickel is made using whole rye berries that have been coarsely ground. It's baked at very low temperatures for up to 24 hours. This unique slow baking process gives the bread its intense color and thick crust.
In more modern times, Pumpernickel has been made using molasses, black coffee and even cocoa to achieve the intense richness and color. Caraway seeds are often added for flavor and texture.
Pumpernickel sourdough bread is a beloved option for those who enjoy robust, hearty bread with a distinctive taste. It pairs well with a variety of toppings and spreads, such as cream cheese, smoked salmon, pickles, or cured meats, making it a versatile and satisfying choice for sandwiches or as a side to complement hearty soups and stews.
What Is The Difference Between Sourdough Pumpernickel and Sourdough Rye Breads?
Both sourdough pumpernickel and sourdough rye bread are leavened using an active sourdough starter. Rye bread is made using light rye flour, which has been processed so that the bran and germ has been removed, leaving only the starchy endosperm.
Pumpernickel bread is made using dark rye flour or coarse rye meal, where both the bran and germ are milled (a bit like whole wheat flour). This results in a heavier, more nutritious flour.
Rye bread is typically cooked for a shorter amount of time, whereas traditionally pumpernickel is baked for a very long time, albeit at lower temperatures. This allows the natural sugars in the flour to caramelise - resulting in a darker, deeper color and flavor profile than rye bread.
Fun Facts About Pumpernickel Bread
- The name Pumpernickel translates as "Pumpern" - to break wind or fart and "Nickel" - from the name Nicholas which is associated with goblins and the devil. So you could say Pumpernickel means "Devil's Fart".
- Pumpernickel is often thought to be "hard to digest" which is ironic since it's made with sourdough starter, which makes grains easier to digest and more nutrient dense.
- Once considered peasant bread, Pumpernickel became more popular fare during the 20th century through delicatessens and high end supermarkets.
- The Pumpernickel we often eat today is very different to traditional German pumpernickel, made with cracked rye berries. Modern pumpernickel often uses commercial yeast and caramel coloring to achieve the dark color and flavor in a more timely manner.
How To Make Sourdough Pumpernickel Bread
Making this sourdough pumpernickel bread recipe may present a few challenges if you aren't familiar with working with rye flour - and particular dark rye flour. Rye flour is difficult to work with because it has less gluten-forming protein than all purpose flour or bread flour. But stick with it, it's definitely worth the pain! And once you've made it a few times, you'll get better at handling the sticky dough.
I like to create a levain using my sourdough starter and dark rye flour, however this is definitely not essential and you can use your regular sourdough starter (fed with all purpose flour or bread flour) to make this bread. If you have a rye starter, that will work well with this recipe too.
Autolyse
Weigh out your sourdough starter, water and molasses into a large bowl. Mix them together briefly.
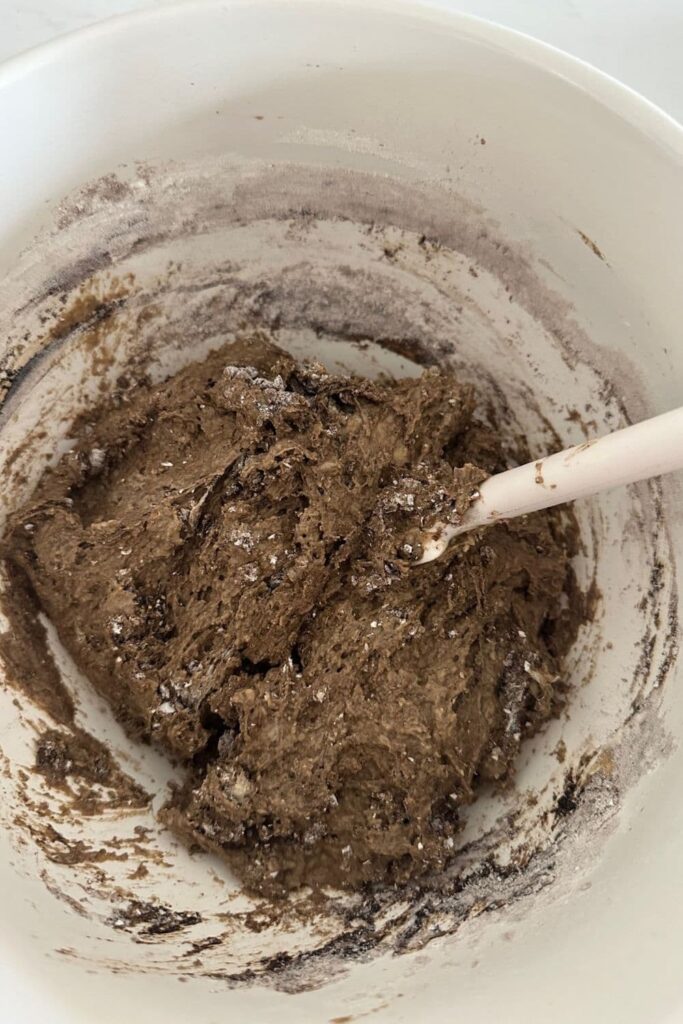
Then add your dark rye flour, bread flour, dark malt powder and salt and mix altogether with the end of a wooden spoon.The dough will be fairly shaggy and only just brought together. Cover your bowl with cling film or a damp tea towel and let it sit for around 1 hour. It's ok if it's a little bit longer, it's not going to matter too much. This process is called the "autolyse" and allows your flour to soak in all the water and become hydrated.
Forming Up Your Dough
After the dough has been through autolyse you need to bring it together into a ball. You'll notice that the dough is fully hydrated after soaking all the water up.
Work your way around the bowl, grabbing the dough from the outside, stretching it up and over itself until a rough ball is formed. You shouldn't need more than about 20-25 folds to form the ball (and remember that rye flour will make the dough stickier than you're used to so don't worry if it still looks like a big ol' mess).
Once the dough has formed into a rough, sticky ball, pop the plastic wrap back on and let it rest for 30 minutes.
Stretch & Folds
Over the next few hours you need to create some structure for your dough by "stretching and folding". This will be much more difficult to do with dark rye flour than with traditional sourdough bread.
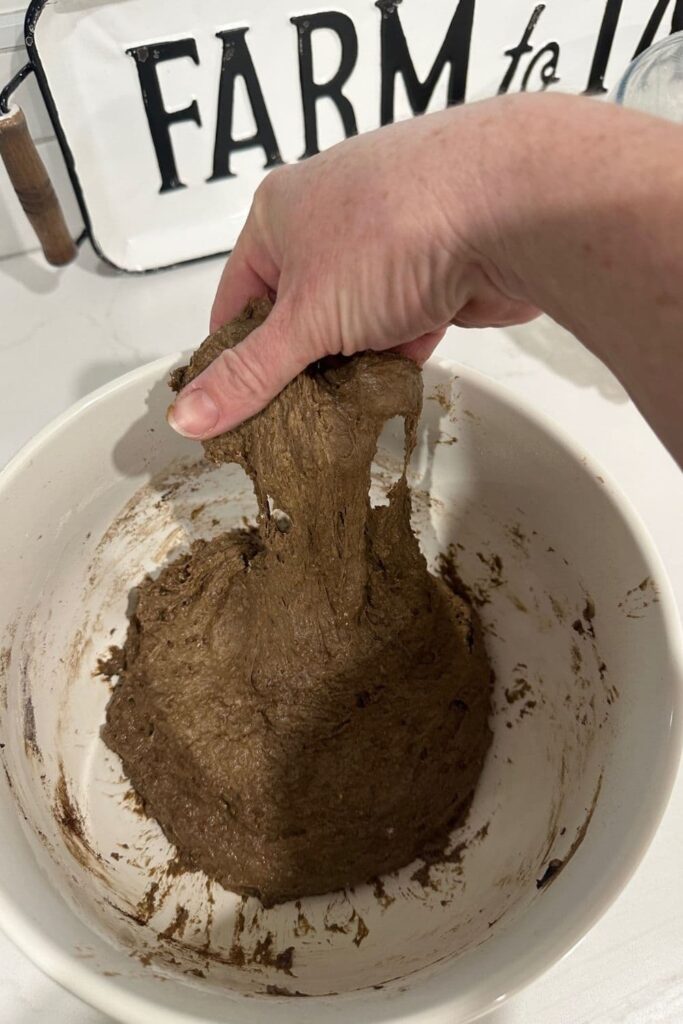
Aim to do around 4-6 sets of stretches and folds. For each set, stretch the dough up and over itself 4 times.
Leave around 15 minutes in between each set. Again you do not have to be exact with time, but you need to do at least 4 sets over 2 hours.
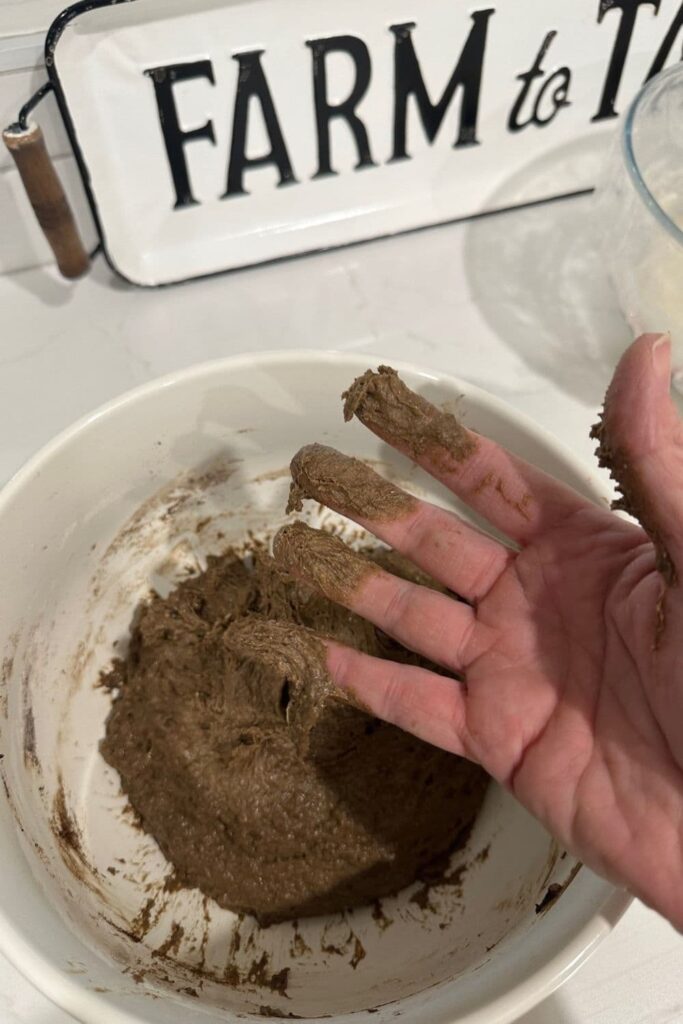
You will need to really work the dough to develop the gluten - because rye flour has a lower gluten content. Don't worry though, if the dough seems to tear and stick to your fingers - this is very normal!! A dough scraper is really handy in these situations.
Bulk Ferment
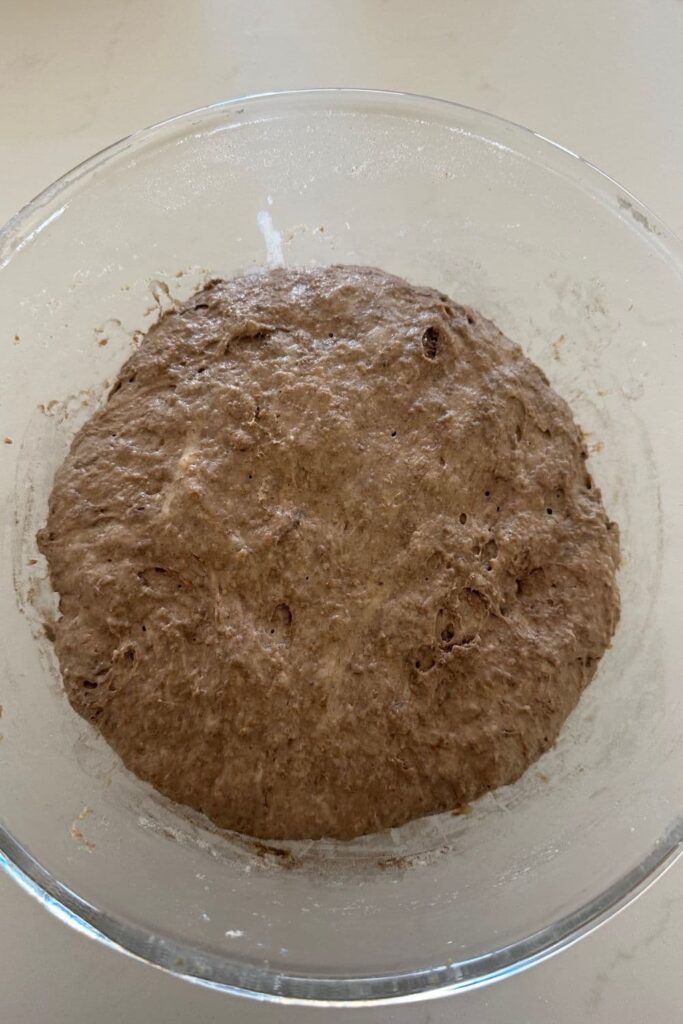
Once you've finished your stretch and folds, place the plastic wrap or damp towel back over your dough and let it rest and ferment at room temperature until it has doubled (see notes).
Shaping Your Dough
Once your dough has finished it's first ferment, it's time to shape it and give it some shape and surface tension. You'll need to flour your counter top with rice flour for this (we use rice flour because it has no gluten).
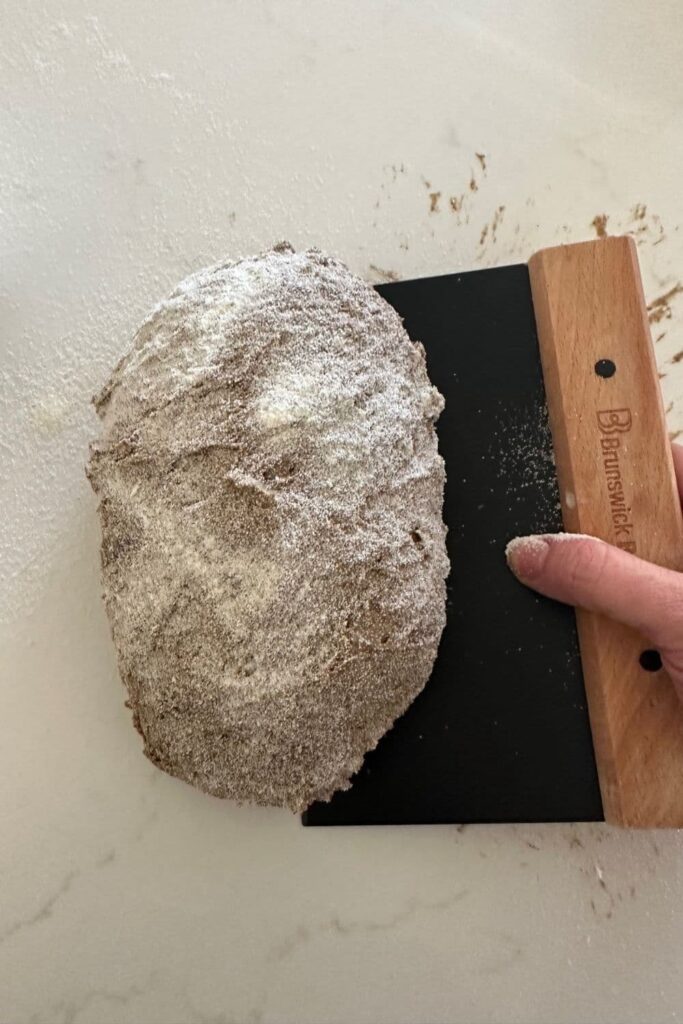
You'll probably need more rice flour for this sourdough pumpernickel bread than you would for regular sourdough bread.Use a silicone dough scraper to gently ease the dough out of the bowl. You want it to land upside down on your counter so that the smooth top of the dough is on the countertop and the sticky underside is facing up. This will make it easier to shape.You can shape into whatever you like. I prefer this one as a batard. It also works well baked in a loaf pan if you are really struggling with shaping.
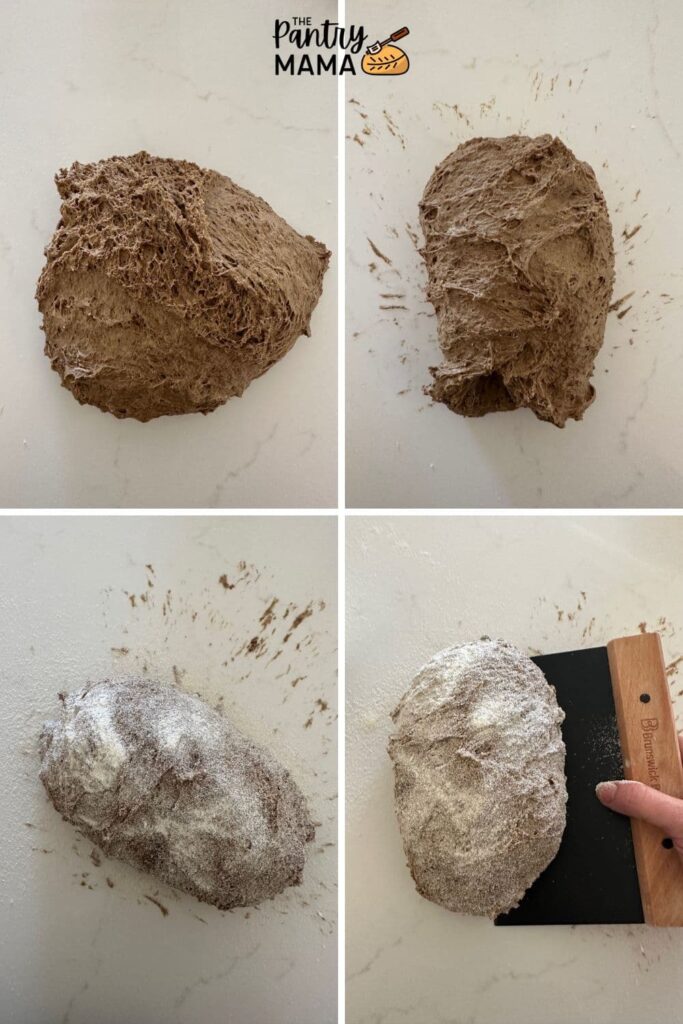
If your dough is really sticky, you can dust it in flour before you put it into the banneton so that it won't stick to the sides. You can see that I've done this in the photos below.
Once the dough is shaped, place it into your banneton smooth side down, so your seam is on the top. Use a bench scraper to do this if you need to.Lift your dough around the edges to pop a little more rice flour if you feel it needs it.
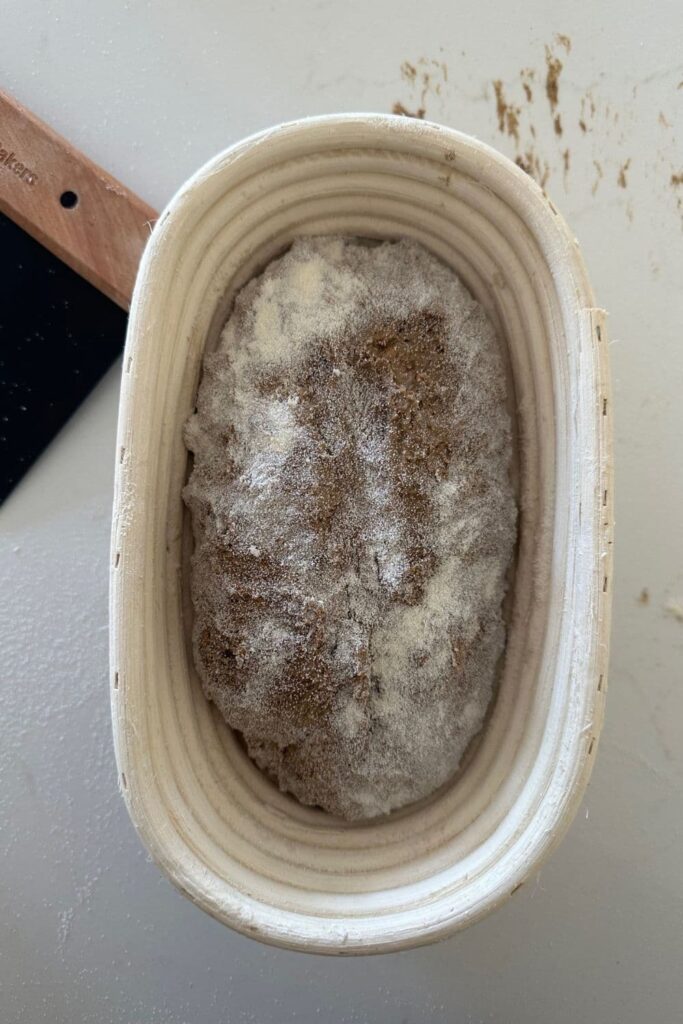
Cold Ferment
Now your dough is in it's "shaping container" cover it loosely with a plastic bag or damp tea towel and place into the fridge. I use a large plastic bag to cover it - I just reuse it each time. It's not totally essential to cover it - you can place it in the fridge uncovered if you'd prefer.T
ry to leave it in the fridge for a minimum 5 hours up to a maximum of around 36 hours. The longer you leave it the better your bread will be! A longer cold ferment creates beautiful blisters on your crust and a deeper sourdough flavour. It will also ensure your dough forms a skin which makes it easier to score.
Preparing to Bake Your Sourdough
Once you're ready to bake your sourdough, you'll need to preheat your oven to 230C/450F.
Place your Dutch Oven into the oven when you turn it on so it gets hot. Try to preheat for around 1 hour to ensure your oven is super hot - but you know your oven so just adjust this time if you need to.
Leave your dough in the fridge until the very last minute.
Baking Your Sourdough
When your oven is at temperature. Take your sourdough out of the fridge.
Gently place it onto a piece of baking paper. Make sure that you make the baking paper big enough to use the edges as a handle to lower to dough into your Dutch Oven.
Gently score your bread with a lame, clean razor blade or knife. Carefully take your dutch oven out of the oven.
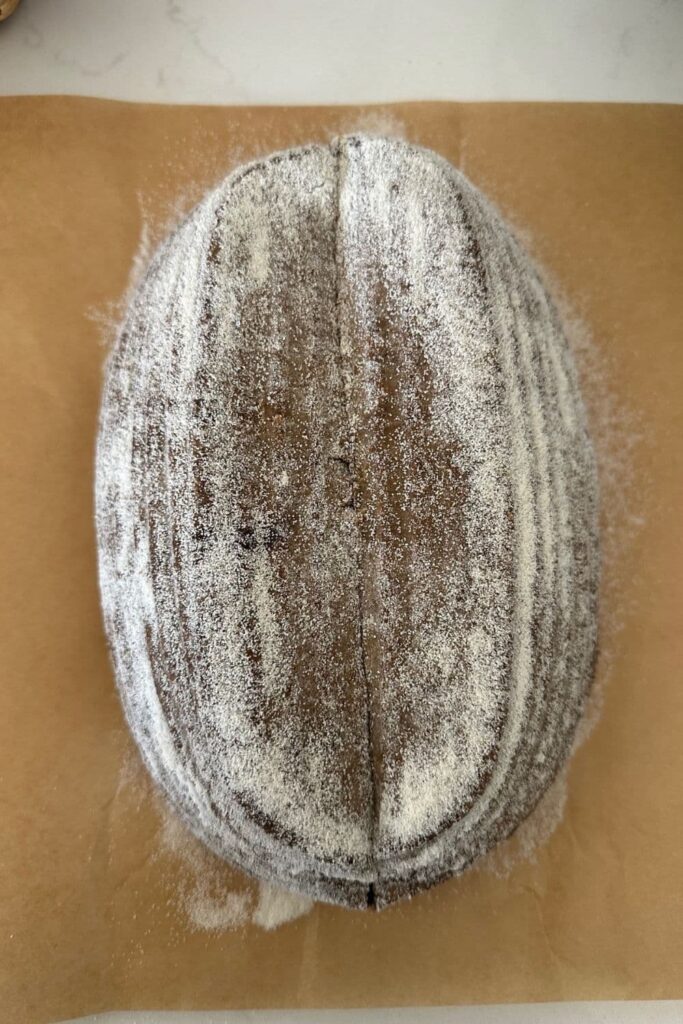
Place the sourdough into the pot using the baking paper as a handle. Put the lid on and place into the hot oven. If you want to you can spritz your dough with extra water before you put the lid on.
BAKE TIME:
30 Minutes with the lid on at 230C/450F plus
10-15 Minutes with the lid off at 210C/410F
Finishing Your Bake
When you remove your dough from the oven, carefully remove it from the dutch oven as soon as possible and place on a wire rack to cool.
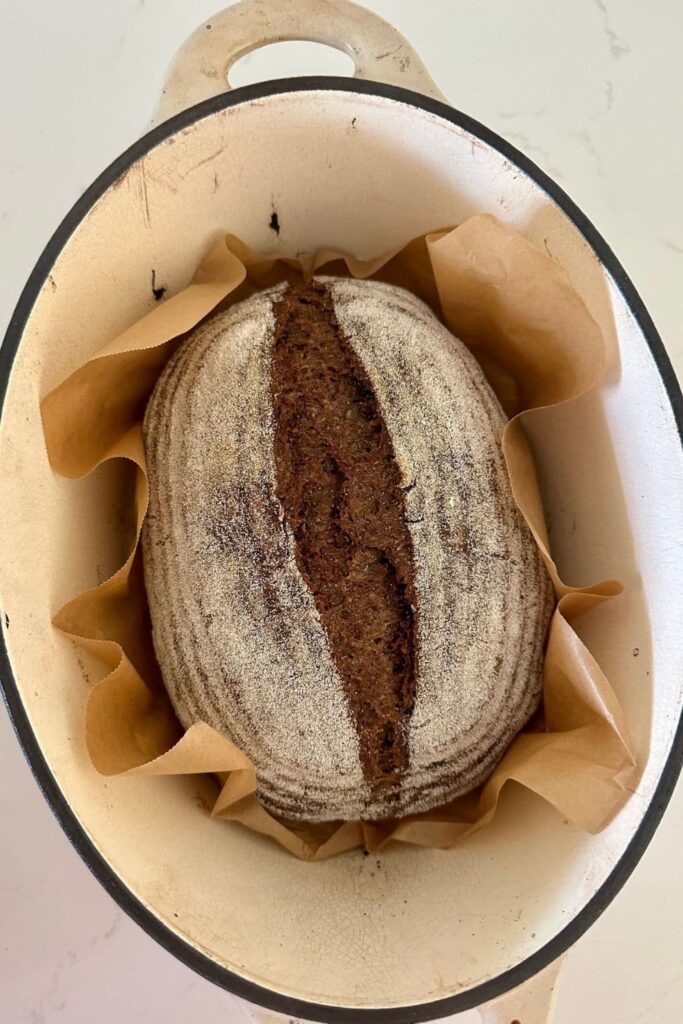
You'll need to allow this bread a bit longer to cool due to its higher moisture content. It will take up to 12 hours for it to cool completely (this is normal for sourdough rye bread).
Batard or Boule?
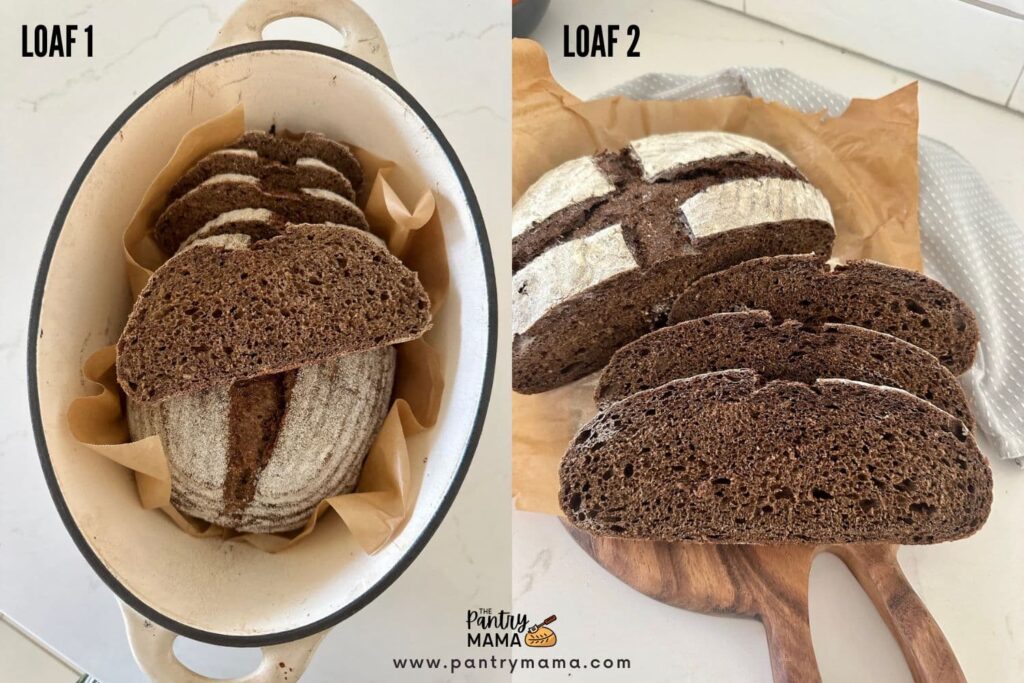
You will notice that there are two versions of Sourdough Pumpernickel Bread that I've photographed in this article.
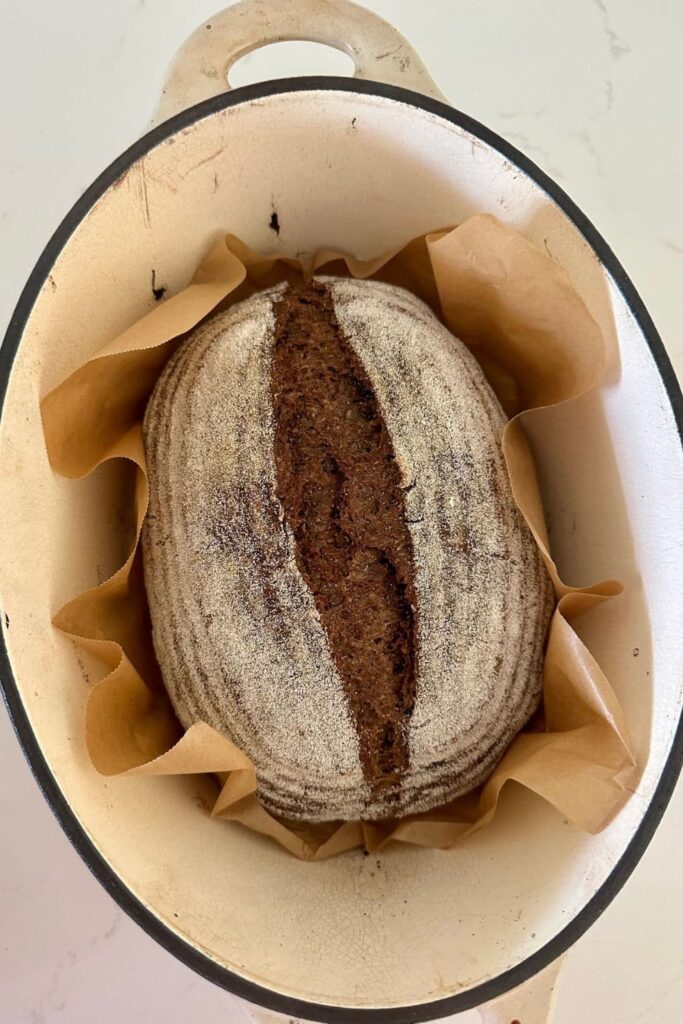
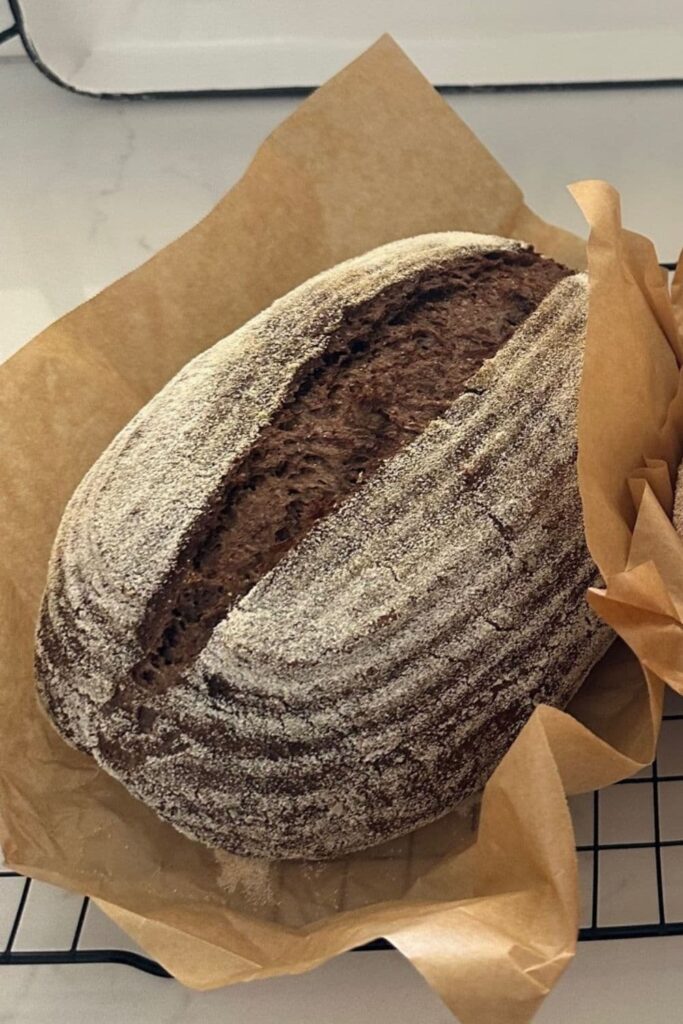
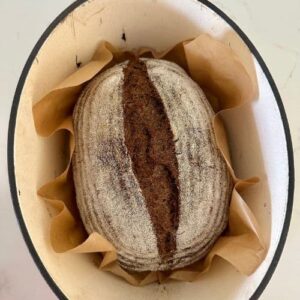
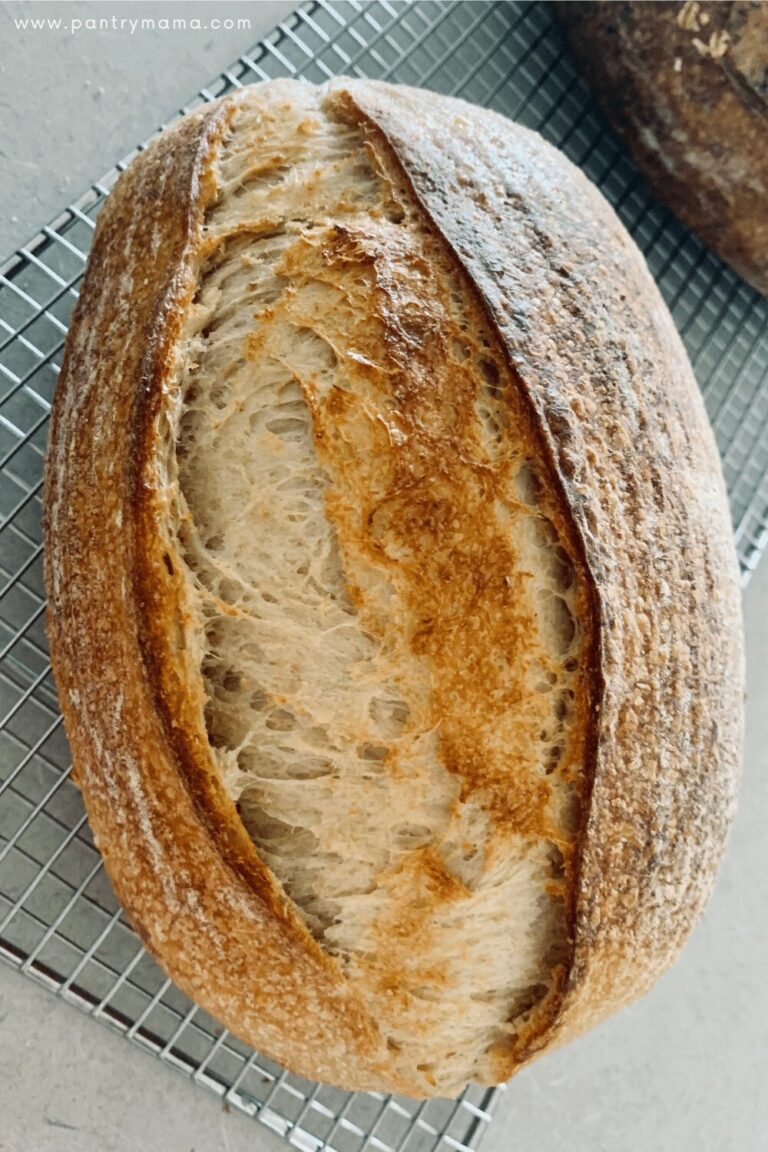
Loaf 1 - The batard or oval shaped loaf was baked in an Oval Dutch Oven. This has been dusted with semolina flour rather than rice flour for something different. This loaf contains only 10g of dark malt powder and hence has a slightly lighter coloring than the second loaf.
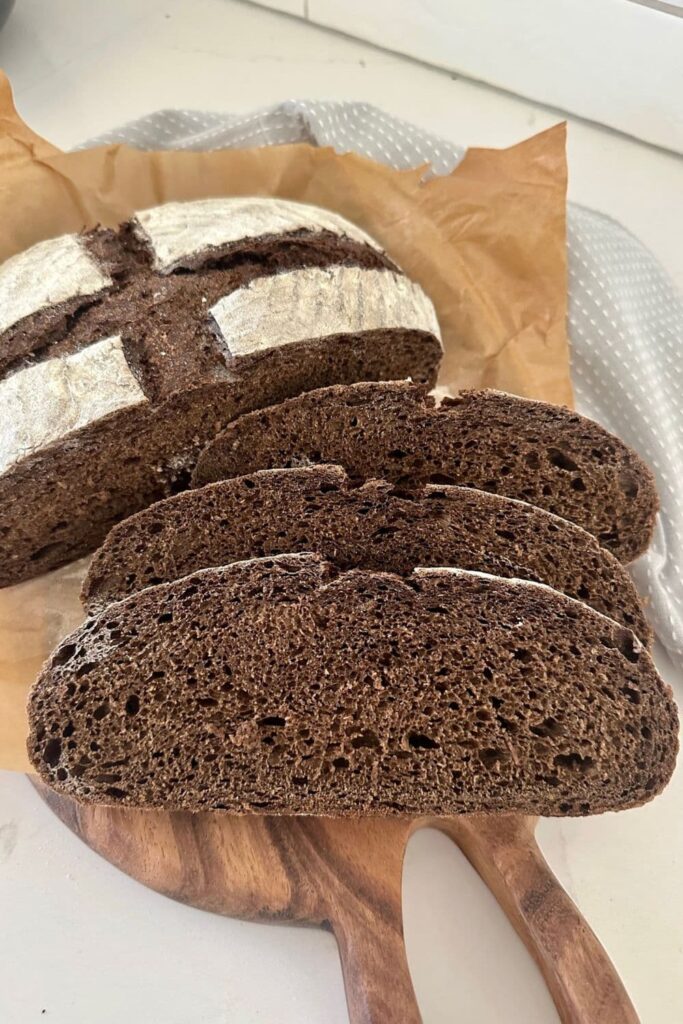
Loaf 2 - The round or boule shaped loaf was baked in my Lodge Double Dutch Oven. This has been dusted with rice flour and has a much darker contrast. This loaf contains 20g of dark malt powder and has a much darker, richer color and more intense flavor.
Frequently Asked Questions
Absolutely you can bake sourdough pumpernickel in a loaf tin or bread pan. This can be a great option if you are struggling to shape the sticky dough. You can find plenty of tips for making sourdough in a loaf pan here.
Using molasses, coffee, dark malt powder or cocoa can help to build the unique flavors in a sourdough pumpernickel bread. Cocoa and coffee are easy to get hold of. Molasses is necessary for the sweetness in pumpernickel and can usually be found at the grocery store.
Sourdough Pumpernickel Bread (Dark Rye)
Equipment
- Mixing Bowl
- Digital Scales
- Banneton
- Dutch Oven
Ingredients
- 100 g Sourdough Starter (fed and bubbly) see notes for using levain
- 250 g Bread Flour
- 200 g Dark Rye Flour (Rye Meal)
- 350 g Water (or coffee - see notes)
- 25 g Molasses
- 10 g Dark Malt Powder (non-diastatic malt powder or cocoa powder)
- 10 g Salt
Instructions
- Autolyse:Weigh out your sourdough starter, water and molasses into a large ceramic or glass bowl. Mix them together briefly. Then add your dark rye flour, bread flour, dark malt powder and salt and mix altogether with the end of a wooden spoon.The dough will be fairly shaggy and only just brought together. Cover your bowl with cling film or a damp tea towel and let it sit for around 1 hour. It's ok if it's a little bit longer, it's not going to matter too much.This process is called the "autolyse" and allows your flour to soak in all the water and become hydrated.
- Forming Up Your Dough:After the dough has been through autolyse you need to bring it together into a ball. You'll notice that the dough is fully hydrated after soaking all the water up. Work your way around the bowl, grabbing the dough from the outside, stretching it up and over itself until a rough ball is formed. You shouldn't need more than about 20-25 folds to form the ball (and remember that rye flour will make the dough stickier than you're used to).Once the dough has formed into a rough ball, pop the plastic wrap back on and let it rest for 30 minutes.
- Stretch & Folds:Over the next few hours you need to create some structure for your dough by "stretching and folding". This will be much more difficult to do with dark rye flour than with traditional sourdough bread.Aim to do around 4-6 sets of stretches and folds. For each set, stretch the dough up and over itself 4 times. Leave around 15 minutes in between each set. Again you do not have to be exact with time, but you need to do at least 4 sets over 2 hours.You will need to really work the dough to develop the gluten - because rye flour has a lower gluten content. Don't worry though, if the dough seems to tear and stick to your fingers - this is very normal!!
- Bulk Ferment:Once you've finished your stretch and folds, place the plastic wrap or damp towel back over your dough and let it rest and ferment at room temperature until it has doubled (see notes).
- Shaping Your Dough:Once your dough has finished it's first ferment, it's time to shape it and give it some shape and surface tension. You'll need to flour your counter top with rice flour for this (we use rice flour because it has no gluten). You'll probably need more rice flour for this sourdough pumpernickel bread than you would for regular sourdough bread.Use a silicone dough scraper to gently ease the dough out of the bowl. You want it to land upside down on your counter so that the smooth top of the dough is on the countertop and the sticky underside is facing up. This will make it easier to shape.You can shape into whatever you like. I prefer this one as a batard. It also works well baked in a loaf pan if you are really struggling with shaping.
- Once the dough is shaped, place it into your banneton smooth side down, so your seam is on the top. Use a bench scraper to do this if you need to.Lift your dough around the edges to pop a little more rice flour if you feel it needs it.
- Cold Ferment:Now your dough is in it's "shaping container" cover it loosely with a plastic bag or damp tea towel and place into the fridge. I use a large plastic bag to cover it - I just reuse it each time. It's not totally essential to cover it - you can place it in the fridge uncovered if you'd prefer.Try to leave it in the fridge for a minimum 5 hours up to a maximum of around 36 hours. The longer you leave it the better your bread will be! A longer cold ferment creates beautiful blisters on your crust and a deeper sourdough flavour. It will also ensure your dough forms a skin which makes it easier to score.
- Preparing to Bake Your Sourdough:Once you're ready to bake your sourdough, you'll need to preheat your oven to 230C/450F. Place your Dutch Oven into the oven when you turn it on so it gets hot. Try to preheat for around 1 hour to ensure your oven is super hot - but you know your oven so just adjust this time if you need to.Leave your dough in the fridge until the very last minute - placing a cold dough into a hot oven will give you a great "spring".
- Baking Your Sourdough:When your oven is at temperature. Take your sourdough out of the fridge. Gently place it onto a piece of baking paper. Make sure that you make the baking paper big enough to use the edges as a handle to lower to dough into your Dutch Oven.Gently score your bread with a lame, clean razor blade or knife. Carefully take your dutch oven out of the oven. Place the sourdough into the pot using the baking paper as a handle. Put the lid on and place into the hot oven. If you want to you can spritz your dough with extra water before you put the lid on.BAKE TIME:30 Minutes with the lid on at 230C/450F plus10-15 Minutes with the lid off at 210C/410F
- Finishing Your Bake:When you remove your dough from the oven, carefully remove it from the dutch oven as soon as possible and place on a wire rack to cool. You'll need to allow this bread a bit longer to cool due to its higher moisture content. It will take up to 12 hours for it to cool completely (this is normal for sourdough rye bread).
Notes
- Dark Rye Flour or Coarse Rye Meal - this can be hard to find. You can use flour labelled as "Pumpernickel" or Dark Rye Flour. If you're in Australia, you can purchase this flour here. In the US, you can purchase dark rye flour from Amazon. Dark rye flour is different to regular or light rye flour.
- Dark Malt Powder - this is also known as non-diastatic malt powder. You are going to love this stuff for flavor! In Australia, you can buy dark malt powder here. In the US, you can purchase it from Amazon. If you can't find it, you can use dark cocoa as a substitute or even this King Arthur Espresso Powder. Another idea is to use liquid coffee in place of the water in this recipe if you cannot find dark malt powder.
- Molasses - usually found in the grocery store with the sugars. I've used liquid molasses for this bake. If you can't find it at the store, then you can purchase it here.
Nutrition

![Beginner's Sourdough Baguette Recipe [easy step by step]](https://www.pantrymama.com/wp-content/uploads/2022/05/BEGINNERS-SOURDOUGH-BAGUETTE-RECIPE-5-768x1152.jpg)

I added whole wheat flour, 5g of onion powder and 15g of ground caraway seed. I used A/P flour and supplemented with vital wheat gluten. Then followed your method exactly. I boosted the overall loaf to 525g. with 80% hydration using all brewed black coffee. The bread was fantastic. I will make again. Thank you for the recipe.
2 attempts at the levain, using a vigorous starter, have produced zero results.
How are you building your levain?
is the substitution of the malt powder with cocoa powder 1:1?
Yes 🙂 You can sub them 1 for 1 🙂