Sourdough Secrets For Busy Moms
This post may contain affiliate links.
There's no denying baking sourdough can be a time consuming process - a process which can often feel overwhelming, particularly if you're a busy mom who has to do all the things!
But what if I told you that there are many things you can do to make sourdough baking less time consuming, less overwhelming and more accessible - even if you're a busy mom with small children at home.
Here I am going to share with you all my sourdough secrets for busy moms! It is possible to make amazing sourdough bread, even if you feel like you are too busy with the kids and all the other mom responsibilities. Baking sourdough with kids is absolutely possible!

You just need to know some scheduling tips and how to make the sourdough process work for you - rather than being a slave to your dough! The truth is you can make sourdough bread even with a busy schedule! And let's face it, motherhood is the ultimate busy schedule, right?!
You'll find a sourdough bread recipe for busy moms at the end of this post with an easy to follow schedule and step by step instructions that you can make your own. This is a printable recipe.
Here are my best tips for fitting sourdough around your busy mom life with kids:
- Buy a sourdough starter
- Choose best place to keep your starter
- Keep it simple
- Identify the time you actually have available
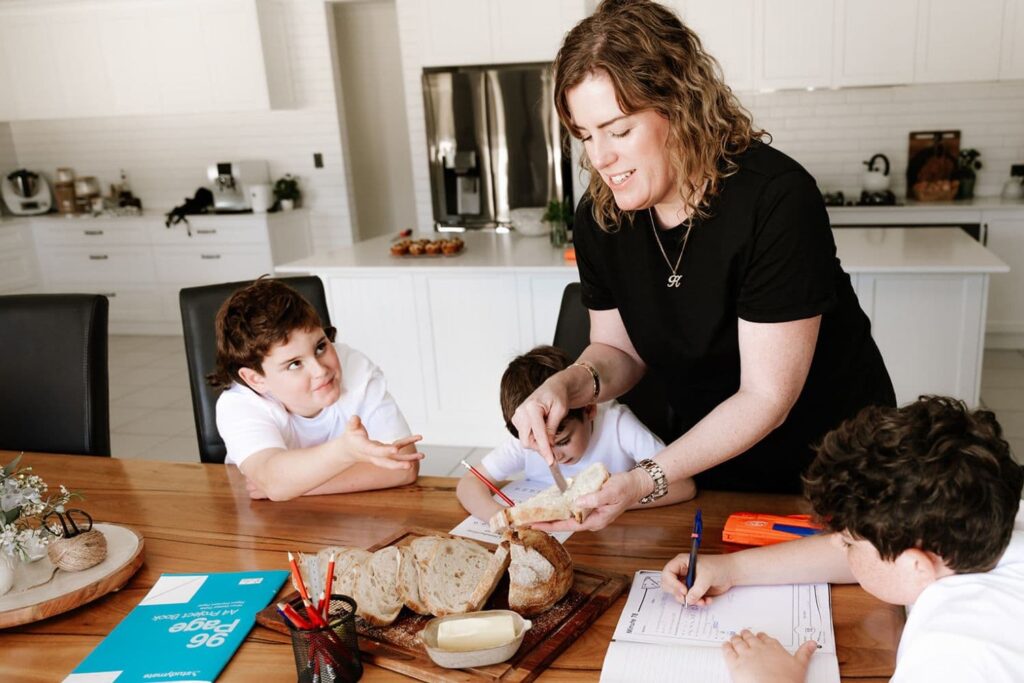
- Get your kids involved in the process (age appropriate)
- Don't be afraid to use a stand mixer
- Use your fridge to cold proof the dough
- Map out a timeline but be flexible
- Use your phone / kitchen timer
- Adjust for your family's taste
- Make Discard Recipes to save time
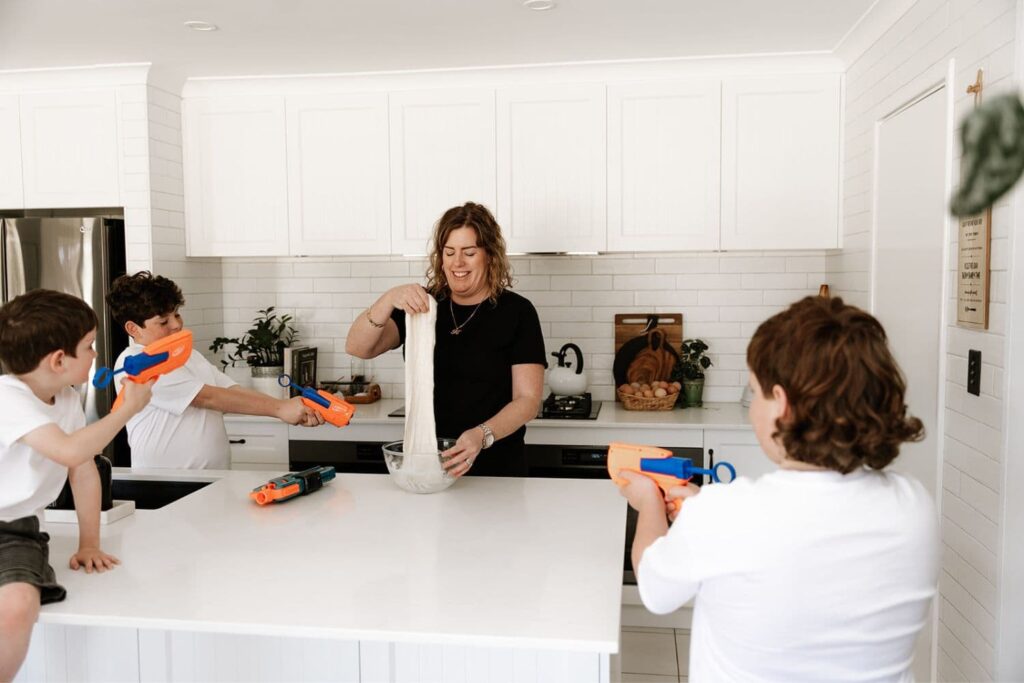
Sourdough Baking Around Busy Family & Mom Life
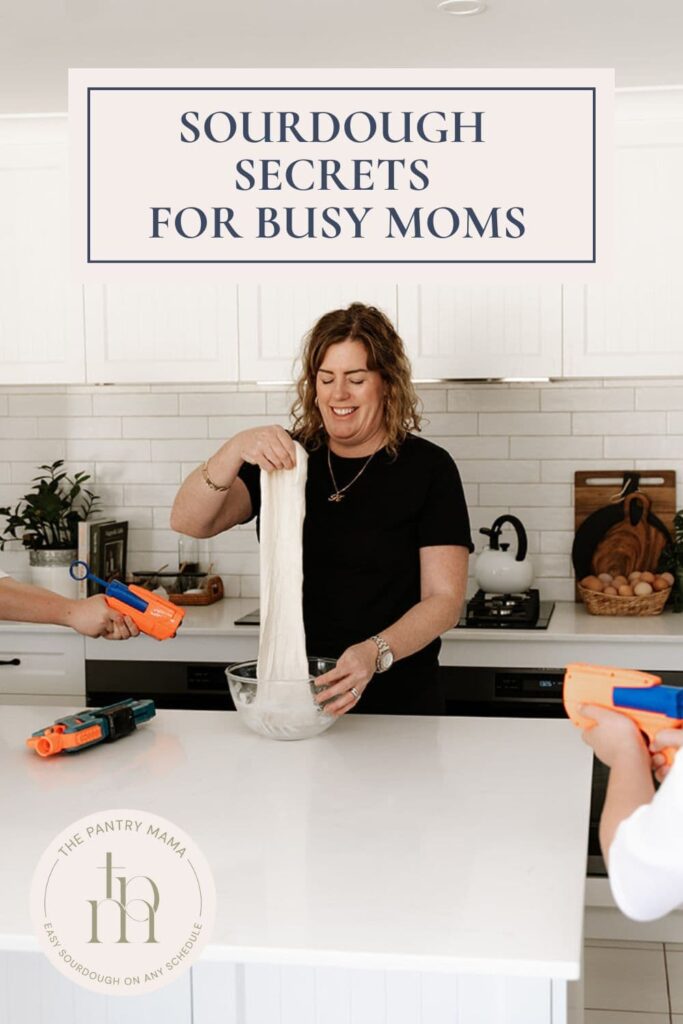
As a mama to 3 little boys, I know all too well the difficulties in baking sourdough bread around a busy schedule. My boys are 3, 6 and 9 and so I've always had to find a way to bake sourdough with and around them ... or we would have to do without fresh bread!
As they have grown and been through different stages, I've been able to find ways to manipulate the sourdough process, as well as involve them in it.
I figured many mothers would be in the same situation ... so I thought I'd put together my guide to sourdough secrets for busy moms to help other moms like myself, who want to bake nutritious and delicious sourdough bread for their family, even if it feels like they're too busy!
I've put together my best strategies, ideas and scheduling tips to ensure that you can bake sourdough bread around whatever family life throws at you.

11 Sourdough Secrets for Busy Moms
Here are 11 sourdough secrets for busy moms (in no particular order).
Buy A Sourdough Starter
Buy yourself a ready made sourdough starter. Honestly, unless it's absolutely important that your starter must be from your kitchen, just buy an established sourdough starter! It's a simple way to fast track your journey (and probably one of the most underrated sourdough secrets for busy moms).
Purchasing a ready made sourdough starter means you don't have to spend months feeding a sourdough starter twice a day until it's mature. You can use your time to actually make bread for your family straight away. You have to work smarter, not harder when you're a busy mama!
While making a sourdough starter can be incredibly rewarding, it is also quite time consuming (and at times stressful). And when you have kids, especially younger kids, you don't need the extra pressure your own starter can create.
Purchasing a dehydrated sourdough starter or even a live one from a local bakery, will quickly put you on the path to sourdough success ... even as a busy mom! I recommend this sourdough starter from Breadtopia and using these instructions to rehydrate the starter once you receive it.
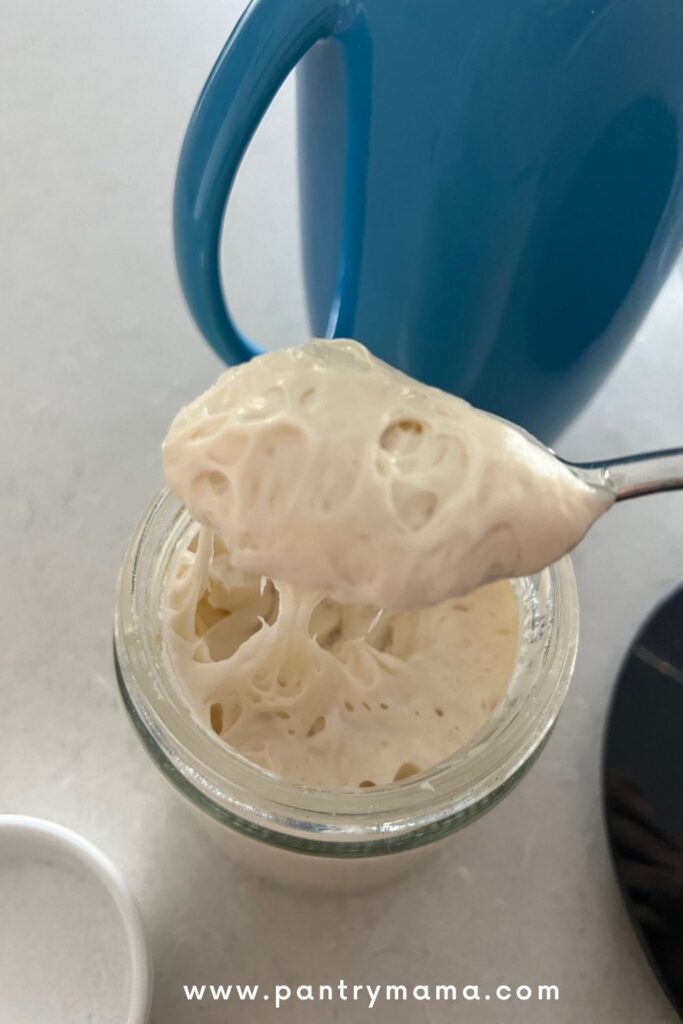
Think About Where You Store Your Starter
This might seem like a simple point, however where you store your starter will dictate how much time you need to spend to maintain it. It's a great way to start thinking about how to simply the sourdough process for your busy mom life.
There are two choices here:
On the counter - must be fed at least once a day (great if you're going to bake daily). Mine lives on the counter so I can whip up anything sourdough at a moment's notice!
In the fridge - only needs occasional feeding (perfect if you're going to bake one loaf of bread a week or less).
There is actually a lot to consider here. For example if you only want to bake once a week, then storing your sourdough starter in the fridge is a better option.
However if you want to bake fresh bread for your family daily, then keeping your sourdough starter at room temperature on the counter is more effective as it will always be ready to go.
Plus you can use any discard you create to bake sourdough discard recipes for your family like sourdough discard pancakes and sourdough chocolate chunk muffins.
Keep It Simple
One of the best ways to have a happy baking experience when making sourdough as a mom is to keep things simple! This means, just stick to one recipe and bake plain sourdough bread (at least until you're very comfortable with the process).
As a mama of 3 boys, I found the easiest way to make sure I could make a loaf of sourdough every day was to keep things really parred back. Using a kitchen scale to ensure consistency and white bread flour gave me consistent success every time.
If you're not wanting to incur extra cost, this guide to baking sourdough bread on a budget is also handy - especially if you don't want to buy new equipment.
Once I became more proficient in the process, I could start experimenting with different flours and even adding in things like cheese, pickles or even raisins and choc chips.
Try not to get focused on perfect bread, but focus more on baking wonderful naturally fermented bread for your family. You don't need perfect scoring on top of the dough or intricate patterns.
Get the bread right and those other things can come as you are more comfortable with the process or as your children get older and you have more time.
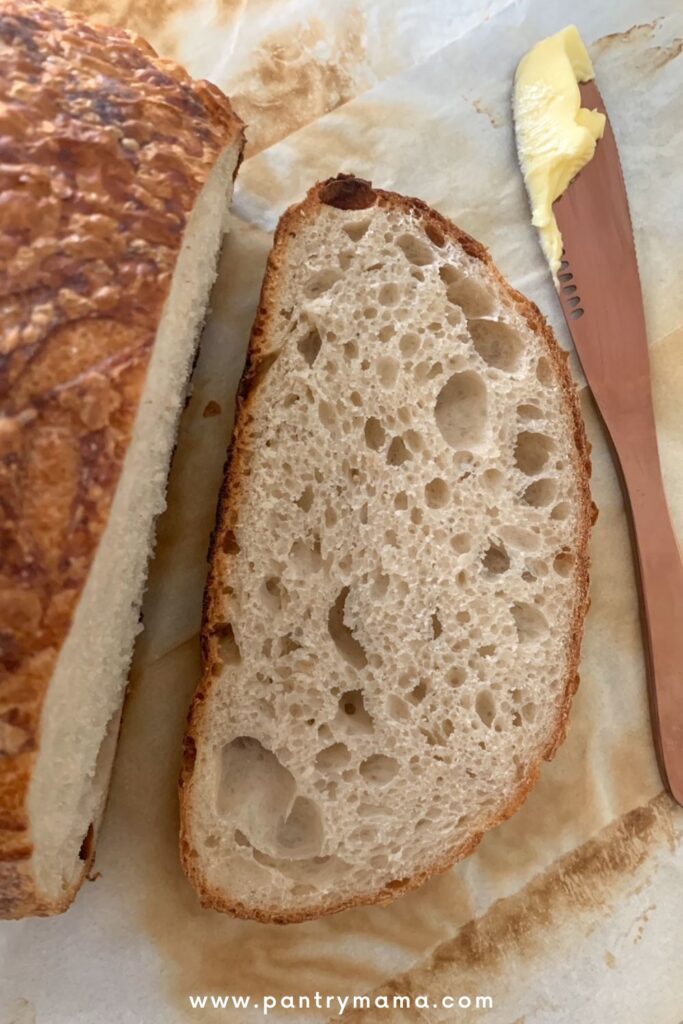
Identify The Time You Have Available
I think this is one of the most important aspects of being a successful sourdough baker! Instead of always thinking oh I can't bake sourdough, I'm just too busy. Look at the time you actually do have available. Take into consideration times when the house is a little calmer or times when you can be in the kitchen by yourself to get the process done more easily.
For example, look at when your kids nap, when they're at school, times when they are having a bit of tv time or when your partner is home to help. All of these things can really help you to follow a sourdough recipe more easily.

For some moms, dinnertime is too chaotic to even think about sourdough. But for others (like me) it's the perfect time to mix some dough. Maybe you're an early riser and can get the process started before the kids are even stirring?
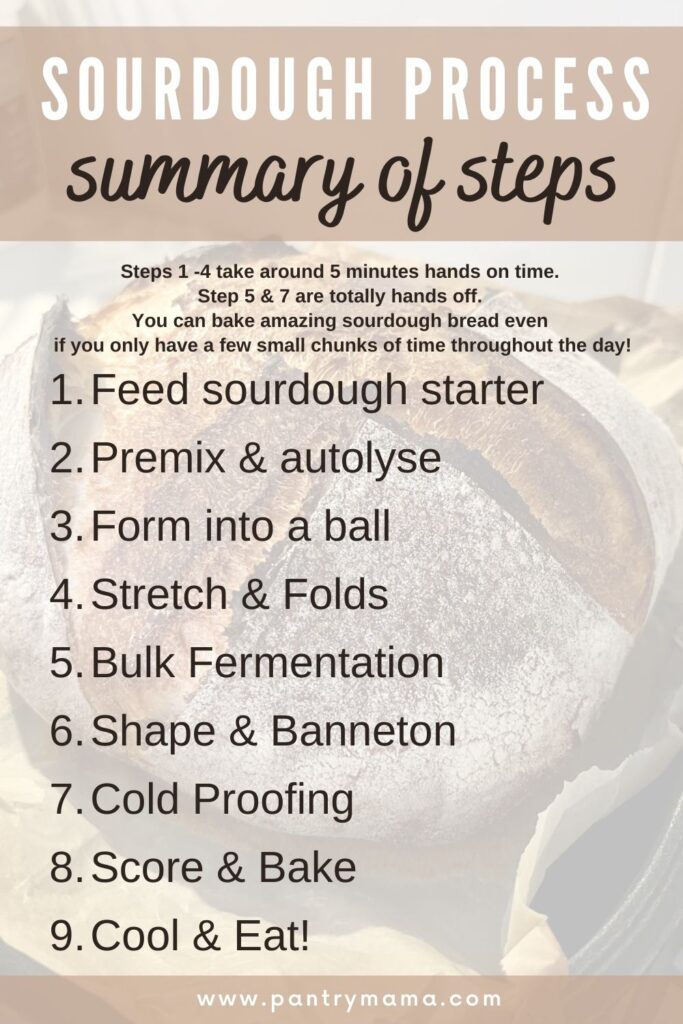
The trick here is to make the process work for you and the time you have available. Even five minutes can be used to through some flour, water, sourdough starter and salt in a bowl to autolyse, form up some dough or perform a set of stretch and folds. If you have a few five minute periods throughout the day, you can bake sourdough bread!
Once you know how much hands on time you actually have available, you can then build a sourdough timeline to suit your schedule.
Plus, also take into account that it takes just as much energy to make one loaf, as it does to make two! So you could make multiple loaves of sourdough and then freeze a few for busier times.
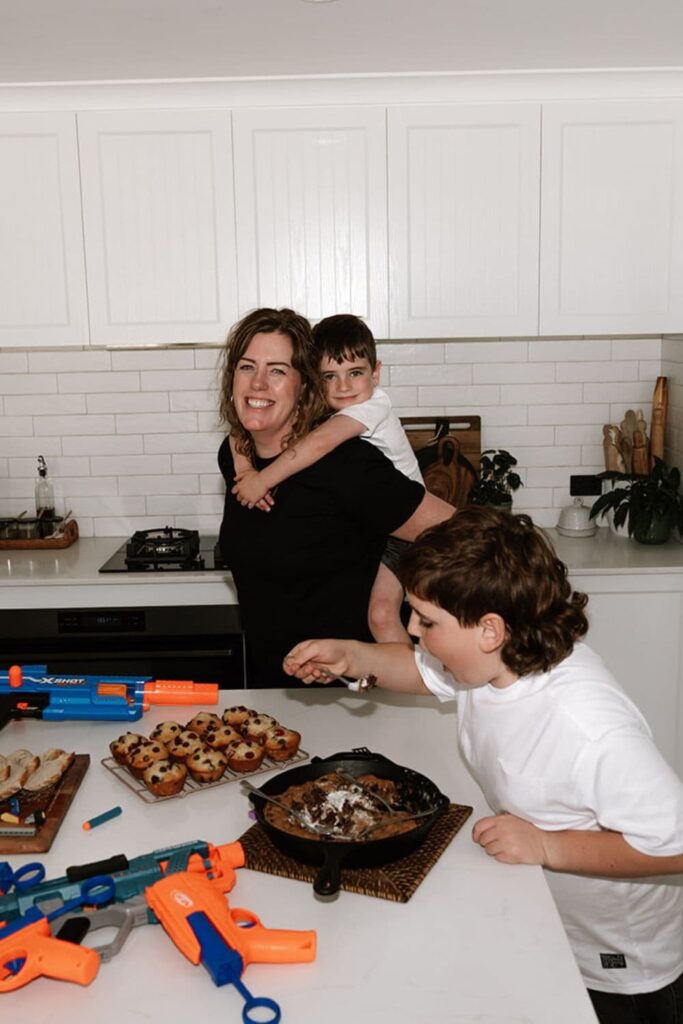
Map Out A Baking Timeline
Mapping out a sourdough baking timeline is a really easy way to make sourdough baking fit into your life as a busy mom. This timeline is a great place to start using your hands on time more effectively to enable you to bake sourdough bread with kids at home.
Here are some things I have done or currently do to fit my baking timeline around my 3 boys:
- Put my restless baby into a baby carrier or sling so that I could make sourdough bread.
- Given my toddler a chunk of sourdough to play with while I shape sourdough.
- Feed all the kids in the kitchen so I could watch them and mix or shape dough while they're happily eating.
- Fed my sourdough starter just before I go to bed so that it's ready to go first thing in the morning ... then ...
- Gotten up 30 minutes earlier so that I could mix a few batches of dough before the kids woke up.
- Turn the oven on just before I took the kids to bed so that it's preheated once the kids are asleep and I could bake sourdough bread ready for the breakfast the next morning.
I have created a "done for you" timeline for busy moms in my e-book "Scheduling Sourdough". You can also find information on how to build your own here.
Get Your Kids Involved
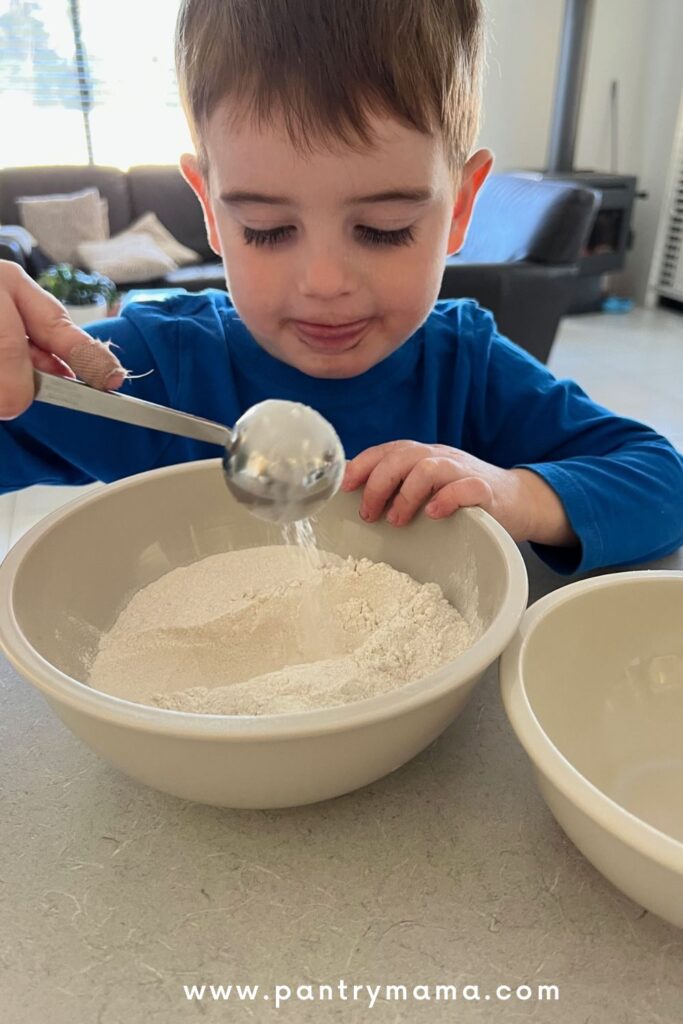
Now this tip is obviously age appropriate and totally up to you. If sourdough is your escape from mom duties, then feel free to disregard it. But if you do have young children at home, it is possible to include them in the process from around 2 years old. I've written a guide to involving your kids in baking sourdough bread here.
This not only helps to give your kids useful life skills that they will thank you for later. It can also be a way to be in the kitchen with the kids and bake sourdough bread.
Kids love to be part of measuring, stirring, kneading, shaping etc. It's a nice way to make sourdough a family affair.
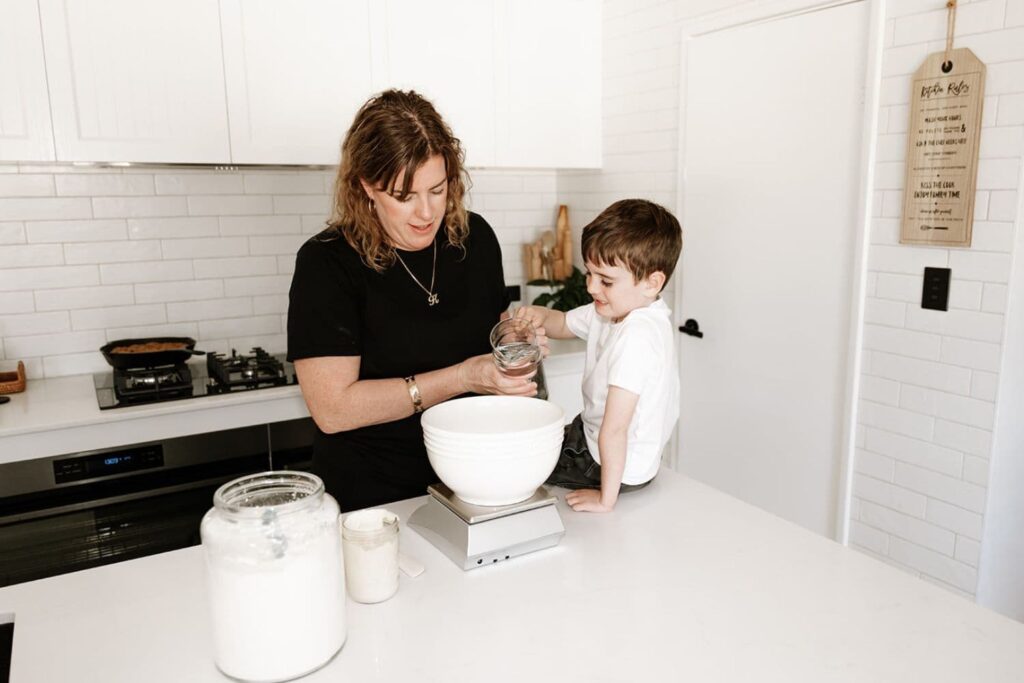
Depending on their age bracket, you can get them doing all things sourdough right alongside you. When my kids were babies, I loved to wear them in a baby carrier while I made sourdough. It meant that I could keep them close and still do the thing I love!
As they got older, I was able to include them in the actual baking and get them doing hands on tasks right next to me.
Don't Be Afraid To Use Stand Mixer
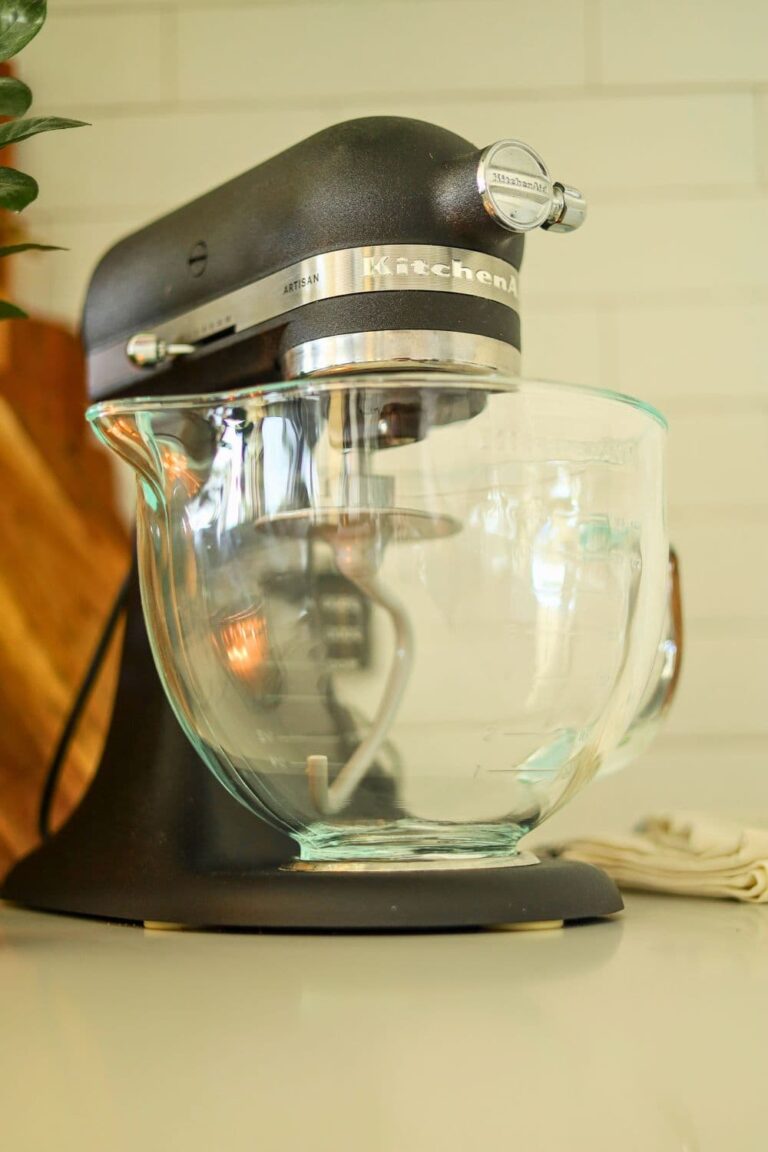
This can sometimes be taboo among sourdough purists, but there's no shame in making sourdough bread in a stand mixer! While mixing sourdough in a large mixing bowl, just using your hands can be incredibly satisfying, it may not always be possible.
Using a stand mixing means that you can skip the sets of stretch and fold and you can have your dough ready for bulk fermentation much faster - an absolute must for busy bread baking mamas!
Sourdough is generally known as a no knead bread, however a stand mixer does use the knead function in place of stretch and folds and coil folds.
I've put together this start to finish stand mixer sourdough recipe which will help you navigate this method.
Use Your Fridge For Cold Proofing
One of the most important things you can do as a busy mom who wants to bake sourdough bread is to use your refrigerator in your favor. You see, wild yeasts are most active at room temperature (best between 24C and 28C). When you put them into the fridge (below 3C) they go to sleep!
This means that you can use your refrigerator to "pause" the sourdough process and choose to bake your sourdough when it's most convenient for you.
Being familiar with the sourdough process is so important because once you understand it, you can then start to tweak things and change them to suit your busy family life (remember I mentioned scheduling tips in my intro).
Once your dough has been through bulk fermentation and has been shaped, you can allow the dough to rest in the fridge for up to a few days! This can be an absolute game changer if you find it hard to have some distraction free bake time.
This is a great post if you want to learn more about how to use your fridge for cold proofing sourdough.
Use Your Phone
Now I'm not talking about just using your phone to search for your new recipes ... I want you to use your phone to keep you on track and make sure you don't forget about your dough!
I'm a mom to 3 boys and I know how easy it is to get distracted. So many times I would put my gorgeous dough in the oven to bake and then remember it an hour later ...oops!!
I quickly learned to set a timer on my phone to ensure that I didn't forget about my dough! I use my phone timer for ensuring I remember to take the lid off my dough when baking and to remember to take the bread out of the oven. But your phone timer can also be handy for timing other parts of the process. You could even use it to remind you to check on your bulk ferment if you're doing it through the day and want to keep an eye on things.
This tip is not only useful for busy mothers, but also new and busy home bakers who are still learning the ropes of sourdough.
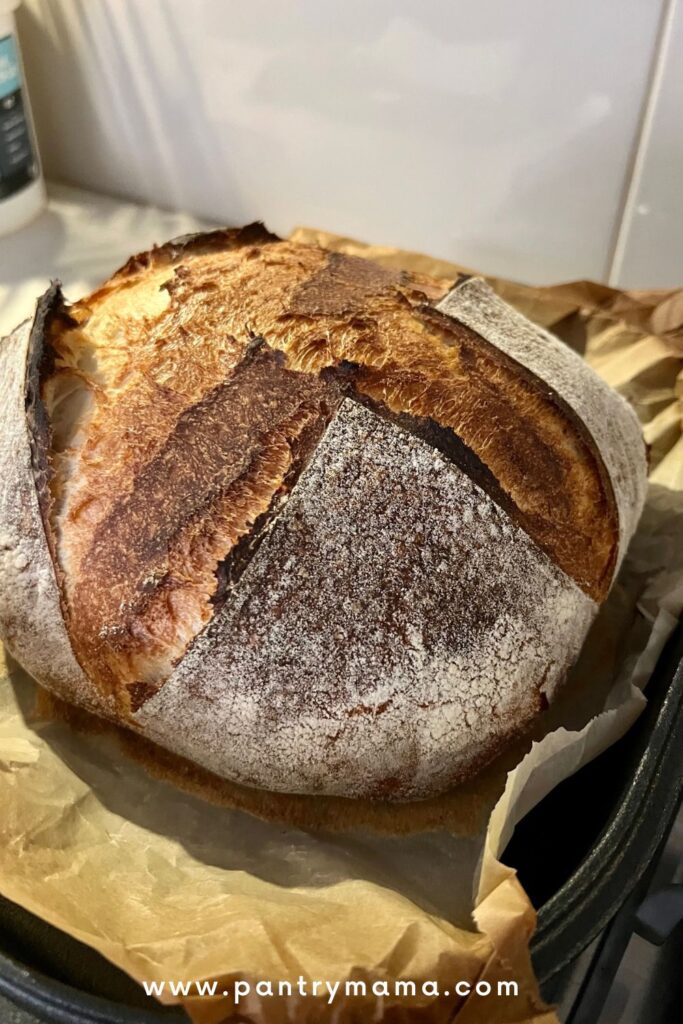
Adjust For Your Family's Taste
There's nothing worse than when you've taken the time to create delicious sourdough bread ... and your family will not eat it! It's heartbreaking! But the problem is really easily solved with a few tweaks to the recipe.
Some of the most common complaints can come from kids and husbands ... but there's usually an easy solution and way that you can work sourdough bread back into your meal plan.
- Sourdough too sour? Make the bread less sour for your family by reducing the fermentation time and even adding some honey or sugar. You will find a full guide to making sourdough less sour here.
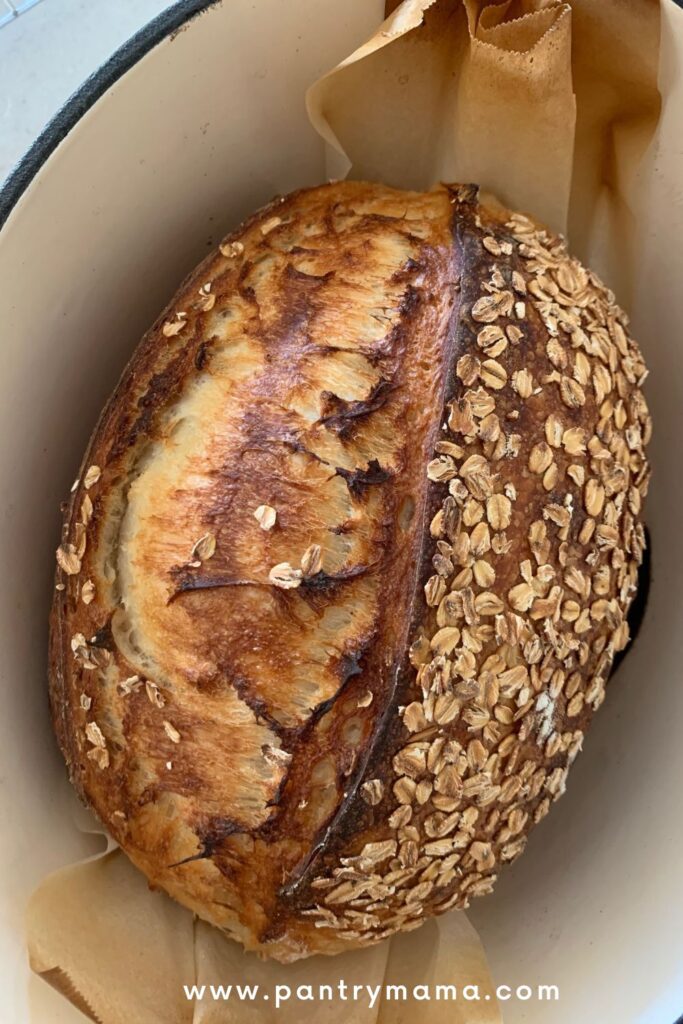
- Too crusty? Young children in particular can struggle with super crusty sourdough bread. Use some olive oil in the dough to create a thinner, more kid friendly crust.
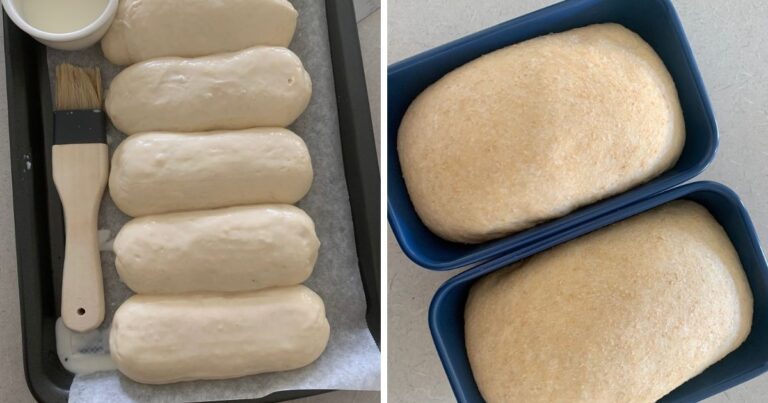
- Odd shape? Bake the dough in loaf pans to make an easy to cut and eat sandwich bread the whole family will love!
Make Sourdough Discard Recipes
While we all want to bake the best bread for our families, sometimes making long fermented sourdough bread is just not possible. Maybe you've had a rough week, your baby isn't napping or your toddler is teething ... or you're just tired!
If you're not adverse to using some instant yeast or active dry yeast, then why not try baking some sourdough discard bread? I promise you won't be disappointed and it might just become one of your favorite things!
Here are my favorite sourdough discard recipes to bake as a busy mom of 3!
- Sourdough Discard Sandwich Bread
- Sourdough Discard Rolls
- Sourdough Discard Artisan Loaf
- Fluffy Sourdough Cinnamon Rolls
- Bread Machine Sourdough Discard Loaf
You'll find over 50 family friendly sourdough discard recipes (perfect for busy moms) here.
Other Useful Guides for Baking Sourdough Bread
These guides may help you in navigating the sourdough process and troubleshooting any issues you may have as a busy sourdough baking mama!
- Baking Sourdough Bread at High Altitude
- Guide to Better Sourdough Oven Spring
- How To Get A Sourdough Ear
- How To Make Multiple Loaves of Sourdough At Once
Sourdough for Busy Moms (Easy Recipe)
Equipment
- Mixing Bowl
- Digital Scales
- Banneton
- Dutch Oven
Ingredients
- 500 g Bread Flour 100%
- 350 g Water 70%
- 50 g Sourdough Starter 10% (Fed and Bubbly)
- 10 g Salt 2% (increase or decrease according to your taste)
Instructions
- Autolyse - Premixing The DoughWeigh out your sourdough starter and water into a large ceramic or glass bowl. Mix the water and starter together briefly. Then add your flour and salt and mix whole lot together to form a shaggy dough. Cover your bowl with cling film or a damp tea towel and let it sit for around 1 hour. It's ok if it's a little bit longer, it's not going to matter too much.HANDS ON TIME - 5 MINUTES
- Forming Up The DoughAfter the dough has been through autolyse you need to bring it together into a ball. Work your way around the bowl, grabbing the dough from the outside, stretching it up and over itself, into the centre, until a smooth ball is formed. You shouldn't need more than about 20-25 stretches to form the ball.Once the dough has formed into a smooth ball, pop the cling film back on and let it rest for 30 minutes.HANDS ON TIME - 5 MINUTES

- Stretch & Fold - Creating StructureOver the next few hours you need to create some structure for your dough by "stretching and folding". Aim to do around 4-6 sets of stretches and folds. For each set, stretch the dough up and over itself 4 times. Leave around 15 minutes in between each set. You do not have to be exact with time, but you need to do at least 4 sets over 2 hours.HANDS ON TIME - 5 MINUTES PER SET OF STRETCH & FOLDS

- Bulk FermentOnce you've finished your stretch and folds, place the cling film or damp tea towel back over your dough and let it rest and ferment (a plastic cover is a better option for this stage).See notes below for more info on this step.
- Shaping The DoughOnce your dough has finished it's first ferment, it's time to shape it into either a boule or a batard. You'll need to flour your counter top with rice flour for this (we use rice flour because it has no gluten). Try to be quite sparing with the rice flour, you only need a very light dusting.Use a silicone dough scraper to gently ease the dough out of the bowl. You want it to land upside down on your counter so that the smooth top of the dough is on the countertop and the sticky underside is facing up. This will make it easier to shape.You want to pull the edges of the dough into the centre and then flip it over so that the sticky side is now underneath. Using the stickiness, gently pull the dough into a tight ball.You will need a banneton to put your dough into. If you do not have a banneton, then a bowl or basket lined with a floured tea towel is perfectly fine. Make sure your bowl isn't too big though, you want your dough to retain some shape.Whatever you're using needs to be liberally floured with your rice flour. If you're using a banneton - liberally sprinkle it with rice flour. If you're using a cloth or tea towel, rub the flour into it to ensure it becomes non stick.HANDS ON TIME - 15 MINUTES
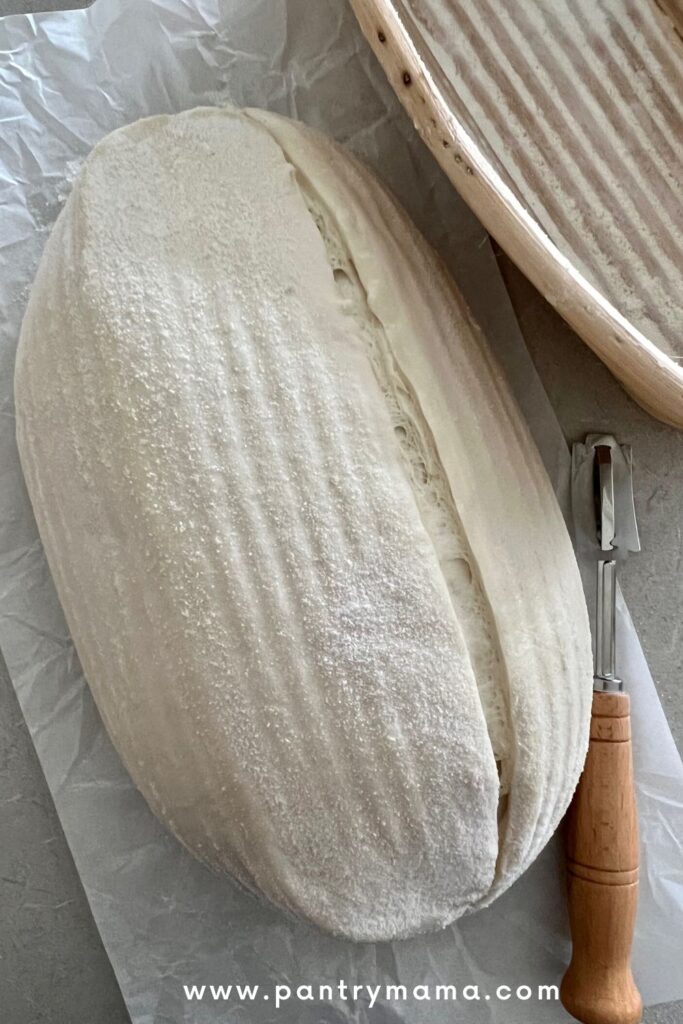
- Placing Into A BannetonOnce the dough is shaped into a tight ball, place it into your banneton smooth side down, so your seam is on the top - this way the top of your dough will get the pretty lines from the banneton. If you're using a cloth or tea towel in a bowl it's ok to put your dough with the smooth side up. Just make sure the dough is tight.Lift your dough around the edges to pop a little more rice flour if you feel it needs it. Just try to handle the dough as little as possible and be really gentle as you really want to preserve all the gases and air bubbles that have formed during your bulk ferment.
- Cold FermentNow the dough is in its "shaping container" cover it loosely with a plastic bag or damp tea towel and place into the fridge. Try to leave it in the fridge for a minimum 5 hours up to a maximum of around 36 hours. The longer you leave it the better your bread will be! A longer cold ferment creates beautiful blisters on your crust and a deeper sourdough flavour. It will also ensure your dough forms a skin which makes it easier to score.
- Preparing To BakeOnce you're ready to bake your sourdough, you'll need to preheat your oven to 230C/450F. Place your Dutch Oven into the oven when you turn it on so it gets hot. Try to preheat for around 1 hour to ensure your oven is super hot - but you know your oven so just adjust this time if you need to.Leave your dough in the fridge until the very last minute - placing a cold dough into a hot oven will give you a great "spring".
- Bake Time!Now it's time to bake!When your oven is at temperature, take your sourdough out of the fridge. Gently place it onto a piece of baking paper. Make sure that you make the baking paper big enough to use the edges as a handle to lower to dough into your Dutch Oven.Gently score your bread with a lame, clean razor blade or knife. At minimum a large cross is sufficient, but you can get as artistic as you like. You can find my full guide on how to score sourdough bread here.Carefully take your dutch oven out of the oven. Place the sourdough into the pot using the baking paper as a handle. Put the lid on and place into the hot oven. If you want to you can spritz your dough with extra water before you put the lid on.BAKE TIME:30 Minutes with the lid on at 230C/450F plus10-15 Minutes with the lid off at 210C/410F

- Finishing The BakeWhen you remove your dough from the oven, carefully remove it from the dutch oven as soon as possible and place on a wire rack to cool.
Notes
- Notes on Flour: This recipe is written using strong Bread Flour. Bread flour has a higher protein content than All Purpose flour. If you choose to use All Purpose flour you may have a different result because of this. You can read more about the differences between All Purpose Flour and Bread Flour here.
- Notes on Sourdough Starter: This recipe is based on you having an active starter that you have fed a few hours before starting your bake. For info on how to make a sourdough starter, go here.
- Notes on Stretch & Folds: If you are going to do the stretch & folds on your bench top, spray your surface with water mist rather than using flour. You can leave the dough in the bowl if you want to. Wet your hands to stop the dough sticking - although it shouldn't be too sticky. It will get less sticky as you do your stretches and folds. For more information on how to do stretch and folds, go here.
- Notes on Bulk Fermentation: If your home is warm then your dough will ferment a lot faster and could be done in as little as a few hours. If it's colder, it will take longer, possibly overnight.
I would recommend that you try to do your first few bulk ferments during daylight hours so that you can watch your dough closely. Use your phone to set reminders to check it periodically if you think you might forget.
Once you're more familiar with the process - and the temperature of your home - you will be able to do overnight ferments. You will know your dough is ready to move to the next stage when it has *just* doubled in size. It will be fairly wobbly and full of bubbles. You should be able to see large air bubbles under the surface of the dough.
You don't want to let it go any further than doubled as it will be over fermented.
If you want to do an overnight ferment, but your home is warm, consider using a little less starter (ie 25g).
Less starter means your dough will take longer to ferment and you will reduce the risk of over fermenting your dough. You'll find more information on these topics here:
When is my bulk ferment finished? What is the difference between cold ferment and bulk ferment? Why does the amount of starter matter?
- Notes on Baking: If you're worried about the base of your bread burning, place a baking sheet on shelf underneath your Dutch Oven - it works! If you're worried about your bread not being cooked all the way through, turn the oven off and place your dough straight onto the oven rack. Leave the door ajar and let your bread rest there for a few hours. Make sure you don't close the door or your sourdough will sweat and you'll get a wrinkly, soggy crust. Remember not to cut into your loaf too soon - you'll need to let it cool for at least a few hours (4-6 is best).
Nutrition




I saw your idea to order a starter after I already started my starter. Can I just put it in the fridge ? Its on day 9 so nowhere near ready to use. But I want to stop feeding it for now.
I love this recipe and use it all the time. I have 2 Dutch ovens which I use but I want to try to open bake them. So you have any advice on how to go about it??
Hi Kim, There are lots of tips and steps in this post. 🙂