Best Sourdough Skillet Rolls [with honey thyme butter]
This post may contain affiliate links.
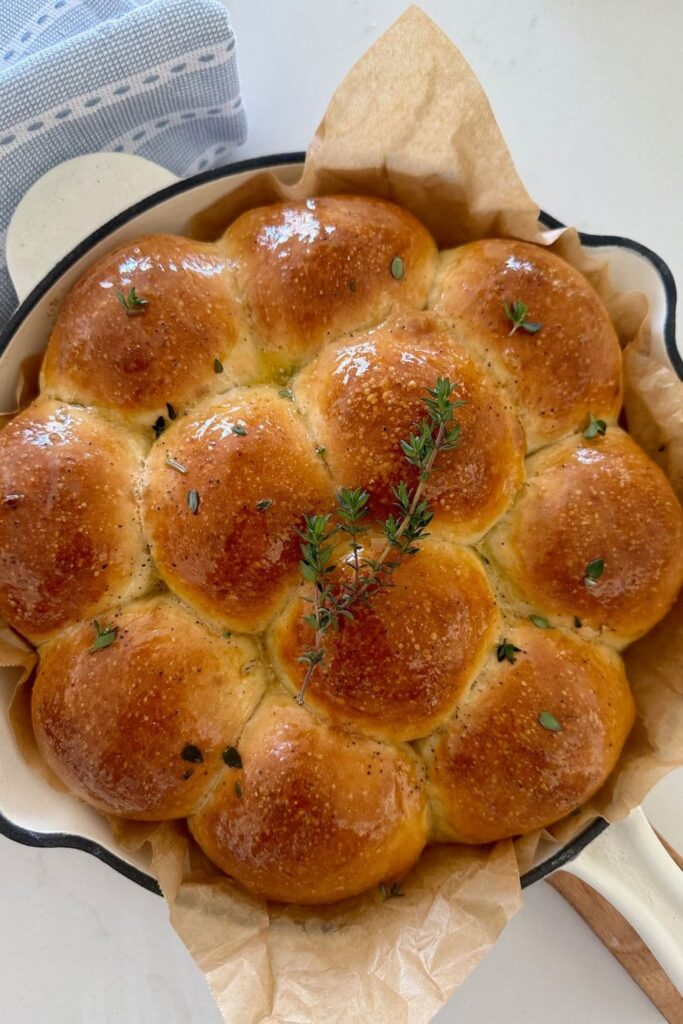
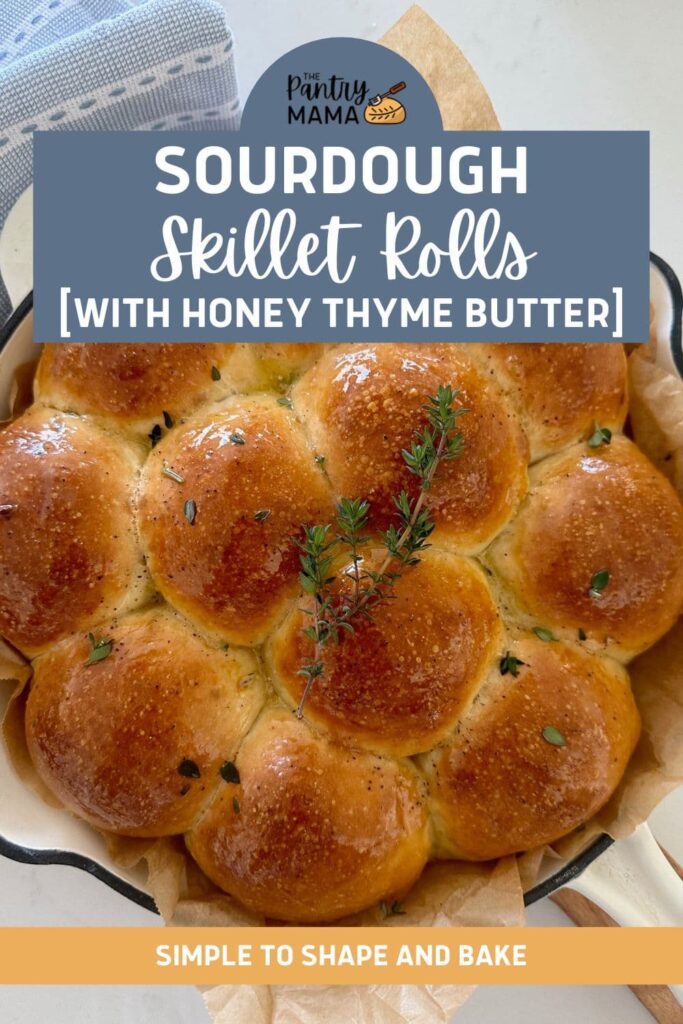
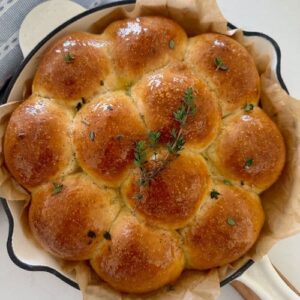
These soft sourdough skillet rolls are kissed with fragrant honey thyme butter and will be at home on your dinner table, no matter what the occasion. Using active sourdough starter, these soft sourdough rolls are the perfect accompaniment to any meal.
They are the perfect way to use your mature, homemade sourdough starter and wow your family and friends with your culinary prowess. And they are a great way to use your cast iron skillet for something a little different.
You might also like to try these sourdough bread recipes for soft sourdough dinner rolls, sourdough cinnamon rolls or sourdough pumpkin dinner rolls.
Why You'll Love This Recipe!
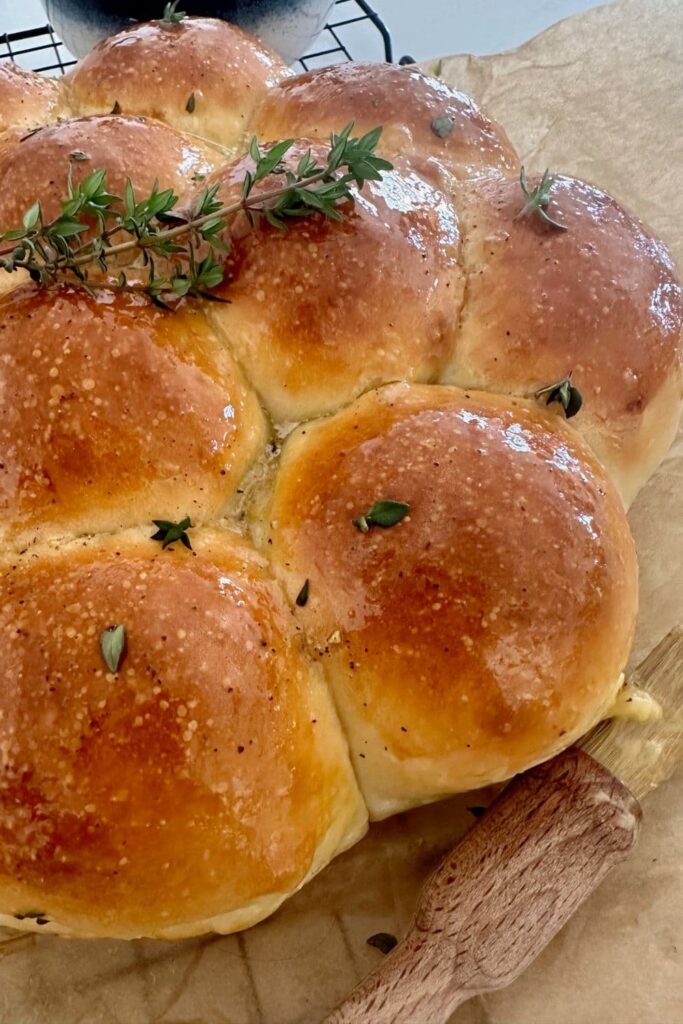
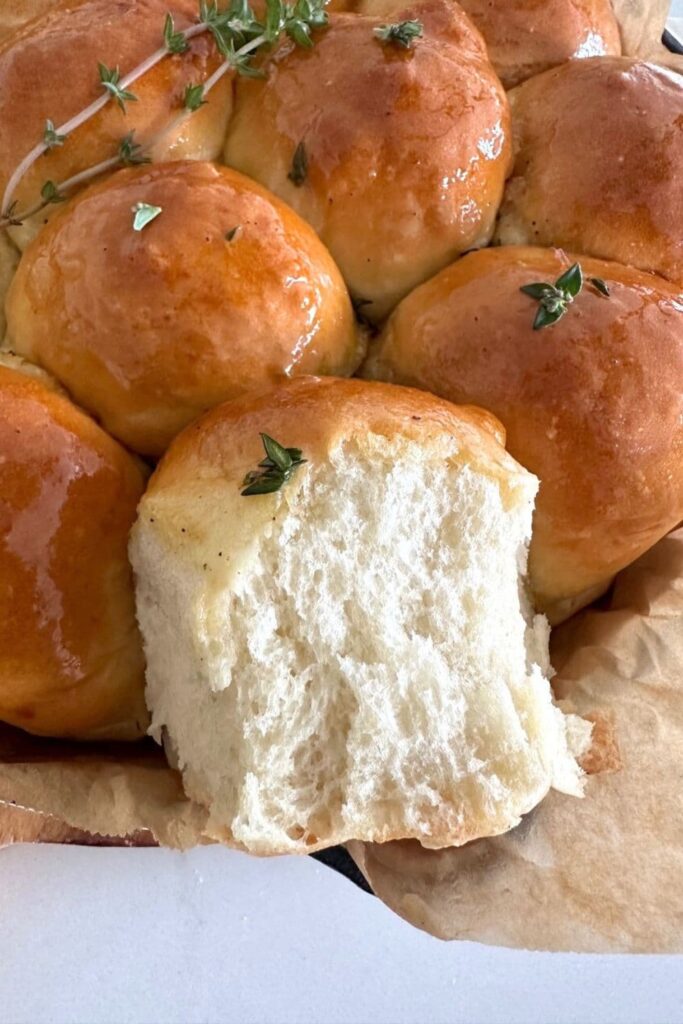
Fluffy Texture - These sourdough rolls have such a soft fluffy texture, perfect for mopping up gravy and sauces!
Simple Shaping - these sourdough skillet rolls are such a cinch to shape and if you're a beginner and still learning how to shape your sourdough rolls, the cast-iron skillet creates a gorgeous pull-apart style which supports the rolls making them a little different than traditional dinner rolls.
Honey Thyme Butter - slathered in honey-thyme butter, these sourdough skillet rolls have a unique flavor that will have everyone asking "what's in these rolls, they're delicious".
Is This A True Sourdough Roll Recipe?
This sourdough skillet roll recipe has been made using active starter, so it is a true sourdough roll recipe with no commercial yeast.
If you are wanting to make some rolls with your sourdough discard, I recommend these sourdough discard rolls.
How To Make Sourdough Skillet Rolls
These homemade sourdough rolls, baked in a cast-iron skillet are such a lovely accompaniment to any meal. I love serving them with Sunday dinner. There's just something special about a soft, butter sourdough dinner roll. These ones are extra special, topped with the sweet, yet slightly savory honey-thyme butter.
To make these sourdough skillet rolls successfully, you'll need an active starter that has been fed and is bubbly and at it's peak. This will ensure your wild yeast have all the rising power they need to create soft, pillowy, delicious rolls. I also recommend using a kitchen scale to weigh all the ingredients accurately.
While they are called "sourdough skillet rolls", if you don't have a cast-iron skillet, you can allow them to proof and bake in a round pan or other shaped baking dish (a bit like these sourdough pampushky). You could also bake them as individual rolls if you prefer, just allow the dough balls to proof on a baking tray with ample room between them.
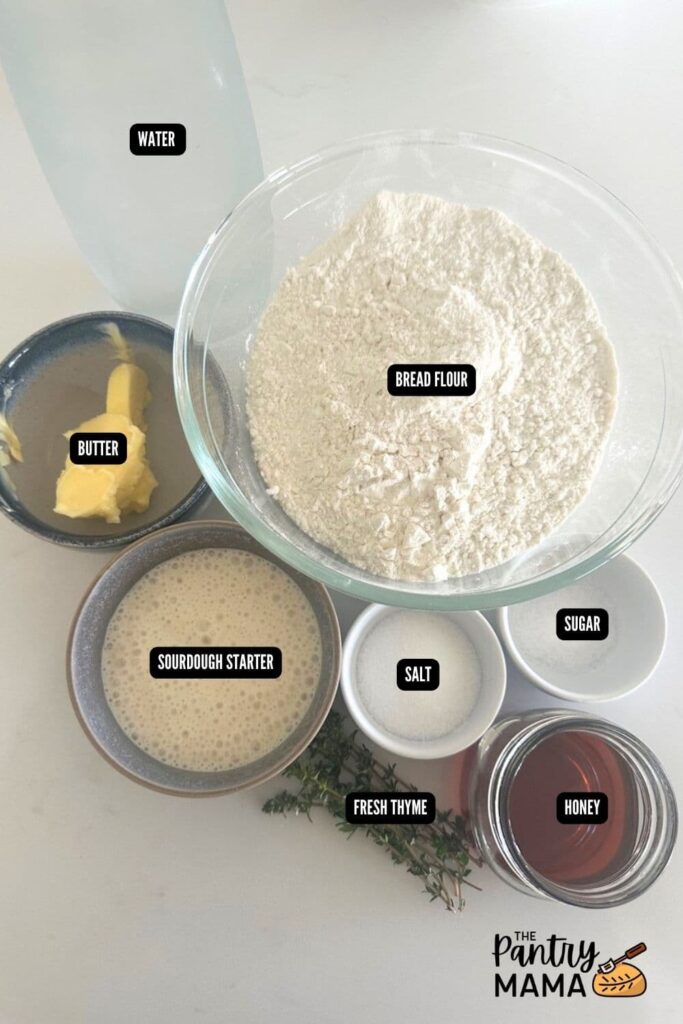
Combine the sourdough starter, water and sugar in a bowl and stir until well combined (the sugar should dissolve).
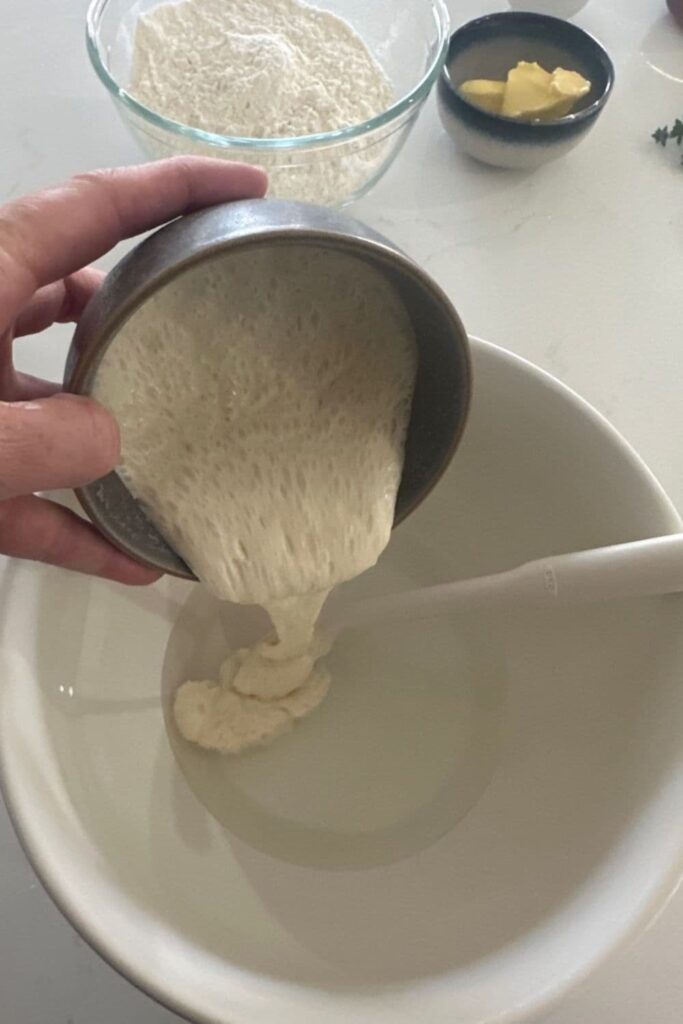
Now, add the flour, melted butter and salt to the mixture and combine until it forms a shaggy dough.
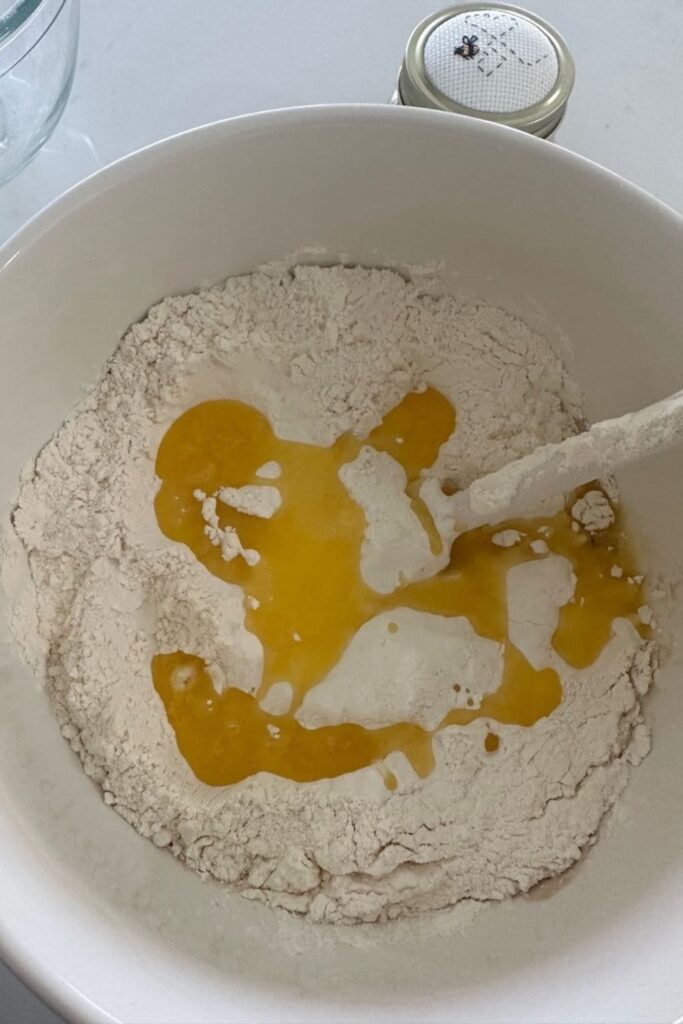
Cover the dough with plastic wrap or an elastic food cover and leave the dough to rest for 30 minutes.
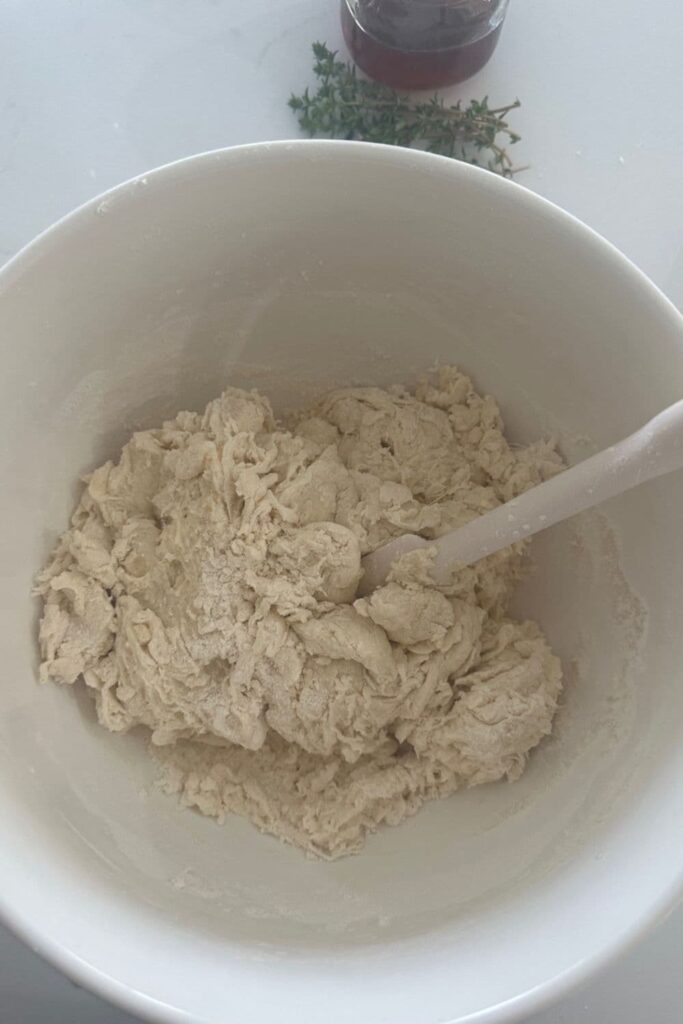
Once the dough has rested, tip it out onto the counter and knead the dough until it's silky and elastic (this will take around 10 minutes by hand, around 5 minutes in a stand mixer or Thermomix - the dough in these photos has been kneaded by hand).
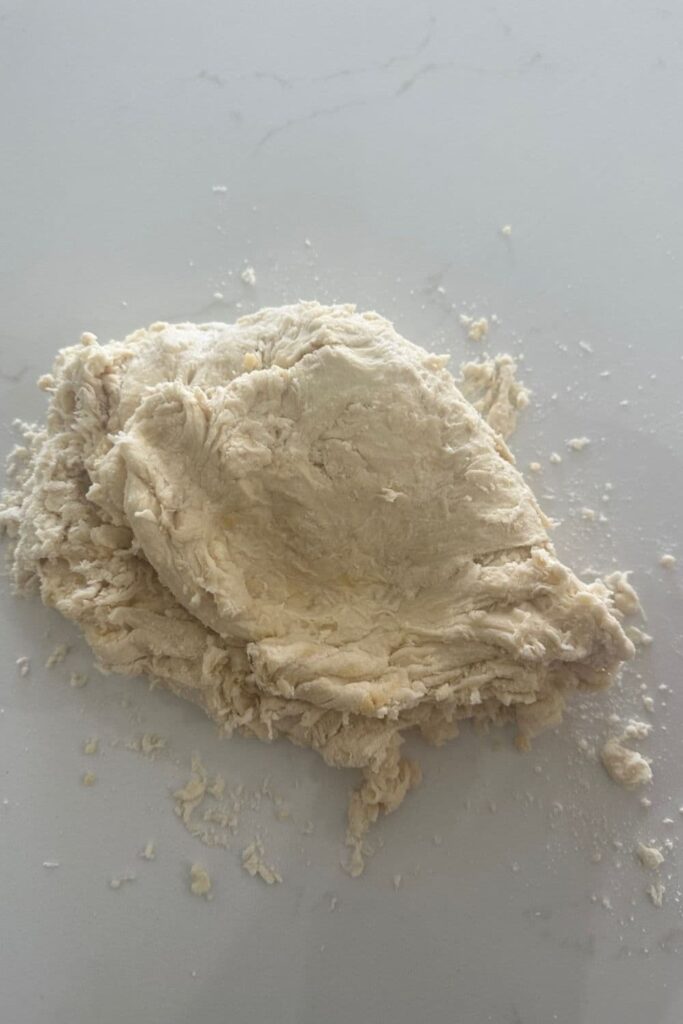
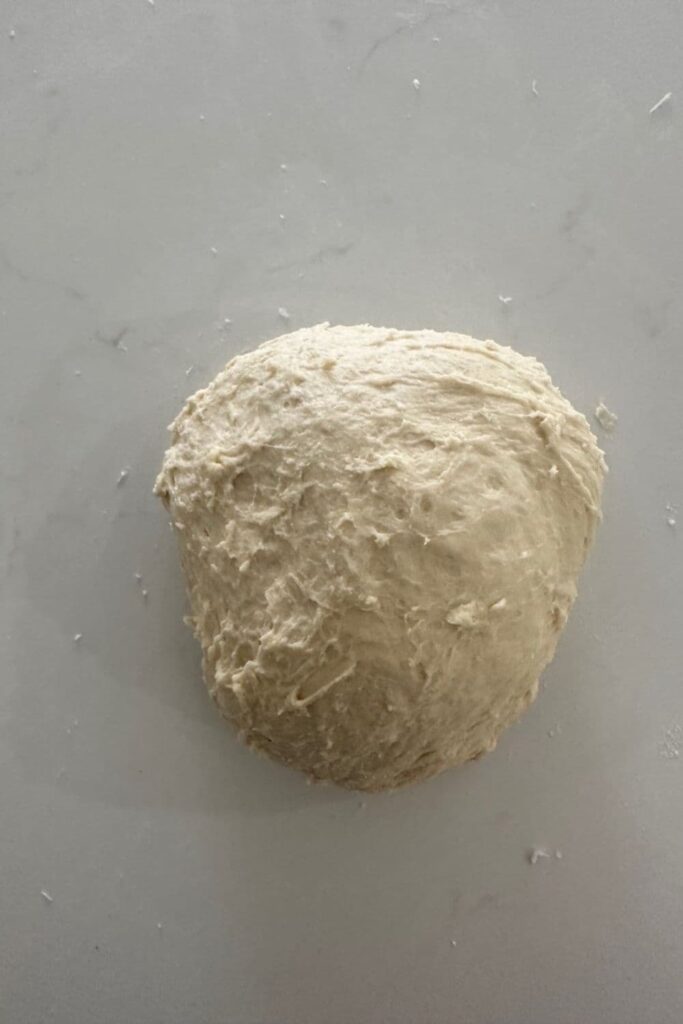
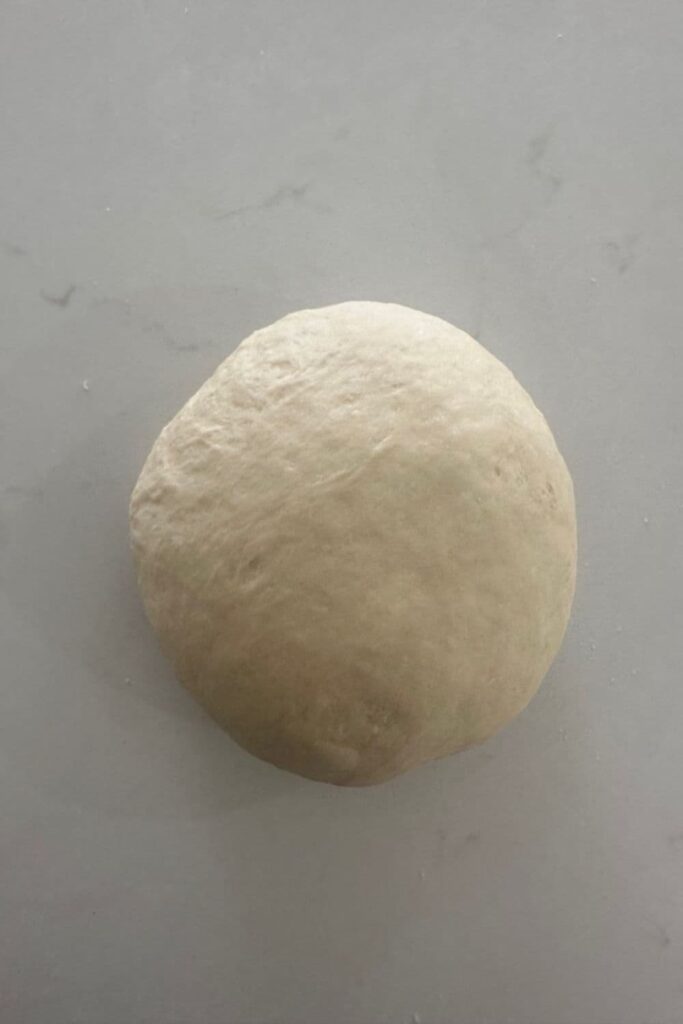
Now you need to let your dough rise (this is the bulk fermentation stage). Cover the dough and allow it to rise at room temperature. You don't want it to double, around a 50% rise is perfect, that way your wild yeast still have some energy left for the second rise.
Once the dough has risen, tip it out onto the counter top. Divide the dough into equal pieces. I don't use a lightly floured surface for this step as it dries the rolls out. The dough isn't sticky, so you should be able to shape them without extra flour.
You'll need to use a set of scales to get them exactly weighted - or you can do it by sight if you prefer. For this recipe I did 11 rolls at 86g each. If you want 12 rolls, you'd need to make them 78g. Shape each piece of dough into a ball and place the balls of dough into a cast-iron skillet (see notes for options). Allow plenty of room around the rolls to puff up.
You can place them directly on the cast iron (just make sure you brush the skillet with olive oil first). Or you can choose to line the skillet with some parchment paper. It's really up to you.
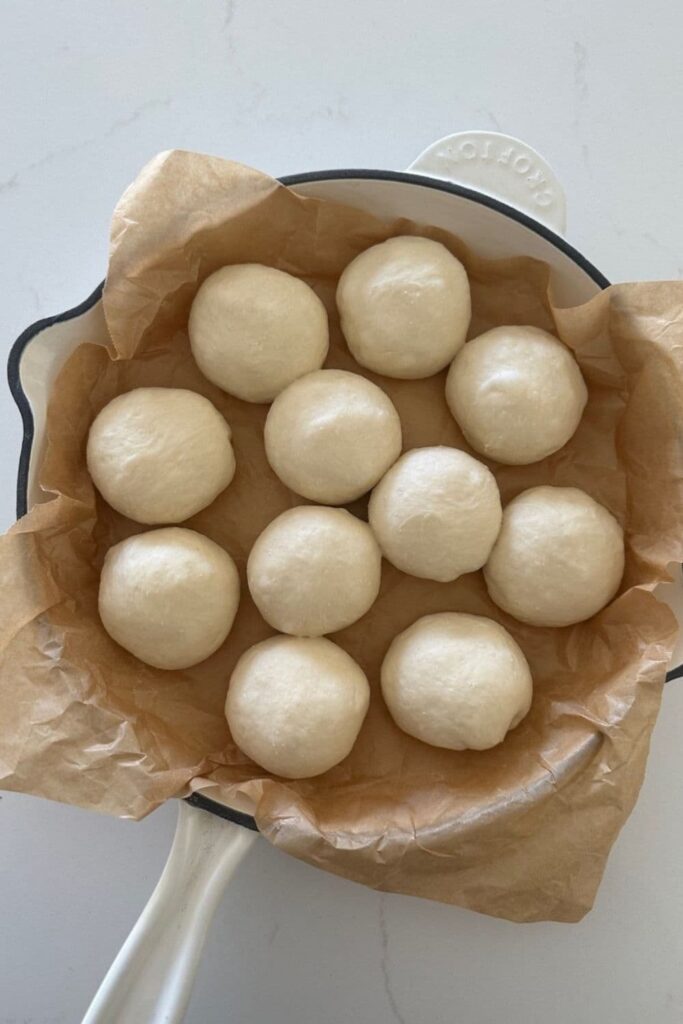
Now you need to let the rolls rise again. It's really important to make sure their soft and puffy before you bake them!
This will take a few hours depending on the temperature of your home.
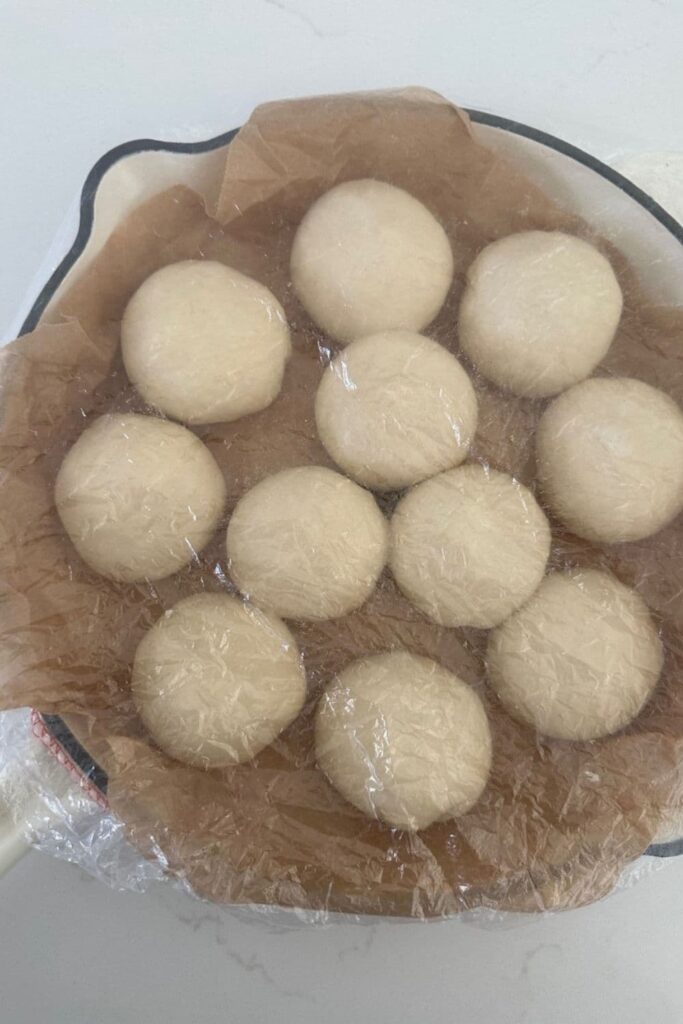
Make sure you cover them with a plastic food cover to stop them drying out. You can smear the plastic with a little olive oil to stop the rolls sticking to the plastic.Once the rolls have risen, you'll need to bake them.
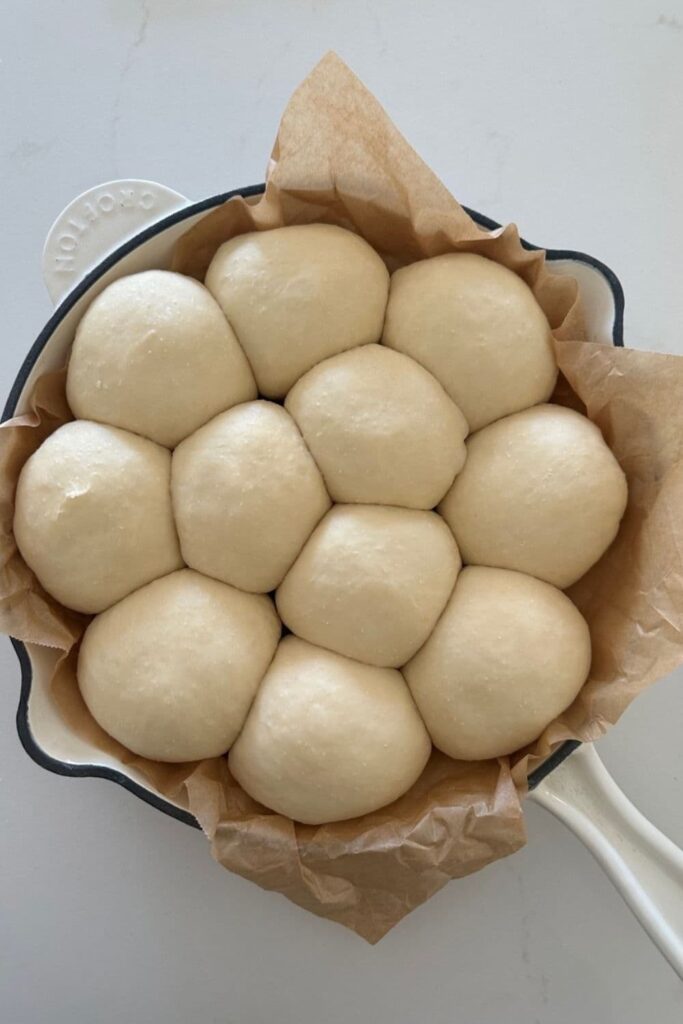
Turn your oven on and set the temperature to 180C/350F.
You can egg wash the tops of the rolls if you want to.
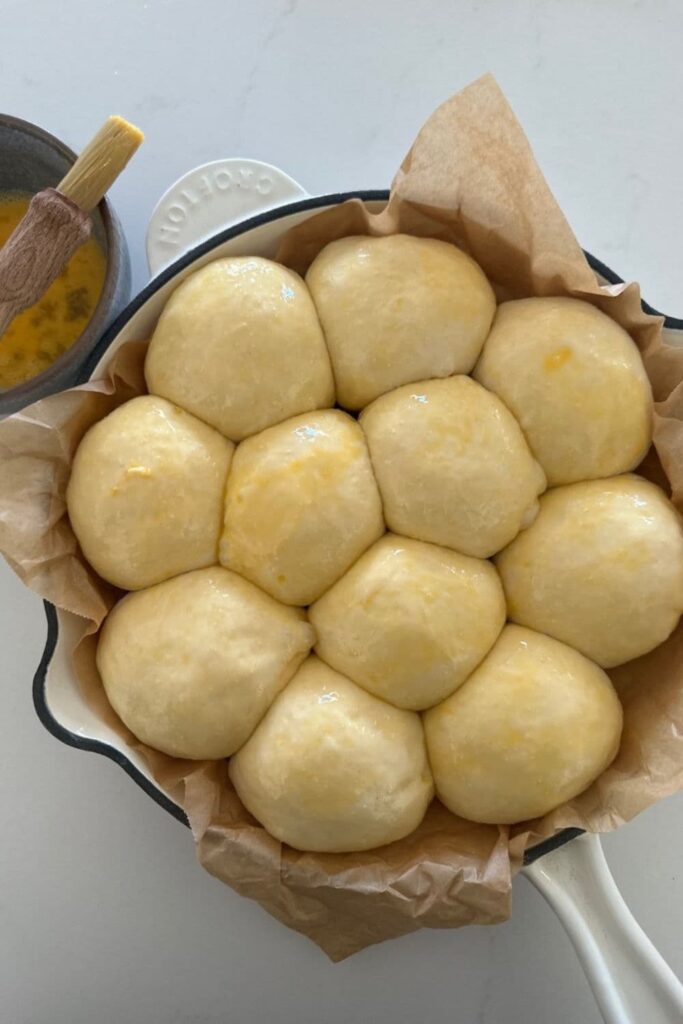
Bake your rolls at 180C/350F for around 30 minutes or until they are golden brown.
While your sourdough skillet rolls are baking, mix the honey, butter and thyme leaves to create your honey butter topping for the rolls.
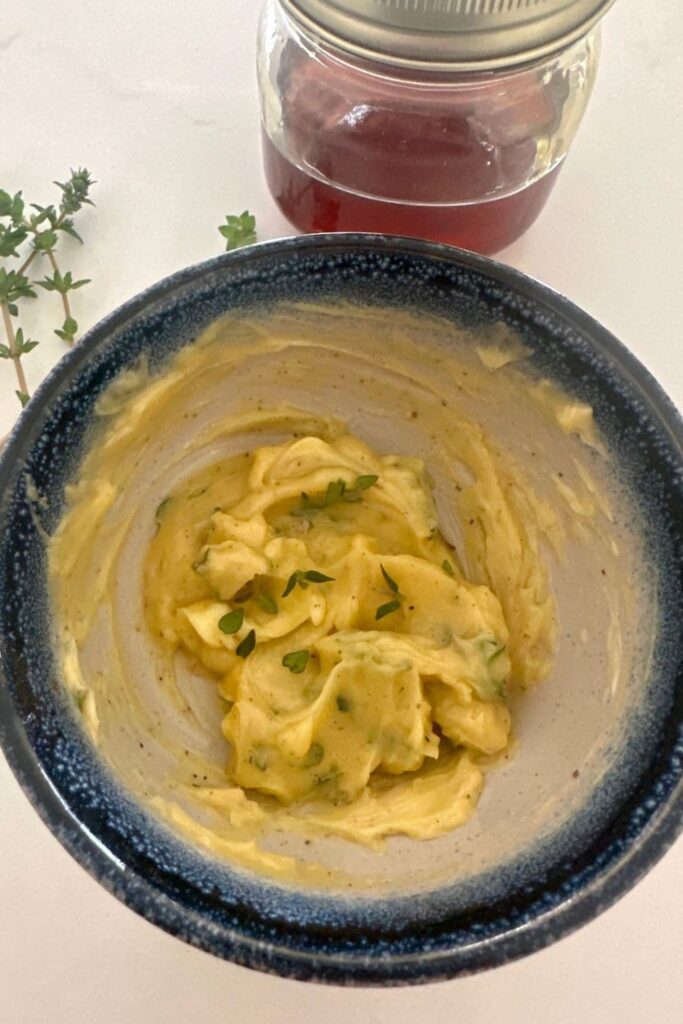
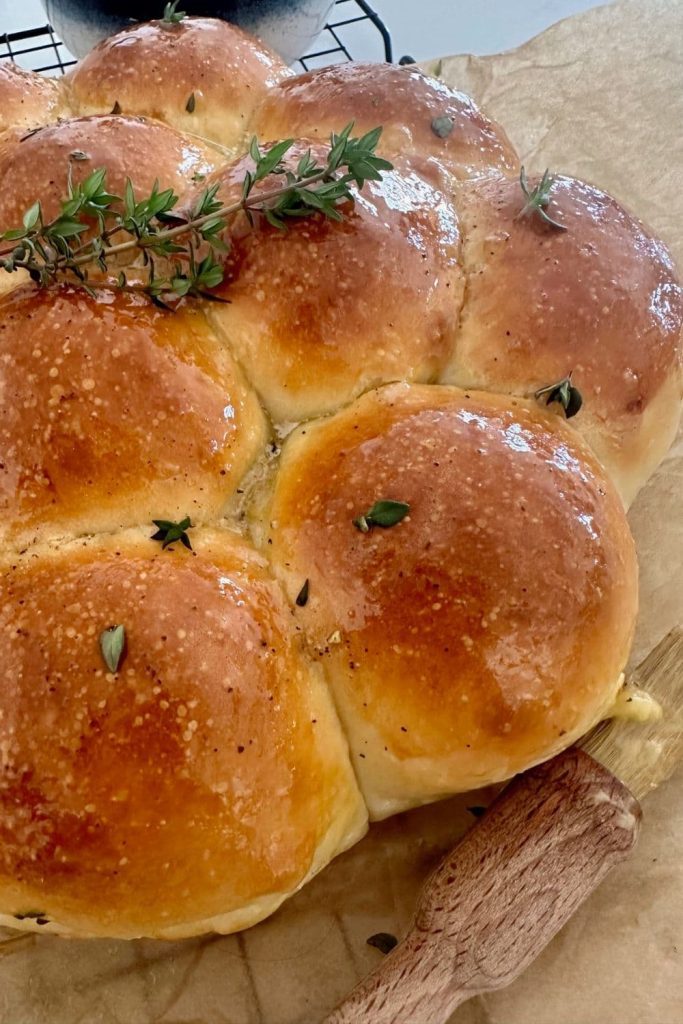
Remove from the oven and while they're still in the skillet, use a pastry brush to slather them in honey thyme butter.
Once the honey thyme butter has soaked in, remove them from the skillet and allow to cool on a wire rack.
Baker's Timeline for Sourdough Skillet Rolls
This is the rough timeline I use when making sourdough sourdough skillet rolls. You could adapt this timeline to suit your own situation. You might also find this article on creating a sourdough baking timeline helpful in adapting it.
The Night Before
9pm - Feed your sourdough starter (feed it 1:3:3 so it is ready for you in the morning).
The Next Morning
9am - Mix the dough, knead and allow to rise a little in the bowl
12pm - Shape the rolls, arrange in a cast iron skillet and leave to proof in a warm place.
6pm - egg wash and bake them.
If you want to hit pause on this recipe, you can place your sourdough skillet rolls in the fridge once they shaped. I allow them to rise around half way and then put them in the fridge for up to 12 hours. When I want to bake them, I take them out, allow the to get nice and puffy, paint the topping on and then bake.
Just remember the cast iron will get really cold, so you'll need to allow extra time for them to warm when they come out of the fridge.
How To Store + Freeze
These rolls are best baked and eaten the same day. They have no preservatives or artificial ingredients, so they won't last for days like store bought bread. The best way to serve them is to bake them and served them warm from the oven. Heaven!
If you want to freeze leftover rolls, you can wrap them in parchment paper and then in aluminum foil or place them in a freezer bag and into the freezer for up to 3 months.
Sourdough Skillet Rolls
Equipment
- Stand Mixer
- Digital Scales
- Cast Iron Skillet (lined with parchment if you prefer)
Ingredients
- 100 g Sourdough Starter (fed and bubbly)
- 500 g Bread Flour (or All Purpose Flour)
- 270 g Water
- 10 g Salt
- 25 g Sugar
- 40 g Butter (melted)
Honey Thyme Butter
- 50 g Butter (salted at room temperature)
- 25 g Honey
- 1 tablespoon Fresh Thyme Leaves (without the stem)
Instructions
- Combine the sourdough starter, water and sugar in a bowl and stir until well combined (the sugar should dissolve).
- Now, add the flour, butter and salt to the mixture and combine until it forms a shaggy dough. Cover the dough and leave the dough to rest for 30 minutes.
- Once the dough has rested, tip it out onto the counter and knead the dough until it's silky and elastic (this will take around 10 minutes by hand, around 5 minutes in a stand mixer or Thermomix - the dough in these photos has been kneaded by hand).
- Now you need to let your dough rise (this is the bulk fermentation stage). Cover the dough and allow it to rise at room temperature. You don't want it to double, around a 50% rise is perfect, that way your wild yeast still have some energy left for the second rise.
- Once the dough has risen, tip it out onto the counter top. Divide the dough into equal pieces. You'll need to use a set of scales to get them exactly weighted - or you can do it by sight if you prefer. For this recipe I did 11 rolls at 86g each. If you want 12 rolls, you'd need to make them 78g.
- Shape each piece of dough into a ball and place the balls of dough into a cast iron skillet (enamel cast iron is fine too). Allow plenty of room around the rolls to puff up. You can place them directly on the cast iron (just make sure you brush the skillet with olive oil first). Or you can choose to line the skillet with some parchment paper. It's really up to you.
- Now you need to let the rolls rise again. It's really important to make sure their soft and puffy before you bake them!This will take a few hours depending on the temperature of your home. Make sure you cover them with a plastic food cover to stop them drying out. You can smear the plastic with a little olive oil to stop the rolls sticking to the plastic.
- Once the rolls have risen, you'll need to bake them.Turn your oven on and set the temperature to 180C/350F. Spray the top of your rolls with some water mist or egg wash (egg wash will make them lovely and shiny).
- Bake your rolls at 180C/350F for around 30 minutes or until they are golden brown.
- While your sourdough skillet rolls are baking, mix the honey, butter and thyme leaves to create your honey butter topping for the rolls.
- Remove from the oven and while they're still in the skillet, use a pastry brush to slather them in honey thyme butter.
- Once the honey thyme butter has soaked in, remove them from the skillet and allow to cool on a wire rack.
Nutrition



Getting ready to put these in the skillet. I am going to use a 12" skillet. Not sure what size is best. I also have a 10", but want enough room for them to get puffy! Thanks in advance for your response.
If I wanted to delay baking could I shape the rolls and then place in fridge?
Very easy to make. We Love these rolls and I always have some in the freezer for quick breakfast sandwiches or sliders. Sometimes i double the recipe and also make awesome hoagie buns.
We love to hear that! Thank you so much for your comment, Karin! 🙂
I’ve made these 3 Times and each time they were a huge success! They are easy, delicious and impressive looking to serve to your friends. I’ve never made rolls before and every batch turned out looking just as good as the website pics. I took them to a dinner party and baked them there and slathered them with the honey time butter. Everyone went nuts for them! You won’t be disappointed.
Could I double this and put them in a 9x13 pan?
This recipe was PHENOMENAL and SO EASY! Followed directions and my rolls were fantastic. I was able to make 12 rolls. The only thing I will change next time is the amount of butter honey thyme. It was just a lot of butter topping so I will half it next time. Thank you for sharing this great recipe!
These were really good. I forgot to put parchment paper in the cast iron skillet before I put the rolls in but they still came out pretty easily and the honey/thyme butter on the rolls….yum! It was nice to make something that could be eaten the same day as well.