Sourdough Starter Not Bubbling? Here's What To Do!
This post may contain affiliate links.
A bubbly, active sourdough starter is the key to great sourdough bread, but if it’s not bubbling, it can be frustrating! Let's diagnose why your sourdough starter is not bubbling like it should be and explore how you can get your starter active, bubbly and ready to bake delicious sourdough bread!
Some of the reasons a starter might not be bubbling are:
- too immature
- too cold
- wrong feeding ratio
- overfeeding and diluting the yeast colony
- poor water quality or flour choice
- contamination or mold
If your starter isn't bubbling, then it won't be rising. Generally, these issues go hand in hand, since the bubbles are indeed gas which causes your sourdough starter to climb up inside the jar. Understanding the science behind your sourdough starter is good knowledge to ensure you are able to care for your starter correctly.
Immature Sourdough Starter
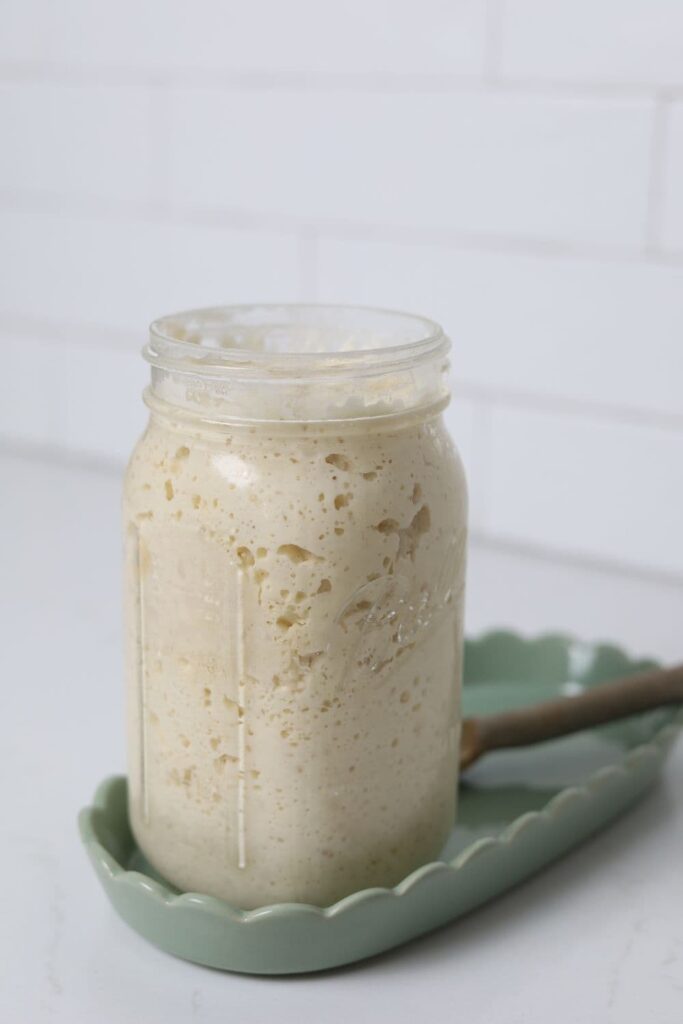
It can take several weeks to establish a thriving sourdough starter that's bubbling, rising and ready to bake amazing sourdough bread. In the first 2 weeks of establishment, it's normal for your starter to be sluggish, not very bubbly and seemingly dormant.
As long as you can see one or two bubbles, it will be ok, it's fermenting. Concentrate on strengthening your sourdough starter and giving it time to develop a strong microbial colony. You can check when your sourdough starter is ready to bake with here.
As you'll learn, sourdough starters are quite unique and dependent on so many factors. Getting each part of the puzzle right is the key to creating a super bubbly and vibrant culture of wild yeast.
Too Cold
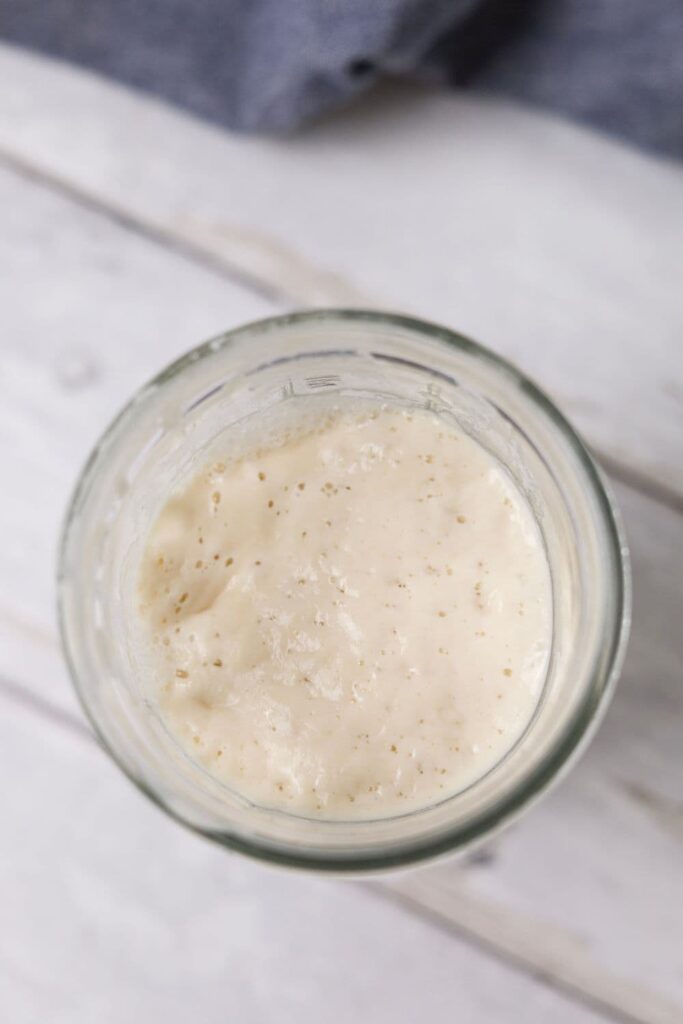
Starters thrive in warmth (just not too warm). If it’s too cold, the wild yeast in your jar slow down, causing a lack of bubbles, which in turn, means your starter won't rise. Ideally, a temperature between 24C and 28C or 75F to 82F helps sourdough fermentation stay active.
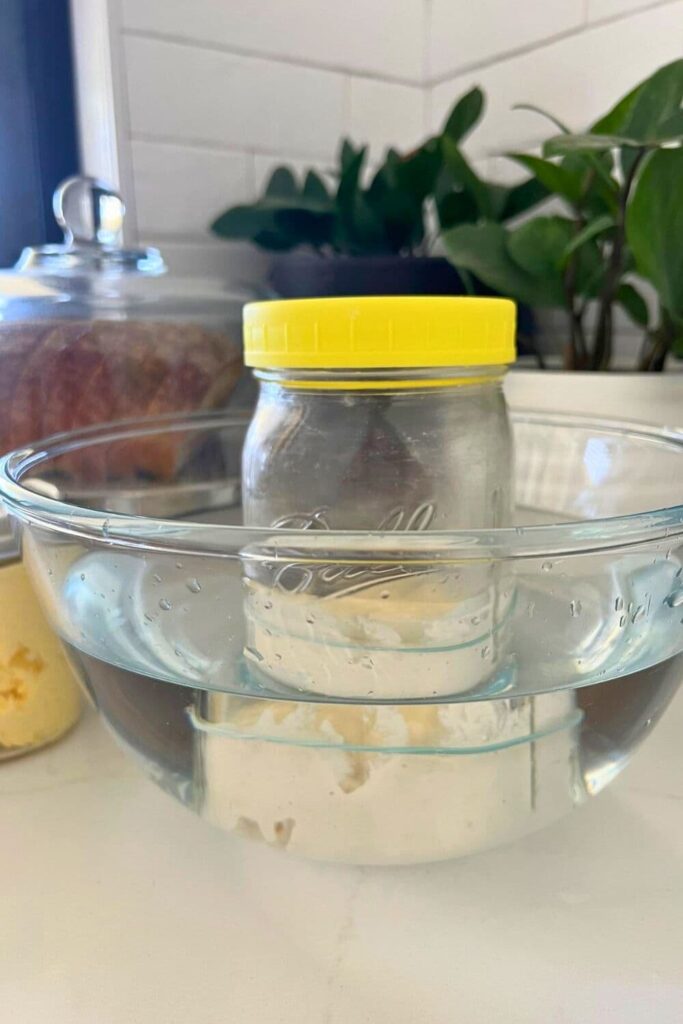
Try placing the starter in a warmer part of your home, like on top of the refrigerator or in a bowl of warm water. Even wrapping it in a clean sock can help. Understanding how to keep sourdough starter warm will give your starter the help it needs to become bubbly and active.
Wrong Feeding Ratio
Your starter requires the right ratio of flour and water to culture in order for it to bubble and rise. If you are not feeding your sourdough starter enough or not discarding then your starter won't bubble or rise because it's starving.
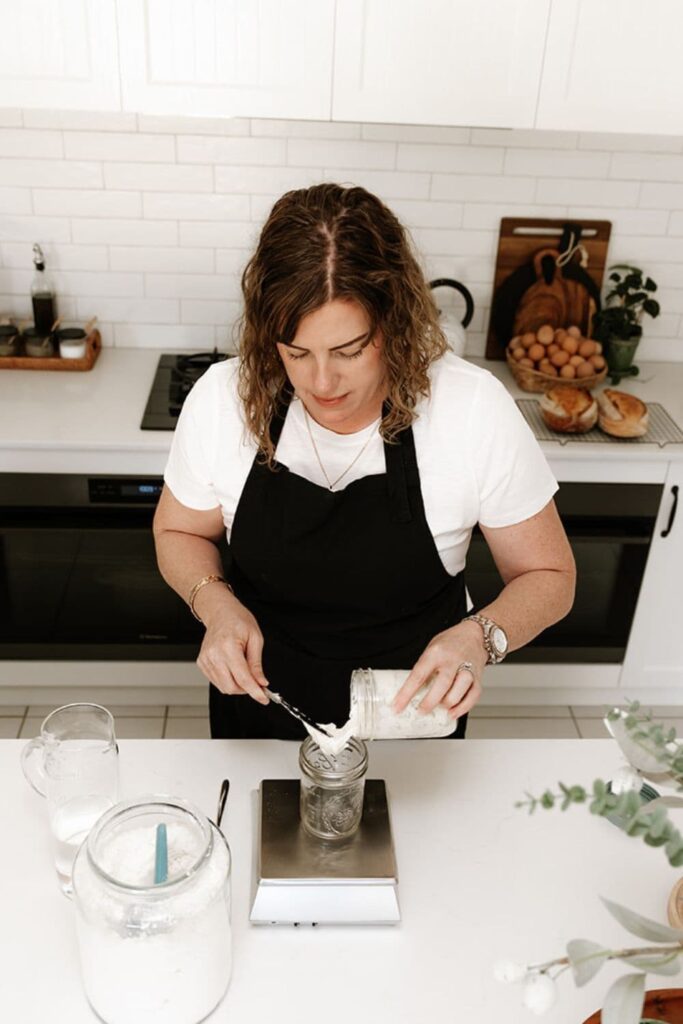
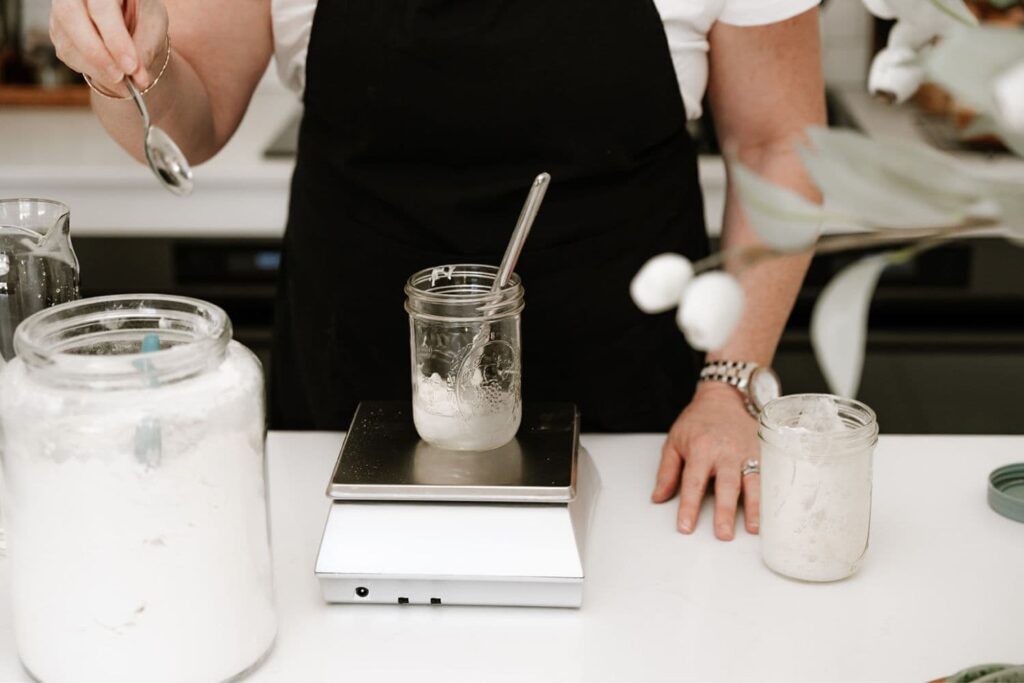
It's really important to use a scale to weigh your starter, flour and water to ensure you get the right ratio. Using volume measurements is too inaccurate.
For example, if you have 50g of sourdough starter, you must feed your starter at least 50g of flour and 50g of water. You want to feed at least a 1:1:1 ratio, if not more.
Sourdough starter ratios can be a little tricky to understand, but with practice, they will start to become second nature.
Overfeeding Your Starter
Overfeeding dilutes the yeast culture, while underfeeding can lead to a buildup of byproducts that can inhibit yeast activity. An underfed starter will produce hooch, a liquid that sits on the top of your starter. It can be a fine balance to get this right.
Ideally, you don't want to feed your starter more than twice a day (except in certain circumstances). The more you feed it without using it, the more you dilute the yeast colony, making it take longer and longer to bubble and rise. What you really want to do is increase the wild yeast in your sourdough starter.
You can read more about overfeeding a sourdough starter here.
Incorrect Flour Choice
The type of flour you use for your starter matters! You can use white flour (that's all I use to feed my starter), just make sure that your flour is not bleached as this strips away the nutrients required to feed your wild yeast colony.
Whole grain flours are an excellent choice for creating a sourdough starter more quickly, but can be more expensive too. A great solution here is to use half whole grain flour and half white flour, or just give your starter a little boost of whole wheat or rye every so often to introduce extra nutrients and yeast into your colony.
Water Quality
Water quality for sourdough starter matters! Water high in chlorine or other additives will inhibit the growth of your sourdough starter.
Similarly, reverse osmosis water and distilled water aren't great water choices for sourdough starter as they lack the minerals required to grow a healthy sourdough starter.
Contamination
If your starter has been exposed to contaminants or stored in improper containers, the yeast and bacteria may struggle. Always use clean utensils and glass or food-grade plastic containers with a loose-fitting lid. I prefer to store my sourdough starter in a wide mouth mason jar with a plastic lid. I don't sterilise my jars or utensils, but they are always washed at high temperatures in my dishwasher.
Avoid metal containers, as they can react with the acidic environment (particularly aluminium and copper).
This guide to the best jars for sourdough starters will help you choose the right container for your starter to help it bubble and double.
You should also look out for mold forming on your starter as this will inhibit its growth. Moldy sourdough starters need to be thrown away and you'll need to start again.



Is it bad to use different brands of flour to feed starter. I always use unbleached flour but sometimes switch brands due to availability. My starter is over a year old and kept in refrigerator but fed about every ten days. Recently it has not been active enough to use. Any suggestions how to correct issue
It's fine to switch out the flour you use. Sometimes your starter will have a little adjustment period where it might not do a lot, but not always. If it's been in the fridge a lot, you might need to keep it on the counter for a while and really rev it up. Try some of these ideas to strengthen your sourdough starter.
I don't know why, because I'm relatively new to sourdough baking, but my starter LOVES the cold. At 62 to 65 degrees it will double or triple in 4-5 hours of feeding. I was very tired a few days ago and put my doubled starter in the fridge. I took it out yesterday and put it in my dough and it was still bubbling. After using my starter, there is usually 2-5 grams of starter left in the jar. I feed it 55 g of Distilled Water, 45 grams of Bread Flour and 10 grams of Spelt.
I took my starter out of the fridge (after a couple of weeks) fed it and it won’t rise. There’s bubbles on top, smells good and being kept in a warm room. Why?
There are so many reasons this can happen. But generally, you'll need to feed it a few times to get it rising if it's been in the fridge as you've put it into a deep sleep. Try feeding it again. You can also follow these ideas for strengthening your sourdough starter 🙂
Hi Pantry Mama,
For my "Maddy", i'm feeding 1:3:3 ratio (10g starter:15g dark rye floor + 15g bread flour:30g water), twice a day. Maddy is Day-22 now. Smell is pleasant, no hooch, small bubbles and sometimes rise double and sometimes it rises above the line only. Temperature is between 27-29 degree. I use a cling wrap on the glass bottle, cover with a cloth and it sits in a dark corner. I wonder if it's my starter too stiff? I started to make it a bit wet.
Today is Day-22, I close the glass bottle with a lid lightly, wrap around the cloth and left it on my dining table. Temperature here in Singapore, my home is about 29to31 degree.
Pls advice if I'm doing it correctly. Thank you.
In my eight years of SD baking, I have learned a few things.
(1) Disregard the photos quarts of overflowing starter. That's theatrics and what scares most would be SD bakers away. It’s pure baloney!
(2) Starter is very forgiving.
(3) Learn your flour. In SD baking it’s about finding the proper hydration for your flour. Begin by learning bakers percentages so you can troubleshoot and fix your own problems.
(4) If you feed 50 grams of discard or sleepy starter with 50g rye and 50g whole wheat flours, plus 100ml water then set in a warm spot or the oven on proof you’ll get bubbles. Do that twice a day for two days and you’ll have lots of bubbles.
(5) Reserve and feed some to put back in the fridge. No need to maintain more than 100g of mother starter.
(6) Simply start a fresh build two days ahead and you’ll have great starter.
Those two flours are loaded with natural yeasts and will smell sour as it gets once matured.
(7) To prep for a bake, repeat feedings twice a day for 2-3 days and you’ll have starter that will double in four to six hours at 80°F (26.7C).
(8) save the white flour for the bake not the starter.
(9) For a deeper flavor, stir the dark gray liquid on top (hooch) back into the starter.