Tomato Chutney [with an epic shortcut]
This post may contain affiliate links.
I am obsessed with this tomato chutney recipe! It's so easy to throw together and uses canned tomatoes (which is perfect in the winter months when fresh tomatoes aren't as readily available). This is such a budget friendly recipe and can transform a simple grilled cheese or charcuterie platter to a gourmet delight!
This tomato chutney is so good, it won first prize this year at the Brunswick Show, which is one of Australia's biggest one day agricultural shows. I was so proud to see my jar with the blue first prize card! And now, I want you to be able to create this gourmet tomato chutney at home!
Why You'll Love This Recipe!
- Use Canned Tomatoes - there's no peeling tomatoes, no having to wait for tomato season, just grab 2 tins of tomatoes and you're in business!
- It's So Cheap - using canned tomatoes, basic white vinegar and dried herbs and spices makes this tomato chutney super budget friendly. I can make 3 big jars from this recipe for about the same price as a small jar from the store.
- Transform Basic to Brilliant - this humble tomato chutney takes a basic cheese plate and transforms it to a gourmet delight! Pair it with some sourdough crackers and you're in heaven!
What is Chutney vs Relish?
Good question! I think a lot of the time we use these labels interchangeably, but in fact there are some differences here. This particular tomato chutney recipe is labelled a chutney because it contains both fruit (apple) and vegetables (being tomato and onion), as well as raisins. It contains vinegar, herbs and spices and has a chunkier consistency than a relish.
The truth is it could probably pass as either one, but for me a tomato relish is a little thinner and doesn't have the rich tapestry of spices that feature in a chutney.
Chutney is often associated with Indian cuisine, but honestly, this tomato chutney reminds me more of a sweet treat to elevate the cheese on a ploughman's lunch platter. You might also like this chilli tomato relish if you prefer things a little spicy.
Ingredients
Like I mentioned, there's nothing special in this chutney. You're likely to have all of these ingredients in your pantry already!
- Tomatoes - I've used basic canned tomatoes from the grocery store. If you have your own canned tomatoes, even better! I always used diced tomatoes as I find it gives the chutney a better final texture.
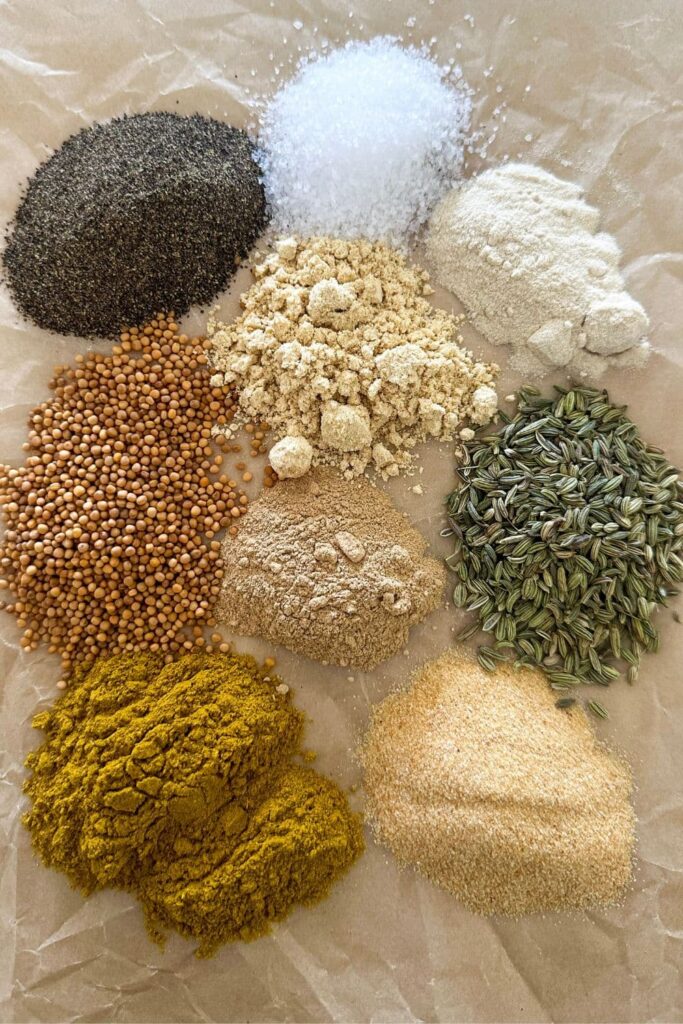
- Herbs & Spices - I have used basic herbs and spices in this recipe. They are all dried herbs and spices which means that you can make this chutney at any time of the year without having to splurge on fresh herbs during the winter months.
- Vinegar - I've used a basic white vinegar, nothing fancy at all! This helps to keep the cost of this tomato chutney to a minimum.
- Sugar - I've used white granulated sugar.
- Apple & Onion - Green apples work best here, leave the peel on to save you time! I generally use a brown onion (yellow onion) but you can use red if you want to.
How To Make Tomato Chutney
As far as preserves go, this would have to be one of the easiest to make. There's no fuss, no mess - just put the ingredients in and let the heat work its magic.
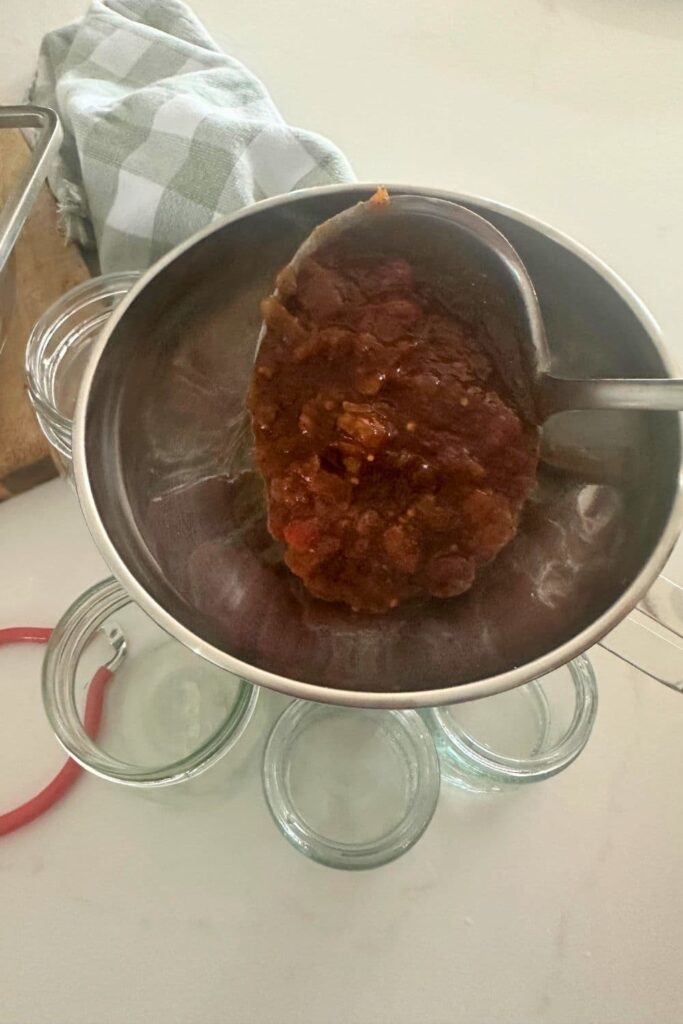
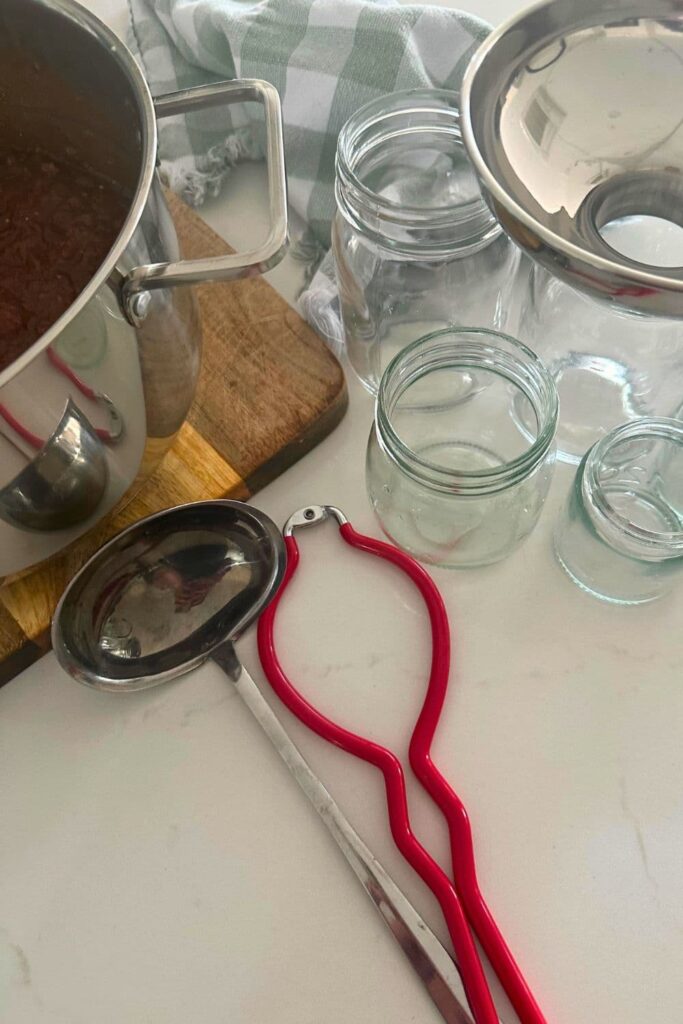
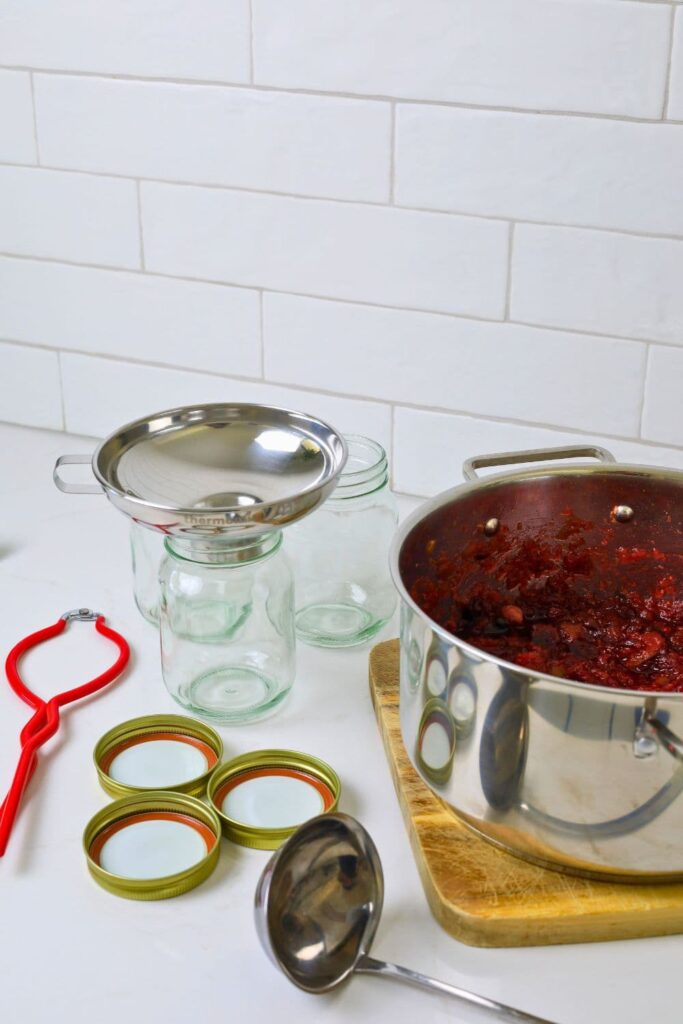
While you don't need anything fancy, I do recommend using a jar funnel to fill the jars because the tomato chutney is hot and you'll prevent spills and burns.
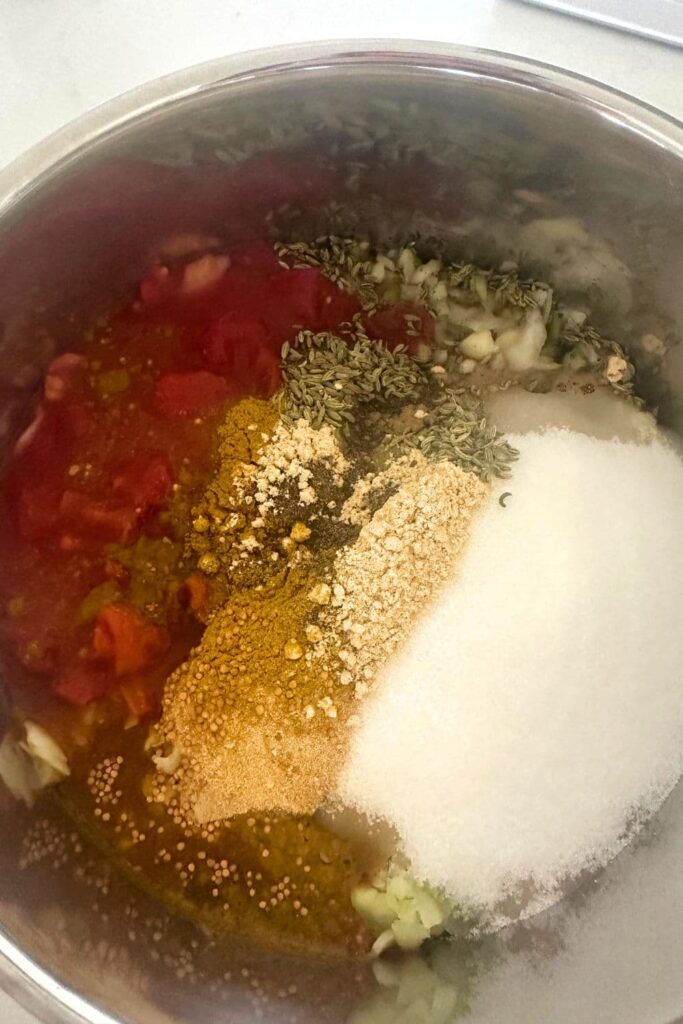
Finely dice the onions and green apples (I don't take the skin off my apples). Add these to a heavy based saucepan, along with the diced canned tomatoes, sugar, vinegar and herbs and spices. Leave the raisins to the side for now.
Slowly bring the pot to a boil before reducing the heat to a slow simmer.
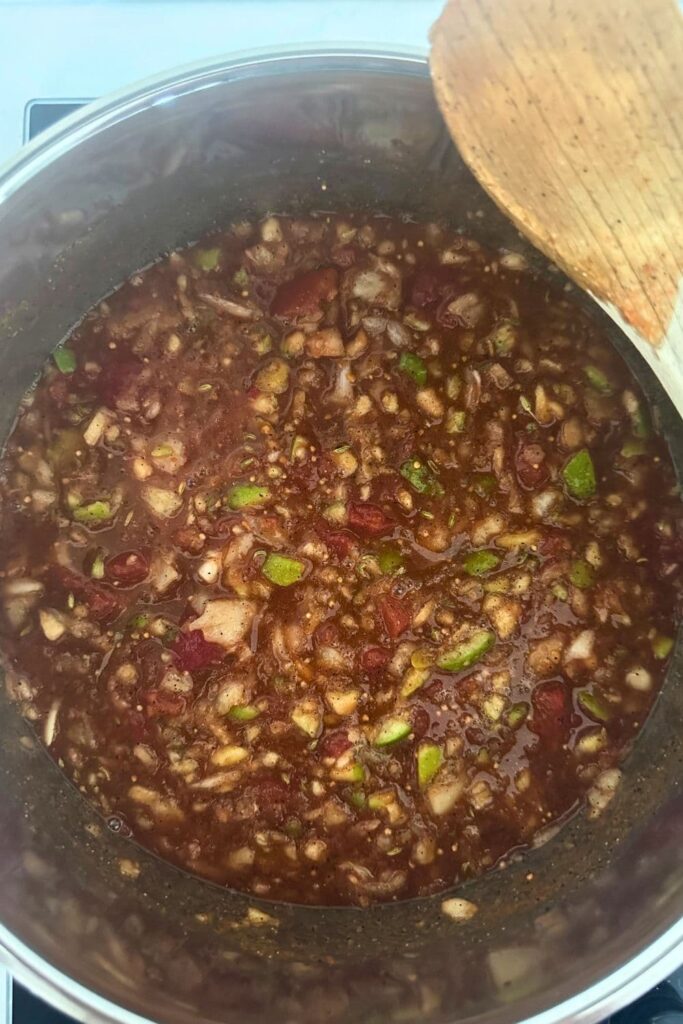
Allow the tomato chutney to simmer on a low heat for around 40 minutes before adding the raisins.
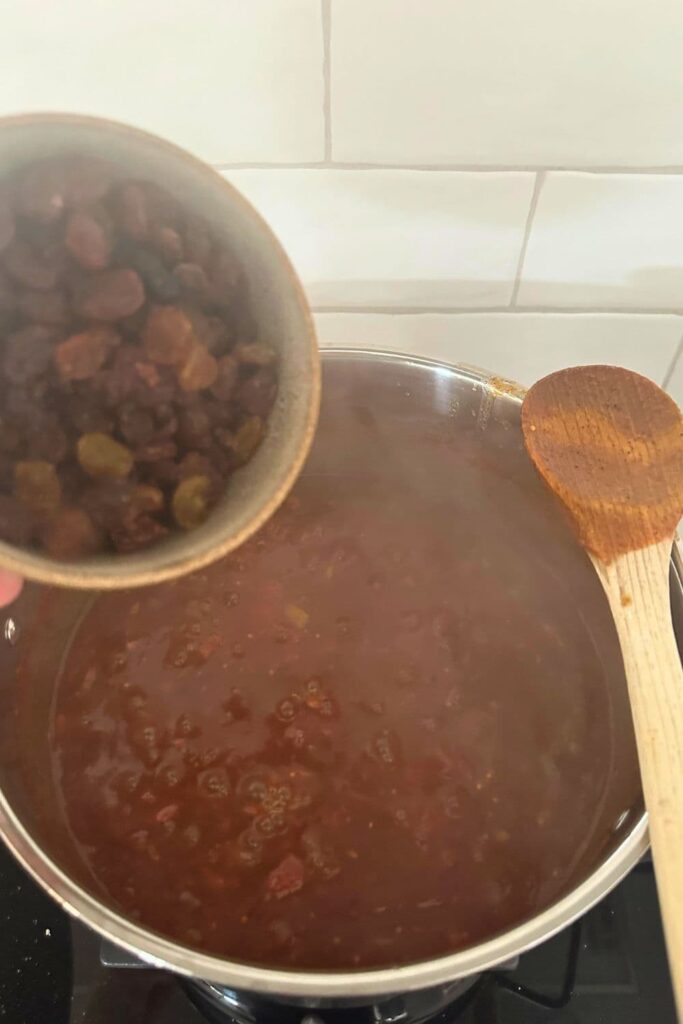
Now simmer the chutney for another 20 minutes on low heat, or until it has thickened a little (it's ok if it's still a little runny as it will thicken up in the jar while it cools).
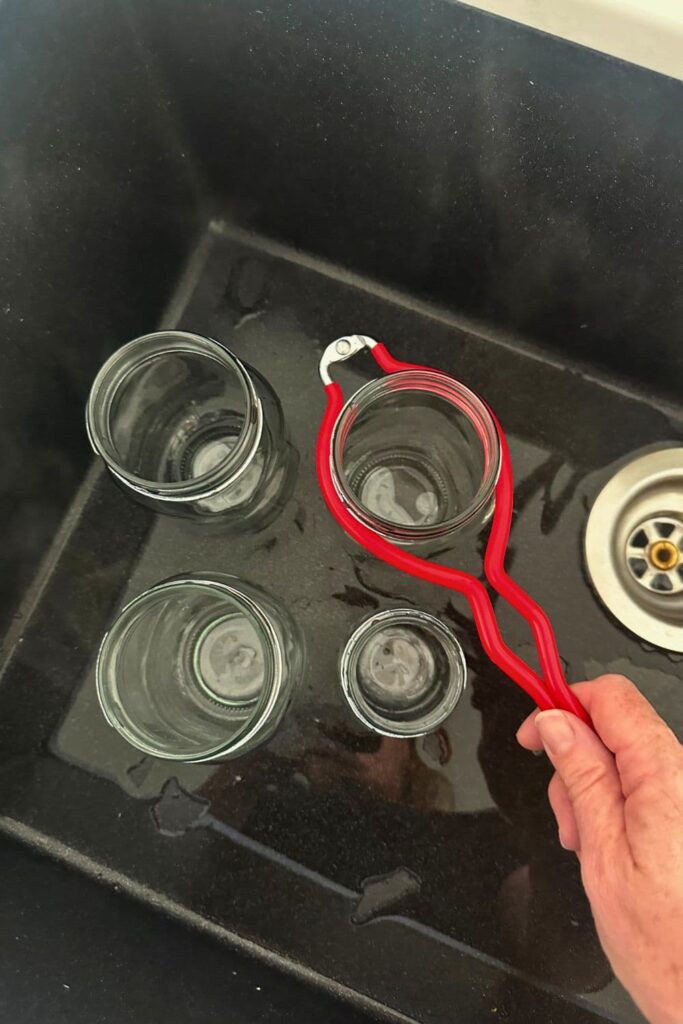
While the tomato chutney is simmering for the last 20 minutes, make sure your jars are clean and sterilised. There are a number of ways you can do this. I like to either run them through a super hot dishwasher cycle right before I'm ready to fill them, or simply fill them with boiling water. I don't keep my chutney for all that long in the fridge (we eat it pretty fast) so this works for me.
Using a stainless steel jar funnel and ladle, carefully fill the jars with tomato chutney, leaving around 1cm head room at the top of the jar. Place the lids on and seal immediately.
At this point you can just leave the jars to cool on the counter and store in the fridge. Alternatively, if you are familiar with canning, you can place the sealed jars into a saucepan of water and boil for 10 minutes to make the tomato chutney shelf stable.
Time Saving Tips
- If you don't like chopping onions, you can run them through a food processor. This will give a finer texture to your finished tomato chutney.
- Leave the skins on your apples. These can also be thrown in the food processor and roughly chopped.
- Double the recipe to make extra jars of tomato chutney as simple gifts. It's just as easy to make a double batch as it is to make a single batch!
Serving Suggestions
No matter where I take this tomato chutney, everyone asks for the recipe! Seriously, be prepared for requests! I now make triple batches every time I make it and always have extra jars in the fridge ... it disappears so fast because it literally goes with everything we eat! I have caught so many of my family and friends eating it out of the jar with a spoon, it's that good!
Here's some of the ways we like to enjoy this delicious tomato chutney made with canned tomatoes:
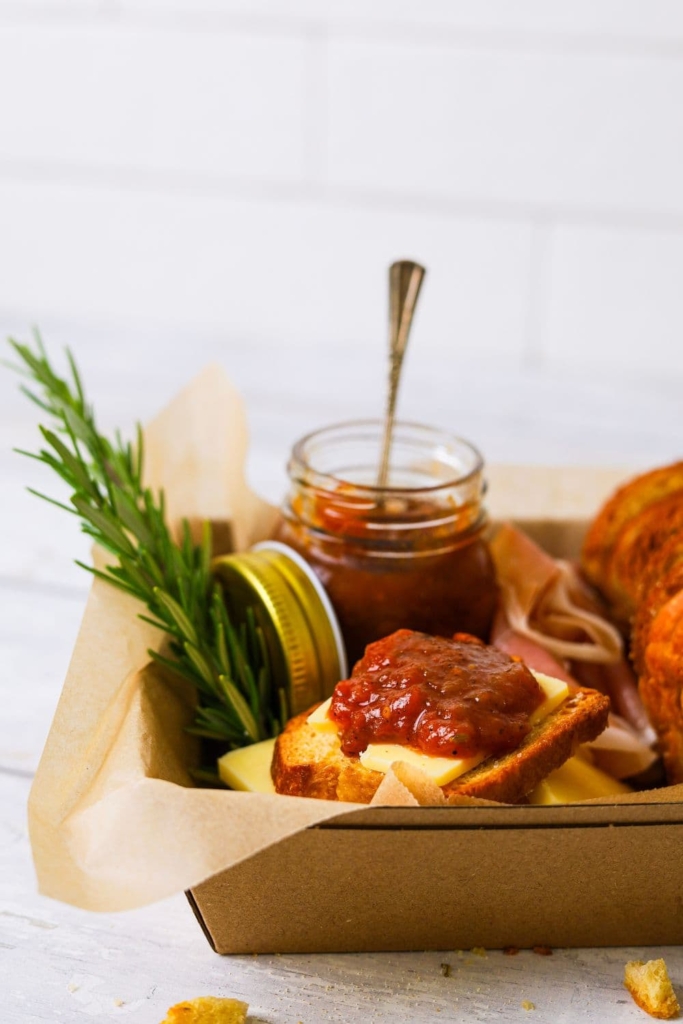
- Serve with these sourdough crostini or seeded sourdough crackers and vintage cheddar. Add some shaved prosciutto if you like too (you can see this in the photo below).
- Add to your next sourdough grilled cheese! My current favorite is turkey, cheese and tomato chutney on jalapeño cheddar sourdough bread.
- Pop a dollop of chutney on your next batch of sourdough mac and cheese. You'll have to trust me on this, it works!
- Use this tomato chutney instead of tomato ketchup on your next burger. It will transform your burger from blah to wow! I love using these sourdough discard hamburger rolls.

Equipment For Making Chutney
One of the things I love about making chutney and relishes is that I don't need a lot of specialised equipment. But just in case you really want to go all in, here are some of the things that you'll see me using that do make life much easier!
- Kitchen Scales - I love that I can make chutney and relish easily with a kitchen scale. Once my recipe works, I know I can make it over and over again with the exact measurements. If you don't already use a kitchen scale for cooking and baking, I highly recommend you look at the benefits (you can read about why weighing your ingredients is important here).
- A large stainless steel pot - wider pans work best for chutney and relishes because they allow the moisture to evaporate more easily, leaving you with a glossy, flavorful chutney or relish. I use a 24cm, 5L casserole pot to make my chutneys. If you want to make larger batches, you would of course need a larger pot, but I find 5L works really well for the quantities in my recipes.
- Jar Tongs for canning - these are the funny red tongs you'll see in some of my photos. They make it so much easier to pick up hot jars!
- Stainless Steel Jar Funnel - I love using this when filling my jars as it prevents mess and spills and keeps the rims of the jars clean.
- Jars - I tend to use whatever I have on hand. If making batches for gifts, I tend to use either 120ml jars or 300ml jars (I usually just buy these from discount stores because then I don't mind if the jars don't come back). If canning relish and chutney for my own fridge, then I tend to use 500ml jars as we go through a lot of it! I love using the same wide mouth jars that keep my sourdough starter in.
Shelf Life + Storage
When I make this tomato chutney using canned tomatoes I generally seal them while hot and let them cool on the counter before placing in the fridge. The jars will last at least 6 months sealed in the fridge, but honestly, ours seem to disappear! If you visit my house, you'll probably go home with a jar along with a fresh loaf of sourdough bread and a dozen eggs.
If you want your tomato chutney to be shelf stable, you will need to place the sealed jars into a water bath and boil for 10 minutes.


Tomato Chutney Recipe
Equipment
- Large Heavy Based Saucepan (I use a 5L wide pan to ensure the moisture evaporates)
- Stainless Steel Jar Funnel (so much easier to fill jars and dishwasher friendly)
- Stainless Steel Ladle (so much easier to fill jars and dishwasher friendly)
Ingredients
- 800 g Diced Tomatoes (canned or tinned)
- 2 Onions (diced, 270g once chopped)
- 2 Apples (diced, 270g once chopped, green)
- 500 g Granulated Sugar (white sugar is best)
- 10 g Curry Powder (2.5 tsp)
- 16 g Salt (2 tsp)
- 9 g Pepper (3 tsp)
- 4 g Mustard Powder (2 tsp)
- 8 g Mustard Seeds (2 tsp)
- 200 g White Vinegar
- 8 g Garlic Powder (2 tsp)
- 3 g Onion Powder (2 tsp)
- 3 g Ginger (1 tsp)
- 6 g Fennel Seeds (2 tsp)
- 150 g Raisins (sultanas)
Instructions
- Finely dice the onions and green apples (I don't take the skin off my apples). Add these to a heavy based saucepan, along with the diced canned tomatoes, sugar, vinegar and herbs and spices. Leave the raisins to the side for now.
- Stir everything together and slowly bring the pot to a boil before reducing the heat to a slow simmer. Stir the chutney well every 5 minutes or so as its simmering. You want to keep an eye on it at this stage so the bottom doesn't catch, but you don't have to stir it constantly.
- Allow the tomato chutney to simmer for around 40 minutes before adding the raisins.
- Now simmer the chutney for another 20 minutes, or until it has thickened a little (it's ok if it's still a little runny as it will thicken up in the jar while it cools). At this stage you really want to stir it quite frequently to stop the bottom of the pan catching.
- While the tomato chutney is simmering for the last 20 minutes, ensure your jars are clean and sterilised. I run them through a super hot dishwasher cycle right before I want to fill them with chutney.
- Using a stainless steel jar funnel and ladle, carefully fill the jars, leaving around 1cm head room at the top of the jar. Place the lids on and seal immediately. At this point you can just leave the jars to cool on the counter and store in the fridge.Alternatively, if you are familiar with canning, you can place the sealed jars into a saucepan of water and boil for 10 minutes to make the tomato chutney shelf stable.
Notes
Nutrition



I can’t believe it! This recipe is so similar to what my Granny used to make many years ago. I’ve never seen a similar recipe until now, and I’ve looked. She simmered it a long time and her country kitchen would smell so wonderful! We loved a big spoonful in a bowl of bean soup, topped with grated cheddar. . My brother liked it with scrambled eggs.
I’m enjoying your blog! Thanks.