This post contains affiliate links. Please see our disclosure policy.

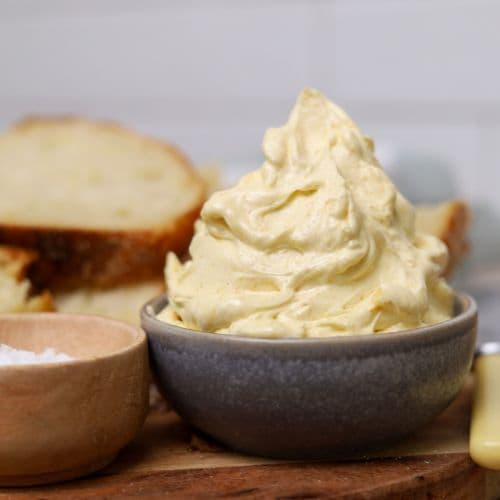
Whipped brown butter is a game-changer in the kitchen. It combines the nutty, caramelized flavors of brown butter with a light, airy texture, making it perfect for spreading on sourdough bread, pancakes and discard waffles. If you love the deep richness of brown butter but want it in a spreadable form, this recipe is for you.
And if you love making and used whipped butters in the kitchen then make sure you check out this whipped honey cinnamon butter and this whipped maple butter.

Why You’ll Love This Recipe
Intense Flavor – The caramelized notes add a depth of flavor that regular butter lacks.
Easy to Make – This recipe is so easy to make! It does have a few steps to get to the end result, but they’re very easy and achievable.
Gourmet Touch – Whipped brown butter adds a gourmet touch to everything it’s spread on, from sourdough bread to pancakes and waffles.
What Is Whipped Brown Butter?
Brown butter is simply butter that has been gently cooked until the milk solids caramelize, resulting in a nutty aroma and golden-brown hue. Brown butter is often used in recipes like sourdough chocolate chip cookies. But if you’ve been around here for a while you’ll know that I never add it to my cookies because I think it’s totally unnecessary. I still stand by that!!
However, when whipped, brown butter takes on an airy, fluffy consistency that makes it totally worth the effort when you spread it on fresh sourdough bread and sourdough baguettes.
Ingredients
- Butter – I’ve used salted butter, however if you prefer you can use unsalted butter. I love using my own homemade butter to create this whipped brown butter, but store bought butter works just as well.
- Salt – if you choose to use unsalted butter, I recommend adding salt to the butter for a savory flavor. If you don’t add salt, your whipped brown butter tends to lack flavor.
How To Make Whipped Brown Butter
I love whisking this brown butter by hand over a bowl of ice as I find it so comforting. If you prefer, you can use a hand mixer or stand mixer to whip the brown butter, however you will need to cool the brown butter in the fridge first.
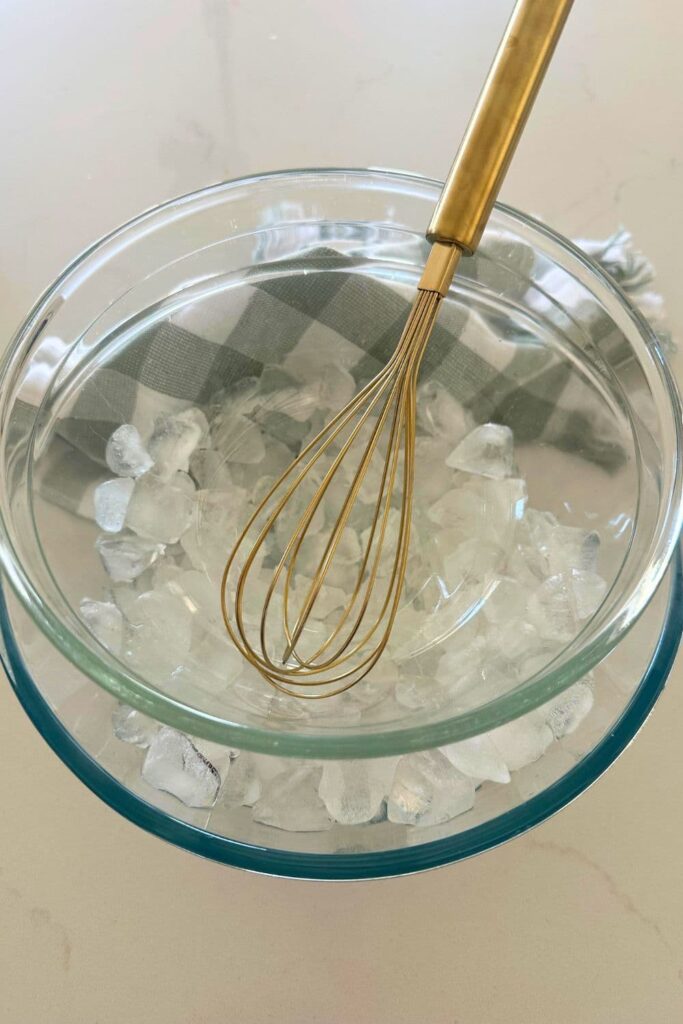
Before you start, assemble a large bowl of ice with a smaller, heatproof bowl sitting on top, ready to pour the butter into.
Place the butter into a small saucepan and allow it to melt over medium heat. As it melts, swirl the pan occasionally to ensure even cooking.The butter will begin to foam, and then the milk solids will start to turn golden brown. Watch carefully—this process happens quickly, and butter can go from browned to burned in seconds.
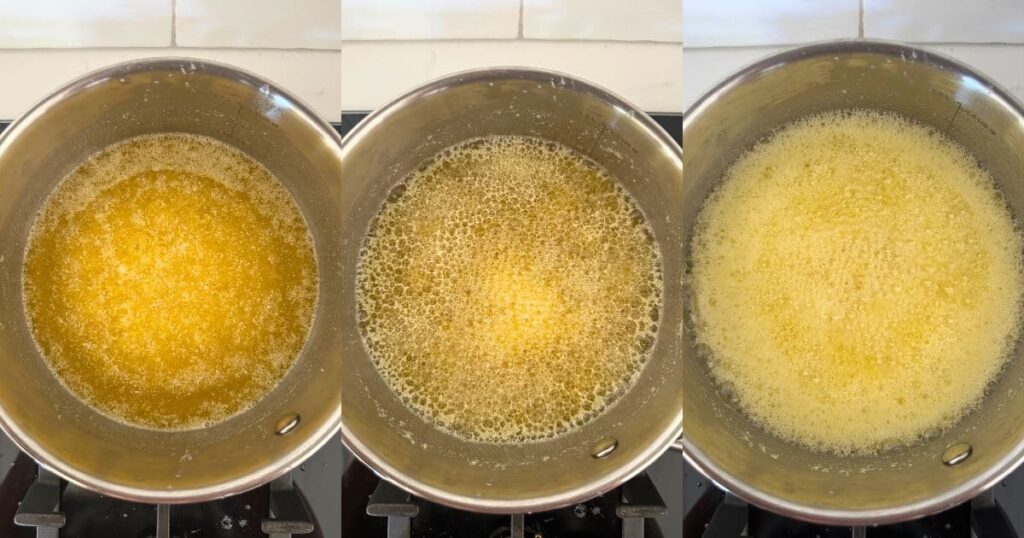
Once you smell a rich, nutty aroma and see golden-brown flecks, remove the pan from the heat and immediately pour the butter into the heatproof bowl to stop the cooking process.
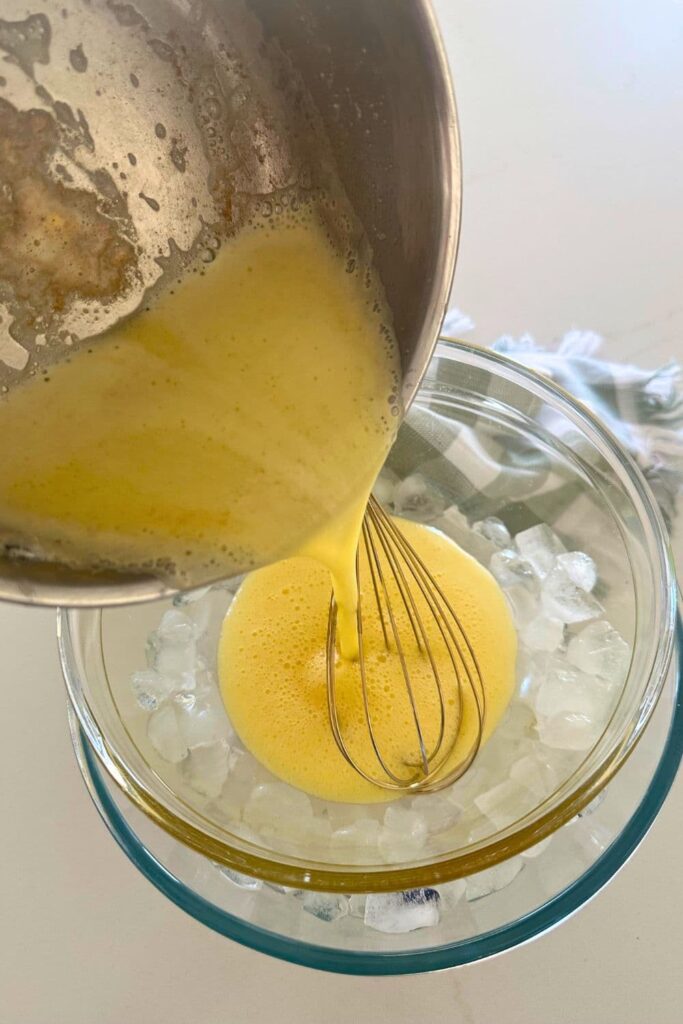
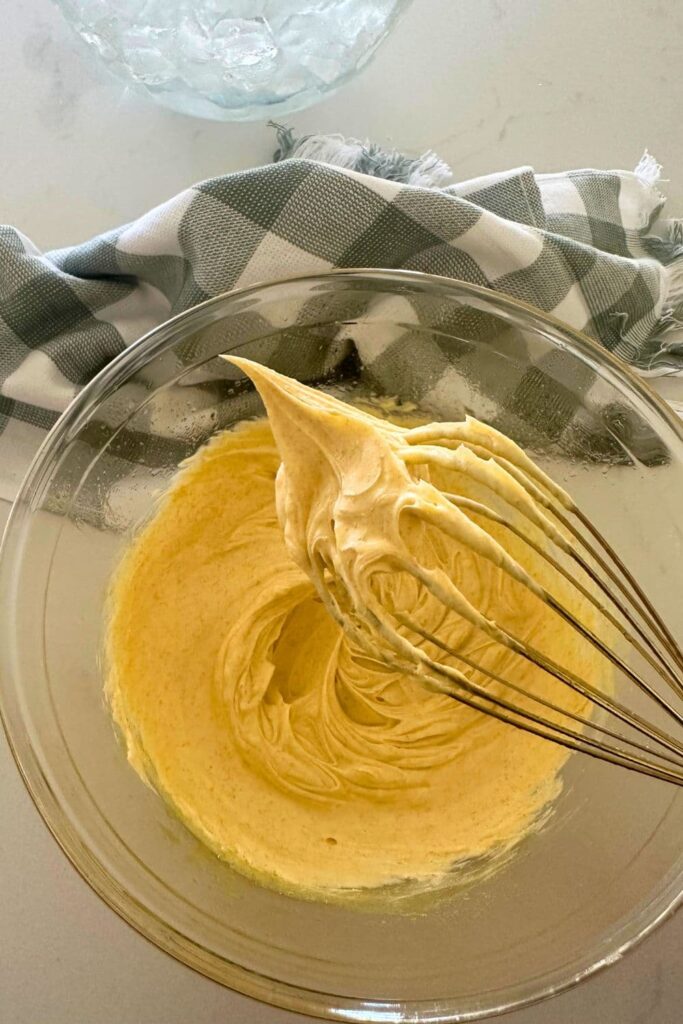
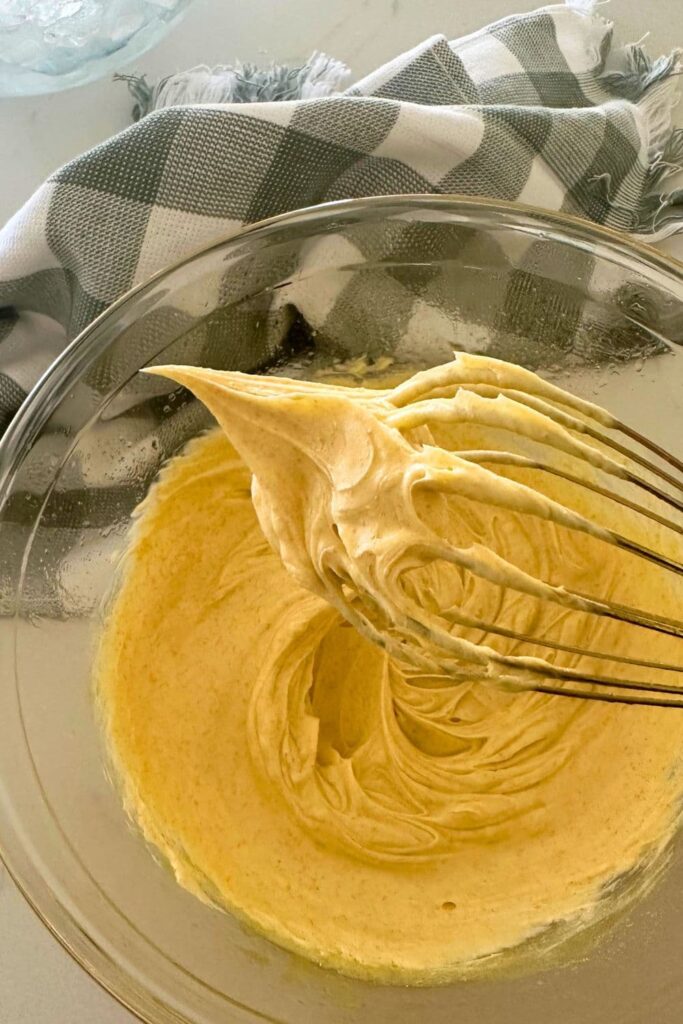
Using a whisk, start whisking the brown butter over the ice. It will start to lighten in color as it cools.
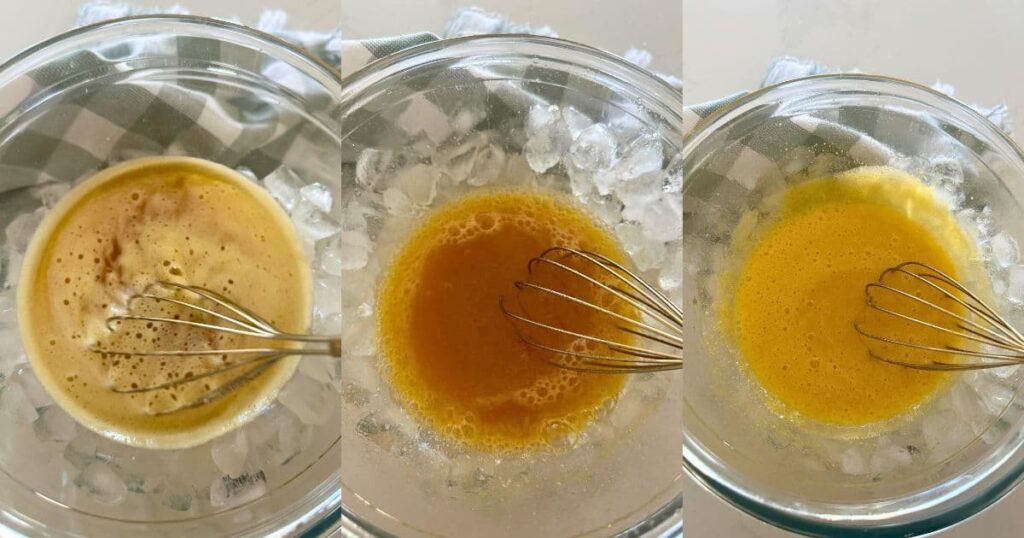
Keep whisking as the butter cools and lightens in color and you’ll notice the butter start to thicken and become more like whipped cream in consistency. At this stage, you can add a little salt or even some maple syrup or honey if you like.
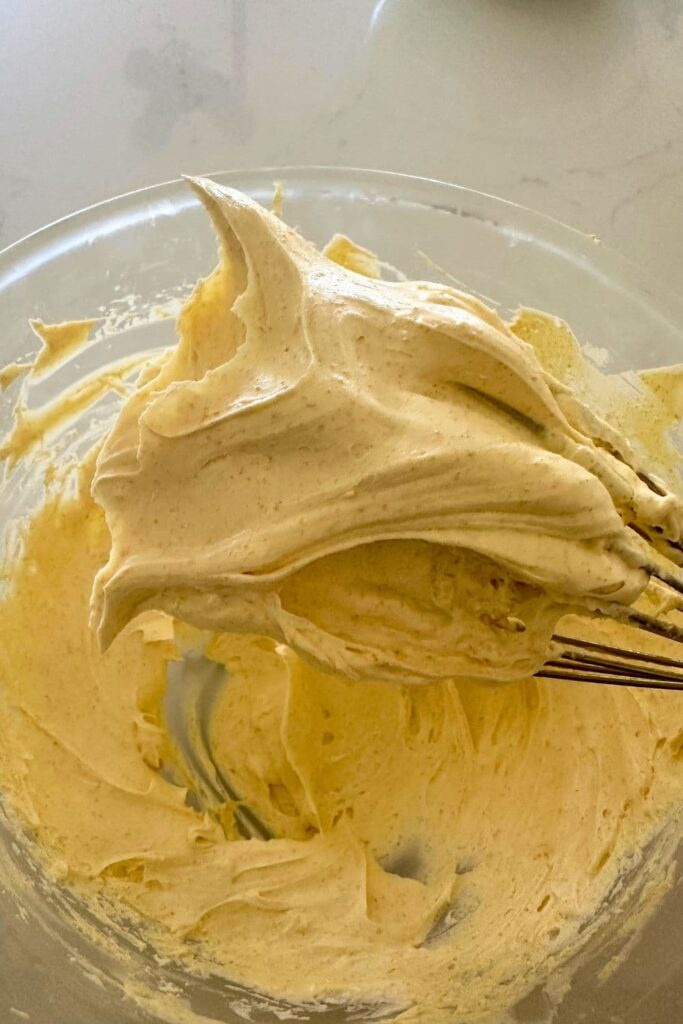
Keep whipping until it forms soft peaks. It’s up to you how whipped you would like your butter. If it starts to solidify too much, take it off the ice and allow it to warm slightly before continuing to whisk.
Recipe Variations
- Maple Syrup – add 20g of maple syrup to the brown butter once it starts to thicken.
- Honey – add 20g of honey to the brown butter once it starts to thicken.
- Vanilla Extract – add 5g of good quality vanilla extract to the brown butter once it starts to thicken. I also like to add 20g to 30g of powdered sugar along with the vanilla for a sweeter flavor.
Ways to Enjoy Whipped Brown Butter
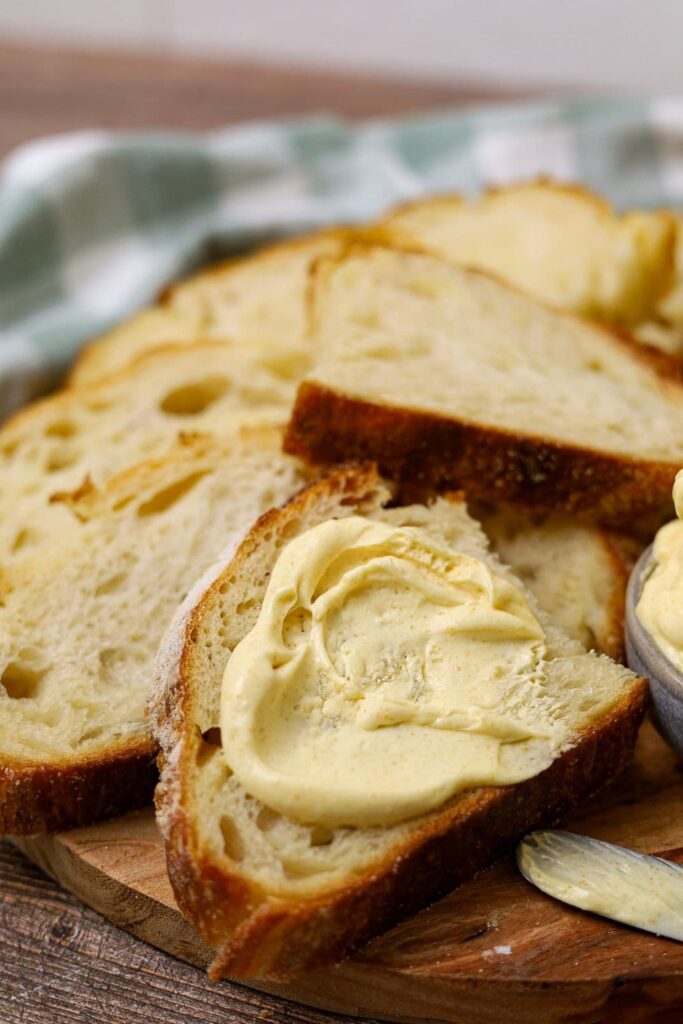
You can use this whipped brown butter in so many ways! It’s perfect to eat slathered on your favorite sourdough bread, but it’s also very versatile and can be used in lots of other ways too! Here are a few ideas.
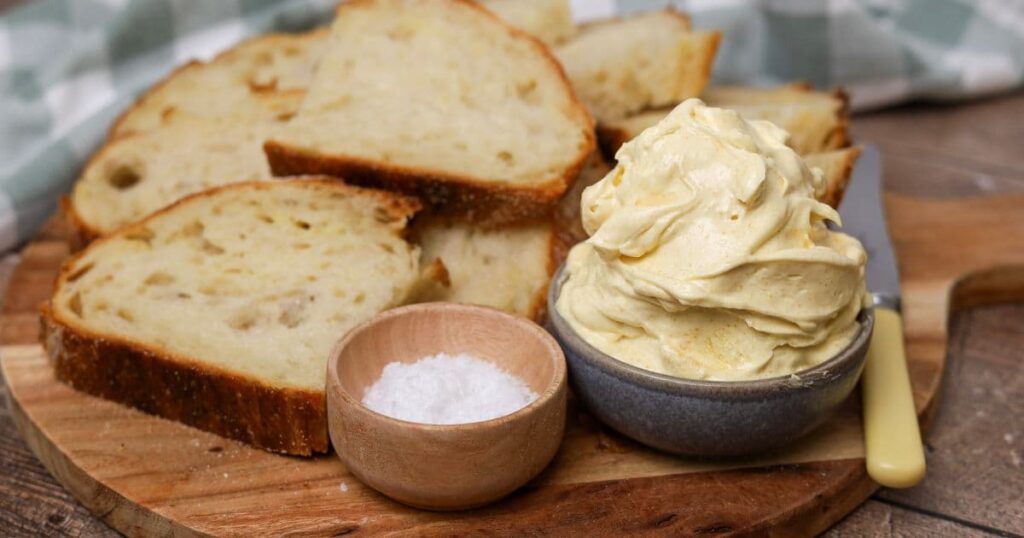
- Sourdough Bread – slather this whipped brown butter on this sourdough croissant loaf or this Dutch oven sourdough bread for the ultimate indulgence! I love serving a little bowl of flakey sea salt along with the brown butter for a salty twist.
- With Pancakes or Waffles – A spoonful of this butter melts beautifully over these sourdough discard pancakes or these no wait sourdough waffles.
- A Breakfast Favorite – take sourdough English muffins and sourdough crumpets to the next level by adding a serving of whipped brown butter!
- For Baking – Use it in place of regular butter in these sourdough discard chocolate chip cookies, sourdough cowboy cookies or this sourdough blueberry buckle.
- As a Finishing Butter – Dollop it onto roasted vegetables, steak, or seafood for a rich finish.
- In Frosting – Combine it with powdered sugar for a nutty, buttery frosting or try it on top of these sourdough cinnamon rolls.
How To Store + Freeze
Once whipped, transfer the butter to an airtight container. It can be stored at room temperature for a couple of days or in the refrigerator for up to a week. I love storing this beautiful whipped brown butter in glass jars. It makes the perfect gift when paired with a loaf of sourdough bread too!
If chilled, allow it to come to room temperature before using to maintain its soft texture.
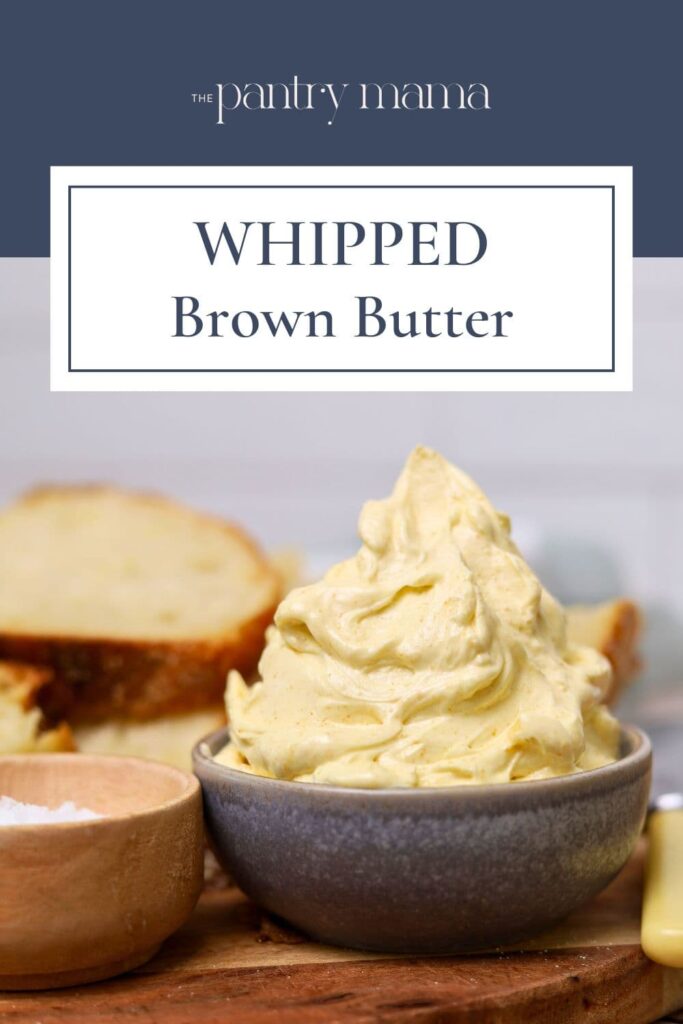
Whipped Brown Butter
Equipment
- Saucepan
- Large bowl with ice
- Small Heat Proof Bowl
- Whisk (see notes for other options)
Ingredients
- 250 g Butter, (salted or unsalted)
- 10 g Salt, (adjust to taste)
Instructions
- Before you start, assemble a large bowl of ice with a smaller, heatproof bowl sitting on top, ready to pour the butter into.
- Place the butter into a small saucepan and allow it to melt over medium heat. As it melts, swirl the pan occasionally to ensure even cooking. The butter will begin to foam, and then the milk solids will start to turn golden brown. Watch carefully—this process happens quickly, and butter can go from browned to burned in seconds. Once you smell a rich, nutty aroma and see golden-brown flecks, remove the pan from the heat and immediately pour the butter into the heatproof bowl to stop the cooking process.
- Using a whisk, start whisking the brown butter over the ice. It will start to lighten in color as it cools. Keep whisking as the butter cools and lightens in color and you'll notice the butter start to thicken and become more like whipped cream in consistency. At this stage, you can add a little salt or even some maple syrup or honey if you like.Keep whipping until it forms soft peaks. It's up to you how whipped you would like your butter. If it starts to solidify too much, take it off the ice and allow it to warm slightly before continuing to whisk.
Notes
Nutrition
Nutrition information is automatically calculated, so should only be used as an approximation.
Like this? Rate and comment below!