Whipped Maple Butter
This post may contain affiliate links.
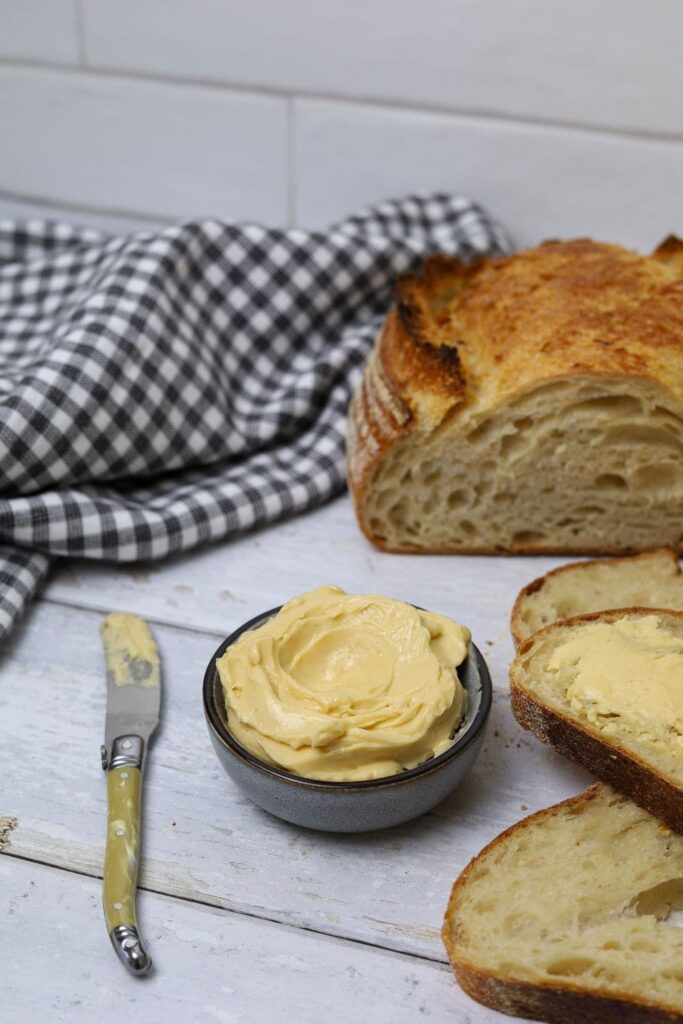
If you love adding pure maple syrup and butter to your pancakes, then you are going to love this light and fluffy whipped maple butter that combines both of these flavors into a simple to spread butter ... it's kind of like a spreadable maple syrup.
I'm a big lover of adding whipped maple butter to my sourdough pancakes, just like whipped maple cream on my sourdough pumpkin pie! They elevate simple food to something truly special, just like this whipped brown butter. Now don't get me started on warm bread (I love this this dutch oven sourdough bread btw).
Why You'll Love This Recipe!
- Quick + easy to make
- Can be made as whipped butter or compound butter
- Takes sourdough pancakes to the next level
Ingredients
Pure Maple Syrup - it's really important to use real maple syrup, not pancake syrup or maple flavored syrup. Using real maple syrup will give you a sweet maple flavor and negate the need to add powdered sugar or brown sugar. The maple syrup brings plenty of sweetness and flavor.
Butter - I like to use regular salted butter for this recipe. Generally I will use butter I've made myself from heavy whipping cream (check out how to make your own butter here), but store bought butter is also fine. You can use unsalted butter if you prefer. Vegan butter is suitable for this recipe. Just make sure whatever butter you use has been softened at room temperature.
Salt - I always add a hit of salt to this butter, just to give it a twist and stop it being overpoweringly sweet.
How To Make Whipped Maple Butter
Like most whipped butters, you can make this recipe in a food processor or stand mixer, Thermomix or even in a bowl with an electric hand mixer. This recipe in particular can be messy because if you whip the ingredients too fast too soon, you will get maple syrup splashing everywhere, so I recommend going slow to start with and building up once the ingredients start to come together.
Add butter, maple syrup and salt to the bowl of your stand mixer fitted with a whisk attachment (or food processor) and whip until the mixture is fully combined and light and fluffy.
Start your mixer off on a low speed to avoid splatters and gradually increase it as the mixture comes together. If you have a splatter guard I encourage you to use it!
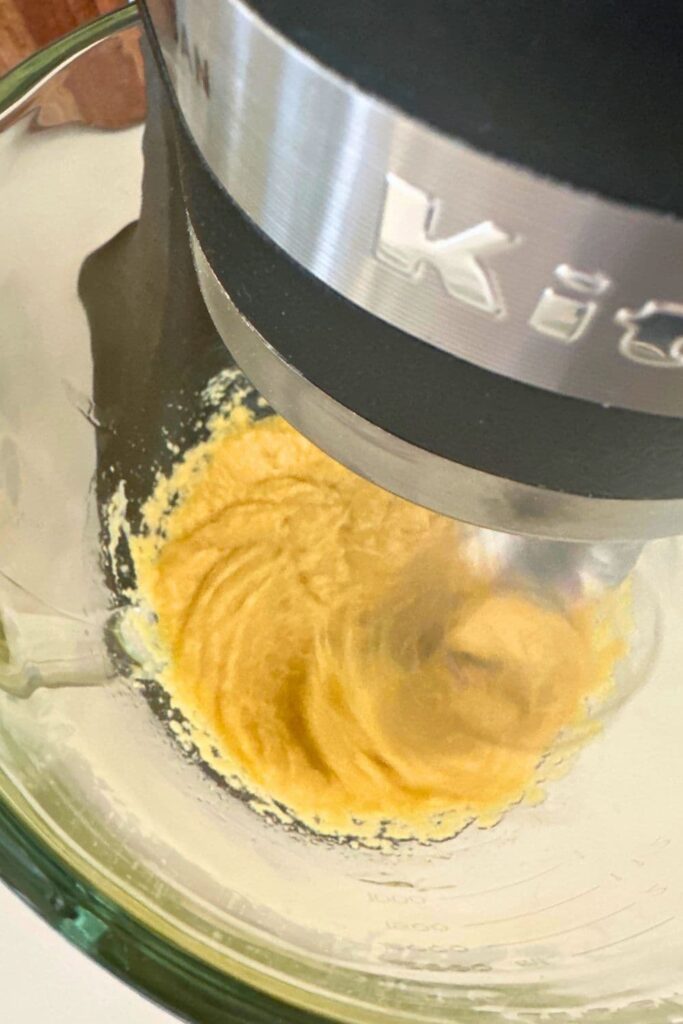
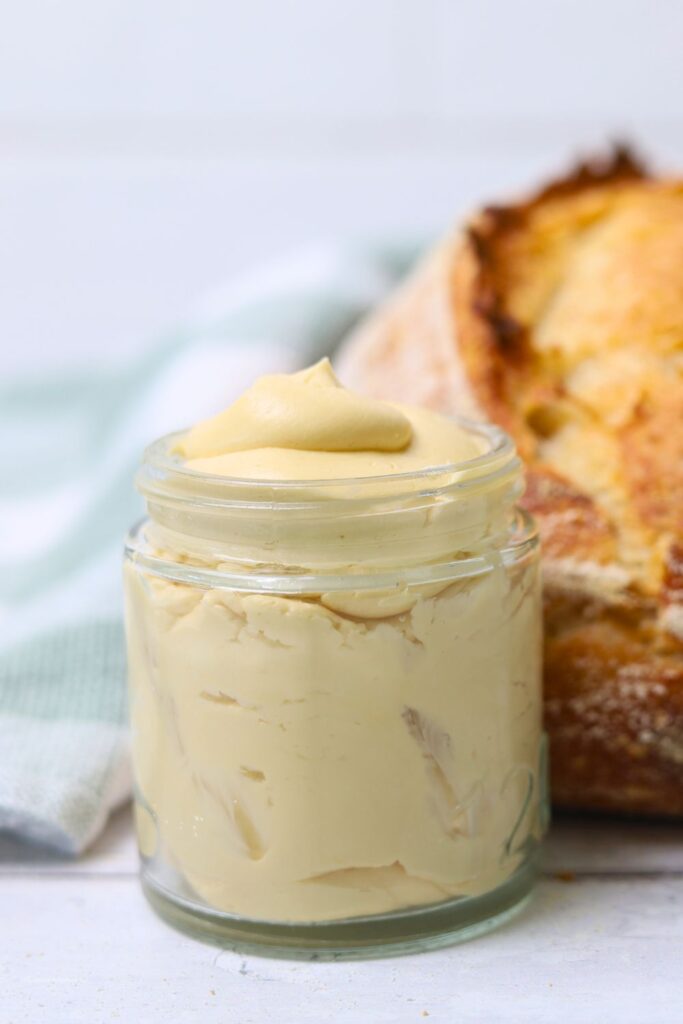
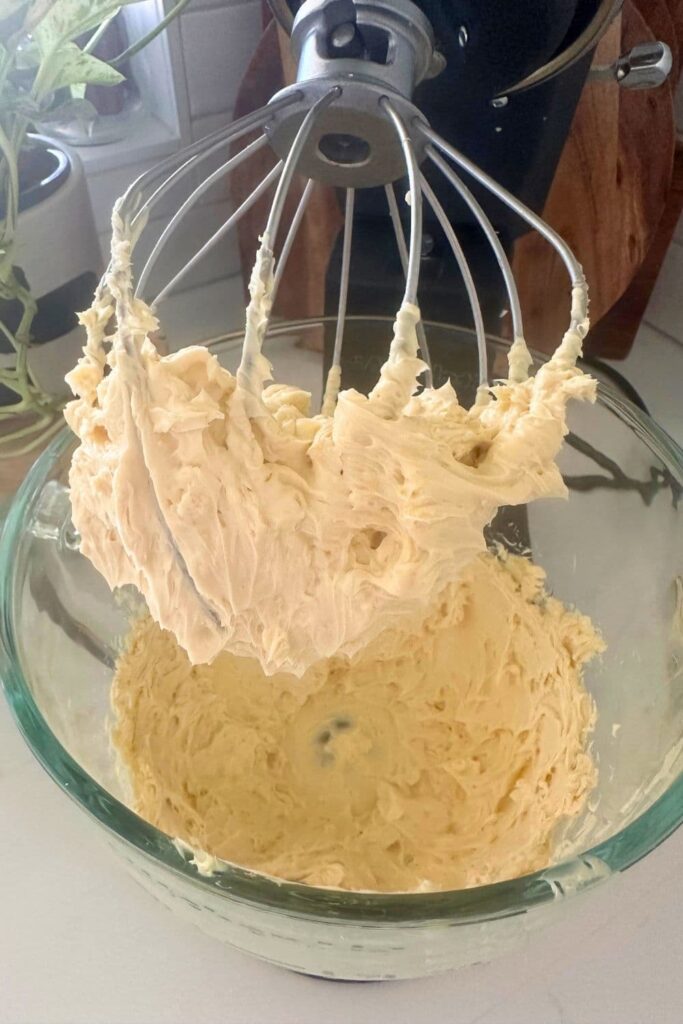
At first, the mixture may seem like it's splitting, but keep whipping, all of a sudden you'll be rewarded with dreamy, fluffy whipped maple butter! You're looking for a spreadable consistency, so just keep whipping until you get this (mine usually takes around 2 to 3 minutes in my stand mixer).
Flavor Variations
I love this whipped maple butter served just as it is, but like most simple recipes, there are always ways to take things up a notch. If you're looking for some flavor variations for maple butter, then why not try one of these ideas:
- Maple Cinnamon Butter - add 1 to 2 teaspoons of ground cinnamon to the pure maple syrup and butter before whipping. You might also like this whipped cinnamon honey butter.
- Vanilla Maple Butter - if you love the sweet undertones of a good vanilla extract, feel free to add a tablespoon to this recipe.
- Pumpkin Spice Maple Butter - add 1 to 2 teaspoons of pumpkin spice to your homemade maple butter before whipping.
- Maple Pecan Butter - I like to create this version in a food processor as it chops the pecans for me. Add 100g of pecans (can be raw or toasted) to the ingredients before whipping.
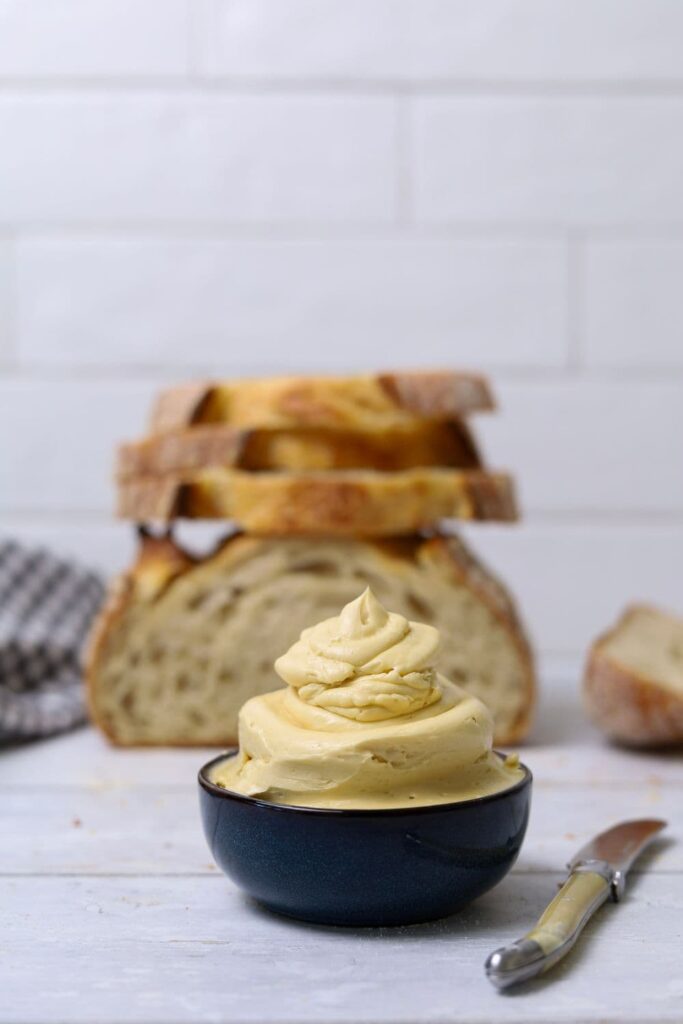
What To Serve With Whipped Maple Butter
I love that this simplely delicious flavored butter can be served with a myriad of different things. Here are my favorites:
- Sourdough Pancakes or sourdough pumpkin pancakes - what could be better than freshly made pancakes dripping in maple butter?
- Sourdough biscuits - warm and flaky, these sourdough biscuits taste better with whipped maple butter.
- Warm sourdough dinner rolls or pumpkin dinner rolls
- Honey Oat Sourdough Bread - there is something truly comforting about honey oat bread and a smattering of this maple butter is a like a big warm hug!
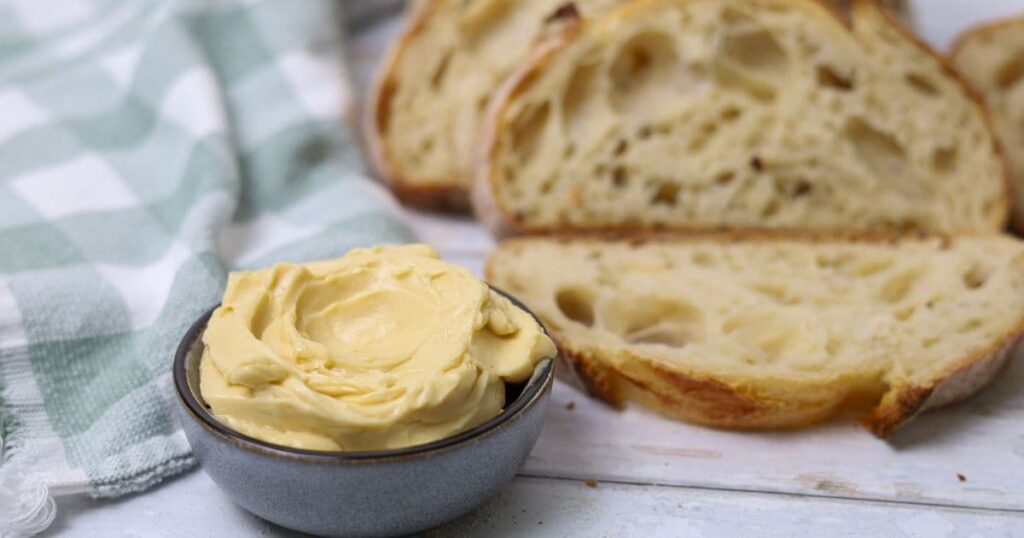
How To Store + Freeze
This whipped maple butter can be stored in an airtight container in the fridge for up to a month. I like to store my final product in a glass jar in the fridge. It's also lovely when placed into small glass jars that can be gifted with a loaf of fresh sourdough bread.
You can store it in a freezer-safe container for up to 3 months. Thaw at room temperature or in the fridge.
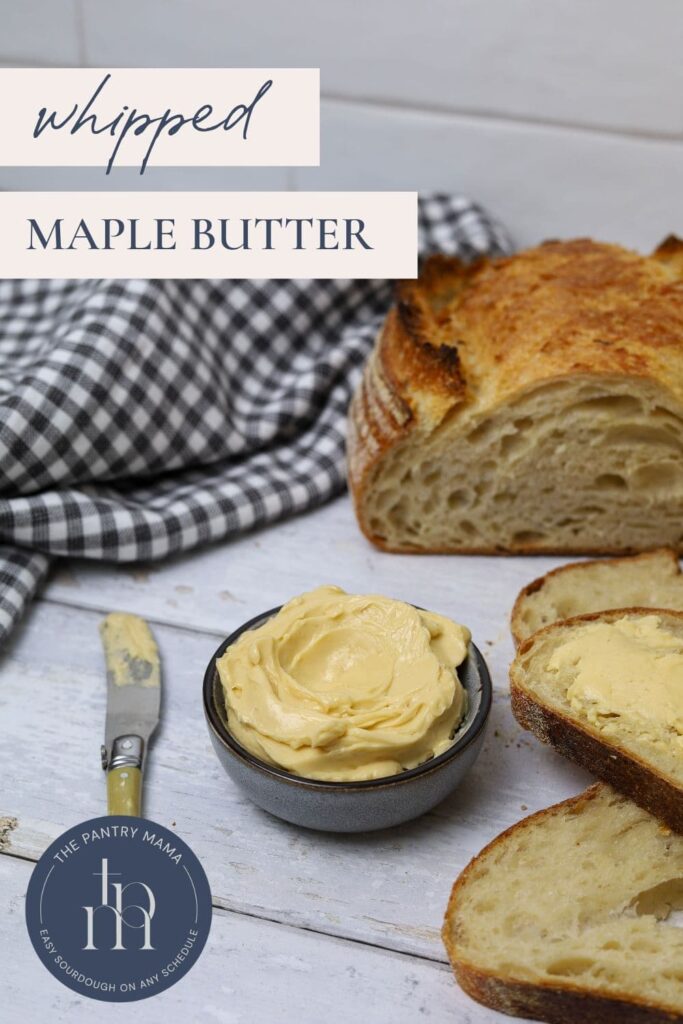
Whipped Maple Butter
Equipment
- Stand Mixer or Food Processor
Ingredients
- 250 g Butter (softened at room temperature)
- 340 g Maple Syrup (must be REAL maple syrup)
- 3 g Salt (just a pinch)
Instructions
- Add butter, maple syrup and salt to the bowl of your stand mixer fitted with a whisk (or food processor) and whip until the mixture is fully combined and light and fluffy.Start your mixer off on a low speed to avoid splatters and gradually increase it as the mixture comes together. If you have a splatter guard I encourage you to use it!At first, the mixture may seem like it's splitting, but keep whipping, all of a sudden you'll be rewarded with dreamy, fluffy whipped maple butter!
Notes
Nutrition

