
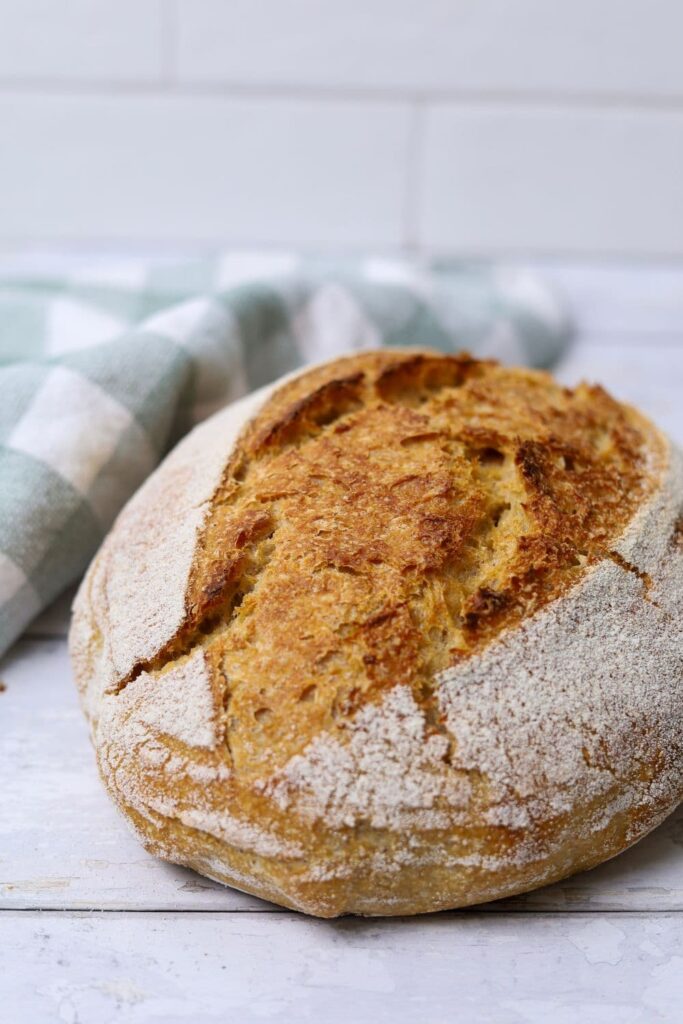
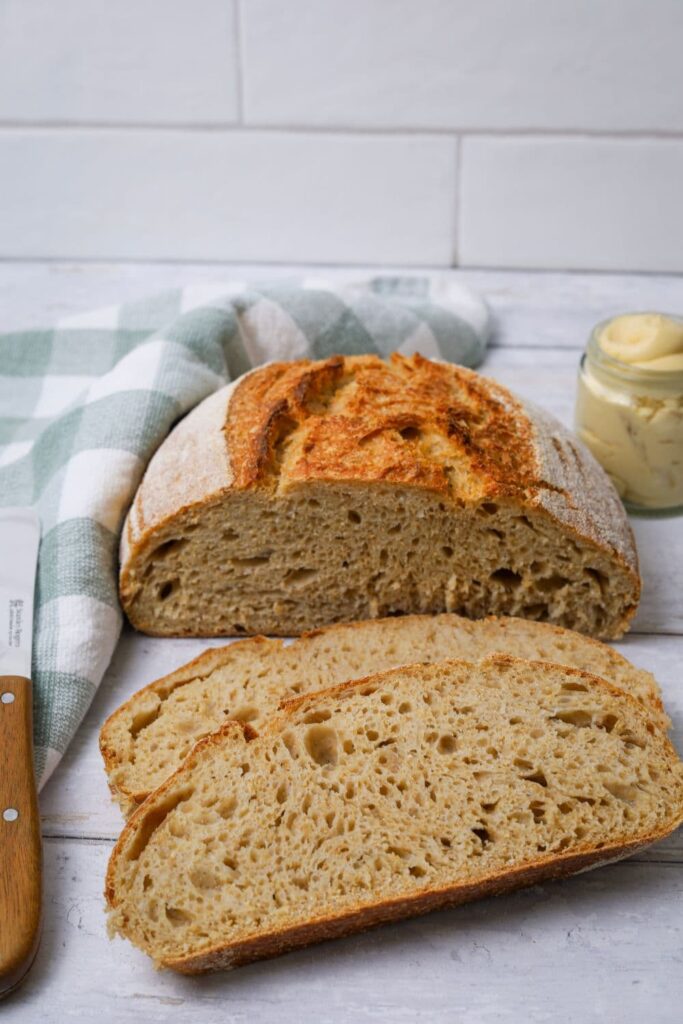
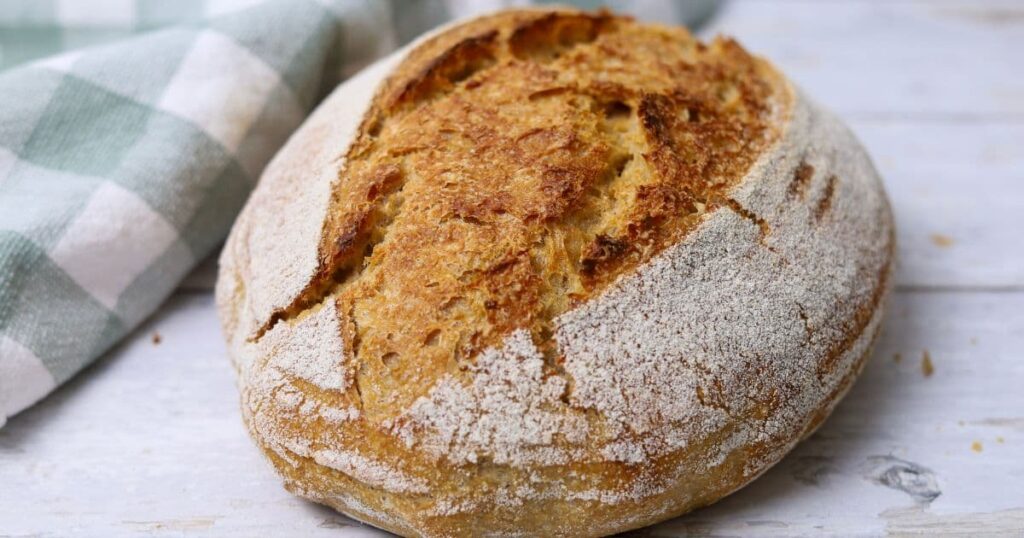
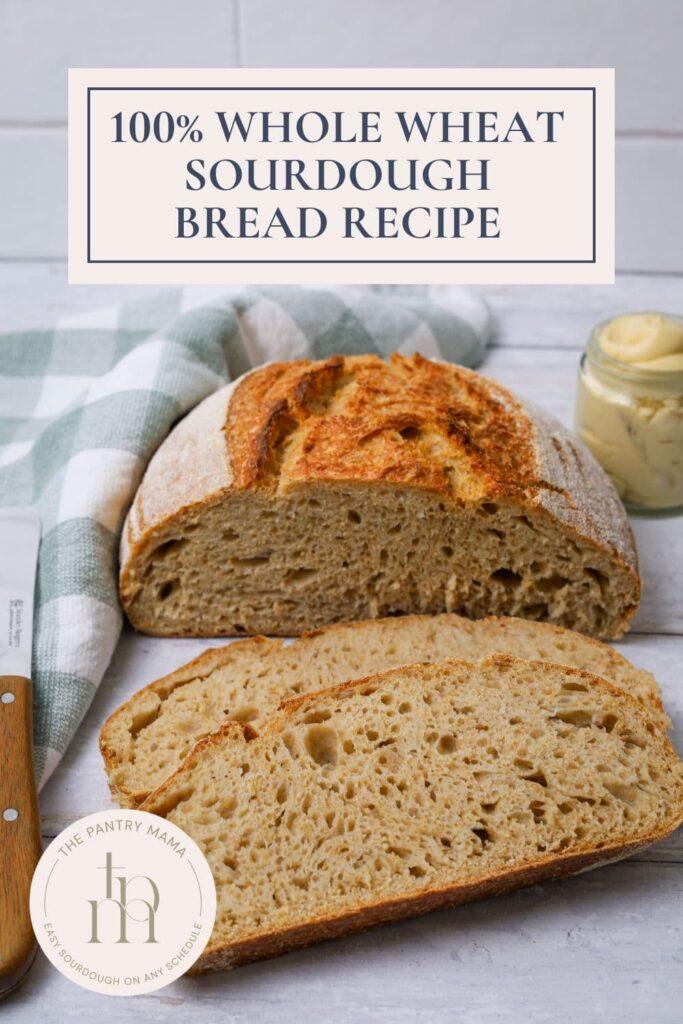
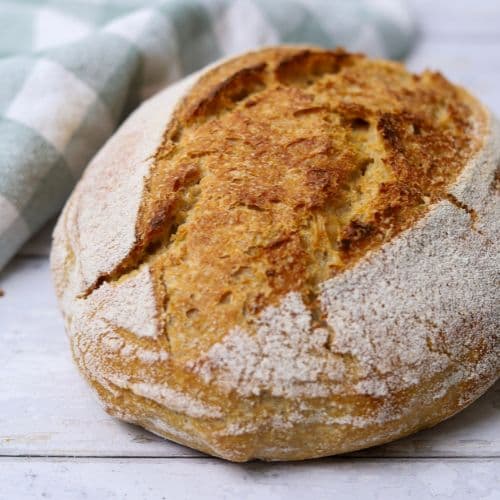
This 100% whole wheat sourdough bread has a hearty, nutty flavor, a chewy crust and a soft, wholesome crumb with no white flour or bread flour required. If you’ve been wanting to bake a true whole wheat sourdough loaf but are worried it will turn out heavy or dense, this recipe will walk you through exactly what to expect from the dough and how to get the best possible rise. You can even use a sourdough starter fed with white flour if that’s what you already have.
If you are looking for a sandwich friendly loaf, check out this whole wheat sourdough sandwich loaf, or maybe these whole wheat sourdough dinner rolls are more what you’re looking for.
This post contains affiliate links. Please see our disclosure policy.
What To Expect From 100% Whole Wheat Sourdough

The dough will feel different.
Whole wheat flour absorbs more water, so the dough can initially feel sticky and heavy. Give it time to hydrate before deciding it needs more flour.
The crumb will be tighter.
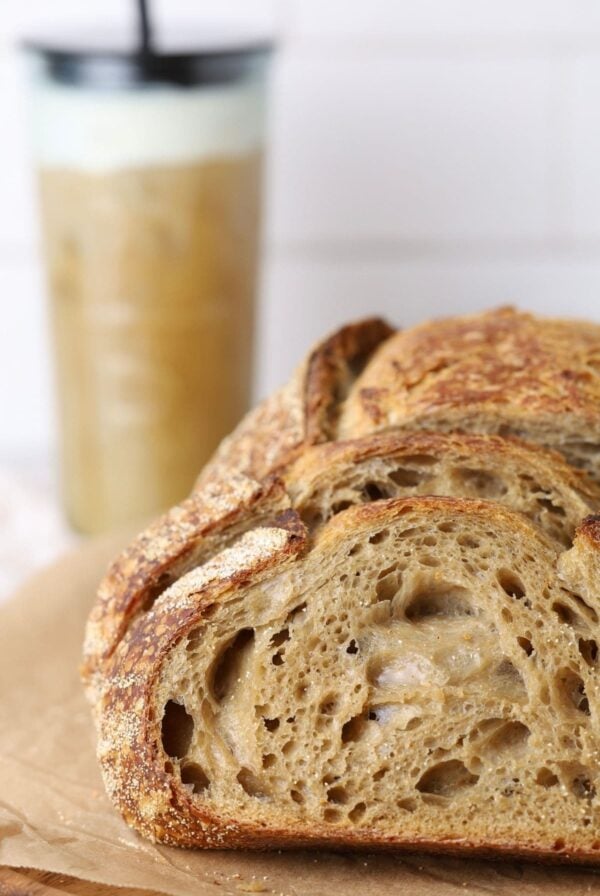
You can still get a beautifully risen loaf, but don’t expect the same open, airy crumb you’d get from white bread flour. The wheat bran left in the flour during processing is actually sharp and cuts the gluten strands, weakening the overall gluten network. A weaker gluten network means that the dough doesn’t have as much of a structure to support the gases produced by the yeast, hence the baked bread is often flatter and denser. If you want to know more about the process of how sourdough bread rises, this post about the science behind sourdough is a good read.
The flavor is worth it.
Whole wheat gives this bread a deep, nutty flavor that works beautifully for toast, sandwiches and serving alongside soups.
Ingredients
- Whole Wheat Flour – This recipe was developed using store-bought whole wheat flour. Freshly milled flour usually absorbs more water, so if you’re milling your own wheat berries, expect to add a little additional water. Add it gradually rather than changing the hydration all at once.
- Sourdough Starter – you’ll need an active sourdough starter that has been fed and is at least doubled. If you don’t already have a sourdough starter, then check out these instructions for making a sourdough starter. You can use a sourdough starter fed with white bread flour or all purpose flour for this loaf. If you prefer, you can feed your sourdough starter whole wheat flour in preparation for this recipe.
- Water – just plain old water here (remember water quality is important to good sourdough bread).
- Salt
Important
Different whole wheat flours absorb water very differently, so use the 380 grams of water as your starting point rather than assuming every flour will behave exactly the same way.
How To Make Whole Wheat Sourdough Bread
Making sourdough with only whole wheat flour follows much the same process as you would with white flour (check out my beginner’s guide to baking sourdough bread).
Fermentolyse
Weigh out your sourdough starter and water into a large ceramic or glass bowl. Mix the water and starter together briefly. Then add your whole wheat flour and salt and mix together to form a shaggy dough. Cover your dough and let it sit for around 1 – 2 hours.
This process is called the “fermentolyse” and allows your flour to soak in all the water and become hydrated. This is especially important when using whole wheat flour (although it’s traditionally done as just an autolyse, without starter and salt).
Forming Up Your Dough
After the dough has been through fermentolyse you need to start strengthening your dough. You’ll notice that the dough is fully hydrated after soaking all the water up. It will be fairly sticky and might not feel like the dough is really doing much, but try to bring it together into a rough ball. Whole wheat flour varies significantly in how much water it absorbs. Give the dough time to fully hydrate before making adjustments. If your flour is freshly milled, you may actually need a little more water rather than more flour.
Work your way around the bowl bringing the edges of the dough into the centre. Then cover and leave again for around 30 minutes. Whole wheat flour varies significantly in how much water it absorbs. Give the dough time to fully hydrate before making adjustments. If your flour is freshly milled, you may actually need a little more water rather than more flour.
Stretch & Folds
Over the next few hours you need to create some structure for your dough by “stretching and folding”. Aim to do around 4-6 sets of stretches and folds. For each set, stretch the dough up and over itself 4 times. Leave around 30 minutes in between each set. Again you do not have to be exact with time, but you need to do at least 4 sets over 2 hours. Whole wheat dough benefits from good gluten development, so aim for 4–6 sets of stretch and folds. The bran in whole wheat flour can interfere with the gluten network, so the dough may not become as smooth or elastic as white-flour sourdough.
Bulk Ferment
Once you’ve finished your stretch and folds, cover the dough again and let it bulk ferment at room temperature. Ideally you want your dough to double, but a little under is ok when using whole wheat. Watch your dough, not the clock – remember that bulk fermentation can be affected by temperature, starter strength and the amount of starter you add.
Cover the dough and allow it to ferment at room temperature until it has increased significantly in volume, ideally close to doubled. The dough should look aerated and slightly domed, feel wobbly when you gently shake the bowl and show bubbles beneath the surface.
Watch your dough, not the clock – remember that bulk fermentation can be affected by temperature, starter strength and the amount of starter you add. Whole wheat dough can ferment surprisingly quickly, especially in a warm kitchen.
Shape The Dough
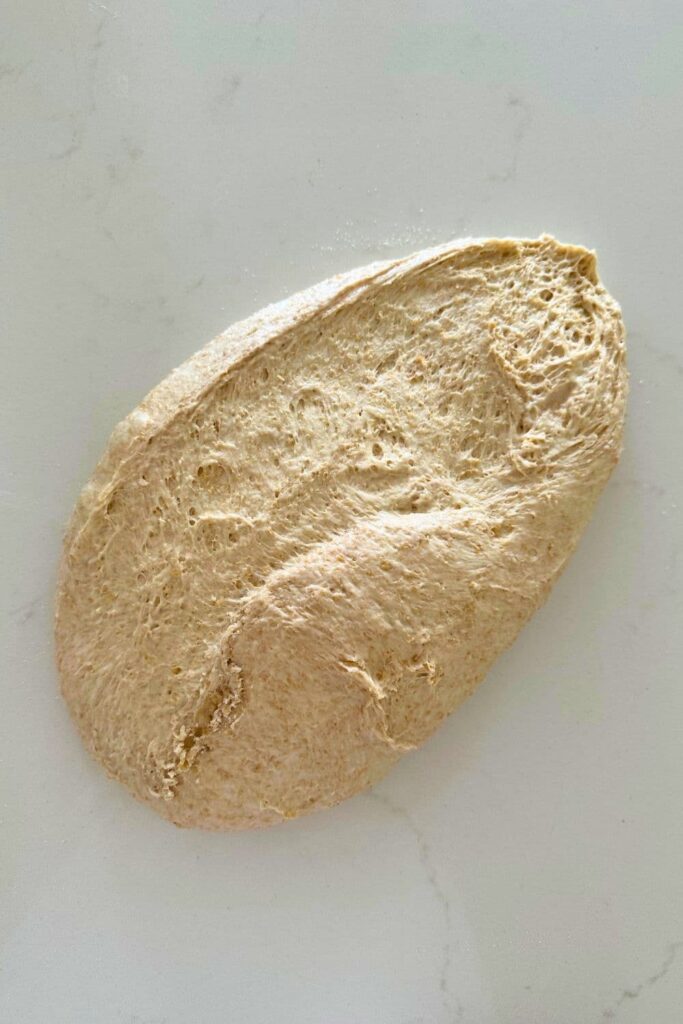
Once your dough has doubled, it’s time to shape it. I like to shape my dough into a batard, but a round boule works well too.
Use a silicone dough scraper to gently ease the dough out of the bowl. You want it to land upside down on your counter so that the smooth top of the dough is on the countertop and the sticky underside is facing up.
Once the dough is shaped, place it into your banneton smooth side down, so your seam is on the top. If you’re using a cloth or tea towel in a bowl it’s ok to put your dough with the smooth side up. Just make sure the dough is tight. Lift your dough around the edges to pop a little more flour if you feel it needs it. It’s ok if your dough doesn’t look perfect! Remember, you’re going for nutrient dense and flavorful, rather than a perfect loaf.
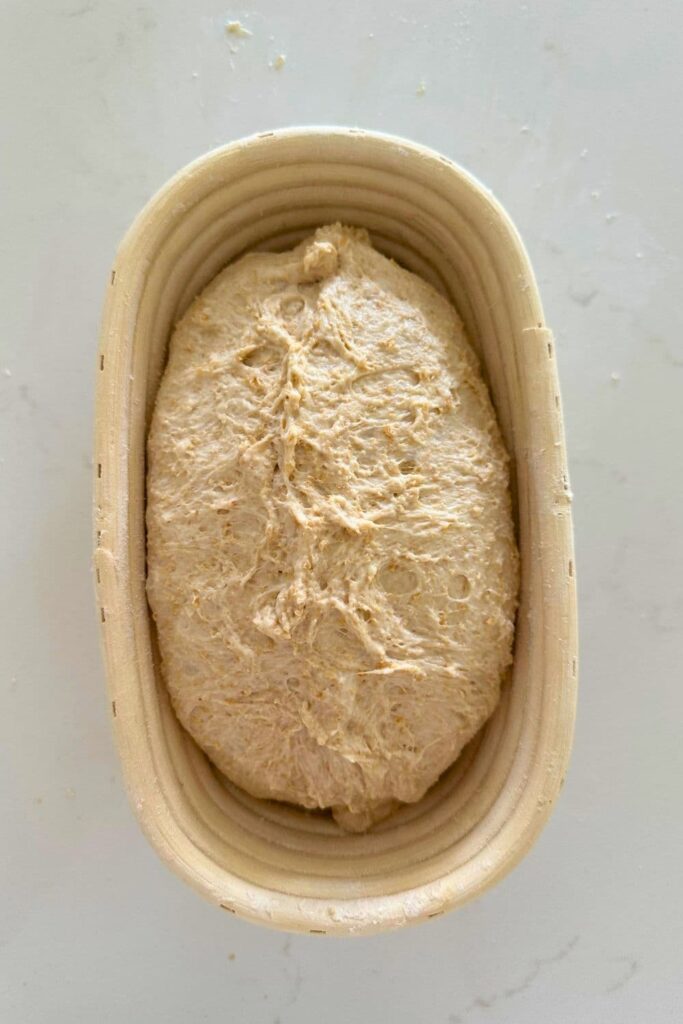
Cold Ferment
Now you’ll need to cover your dough and place it into the fridge to cold ferment. Try to leave it in the fridge for a minimum 5 hours up to a maximum of around 36 hours. The longer you leave it the better your bread will be! A longer cold ferment creates beautiful blisters on your crust and a deeper sourdough flavour.
Baking Your Sourdough
Once you’re ready to bake your sourdough, you’ll need to preheat your oven to 230ºC/450ºF. Place your Dutch Oven into the oven when you turn it on so it gets hot.
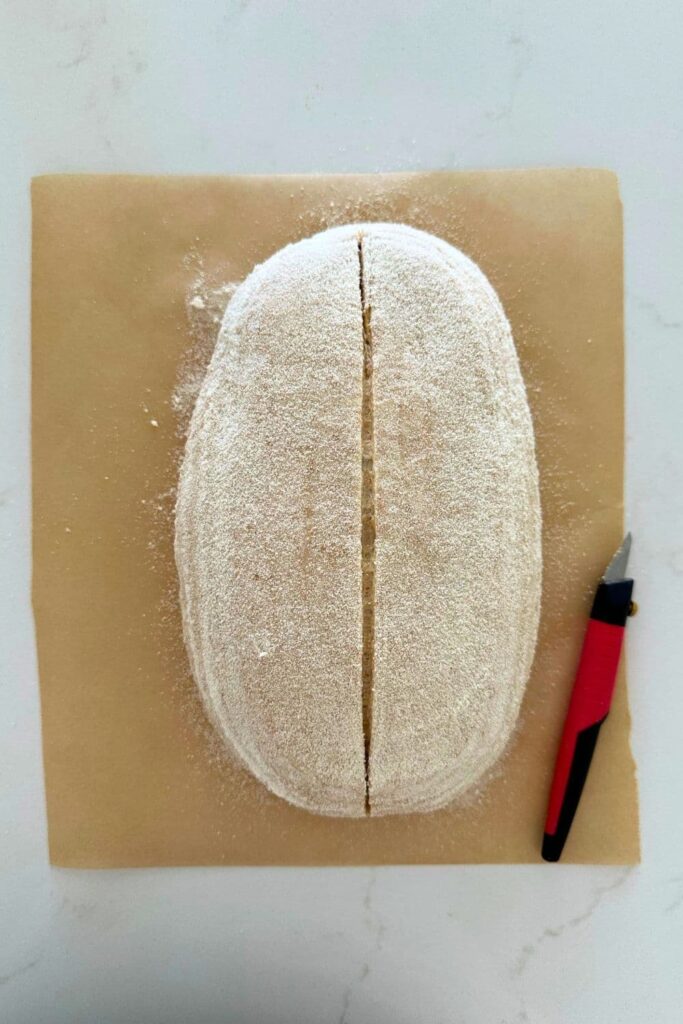
When your oven is at temperature. Take your sourdough out of the fridge, tip it onto a piece of parchment paper and score it using a lame, clean razor blade or knife. I don’t get fancy with scoring, especially with a whole wheat loaf, just a centre utility score if perfect. Carefully place your loaf into the hot Dutch oven, and put the lid on and place it into the hot oven.
BAKE TIME:
30 Minutes with the lid on at 230ºC/450ºF plus
10-15 Minutes with the lid off at 210ºC/410ºF
When you remove your dough from the oven, carefully remove it from the Dutch oven as soon as possible and place on a wire rack to cool. Remember, some reduction in oven spring is normal with 100% whole wheat flour. The bran interferes with gluten development, so the dough cannot trap gas quite as efficiently as dough made with white bread flour.
Kate’s Pro Tip
Want a Lighter Whole Wheat Loaf?
Give the flour time to hydrate.
Whole wheat flour absorbs more water than white flour, so the fermentolyse is particularly helpful here.
Develop the dough well.
Complete your stretch and folds even if the dough never feels quite as smooth as making sourdough with white flour.
Optional: add vital wheat gluten.
If you’d like additional strength and oven spring, you can add vital wheat gluten to your dough.
Baker’s Timeline
I’ve put together a sample baker’s timeline for you. This is just an example and will need to be tweaked to suit your own schedule.
| TIME | PROCESS |
|---|---|
| 10 pm | DAY 1 Feed your sourdough starter before bed (1:4:4 ratio is perfect). |
| 7 am | DAY 2 Fermentolyse – Mix the starter, water, flour and salt into a shaggy dough. |
| 8 am | Start to strengthen dough then leave to rest again for around an hour. |
| 9 am | Perform 4 to 6 sets of stretch and folds over the next few hours. |
| 11 am | Cover the dough and leave at room temperature to bulk ferment. |
| 4 pm | Shape and put into banneton and into the fridge for cold ferment. |
| 10 am | DAY 3 Preheat the oven. |
| 10.30 am | Bake your loaf! |
Whole Wheat Sourdough Bread Recipe
Equipment
- Mixing Bowl
- Digital Scales
- Banneton
- Dutch Oven
Ingredients
- 100 g Sourdough Starter, (fed and bubbly)
- 500 g Whole Wheat Flour
- 380 g Water, (you may need a little extra but start at 380g)
- 10 g Salt
Instructions
- Weigh out your sourdough starter and water into a large bowl. Mix the water and starter together briefly. Then add your whole wheat flour and salt and mix together to form a shaggy dough. Cover the bowl and allow it to rest for around an hour.
- After the dough has been through fermentolyse, it's time to from up the dough. Work your way around the bowl bringing the edges of the dough into the centre. Then cover and leave again for around 30 minutes.
- Over the next few hours you need to create some structure for your dough by stretching and folding. Aim to do around 4-6 sets of stretches and folds. For each set, stretch the dough up and over itself 4 times. Leave around 15 minutes in between each set. Again you do not have to be exact with time, but you need to do at least 4 sets over 2 hours.
- Once you've finished your stretch and folds, cover and allow the dough to bulk ferment, ideally until double or just under.
- Now it's time to shape your dough. I like to shape it into a batard, but a boule is great too. Make sure you create plenty of surface tension before placing it seam side up into a banneton. Use semolina or rice flour to stop your dough from sticking to the banneton. Cover the dough and place it into the refrigerator for cold fermentation. Try to leave it in the fridge for a minimum 5 hours up to a maximum of around 36 hours.
- Once you're ready to bake your sourdough, you'll need to preheat your oven to 230ºC/450ºF. Place your Dutch Oven into the oven when you turn it on so it gets hot.
- When your oven is at temperature, take your sourdough out of the fridge and tip it onto a piece of parchment paper. Gently score your dough and carefully place it into the hot Dutch oven with the lid on.BAKE TIME:30 Minutes with the lid on at 230ºC/450ºF plus10-15 Minutes with the lid off at 210ºC/410ºFWhen you remove your dough from the oven, carefully remove it from the dutch oven as soon as possible and place on a wire rack to cool.
Nutrition
Nutrition information is automatically calculated, so should only be used as an approximation.
Like this? Rate and comment below!









This soooo good!!! I made in a loaf pan with tin foil as a lid for the first 30 minutes. I kept the oven at 425F the whole time. When I shaped I put it straight into the loaf pan. I didn’t warm the loaf pan up, it was cold. Anyway, I liked doing it this way because its a little simpler than using a dutch oven and I can easily make more than one loaf at once :).
I was nervous to try this since this was only my 3rd loaf. I’m very new to sourdough bread baking. But it was super easy to follow, instructions were great and the bread turned out perfect!
I made this bread over several days. I left it in the fridge for what I thought was too long, but oh my goodness, the flavor was absolutely wonderful! I’m newer to sourdough and wanted to try whole wheat. It turned out great! There are so many great resources from Pantry Mama. I will definitely make this bread again!
I made my first loaf with this recipe and it was fantastic. the instructions were easy to follow and the explanation for each step really helped me understand why each step was necessary.
I will be keeping this recipe and making it on repeat for my family and I. I have a difficult time with a lot of foods due to a health issue and this one just sits right in my stomach.
Hi, thank you for sharing all of your wonderful recipes/tips! I’m wondering if you could make this in loaf pans? If so, what do I need to do differently from the traditional boules/bittards. Thanks so much!
Absolutely you can use a loaf pan. The easiest way is just to proof as per normal in a banneton and then place into a loaf pan when you’re ready to bake. I find you get the best result when you create a lid with a second loaf pan. You might also like this whole wheat sourdough sandwich loaf 🙂 K xx
Everything was perfect until I dumped into the pan. It baked but spread rather than rose. The pan was in the oven (gas) for an hour. The score was also perfect.
Working with whole wheat is very different to white flour. It’s quite normal not to get as much oven spring with whole wheat flour, it definitely bakes up more dense than a regular loaf 🙂
Thanks for sharing! This was my second ever sourdough loaf (my first was a 100% white one) and it went perfectly, came out really well. It’s perfect for dipping into soup, and was not too challenging for a beginner.
I’ve used this recipe several times now and it works every time. My sour is a rye sour and I use about 15g of vital wheat gluten (sometimes I include that in the weight of WW flour, sometimes I add it in after weighing the WW flour, which seems to then require about 15g additional water). I make a boule and slash it with a star. I get great oven spring in my Dutch oven. The texture and flavour of this bread is fantastic! It’s a big loaf for me (living alone), so I often share half the loaf. The recipients have been very positive.