Whole Wheat Sourdough Sandwich Bread
This post may contain affiliate links.
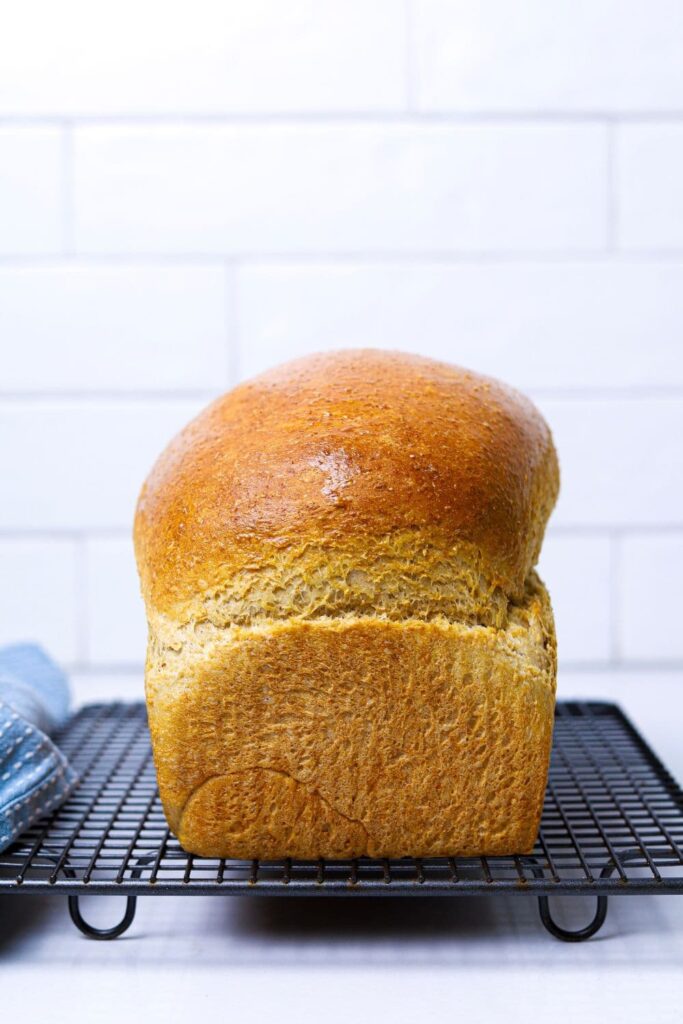
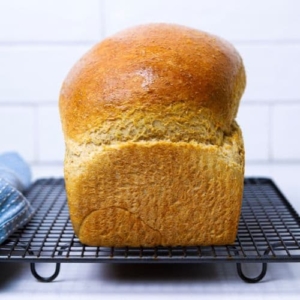
If you're looking for a 100% whole wheat sourdough sandwich bread, you've found it! This whole wheat sandwich bread has a soft crust and crumb with a nutty flavor and makes the most delicious sandwiches. It's even kid approved, despite being full of whole grains! I know a lot of people prefer a whole wheat bread when it comes to sourdough, but still want it to be sandwich friendly.
You can use your active sourdough starter, along with a little honey to bring the whole wheat flour in this recipe to life!
If you love sourdough bread recipes, then make sure you check out this whole wheat rye sourdough bread, 100% whole wheat sourdough bread, sourdough maple oat sandwich loaf or this honey oat sourdough bread.
Why You'll Love This Recipe!
- 100% Whole Wheat - this recipe uses only whole wheat flour, no white bread flour. Despite this, you still get a soft sourdough sandwich bread (just like this sourdough sandwich bread and these 100% whole wheat sourdough dinner rolls)!
- Kid Friendly - while this recipe is made only with whole wheat flour, the addition of butter and honey creates a soft, squishy sandwich loaf that your kids will happily eat, no complaints! It makes the perfect peanut butter and jelly sandwich.
- No Sugar - I've created this recipe with honey rather than sugar to make it a more wholesome option. It's almost a honey wheat sourdough sandwich bread if you like. You can also swap the butter out for oil if you want to make it dairy free.
Ingredients
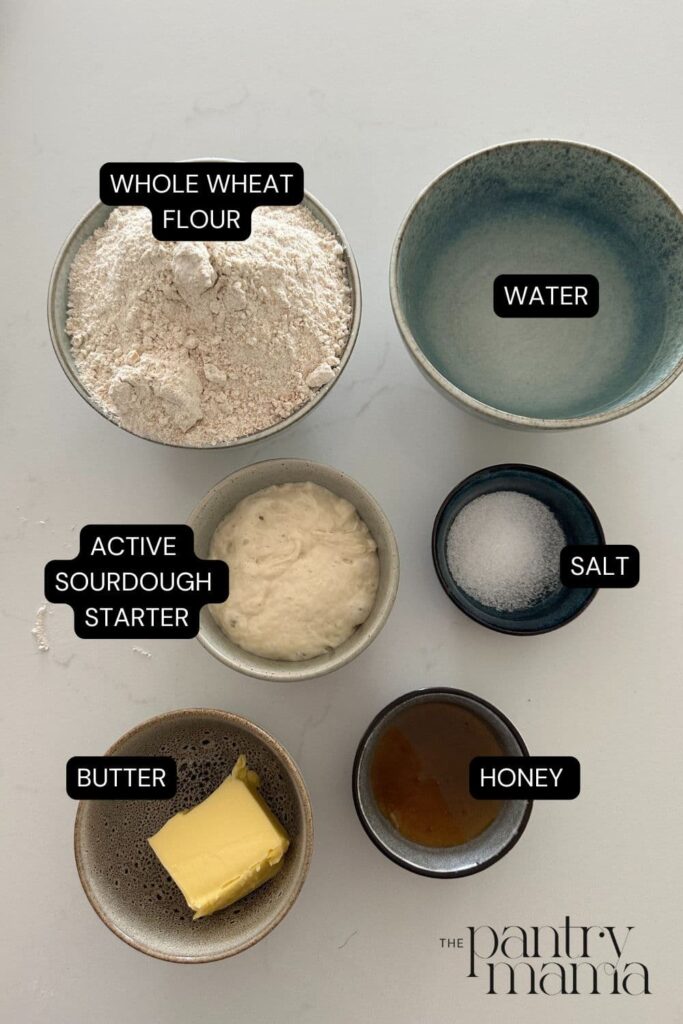
- Whole Wheat Flour - I've used all purpose whole wheat flour. I have used store bought whole wheat flour in developing this recipe. If you mill your own flour, you may need to increase the water to account for fresher grains. You can also use white whole wheat flour if you prefer.
- Sourdough Starter - This recipe uses active starter to raise this loaf. If you are wanting to use discard, I recommend this whole wheat sourdough discard sandwich loaf. For the best results, make sure you have a bubbly starter that has at least doubled. You don't need a whole wheat starter for this recipe, you can use a white flour starter if that's what you have.
- Butter - I've used salted butter to create a delicious flavor and soft crumb. If you'd prefer not to use butter, you can substitute for the same amount of olive oil. This will ensure the recipe is dairy free.
- Honey - I've chosen to use honey in this recipe for a few reasons. Firstly, it eliminates refined sugar, but also because the flavor of honey works so well with the whole wheat flour. You can use maple syrup if would prefer not to use honey.
- Salt - salt plays an important role in sourdough bread.
- Water - I've chosen to water in this recipe rather than milk because I found that in testing this recipe, the water created a lighter loaf. This is important when using only whole wheat flour, as sometimes the loaf can come out a little tough.
How To Make Whole Wheat Sourdough Sandwich Bread
I've baked this whole wheat sourdough sandwich loaf in a 1.5 pound tin measuring 5"D x 10"W x 3"H. You can find the exact tin I've used here.
Premix & Autolyse
Add your sourdough starter, whole wheat flour, water and honey into the bowl of your stand mixer. Mix the ingredients for around 30 seconds until they are just combined into a shaggy dough. I use the dough hook attachment on my stand mixer. Leave to autolyse for around 30 minutes.
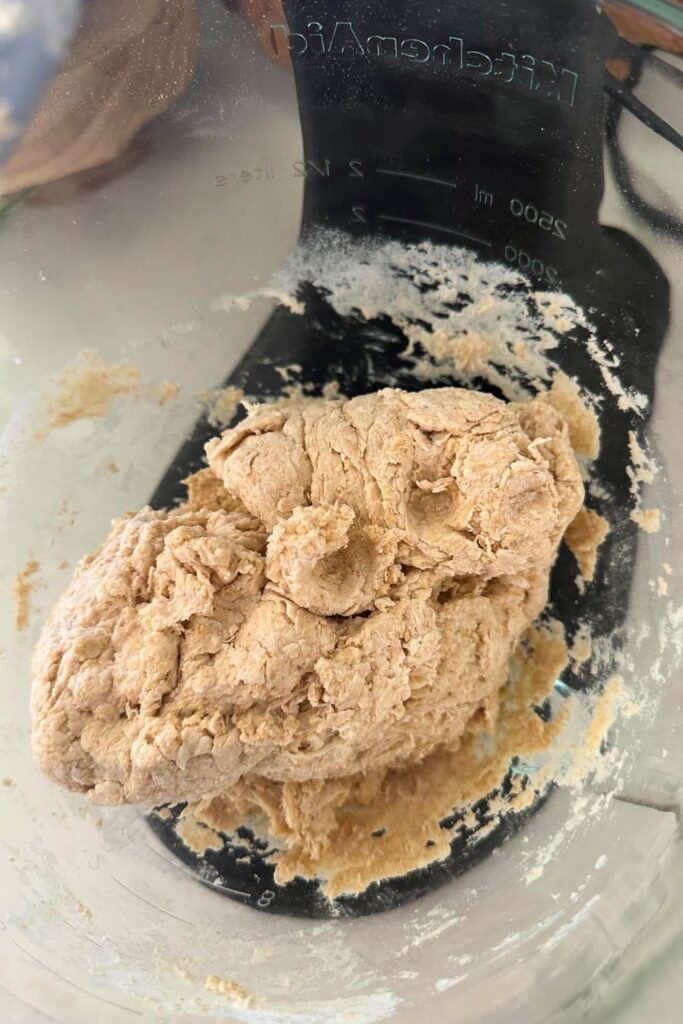
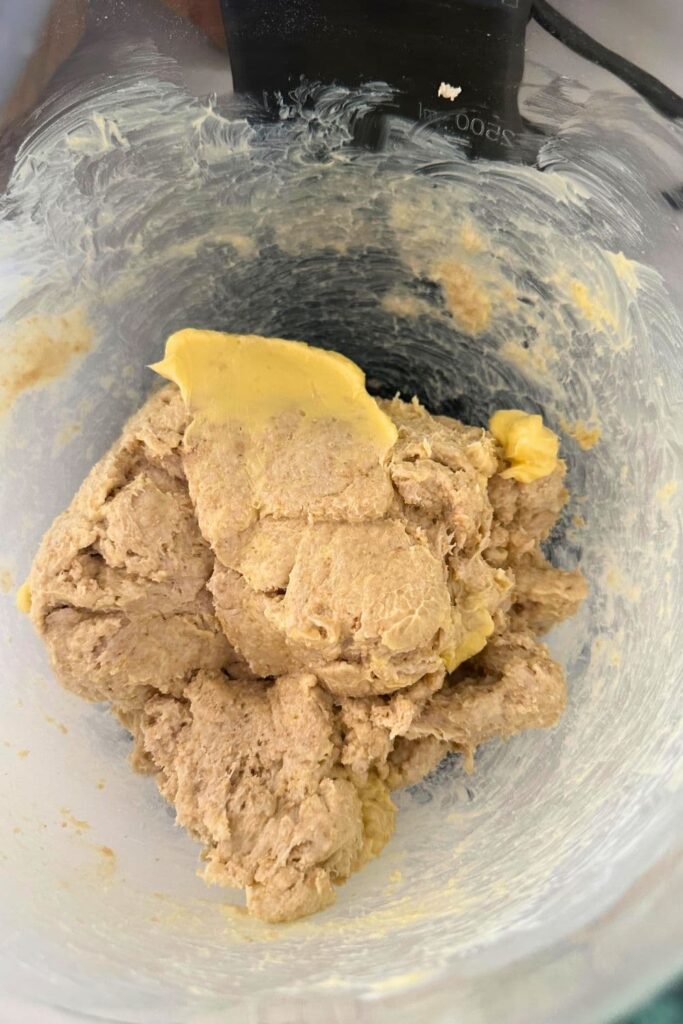
Now add the salt and butter. Mix the ingredients for around 1 minute or until they are combined together. Now leave to rest for around 30 minutes.
Kneading Your Whole Wheat Sourdough Sandwich Dough
Using your stand mixer with hook attachment, knead the dough for around 3 minutes. The dough should become very elastic. You won't be able to see the butter as it will be well combined into the dough. If the dough is getting a little warm from being mixed in the mixer, give it a 10 minute rest. If it seems ok, knead for the full 3 minutes. Now give your dough a 30 minute rest.
Knead your dough in the mixer for another 2-3 minutes. You'll know it's ready when it is slapping the sides of the stand mixer bowl. The whole wheat dough will be very elastic and smooth (although a little bumpy from the wheat germ). It shouldn't be sticking to the sides of the bowl at all. If it's not quite there, it's ok to knead for a few more minutes to develop the gluten and get it to where it needs to be.
Bulk Fermentation
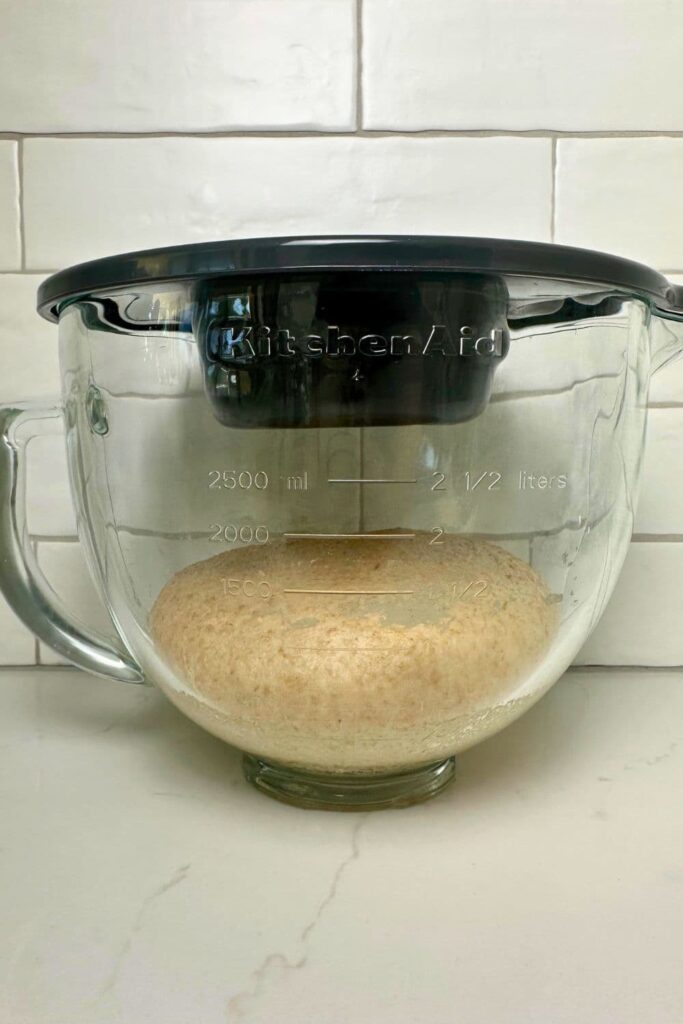
Once your dough is kneaded sufficiently, you need to bulk ferment it at room temperature. If you're using a stand mixer, it's fine to leave it in the mixing bowl. Just cover it with a plastic food cover or lid. As with any sourdough bread, the bulk ferment time will depend on the temperature in your kitchen and of course the strength of your starter.
You're looking for your dough to be just UNDER double. This dough does take a long time to bulk ferment because it has butter in it.
Shaping
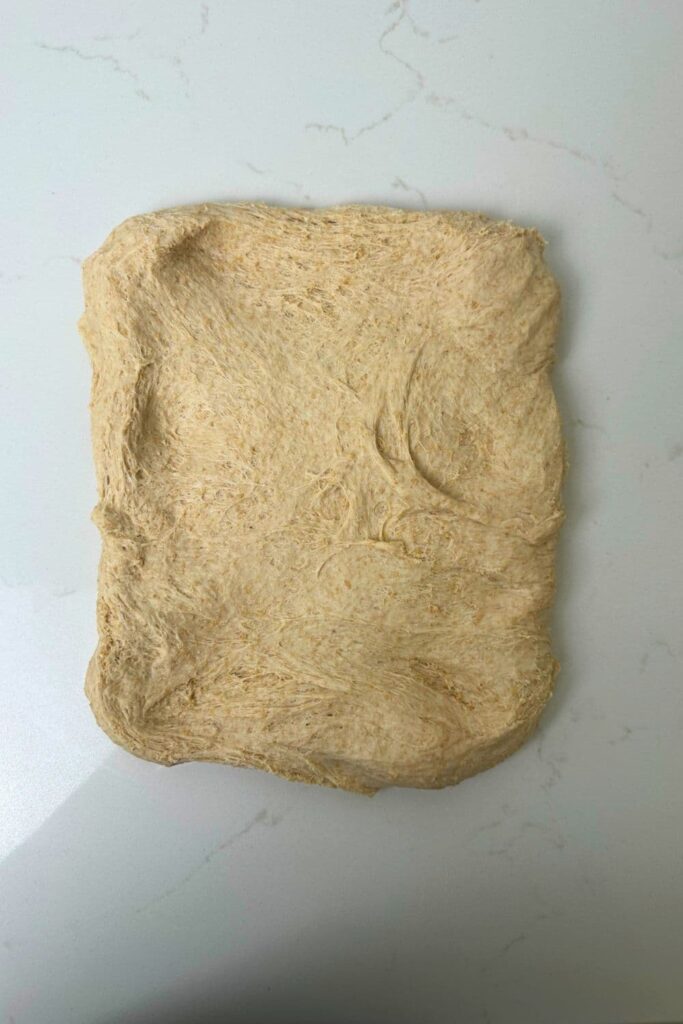
Once your dough has finished its bulk ferment you can shape your dough.Before you start shaping, lightly oil your loaf pan. Ease your dough out of the bowl using a silicone dough scraper, remembering to have the smooth side on the counter and the sticky side facing up. You shouldn't need any flour for this as your dough shouldn't stick (it's such a beautiful silky, enriched dough).
Gently ease your dough out into a rough rectangle, with the shortest side in front of you.
Pop any large bubbles and gently flatten the dough using your fingertips.
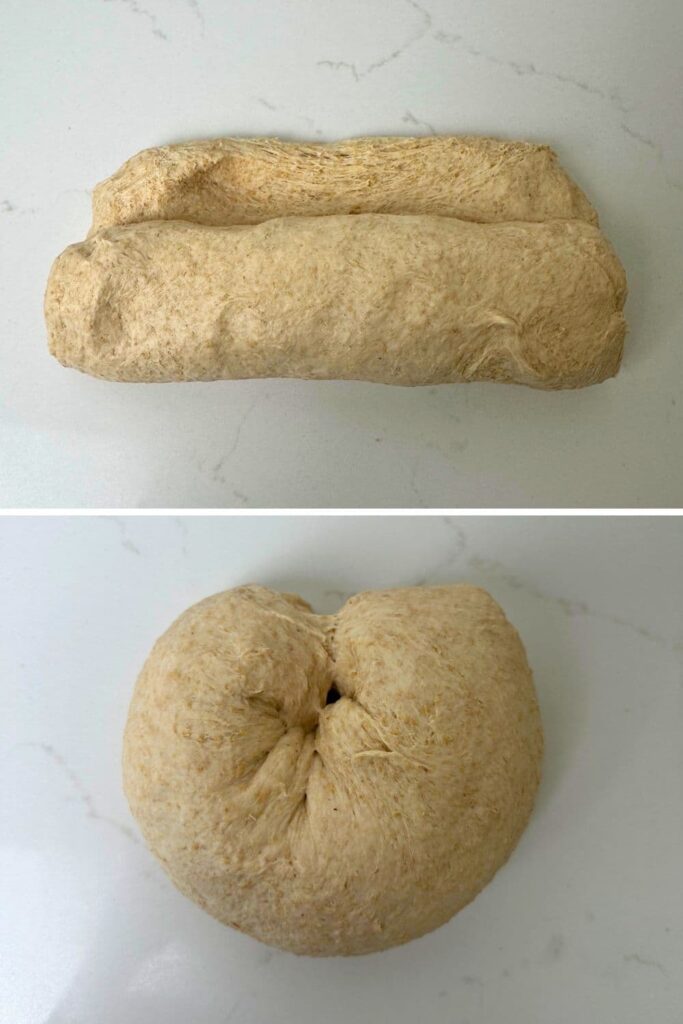
Then roll the dough up into a log (using the short side) and tuck the ends under. Tighten up the log by pulling the dough a little, using the sticky underside to create tension.
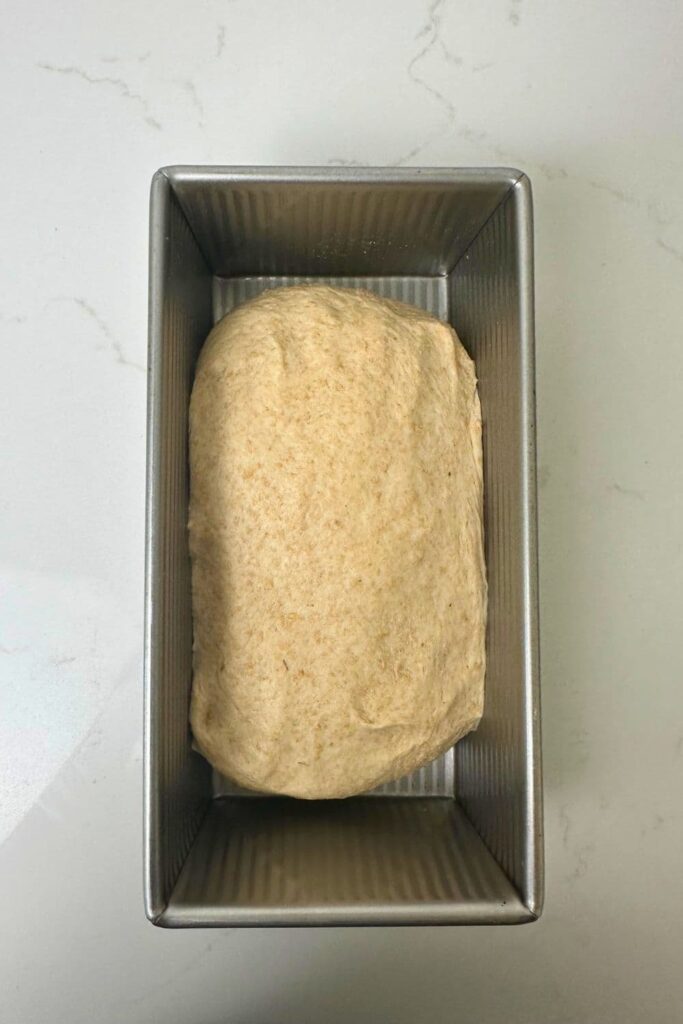
Then simply plop the dough into your loaf pan.
Second Rise
Once your bread has been shaped and is in the pan, you'll need to let it rise again so that it fills up the shape of the tin. This should only take a few hours, but like the bulk ferment, this will depend on the strength of your starter and the temperature of your kitchen.
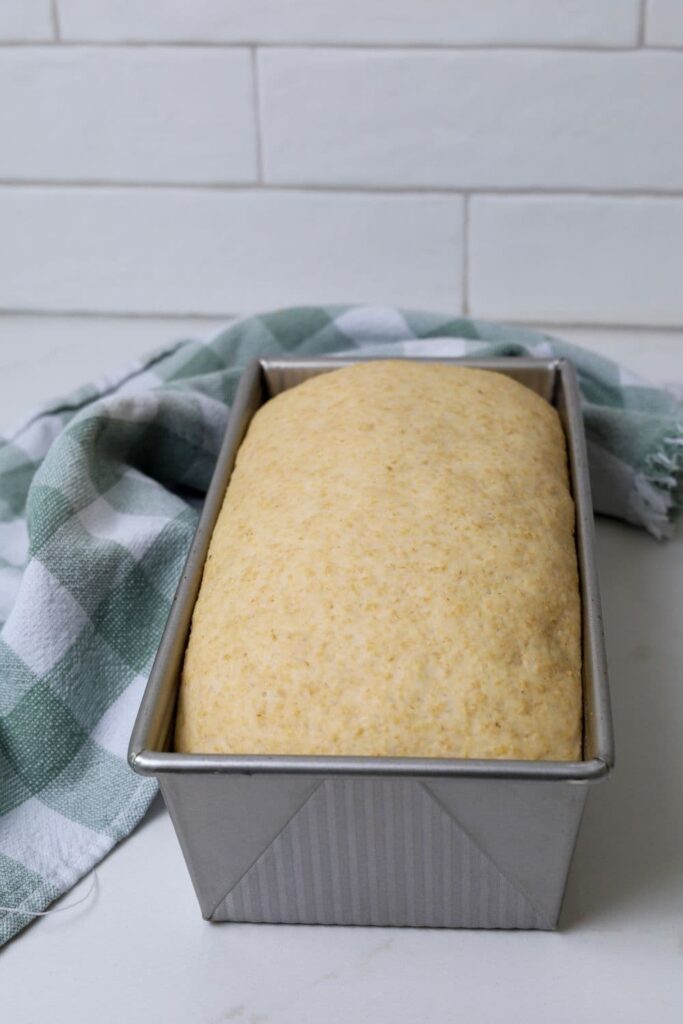
You'll know it's done when it's risen just above the rim of the pan. It will be rounded on the top. When you poke it it will leave a slight indent but spring back nice and slowly. If you shaped it quite tight, you'll see some tension on the top of the dough as it's risen.
Baking Your Sandwich Bread
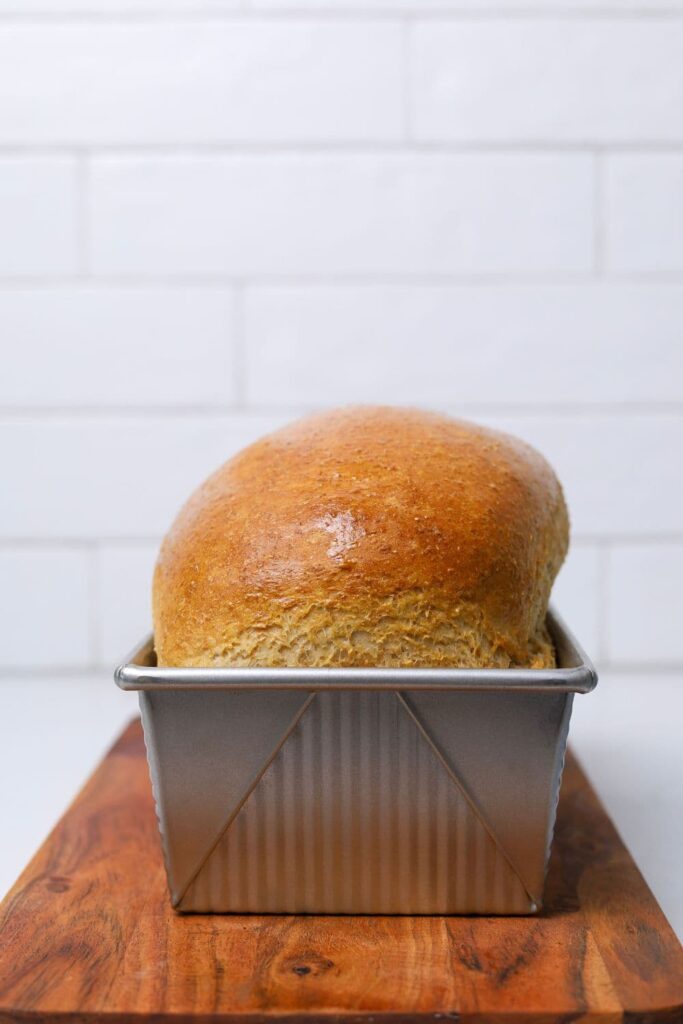
Preheat your oven to around 180C/350F. Let your oven warm for around 10 minutes and then place your sandwich loaf in the oven and bake for approximately 40 minutes or until the top is golden brown.
There's no need to score the top of the loaf, but you can if you want to. It may take a little longer depending on your oven. Once the loaf is baked, carefully place it on a rack to cool. Try to leave it at least one hour before you slice into it.
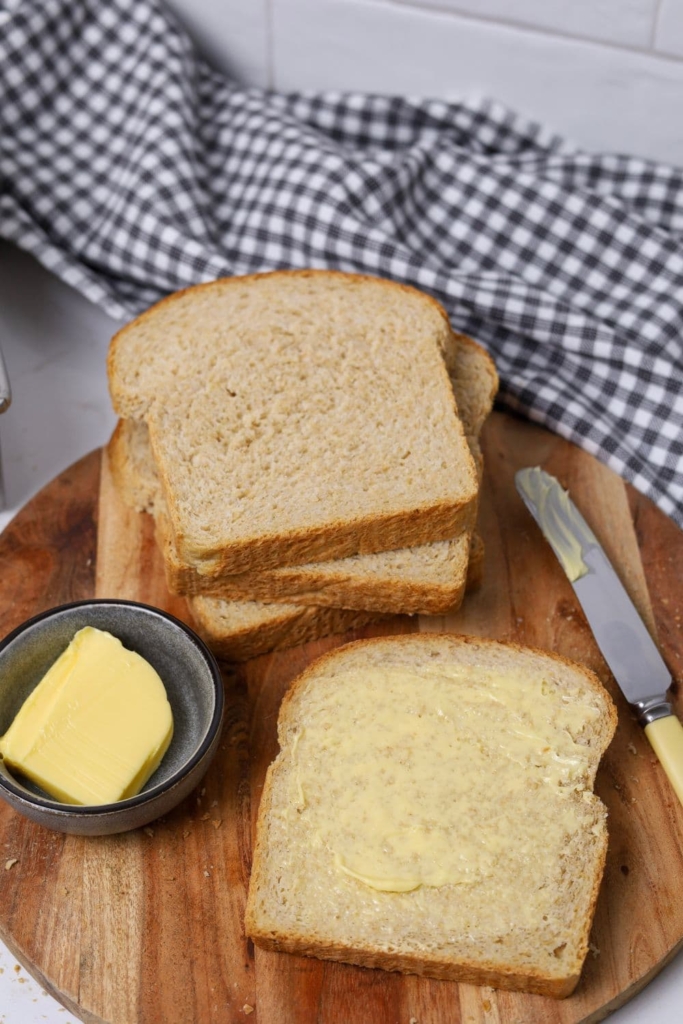
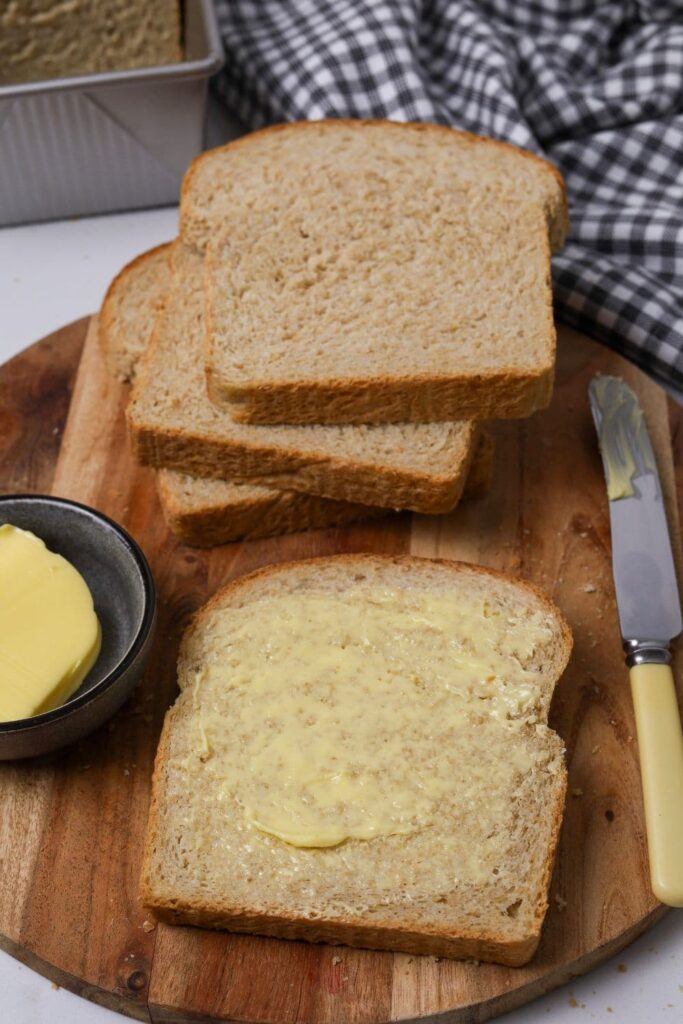
It's perfect spread with homemade butter and cranberry orange jam!
Tips For Success
- I've used a standard 1.5 pound bread pan measuring 5"D x 10"W x 3"H. You could also double the recipe and bake in 2 x 1 pound pans if you prefer. Then freeze one and eat one.
Baking Timeline For Sourdough Whole Wheat Sandwich Bread
| TIME | PROCESS |
|---|---|
| 8:00 AM | Mix dough. |
| 8.30 AM | Add butter and salt. |
| 9.00 AM | Knead the dough, cover and leave at room temp for bulk fermentation. |
| 3.00 PM | Shape dough and place into a loaf pan. |
| Cover dough in loaf pan and leave at room temperature to proof. | |
| 9.00 PM | Bake whole wheat sandwich loaf and leave to cool overnight. |
| Alternatively, you could cover and place in the fridge to bake the next morning. | |
How To Store + Freeze
Once baked, this whole wheat sourdough sandwich loaf is best stored in a plastic bag. This keeps the crust and crumb soft for at least 2 days. Alternatively, you could store it in an airtight container.
This whole wheat sourdough bread freezes really well. You can freeze it either sliced or unsliced (I've used my Mercer Bread Knife to create perfect slices). Make sure it is sealed in an airtight plastic bag before freezing for up to 2 months.
Frequently Asked Questions
No, you don't have to use a stand mixer for this recipe. You can knead this recipe by hand with no issues, it just takes a bit more time than doing it with a machine. Sometimes it's nice to get your hands in the dough though!
Absolutely you can add seeds to this loaf. I often top this with rolled oats for a more "honey wheat" look to the loaf. You can also add pumpkin seeds, chia seeds, sunflower seeds etc to the actual dough. I would do this while you are kneading the dough. You don't have to soak the seeds first if you don't want to.
Whole Wheat Sourdough Sandwich Bread Recipe
Equipment
- Stand Mixer (optional)
- Bread Pan (I've used a 1.5 pound pan measuring 5"D x 10"W x 3"H)
Ingredients
- 500 g Whole Wheat Flour
- 100 g Sourdough Starter (fed and bubbly)
- 300 g Water
- 60 g Butter (cubed, softened at room temperature)
- 15 g Salt
- 30 g Honey
Instructions
- Premix & Autolyse:Add your sourdough starter, whole wheat flour, water and honey into the bowl of your stand mixer. Mix the ingredients for around 30 seconds until they are just combined into a shaggy dough. I use the dough hook attachment on my stand mixer.Leave to autolyse for around 30 minutes.
- Now add the salt and butter.Mix the ingredients for around 1 minute or until they are combined together. Now leave to rest for around 30 minutes.
- Kneading Your Whole Wheat Sourdough Sandwich Dough:Using your stand mixer with hook attachment, knead the dough for around 3 minutes. The dough should become very elastic. You won't be able to see the butter as it will be well combined into the dough. If the dough is getting a little warm from being mixed in the mixer, give it a 10 minute rest. If it seems ok, knead for the full 3 minutes. Now give your dough a 30 minute rest.
- Knead your dough in the mixer for another 2-3 minutes. You'll know it's ready when it is slapping the sides of the stand mixer bowl.The dough will be very elastic and smooth (a little bumpy from the wheat germ). It shouldn't be sticking to the sides of the bowl at all. If it's not quite there, it's ok to knead for a few more minutes to develop the gluten and get it to where it needs to be.
- Bulk Ferment:Once your dough is kneaded sufficiently, you need to bulk ferment it at room temperature. If you're using a stand mixer, it's fine to leave it in the mixing bowl. Just cover it with a plastic food cover or lid. As with any sourdough bread, the bulk ferment time will depend on the temperature in your kitchen and of course the strength of your starter. You're looking for your dough to be just UNDER double.
- Shaping:Once your dough has finished its bulk ferment you can shape your dough. Before you start shaping, lightly oil your loaf pan.Ease your dough out of the bowl using a silicone dough scraper, remembering to have the smooth side on the counter and the sticky side facing up. You shouldn't need any flour for this as your dough shouldn't stick (it's such a beautiful silky, enriched dough).Gently ease your dough out into a rough rectangle, with the shortest side in front of you.Pop any large bubbles and gently flatten the dough using your fingertips. Then roll the dough up into a log (using the short side) and tuck the ends under. Tighten up the log by pulling the dough a little, using the sticky underside to create tension. Then simply plop the dough into your loaf pan.
- Second Rise:Once your bread has been shaped and is in the pan, you'll need to let it rise again so that it fills up the shape of the tin. This should only take a few hours, but like the bulk ferment, this will depend on the strength of your starter and the temperature of your kitchen. You'll know it's done when it's risen just above the lip of the pan. It will be rounded on the top. When you poke it it will leave a slight indent but spring back nice and slowly. If you shaped it quite tight, you'll see some tension on the top of the dough as it's risen.
- Baking Your Sandwich Bread:Preheat your oven to around 180C/350F. Let your oven warm for around 10 minutes and then place your sandwich loaf in the oven and bake for approximately 40 minutes or until the top is golden brown. It may take a little longer depending on your oven. Once the loaf is baked, carefully place it on a rack to cool. Try to leave it at least one hour before you slice into it.
Notes
Nutrition

