How To Bake Sourdough Without Dutch Oven
This post may contain affiliate links.
Have you ever wondered how to bake sourdough without a Dutch Oven?
While using a Dutch Oven will give you superior and consistent results when baking sourdough bread, there are things you can do to bake great sourdough bread without a Dutch Oven.
Perhaps you're not ready to invest in a Dutch Oven just yet, or your oven isn't big enough to accomodate one. There are lots of reasons you might not want to use a Dutch Oven to bake your sourdough bread.
Never fear, this article will show you how to bake crusty sourdough bread without a Dutch Oven.
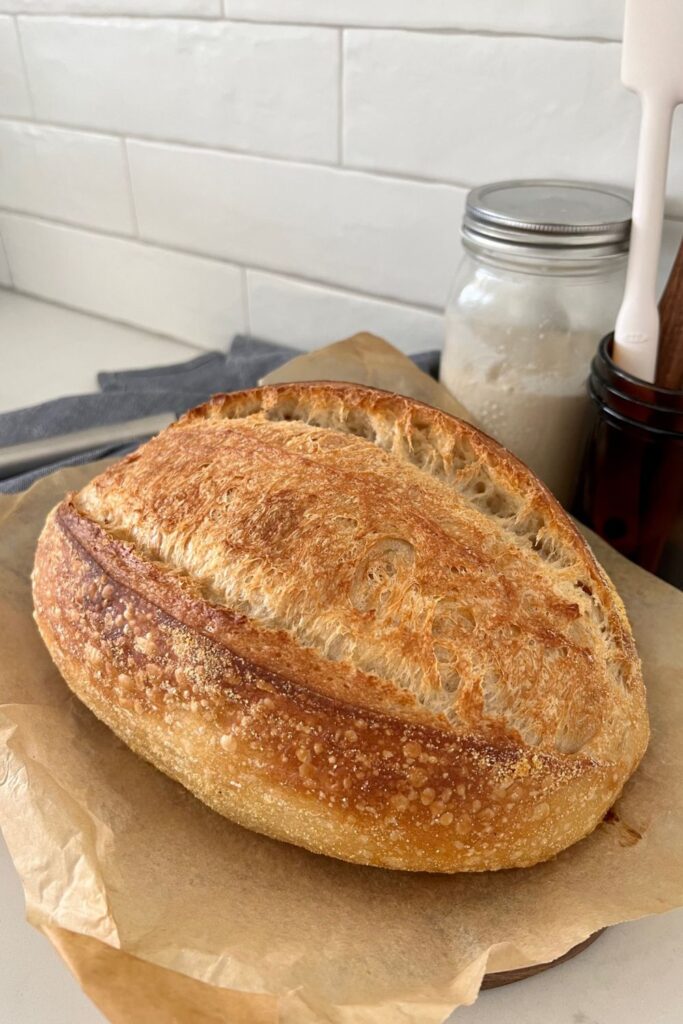
Why Bake Sourdough In A Dutch Oven?
There are two main things that sourdough needs in order to have a lovely crust:
- a moist, steamy environment (for at least the first half of the bake)
- consistent high heat retained throughout the bake
Other than investing in a modern oven with steam injectors, using a Dutch Oven is a relatively cheap way of achieving these two factors.
Now I am a very strong advocate for using a Dutch Oven for sourdough bread because it is the cheapest and easiest way to create a baking environment comparable to a professional baker's oven at home.
But have you ever considered why not to use a Dutch Oven? Despite my beliefs, there are reasons you might not want or be able to use a Dutch Oven:
- your oven might be too small to accomodate a Dutch Oven (particularly if you're using an RV oven or bench top oven).
- not ready to invest in a Dutch Oven just yet
- you're unable to lift a heavy Dutch Oven in and out of the oven
- you don't like the idea of putting dough into a hot Dutch Oven
- you want to bake multiple loaves at once and your oven can't accomodate multiple Dutch Ovens.
- you want to bake a batch of sourdough bread bowls
But what can you use to bake sourdough bread instead of a Dutch Oven? Well I'm glad you asked ...
How To Bake Sourdough Without Dutch Oven
Here are some of the ways you can bake sourdough without a Dutch Oven - that will still give you a fantastic crust and great oven spring:
In addition to these methods, I highly recommend reading these articles, which concentrate on achieving great oven spring and an ear. Ensuring you get all of these factors right will increase your changes of baking a fantastic loaf without a Dutch Oven:
- Tips for achieving the best sourdough oven spring
- Nailing your sourdough ear every bake
- Baking sourdough with a thin, crispy crust.
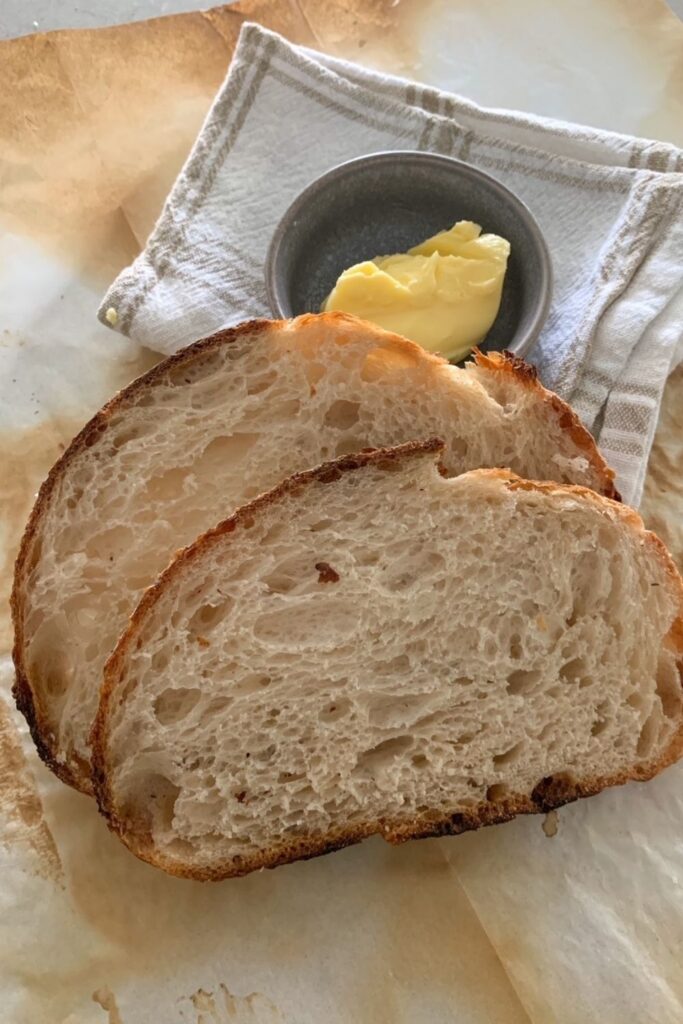
Preheat Oven Really Well
I always advise to preheat your oven for at least an hour - even if you're using a Dutch Oven (that should be preheating while the oven is warming up).
Now this may seem like a long time - but you want your oven to be thoroughly preheated because this will ensure that the heat lost when you open the door is minimal.
If your oven isn't preheated long enough, it won't be hot all the way through and you won't get the oven spring you're looking for when you add your bread.
Preheating your oven thoroughly is even more important if you're not going to use a Dutch Oven because you want to ensure you retain as much of the heat (and steam) created as possible.
Use Baking Stones & A Stock Pot
Using a baking stone - or even better, 2 baking stones - will enable you to retain the heat in your oven. Ideally you need to place one baking stone on a lower shelf. This is where you'll place your bread.
Then you need to place a second baking stone on the highest shelf possible.
This baking stone is really cost effective - you can buy 2 for well under $70 and you'll also get a handy pizza peel which can be used for transferring bread to the oven.
In addition to the baking stones, you'll need to use a large stainless steel stock pot to cover your bread. This will create a steamy environment and give you the best oven spring possible without a Dutch Oven.
How To Use A Stock Pot for Sourdough Bread
- Place a baking stone on the lowest shelf of your oven and a baking stone on the highest shelf possible. You will need to make sure that your stock pot will fit in between - it's best to do this before you turn the oven on!
- Preheat your oven to its highest setting for one hour.
- Take your sourdough out of the fridge and score it. Spray the dough liberally with water.
- Use a peel to transfer it from the bench top to the lower baking stone. This can be a little tricky and does take some practice. Then once it's on the stone, invert the stock pot over the dough so that it locks in the steam.
- Bake for 30 minutes with the stock pot over the dough. Remove the stock pot and turn the heat down for the last 10 to 15 minutes to crisp up the crust.
You'll find more information on using a baking stone and bakers peel here.
Lava Rocks
Lava rocks are a fantastic way to incorporate steam into your oven. Ideally, you should use lava rocks along with the baking stones mentioned above.
The difference here is that you will leave the bread to bake in the open, without anything to cover it.
You rely on the lava rocks to create the steam in the oven.
You will need to remove them after 30 minutes and leave the bread to bake for the last 10 to 15 minutes without the steam. This will ensure that you get a nice, crispy crust.
You can buy lava rocks online here.
You do need to be really careful when working with lava rocks and steam. Steam burns are not pleasant and you want to avoid these at all costs.
It's best to place the lava rocks into a cast iron skillet, as this will withstand the high heat of sourdough baking.
Do not try to remove the lava rocks from the skillet when removing it from the oven, just place it on the stove top until it cools and then empty it from there.
How To Use Lava Rocks For Sourdough Bread
- When the oven has been preheating for around 45 minutes, place a cast iron dish containing the lava rocks and water into the base of the oven (underneath the baking stone).
- Allow the oven another 15 minutes for the water to start steaming before placing your bread onto the baking stone.
- Allow the bread to bake for 30 minutes with the steam before carefully removing the dish with the lava rocks and allowing the bread to bake for a further 10 to 15 minutes at a lower temperatures without steam.
Baking In A Loaf Pan
Another way to bake sourdough bread without a Dutch Oven is to bake it in a loaf pan.
The trick here is to have 2 loaf pans.
Then you can invert the second pan over the top, effectively creating a mini steamy environment for your sourdough. You can clip the loaf pans together if you have an oven proof clip.
If you're looking for the perfect size loaf pan for your bake, I've written a guide to dough weights here.
You don't necessarily have to bake sandwich bread in a loaf pan. You can bake a traditional sourdough loaf in a loaf pan. It gives you a lovely, easy to slice shape. You'll find a full guide to baking sourdough in a loaf pan here.
You just need to shape it as if you are making a batard, rather than a boule.
You can also use a loaf pan as a proofing basket alternative.
Baking Sourdough In Pyrex
Another alternative to a Dutch Oven is to use Pyrex for baking sourdough.
Now you will need to make sure that casserole pot or Pyrex dish is able to withstand the high heat of sourdough baking. Some are rated for high heat, but you will need to be sure that it can handle high heat before you use it.
It's best to use a Pyrex or casserole dish with a lid. This will mimic using a Dutch Oven.
I am a big advocate for preheating a Dutch Oven, but you may not be able to do this with a Pyrex dish, depending on when your Pyrex was manufactured.
Once you remove the hot Pyrex from the oven, be very careful not to set it down onto a cold surface. Place it on a trivet or stove top to cool. Sudden changes in temperature will cause it to shatter.
You can find all the care and use details for Pyrex here, as well as my guide to using Pyrex to bake sourdough bread here.
Something else to keep in mind before using a casserole or Pyrex dish is whether your dough will actually fit in there.
Measure your banneton and dish before you bake to ensure you won't have to squash your dough!
Baking Sourdough in Enamel Roaster
An enamel Turkey roaster is also a viable alternative to using a Dutch Oven for baking sourdough bread.
Again, while preheating the vessel results in much better oven spring, it's not really necessary for an enamel roaster as it's so thin.
It's better to place the dough into the roaster and then into the preheated, hot oven.
How To Bake Sourdough Bread in a Slow Cooker
While it may seem unconventional, you can actually bake sourdough bread in a slow cooker.
You might be surprised at the results you can get! It won't be exactly the same as baking it in an oven, but with a bit of practice you can get a nice crust and rise.
You'll find my guide to baking sourdough bread in a slow cooker here.
Baking Sourdough Bread in a Clay Pot
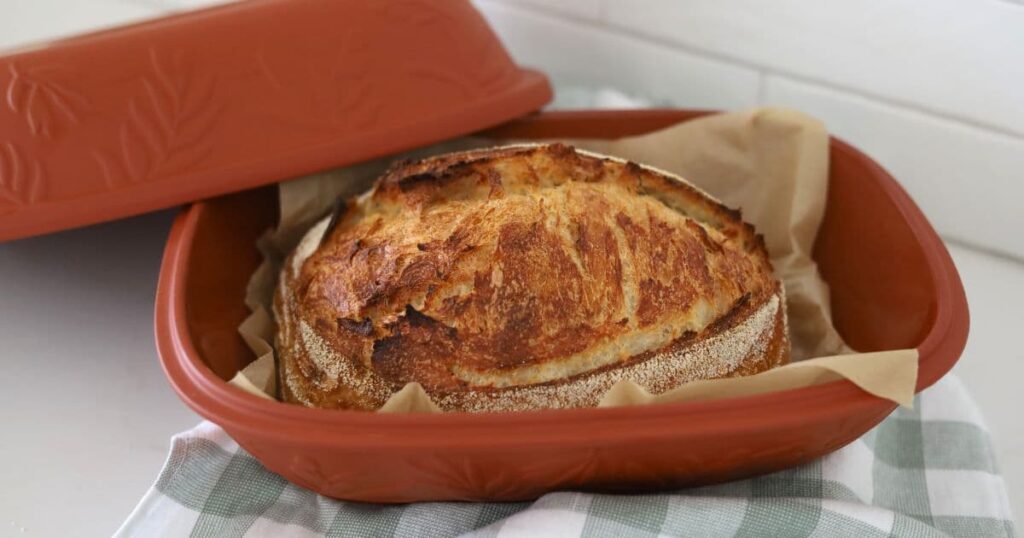
If you're lucky enough to find a gorgeous clay baker at a thrift store or even at a kitchenware store, you'll be able to use it to bake sourdough bread.
While you'll need to soak the clay pot before preheating it, the extra time is well worth it for the resulting loaf of sourdough bread with gorgeous open crumb and rich crust.
You can read my full guide on How To Bake Sourdough in a Clay Pot here.
Tips For Safely Creating Steam In Your Oven For Sourdough
There are lots of things you can do to create steam in your oven, which will ultimately give you the best oven spring for sourdough bread.
Here are some tips for quickly and easily creating steam in your oven:
- The most important thing to remember when creating steam in your oven is to do it safely. Steam burns are not nice and you want to avoid them at all costs. Use thick, high heat oven mitts and avoid pouring cold water into the oven which can splash on the door and cause it to crack.
- When adding ice to the oven, always place it in an oven safe dish. Cast iron is best as its the least resistant to cracking. A cast iron skillet is perfect.
- When removing dishes of water from the oven at the end of the steaming time, avoid pouring them out. Just set them onto the sink or stove to cool first. Again, avoid steam burns at all costs.
- Be aware that sudden changes in temperatures can cause pots and glass to crack. Remember this when using ice or cold water in a super hot oven. The last thing you want to do is crack or shatter the glass oven door.
- If you're doing an open bake in your oven, spray your dough with as much water as possible. This will not only create lots of steam, it will give you a gorgeous glossy, blistered crust. I use a water atomiser for this with great results.
Further Reading
If you've found this article helpful, you might enjoy these ideas:
- Slow Cooker Sourdough Discard Bread
- If you want to invest in a Dutch Oven, this guide will help you to choose the right one for your needs.
- Looking for a beginner's sourdough recipe that's easy to follow? You'll love this simple sourdough recipe!
- Want to make sure you get the right sized banneton for your sourdough bread? This banneton size guide will ensure you get it right.
Sourdough Bread Without A Dutch Oven
Equipment
- Basic Kitchen Scale (grab them for as little as $10 here)
Ingredients
- 500 g Bread Flour 100%
- 350 g Water 70%
- 50 g Sourdough Starter 10% (Fed and Bubbly)
- 10 g Salt 2% (increase or decrease according to your taste)
Instructions
- Autolyse - Premixing The DoughWeigh out your sourdough starter and water into a large mixing bowl - whatever you have in the cupboard is fine!Glass is always good as you can see what's happening underneath your dough. But any plastic, ceramic, stainless steel or glass bowl is fine! Mix the water and starter together briefly. Then add your flour and salt and mix whole lot together to form a shaggy dough. The dough will be fairly shaggy and only just brought together (see photo). You might wonder how this will turn into bread, but just wait, time is your friend and the dough will change in around an hour.
- Cover your bowl with a damp tea towel and let it sit for around 1 hour. It's ok if it's a little bit longer, it's not going to matter too much.This process is called the "autolyse" and allows your flour to soak in all the water and become hydrated.
- Forming Up The DoughAfter the dough has been through autolyse you need to bring it together into a ball. Work your way around the bowl, grabbing the dough from the outside, stretching it up and over itself, into the centre, until a smooth ball is formed. You shouldn't need more than about 20-25 stretches to form the ball.You'll notice that the dough is fully hydrated after soaking all the water up. It will be fairly sticky but as you bring it into a ball, it will become smoother and shinier.
- Once the dough has formed into a smooth ball, pop the damp tea towel back on and let it rest for 30 minutes.
- Stretch & Fold - Creating StructureOver the next few hours you need to create some structure for your dough by "stretching and folding". Aim to do around 4-6 sets of stretches and folds. For each set, stretch the dough up and over itself 4 times. Leave around 15 minutes in between each set. Again you do not have to be exact with time, but you need to do at least 4 sets over 2 hours.
- Bulk FermentOnce you've finished your stretch and folds, cover the dough with a plastic cover (a recycled plastic bag is perfect) and allow the dough to double (bulk fermentation).See notes below for more info on this step.
- Shaping The DoughOnce your dough has finished its first ferment, it's time to shape it into either a boule or a batard. You'll need to flour your counter top with rice flour for this (we use rice flour because it has no gluten). Try to be quite sparing with the rice flour, you only need a very light dusting.Use a dough scraper to gently ease the dough out of the bowl (your hands work just fine if you don't have one). You want it to land upside down on your counter so that the smooth top of the dough is on the countertop and the sticky underside is facing up. This will make it easier to shape.You want to pull the edges of the dough into the centre and then flip it over so that the sticky side is now underneath. Using the stickiness, gently pull the dough into a tight ball.You will need a proofing basket or container to put your dough into. If you do not have a banneton, then a bowl or basket lined with a floured tea towel is perfectly fine. Make sure your bowl isn't too big though, you want your dough to retain some shape. You can find more notes on what to use as a banneton here.Whatever you're using needs to be liberally floured with your rice flour. If you're using a cloth or tea towel, rub the flour into it to ensure it becomes non stick (see notes here for details on this).
- Placing Into A Proofing ContainerOnce the dough is shaped into a tight ball, place it into your proofing basket or container smooth side down, so your seam is on the top.If you're using a cloth or tea towel in a bowl it's ok to put your dough with the smooth side up. Just make sure the dough is tight.Lift your dough around the edges to pop a little more rice flour if you feel it needs it. Just try to handle the dough as little as possible and be really gentle as you really want to preserve all the gases and air bubbles that have formed during your bulk ferment.
- Cold FermentNow the dough is in its "shaping container" cover it loosely with a plastic bag and place into the fridge. I use a large plastic bag to cover it - I just reuse it each time. Try to leave it in the fridge for a minimum 5 hours up to a maximum of around 36 hours. The longer you leave it the better your bread will be! A longer cold ferment creates beautiful blisters on your crust and a deeper sourdough flavour. It will also ensure your dough forms a skin which makes it easier to score.
- Bake Your Sourdough BreadOnce you're ready to bake your sourdough, you'll need to preheat your oven to 230C/450F. Ensure that you have placed a baking stone in the oven if you are going to use one. When your oven is at temperature, take your sourdough out of the fridge. Gently place your dough onto a bread peel or a baking tray or cookie sheet.Gently score your bread with a clean razor blade or knife. At minimum a large cross is sufficient, but you can get as artistic as you like. You can find my full guide on how to score sourdough bread here.Place your dough into the oven either on the tray, or use the bread peel to transfer to your baking stone.BAKE TIME:30 Minutes at 230C/450F (with steam source in oven) plus10-15 Minutes at 210C/410F (with steam source removed)
- Finishing The BakeCarefully remove it from the oven and place on a wire rack to cool.
Notes
- Notes on Flour: This recipe is written using strong Bread Flour. Bread flour has a higher protein content than All Purpose flour. If you choose to use All Purpose flour you may have a different result because of this. You can read more about the differences between All Purpose Flour and Bread Flour here.
- Notes on Sourdough Starter: This recipe is based on you having an active starter that you have fed a few hours before starting your bake. For info on how to make a sourdough starter, go here.
- Notes on Stretch & Folds: If you are going to do the stretch & folds on your bench top, spray your surface with water mist rather than using flour. You can leave the dough in the bowl if you want to. Wet your hands to stop the dough sticking - although it shouldn't be too sticky. It will get less sticky as you do your stretches and folds. For more information on how to do stretch and folds, go here.
- Notes on Bulk Fermentation: If your home is warm then your dough will ferment a lot faster and could be done in as little as a few hours. If it's colder, it will take longer, possibly overnight.
I would recommend that you try to do your first few bulk ferments during daylight hours so that you can watch your dough closely.
Once you're more familiar with the process - and the temperature of your home - you will be able to do overnight ferments. You will know your dough is ready to move to the next stage when it has *just* doubled in size. It will be fairly wobbly and full of bubbles. You should be able to see large air bubbles under the surface of the dough.
You don't want to let it go any further than doubled as it will be over fermented.
If you want to do an overnight ferment, but your home is warm, consider using a little less starter (ie 25g).
Less starter means your dough will take longer to ferment and you will reduce the risk of over fermenting your dough. You'll find more information on these topics here:
When is my bulk ferment finished? What is the difference between cold ferment and bulk ferment? Why does the amount of starter matter?
- Notes on Baking: If you're worried about your bread not being cooked all the way through, turn the oven off at the end of the cooking time and place your dough straight onto the oven rack. Leave the door ajar and let your bread rest there for a few hours. Make sure you don't close the door or your sourdough will sweat and you'll get a wrinkly, soggy crust. Remember not to cut into your loaf too soon - you'll need to let it cool for at least a few hours (4-6 is best).
Nutrition



Hi,
Your blog information is so helpful, and I do need some help.
I have 3 questions: I’ve got a cast iron combo cooker but I’m getting older and I’d like to use a lighter weight graniteware roaster. #1, Is this right—preheat the oven but not the roaster, put the bread into the roaster, add the lid (for initial steam & oven spring, and put everything in the oven.
#2, how close to authentic sourdough can I expect from a roaster instead of my heavy cast iron combo?
#3,I’ve been trying your solutions but I’m still struggling with hard crusty bread bases. Maybe I’m simply baking the bread too long?
Thanks for such a terrific blog!
Jacque Kimball
What temperature do you use when baking in the loaf pans above? Still 450 degrees ? And how long?
Thank you! This was very informative and now I’m excited to bake my sourdough bread in a loaf pan!
What is the best way to bake my SD loaf so that I DO NOT get a thick, hard crust? I want a thinner crust that I can more easily cut.
I know with regular breads you can brush butter on top to keep it soft.
What does "lid off" mean when you're talking about bake time and removing the steam source? There is no Dutch oven so I'm not sure what lid there is to remove..? Maybe it's a copy/paste error and I'm just reading into it?
I love your website - it has helped me immensely. Your tips and recipes are so easy to understand and follow.
Since cast iron dutch ovens are so heavy that I struggle to lift them, I highly recommend (and you should add to your amazon store) the Granite Ware 3 lb covered round roaster for a single round loaf, or the Granite Ware 15" oval roaster which accommodates 2 oval loaves. They do not require preheating. This is how I bake my loaves and they turn out perfectly without breaking my back to lift cast iron in and out of the oven.
I don't have a Dutch oven. Instead I use an insulated cooked sheet, with a stainless bowl inverted over it. The inside of the bowl is sprayed with water, providing a steamy start for the baking. The bowl is removed 30 minutes into the baking time.
P.S. I use pantry Mama's recipe for whole wheat rye sourdough, increasing the wheat flour to 80%. With that much whole wheat flour, it is a denser loaf, but still very good. It's the only bread I bake.
Have you ever tried baking in a Combi oven like the Anova Precision Oven or similar? You can control steam (humidity & heat). It is a challenge but can be great. The convection fan can over do the browning step and burn the top quickly.
I do not have a Dutch oven. But I do have a very old large heavy oval pot by Wagner Ware. On the bottom of it is written “Magnalite”. It is a silver color. Does anyone know if it is ok for sourdough bread?
I'm not familiar with a Magnalite, but from looking at what it is, it looks like an aluminum pot. It should be okay for baking, but may not have as nice of a crust. I wouldn't recommend proofing in the Magnalite (assuming it is indeed aluminum), since aluminum is a reactive metal and it could change the taste.