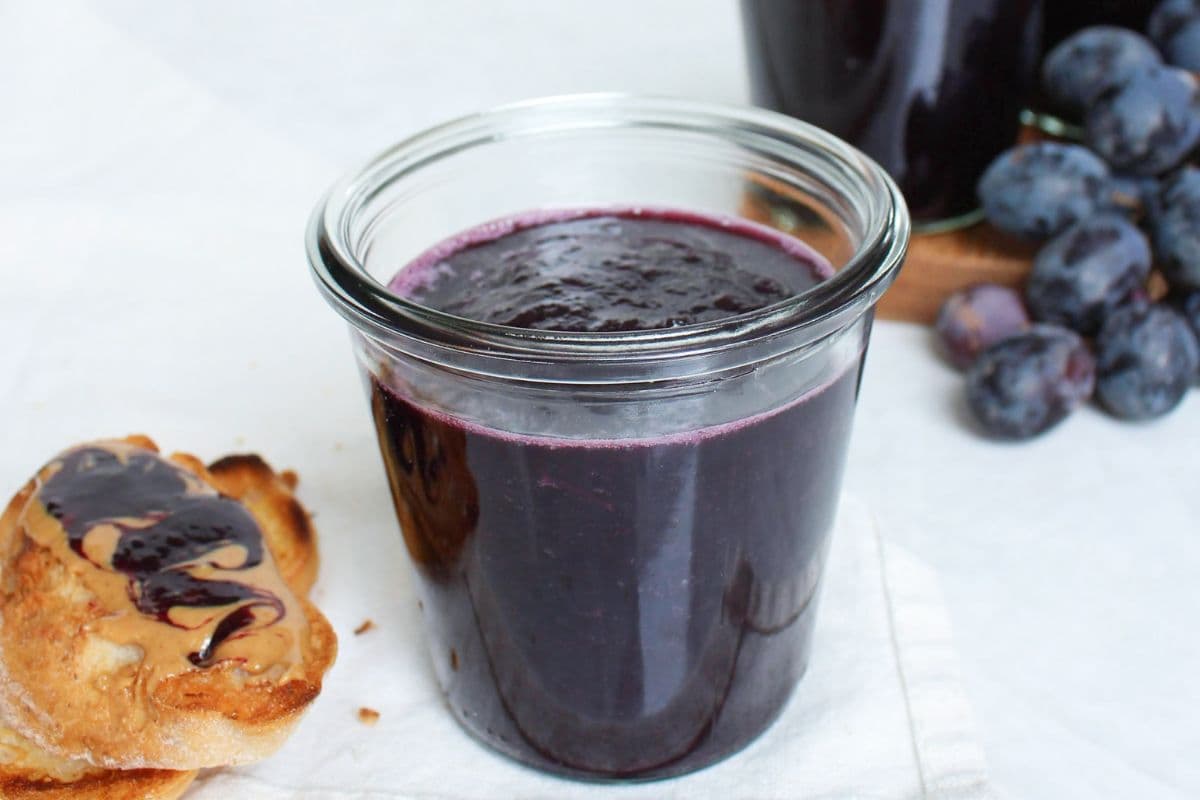
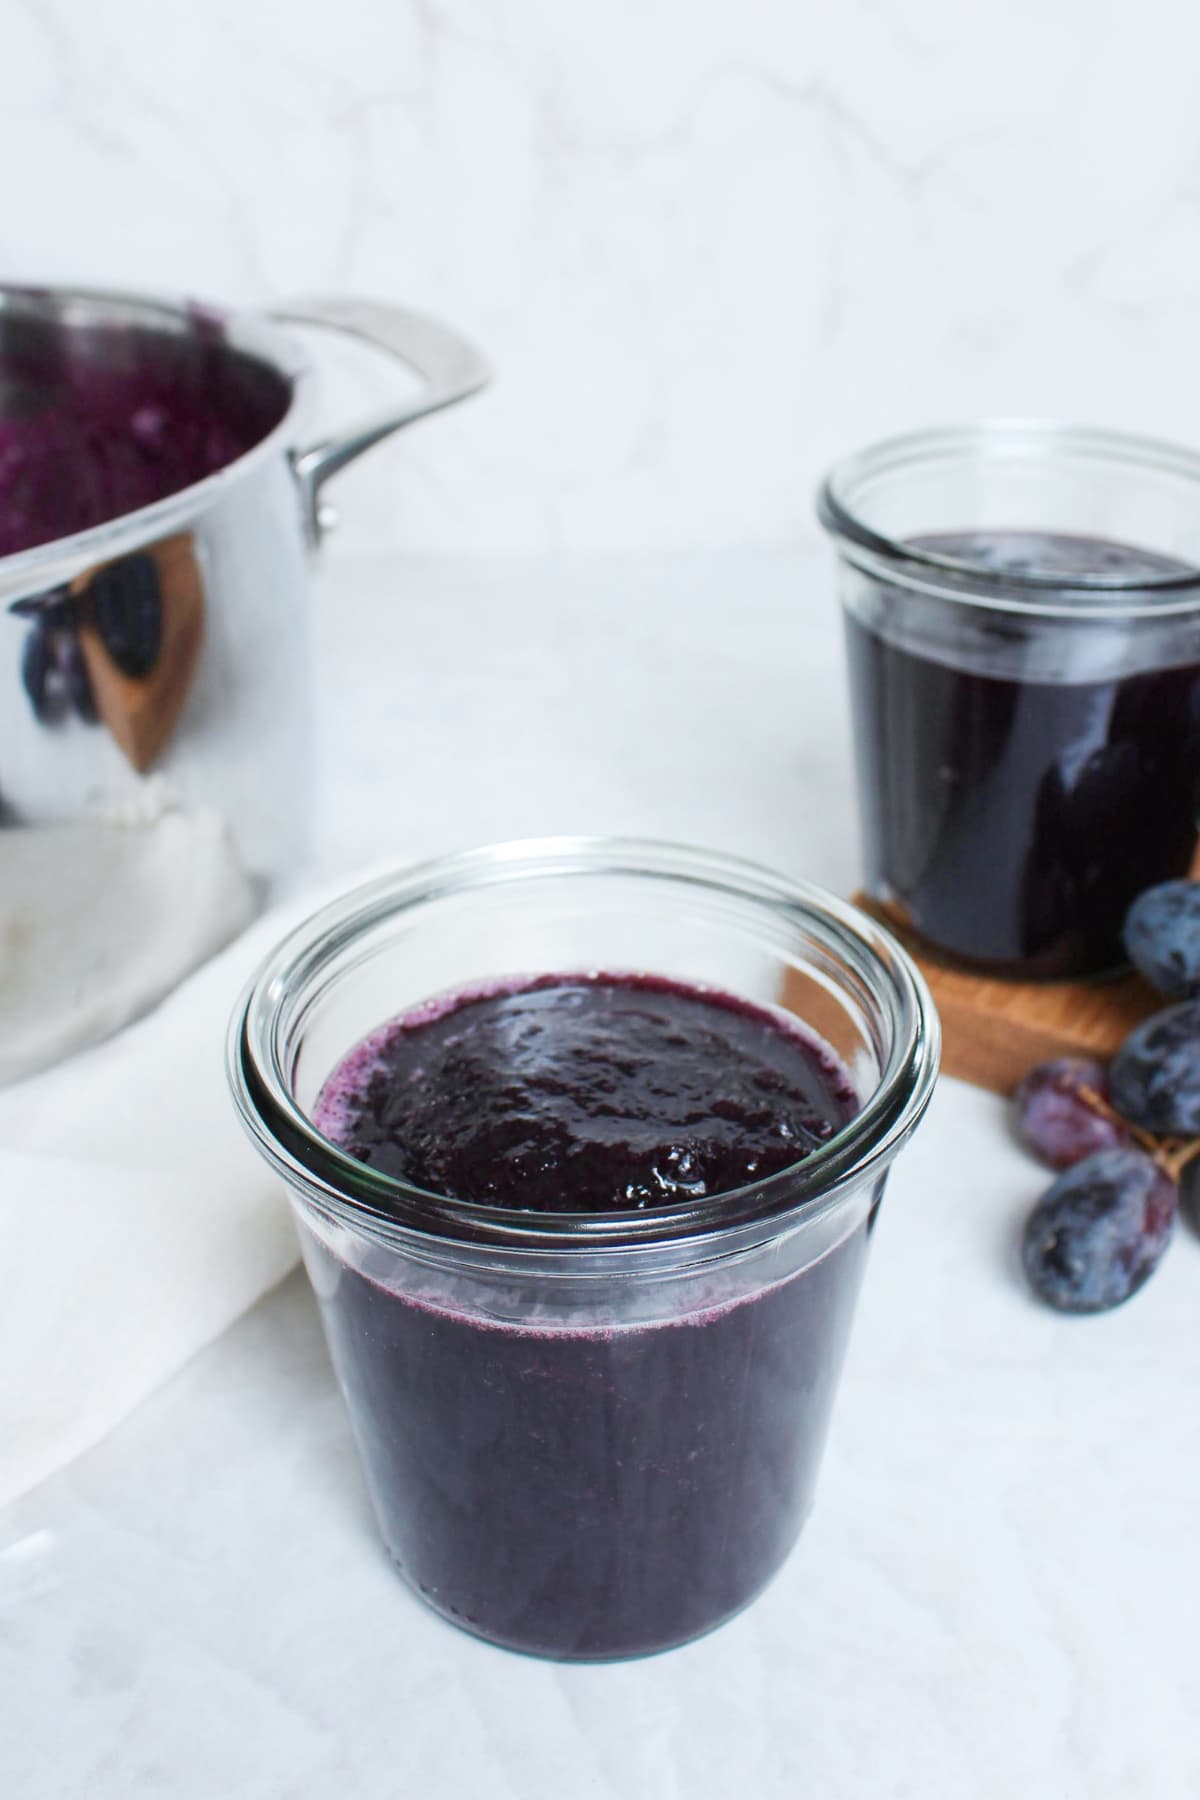
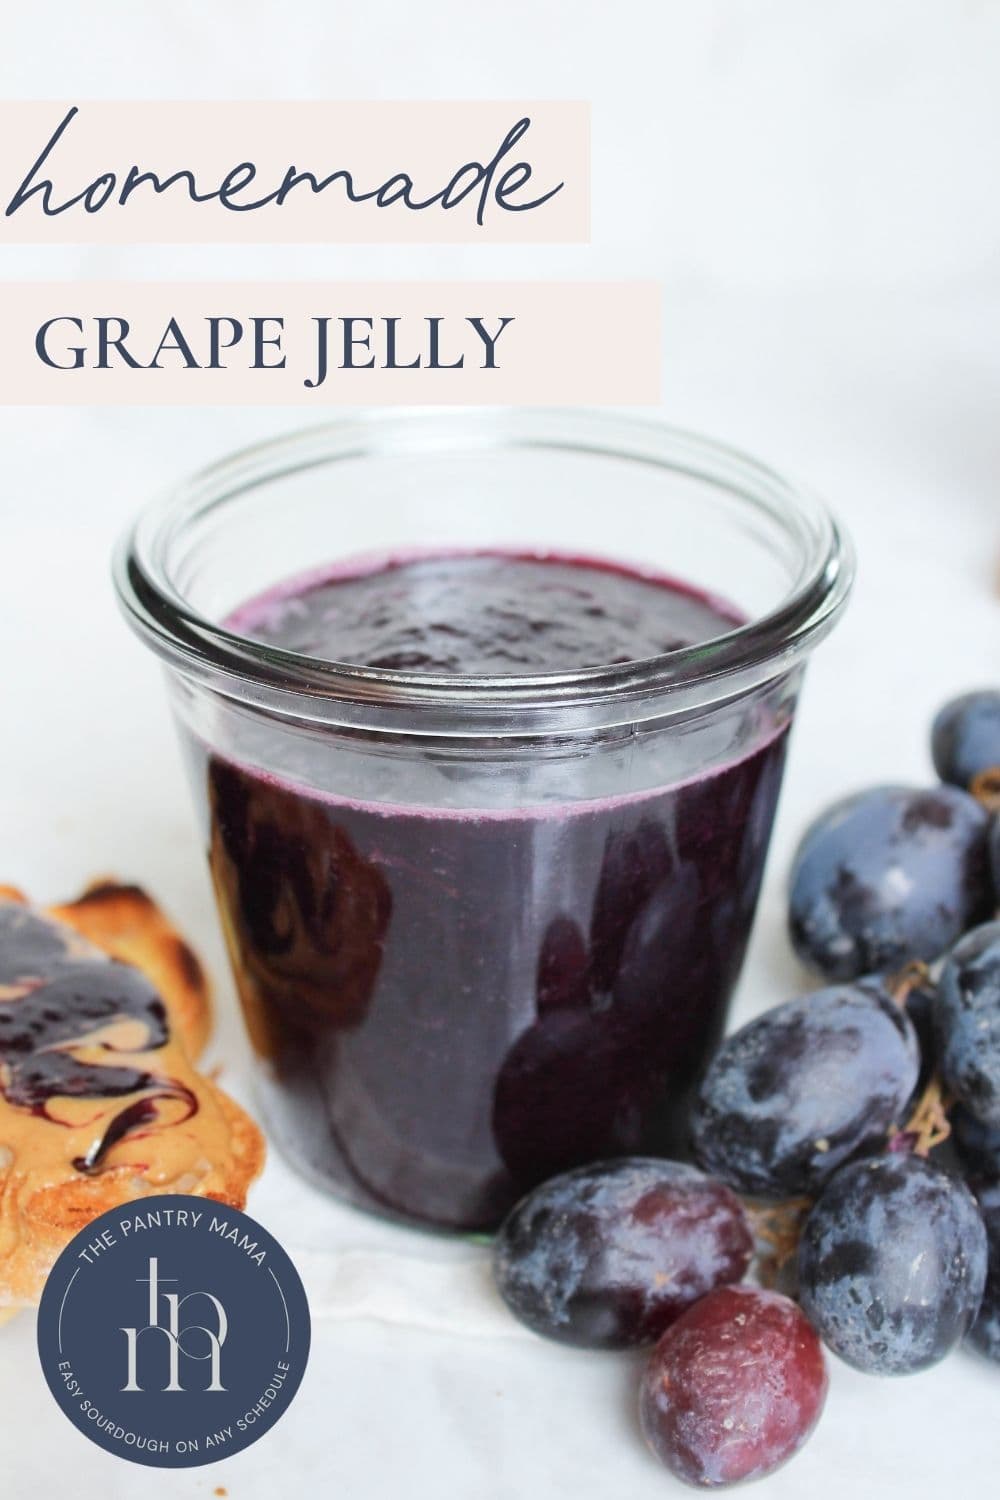
Sweet, fruity, and so much better than store-bought, this homemade grape jelly is a recipe you’ll make again and again. It’s smooth, packed with fresh grape flavor, and perfect for spreading on sourdough toast, making peanut butter and jelly sandwiches, or adding to a cheeseboard.
This post contains affiliate links. Please see our disclosure policy.
Table of Contents
Why You’ll Love This Homemade Grape Jelly!

No Pectin Needed – There’s no added pectin here because the lemon rind provides all the natural pectin you need to help the jelly set. Plus, there’s no peeling or straining either. An immersion blender gives you that smooth, classic grape jelly texture with hardly any extra effort.
Simple Ingredients, Homemade Flavor – One of the best parts about making your own grape jelly is knowing exactly what’s in it. Many store-bought varieties include preservatives and unnecessary additives, along with more sugar than needed to highlight the delicious grape flavor.
Perfect for Keeping on Hand – Here in Australia, store-bought grape jelly is hard to come by and when you can find it, it can be expensive. Since my kids love peanut butter and jelly sandwiches, I wanted to create this recipe to yield a slightly larger batch (and you can easily double it!) to keep in the fridge.
Ingredients
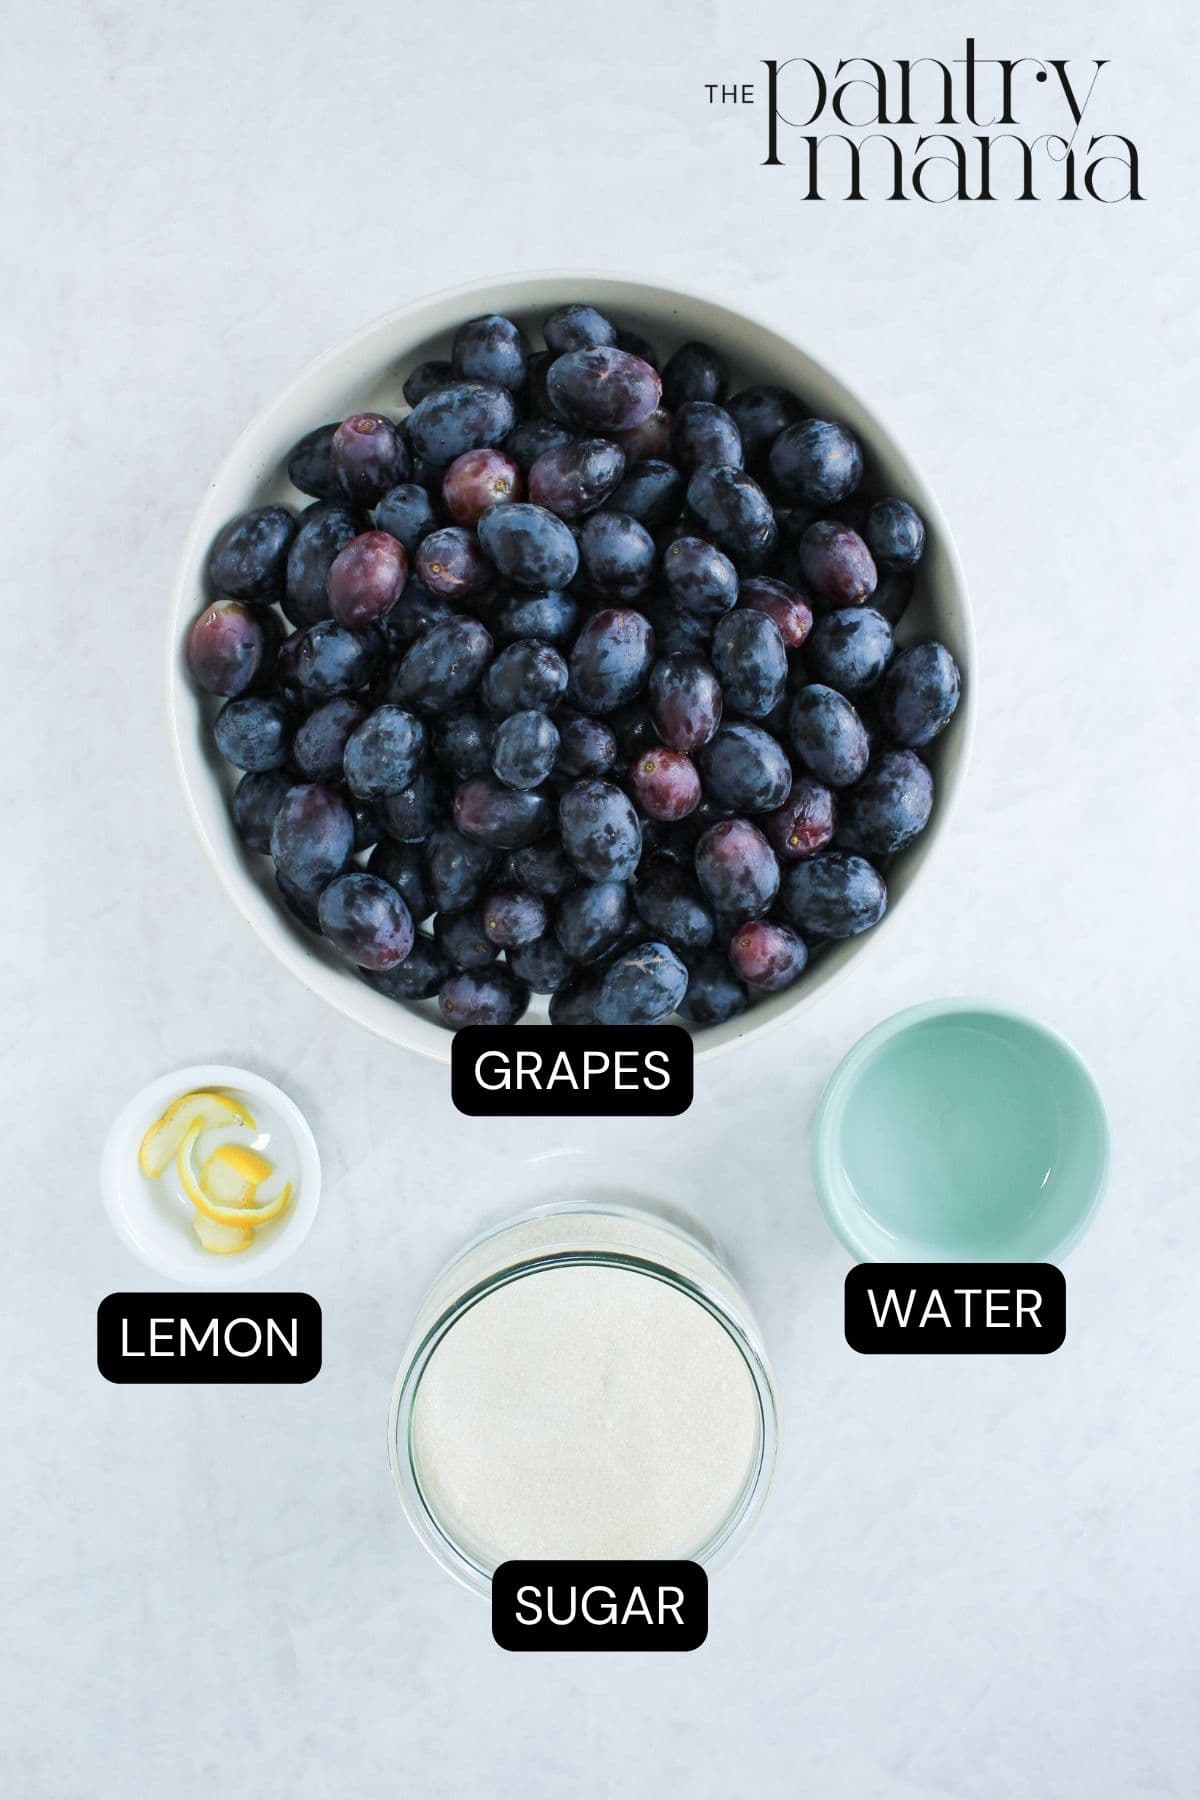
- Grapes – Blue/black grapes are key in this recipe! I tested it with the more common red seedless grape and unfortunately it wasn’t a good swap. You’re want the kind of grape that is deep purple and almost looks black. Concord grapes are the most common variety to look for, but if you can’t find these, any black grapes are a perfect swap.
- White Sugar – I use regular white sugar so the fresh grape flavor really shines. Other sugars will change both the flavor and color of the finished jelly.
- Water – A little water helps get the grapes cooking without scorching while they begin to release their juices.
- Lemon Rind – Don’t skip the lemon rind! It provides the natural pectin that helps the jelly set, so there’s no need for added pectin. I leave both the skin and white pith on since that’s where much of the natural pectin is found. Just remember to remove the rind before blending.
How To Make Grape Jelly
The most time-consuming part of this recipe is the cooking process, but the hands-on prep is surprisingly minimal. Aside from removing the grape stems, there isn’t much preparation required. While the grapes do need time to break down and cook it’s well worth the wait!
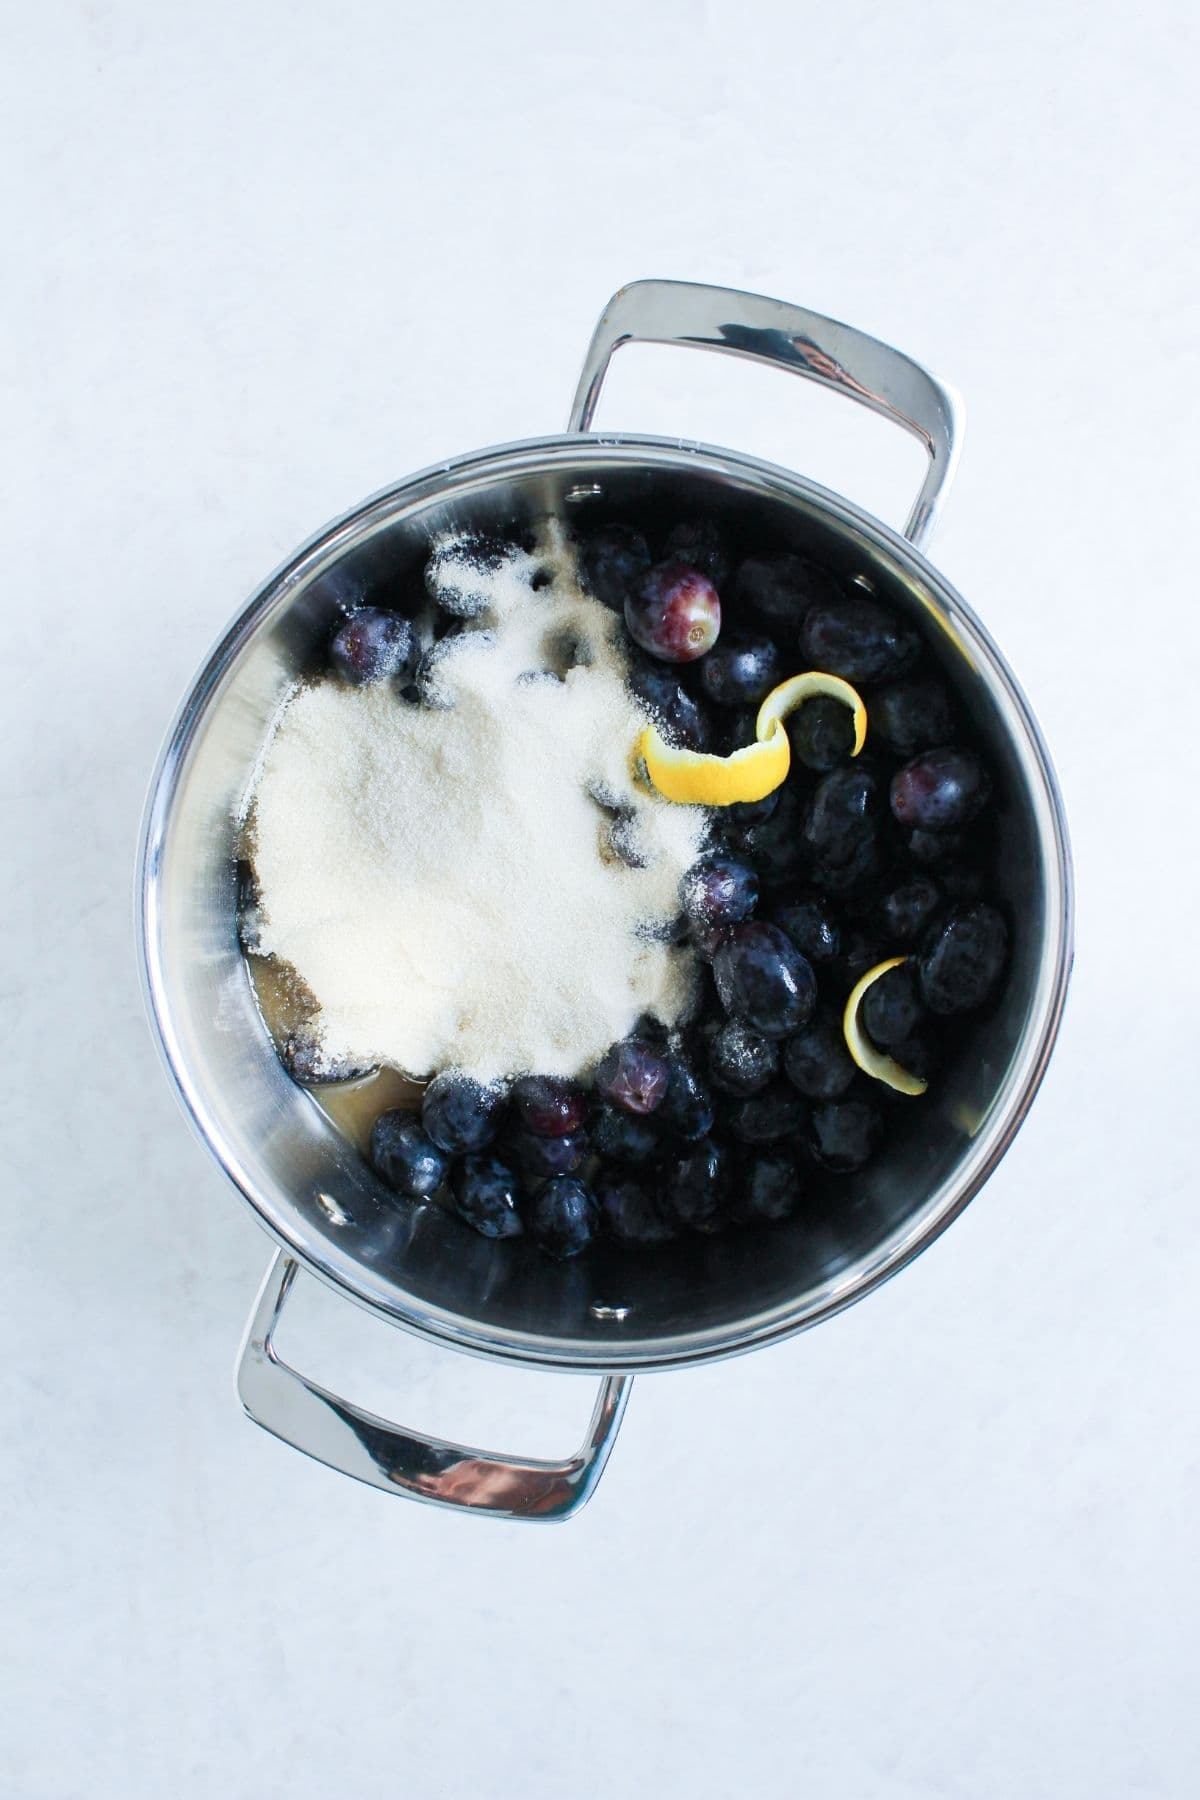
First combine the grapes, sugar, water, and lemon rind in a large saucepan. Bring everything to a gentle simmer over medium-high heat, stirring occasionally as the grapes begin to soften and release their juices.
Continue cooking until the grapes have burst and the mixture is dark, thick, and syrupy. Remove the lemon rind before moving on to the next step.
Kate’s Pro Tip
Cooking Tip
As the grapes cook down, the mixture can bubble up quite quickly. I like to keep the heat at a steady medium-high so the liquid reduces and the natural pectin in the lemon rind can do its job, but don’t be afraid to lower the heat if it starts to boil over.
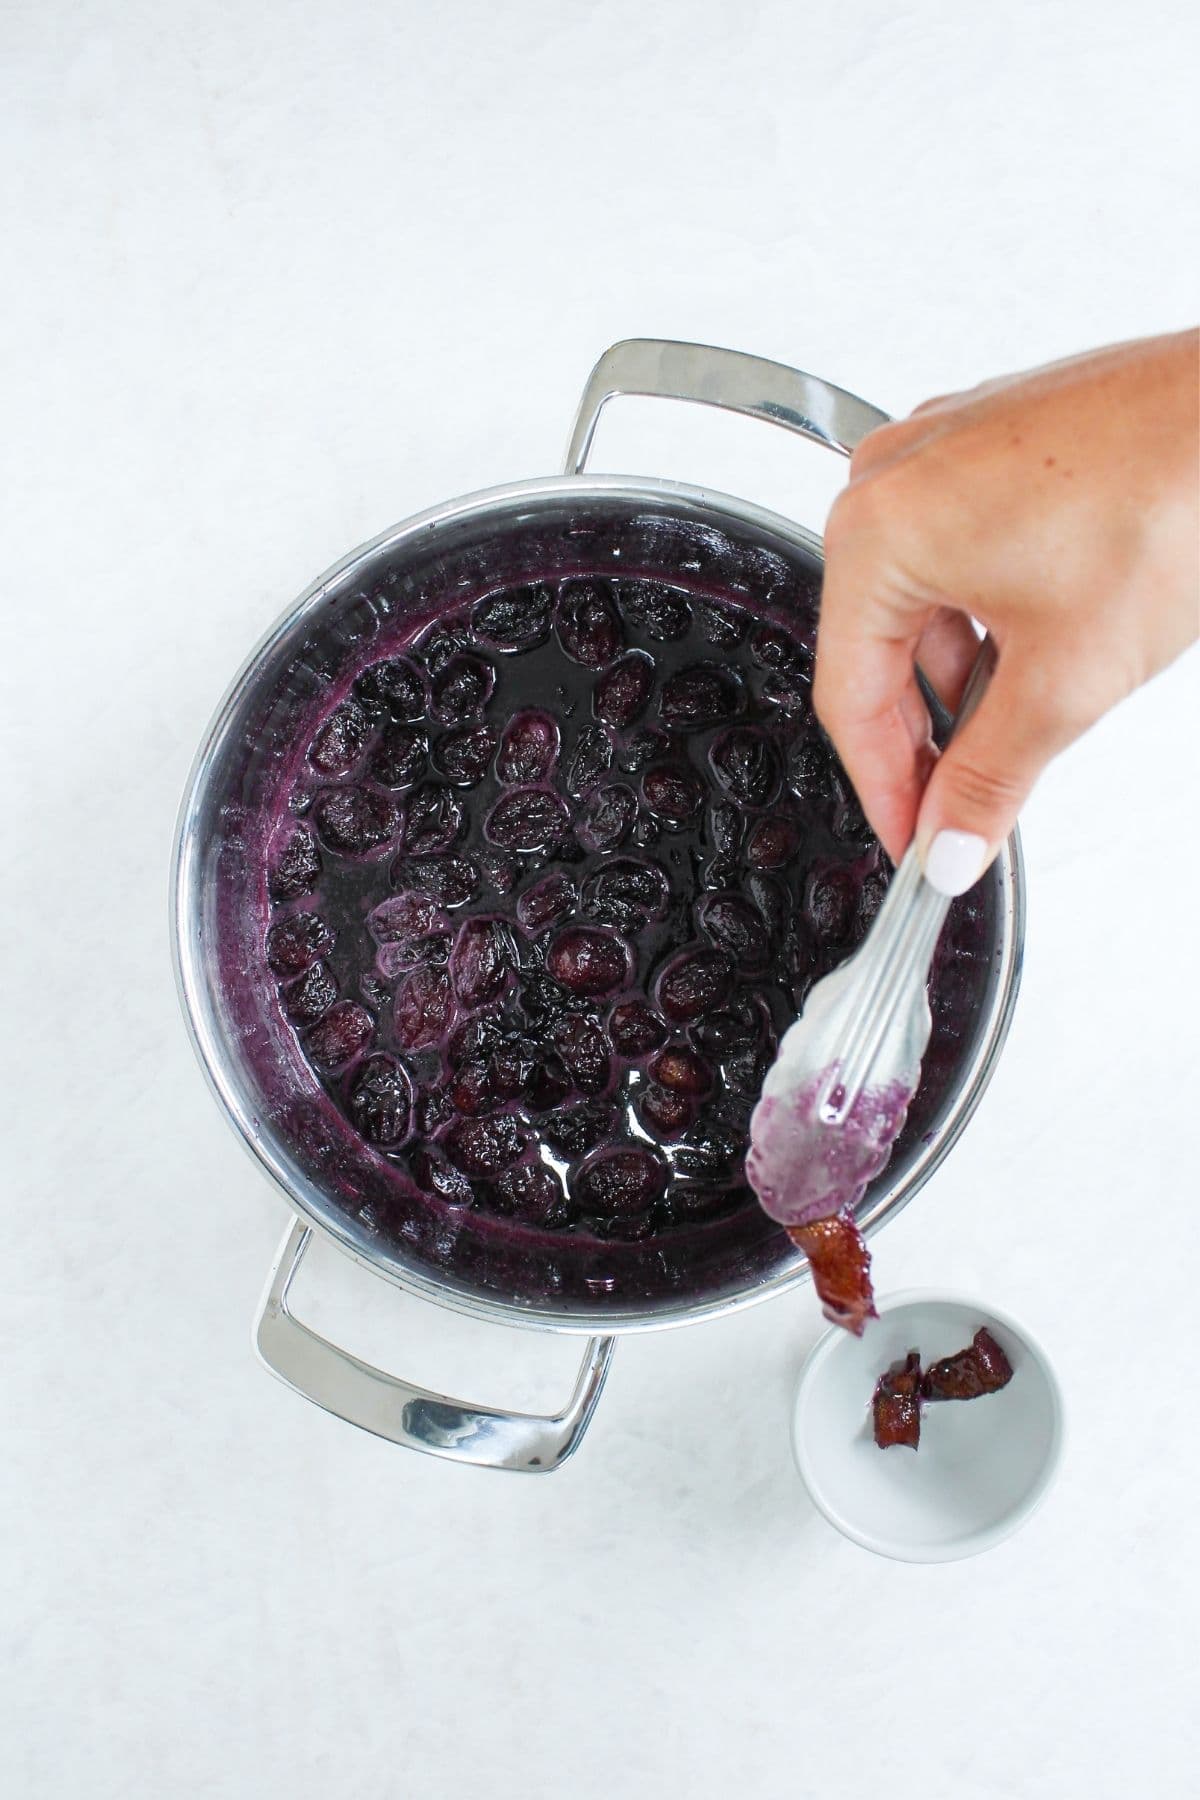
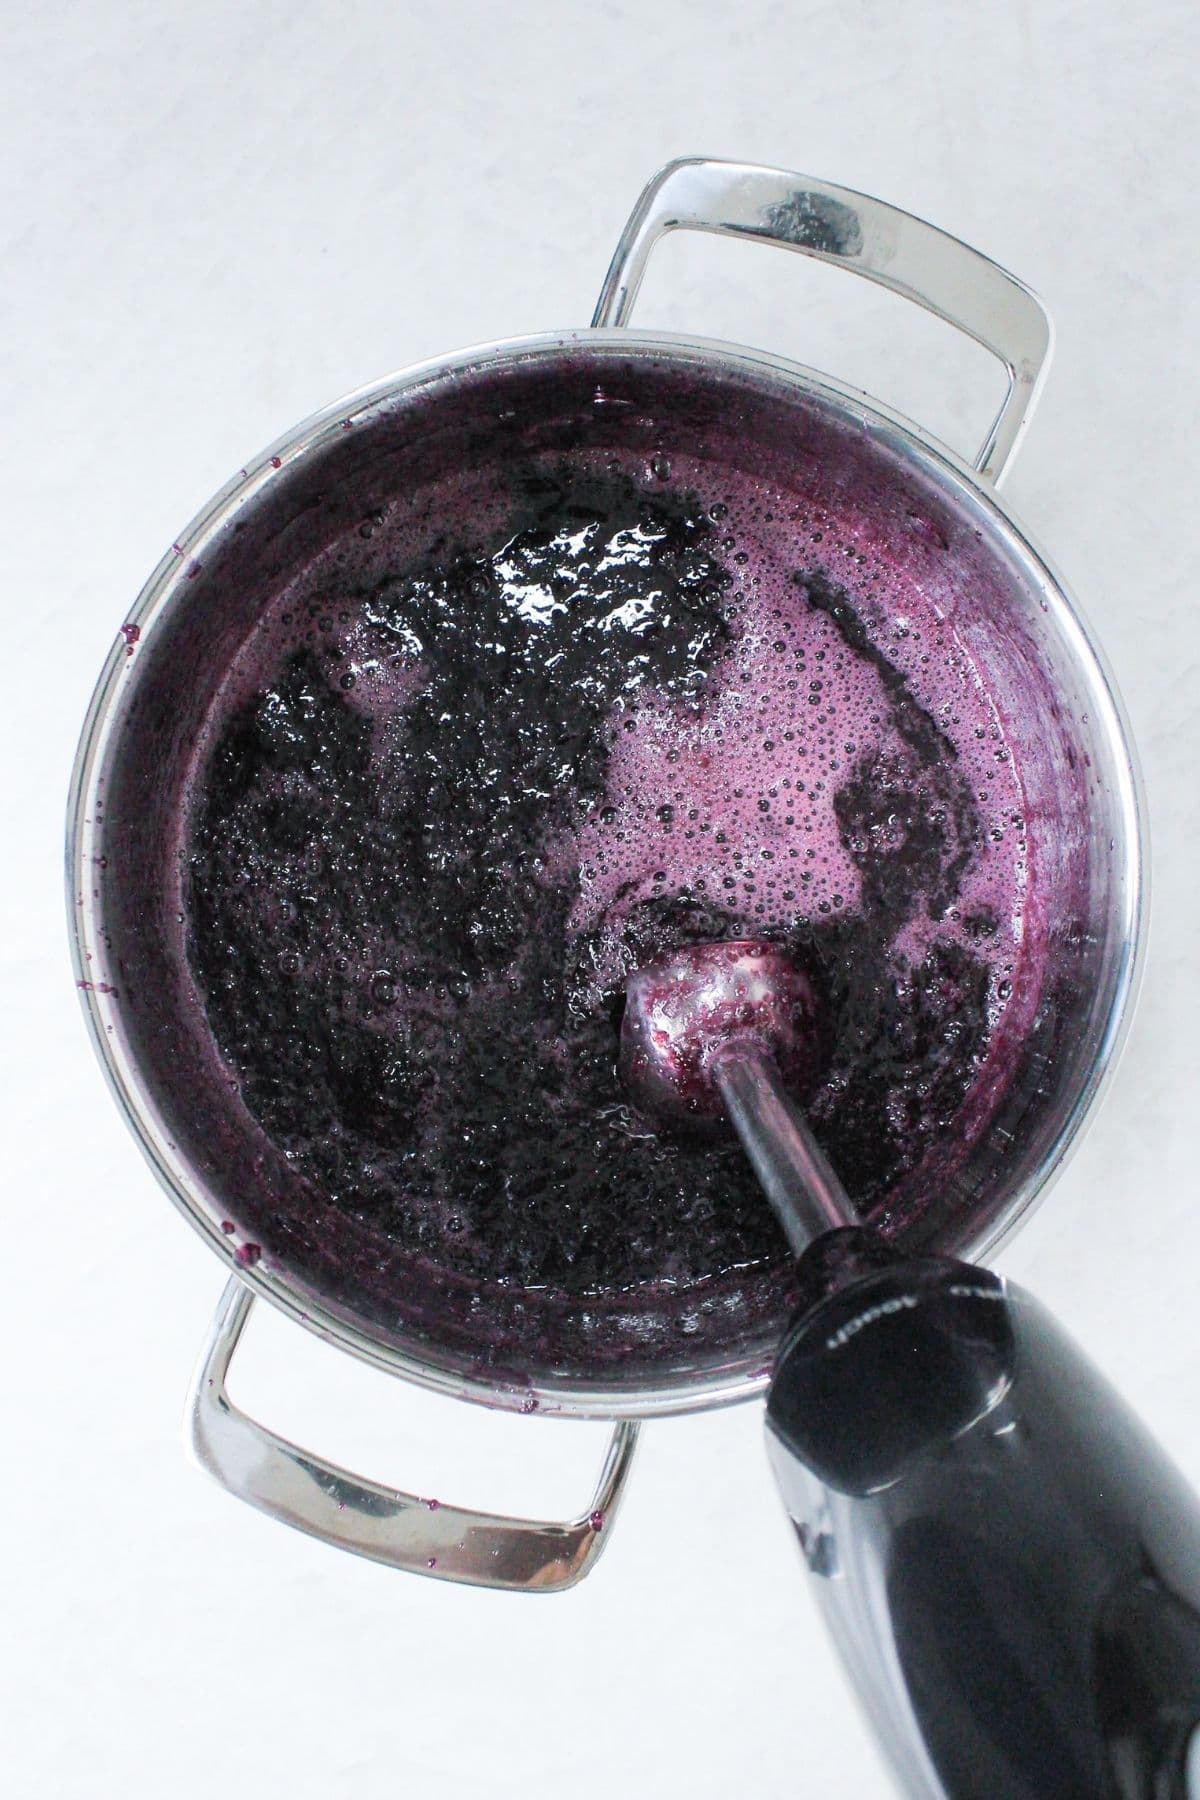
Allow the mixture to cool for 5 to 10 minutes, then use an immersion blender to blend everything until smooth. This gives the jelly its classic texture without needing to strain out the skins.
Kate’s Pro Tip
No Immersion Blender?
An immersion blender makes this recipe so much easier because you can blend the jelly right in the pot. If you’re using a food processor instead, let the mixture cool first and blend in small batches to avoid splatters.
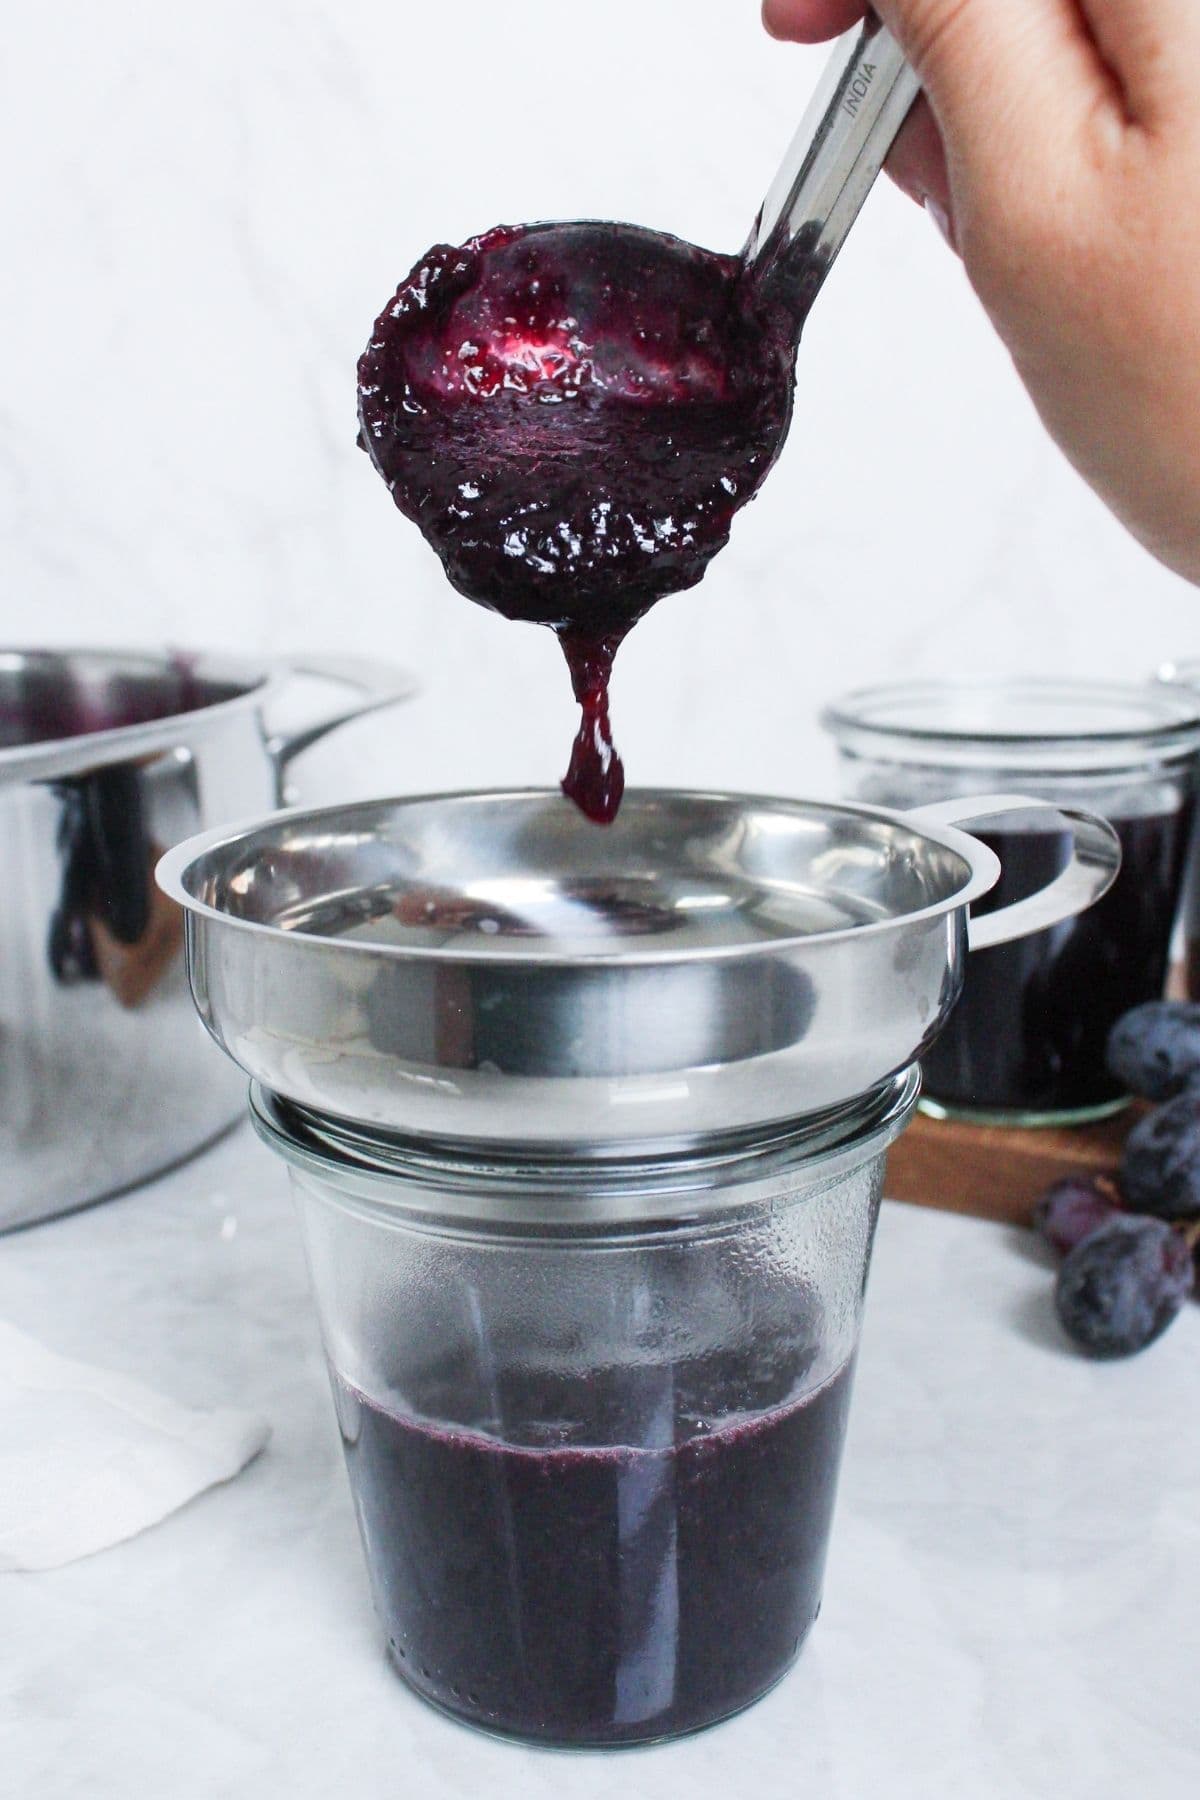
While the jelly is still warm, carefully ladle it into clean or sterilized jars using a jar funnel if you have one. Leave a little head room at the top if you’re planning to freeze it.
What To Eat With Grape Jelly
My kids absolutely love a classic PB&J sandwich, and it’s always the first thing I make with a fresh batch of this grape jelly. Spread it onto slices of sourdough discard sandwich bread with plenty of creamy peanut butter for the ultimate nostalgic lunch.
I also love adding this grape jelly to a cheeseboard. Serve it alongside sourdough Ritz crackers, sharp cheddar, and a handful of toasted nuts for an easy grazing board that’s just as perfect for family snacking as it is for entertaining.
If you have a little jelly left in the jar, use it to make these sourdough peanut butter and jelly cookies. They’re such a fun treat and a delicious way to enjoy every last spoonful.
How To Store + Freeze
If you’re planning to can this grape jelly, be sure to follow safe, tested canning instructions. I prefer to store mine in sterilized jars in the fridge, where it will keep for around a month unopened and up to 2 weeks once opened.
You can also freeze grape jelly for up to 3 months. Just leave a little headspace at the top of the jar to allow for expansion as it freezes. Thaw overnight in the fridge before using.
Frequently Asked Questions
I don’t recommend using any other grape besides a blue/black variety. I tested this recipe with red seedless and it lacked flavor and texture. It’s definitely worth seeking out the blue/black variety, with concord being the most widely available!
If you plan to use your grape jelly right away (and not can it), it’s best to let it sit in the fridge overnight to give it time to set. If after 24 hours your jelly hasn’t set, add it back to a pot and cook on medium-high for another 10-15 minutes and put back in the fridge for another 24 hours.
No! I wanted to keep this recipe as low maintenance as possible. Using an immersion blender blitzes everything together to create a smooth and classic grape jelly texture!
Grape Jelly
Equipment
- Heavy Based Saucepan
- Immersion Blender
- Stainless Steel Ladle
- Stainless Steel Funnel
- Storage Jars (I've used 3 x 300ml jars)
Ingredients
- 1500 g Grapes, blue or black with stems removed (approx. 3 lbs)
- 350 g Granulated Sugar
- 55 g Water
- 15-20 g Lemon Rind, skin and white pith
Instructions
- Add the grapes, sugar, water and lemon rind to a heavy-based saucepan.
- Place the pot over medium-high heat and cook for 35 to 40 minutes, stirring occasionally. As the grapes soften, they'll begin to burst and release their juices. The mixture should become thick, glossy and a deep purple color.If the mixture starts to boil too vigorously, simply reduce the heat slightly to maintain a steady simmer.
- Use a spoon or tongs to remove the lemon rind from the pot, and reduce the heat to medium and continue cooking for another 15 minutes, stirring occasionally.
- Remove the pot from the heat and allow the jelly to cool for 5 to 10 minutes. Then carefully blend the mixture until completely smooth using an immersion blender.
- Ladle the warm grape jelly into clean glass jars and allow it to cool completely before sealing.
Notes
- Store the grape jelly in the refrigerator for up to 2 weeks. For longer storage, freeze for up to 3 months.
- The sweeter and riper your grapes are, the richer and more flavorful your jelly will be. If your grapes are particularly tart, you can add a little extra sugar to suit your taste.
- The lemon rind adds natural pectin, which helps the jelly thicken without using commercial pectin. Be sure to remove the rind before blending.
- As the grapes cook down, the mixture can bubble up quite quickly. I like to keep the heat at a steady medium-high so the liquid reduces and the natural pectin in the lemon rind can do its job, but don’t be afraid to lower the heat if it starts to boil over.
- An immersion blender makes this recipe so much easier because you can blend the jelly right in the pot. If you’re using a food processor instead, let the mixture cool first and blend in small batches to avoid splatters.
- If the jelly still seems a little loose when you take it off the heat, don’t worry. It will continue to set as it cools in the jars and even more once refrigerated.
Nutrition
Nutrition information is automatically calculated, so should only be used as an approximation.
Like this? Rate and comment below!