
Sourdough is incredibly rewarding to bake … but the flour-covered countertops, sticky bowls and dried starter stuck to jars? Not quite as enjoyable. The good news is that sourdough cleanup doesn’t have to be difficult. A few simple habits can prevent most of the mess before it happens and make sticky dough and dried sourdough starter much easier to clean when they do end up where they shouldn’t.
After years of baking sourdough, these are the simple things I do to keep the mess contained; from cleaning sourdough bowls and starter jars to protecting your drains, caring for bannetons and keeping flour off every surface in the kitchen. And perhaps most importantly: the better you get at handling and fermenting your dough, the less messy sourdough tends to become.
Table of Contents
- 1. Prevent Sourdough Mess Before You Start
- 2. How to Clean Sticky Sourdough Dough From Bowls and Utensils
- Always Have A Bowl In The Sink
- 3. How to Remove Dried Sourdough Starter
- 4. Should Sourdough Starter Go Down the Drain?
- Excess Starter
- 5. Keeping Your Counter Top Cleaner
- Tip The Dough Out The Right Way
- 6. How to Keep Your Hands From Becoming Covered in Dough
- 7. How to Keep Your Sourdough Starter Jar Cleaner
- 8. How to Clean a Banneton
- 9. The Best Tools for Cleaner Sourdough Baking
- 10. Cleaning Flour-Covered Towels and Clothes
- 11. Even Slicing Sourdough Can Be Messy
- Better Dough = Less Mess
1. Prevent Sourdough Mess Before You Start
Get Everything Ready Before You Start
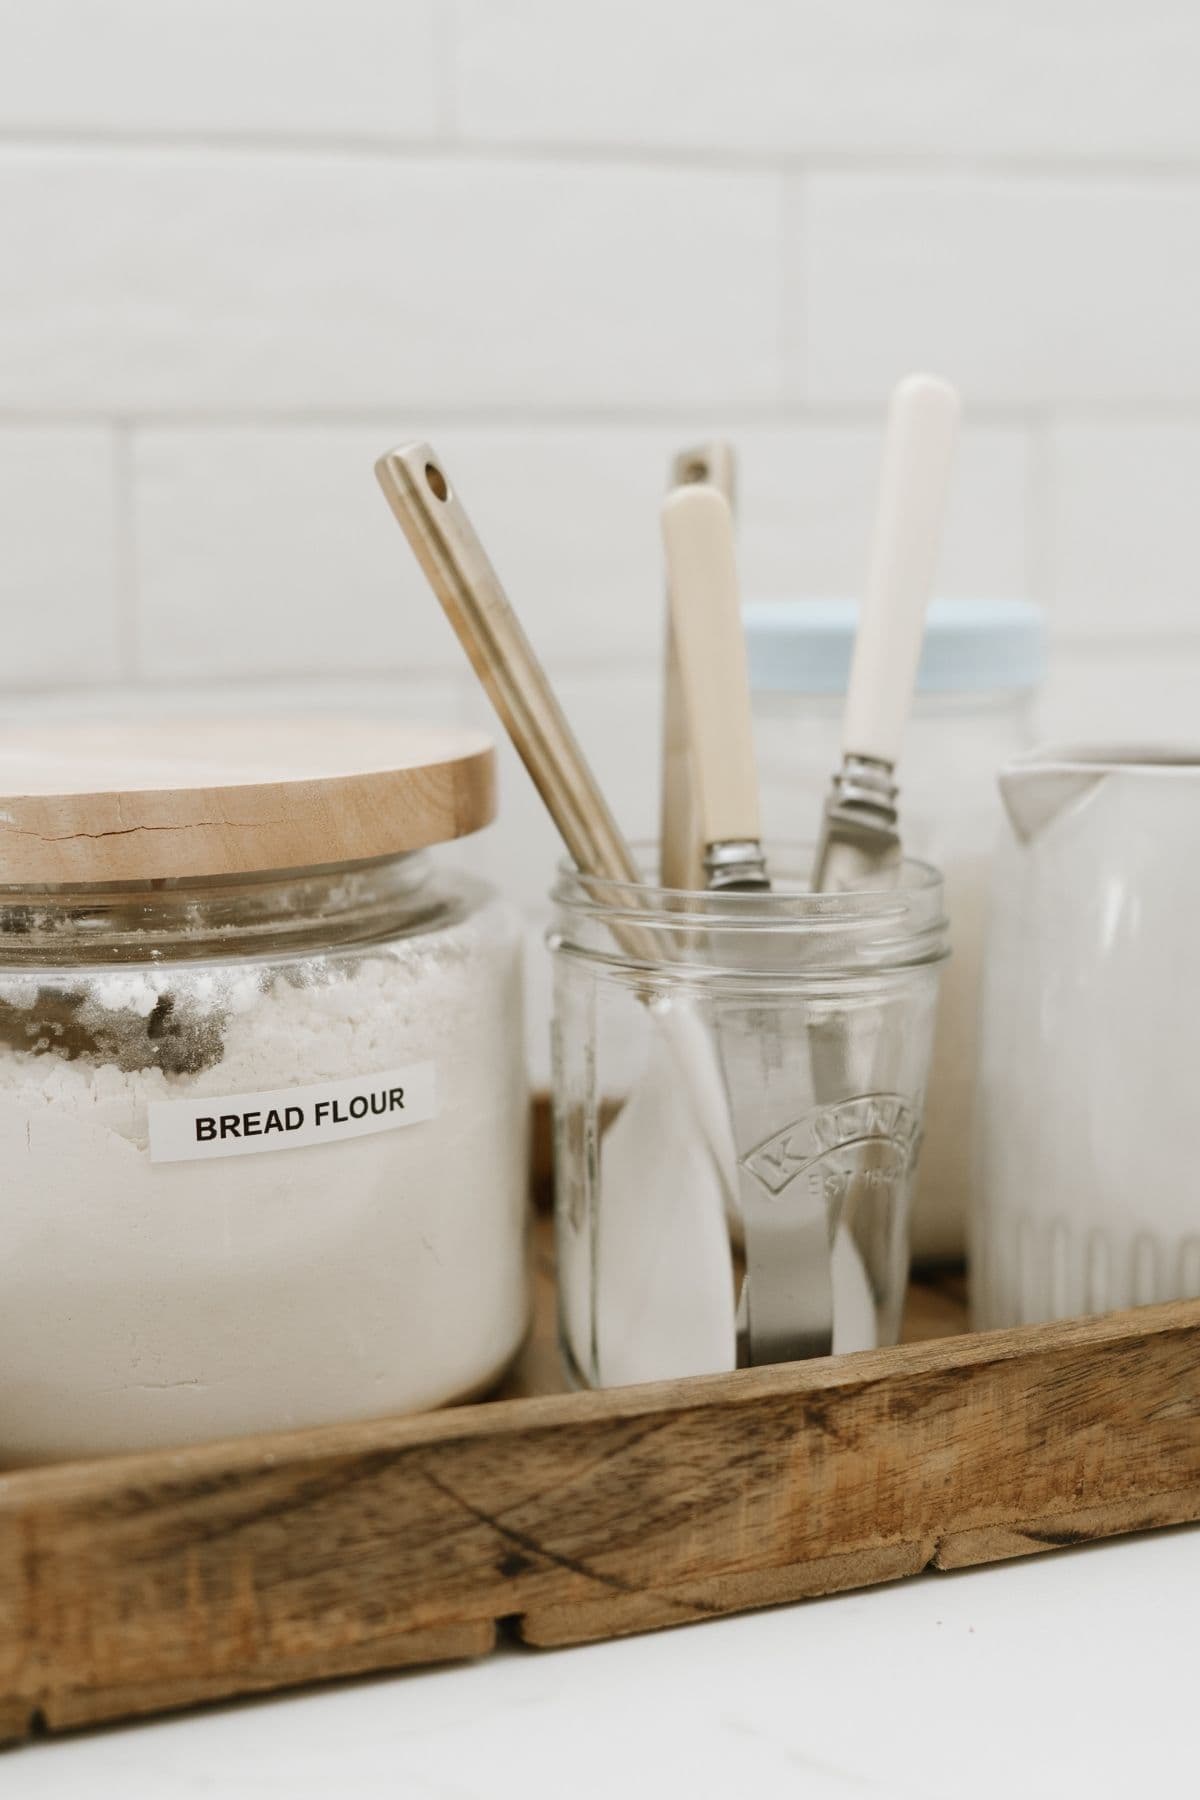
A little preparation can save a lot of cleaning later. Before you start mixing, have your flour, starter, salt, water, scale and utensils within reach. That means fewer trips around the kitchen with sticky or flour-covered hands. I also like to shape dough on the section of countertop directly above my bin so any loose flour or dough scraps can be scraped straight into it when I’m finished.
This post contains affiliate links. Please see our disclosure policy.
2. Wear an Apron
Sourdough starter has an impressive ability to end up on your clothes (especially if you wear lots of black clothes. Keeping an apron somewhere easy to grab protects your clothes from flour dust, sticky starter and dough, particularly if you’re baking regularly. I’m often in and out of the kitchen, school runs, grocery runs, coffee runs … the last thing I want to do is realize my black leggings are covered in flour hand prints when I’m out and about!
3. Weigh Ingredients Directly Into Your Bowl
Using a digital scale isn’t just more accurate; it also means fewer measuring cups and spoons to wash. Place your bowl on the scale and add ingredients directly into it. Less washing up and more consistent sourdough. Honestly, I’m never going to stop talking about the benefits of using a scale, it’s just so much easier!
4. Add Liquids Before Flour
When mixing dough or feeding your starter, add the liquid ingredients first and flour afterwards. This makes everything easier to combine and helps reduce loose flour and flour dust around your workspace.
5. Use One Bowl Wherever Possible
You don’t need to move sourdough from container to container throughout the process. Mix, perform your stretch and folds and bulk ferment in the same bowl or container. The dough only needs to hit the counter when you’re ready to shape it. One bowl = much less washing up. Can you tell I really hate doing dishes?!
2. How to Clean Sticky Sourdough Dough From Bowls and Utensils
Scrape Before You Wash
Once you’ve removed your dough from the bowl, use a dough scraper to remove as much remaining dough as possible before adding water. The same applies to spoons, dough whisks and other utensils. Scraping first:
- keeps excess dough out of your drain;
- stops your washing water becoming gluey;
- makes bowls much easier to clean.
Now I’m not saying I’m perfect at doing this, but it really does help to contain the sourdough mess! If you can’t scrape, even soaking bowls for an hour or so before placing them into the dishwasher helps.
Use Cold Water First
When you’re removing sticky flour-and-water dough residue, start with cold water rather than immediately hitting it with very hot water. Cold water helps loosen and rinse away the excess dough more easily before you finish washing the bowl normally with warm soapy water.
Kate’s Pro Tip
Always Have A Bowl In The Sink
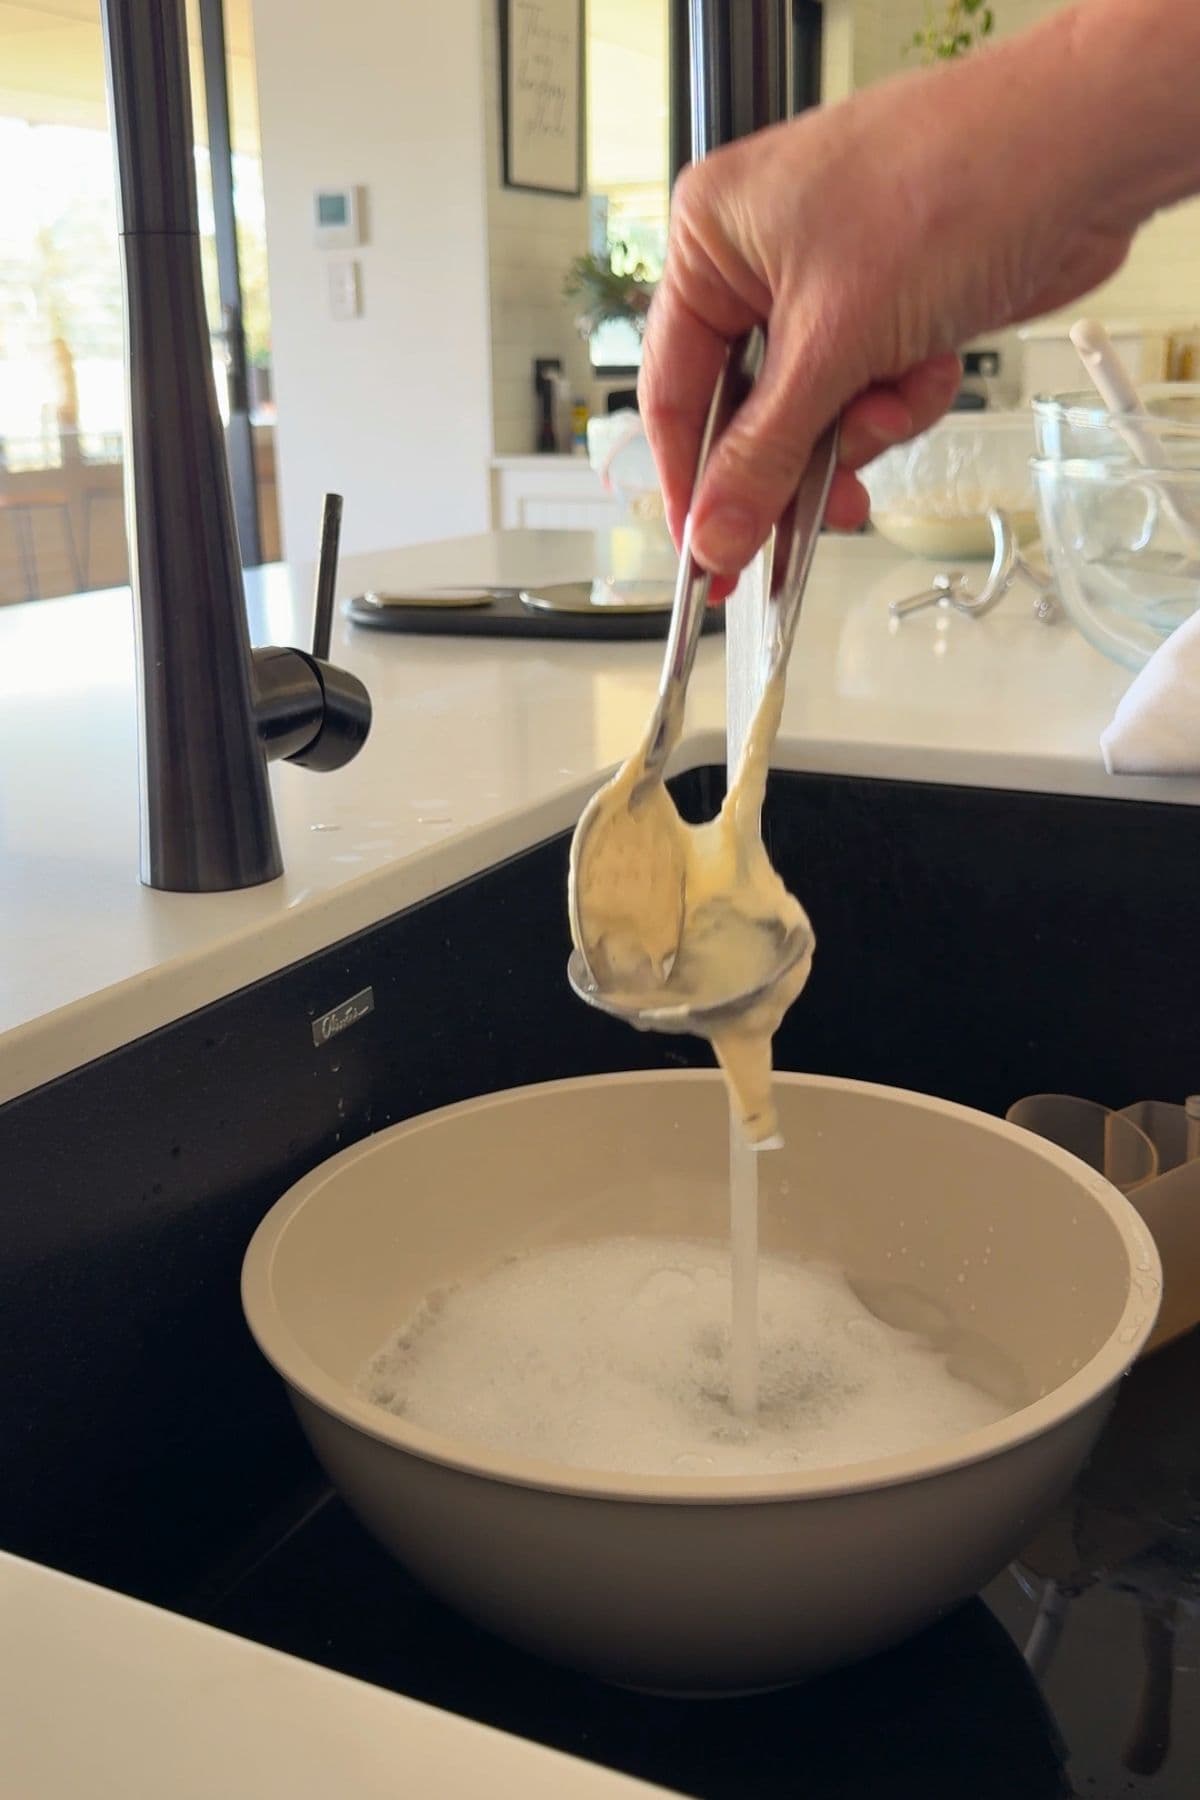
Before you start baking, fill a large bowl in the sink with warm, soapy water. As you use utensils, jars and other equipment, place them straight into the bowl to soak. By the time you’ve finished baking, most of the sticky dough residue will have softened, making everything much easier to wash properly or load into the dishwasher.
Don’t Put Dough-Covered Utensils Straight Into the Dishwasher
Scrape or rinse away most of the dough first. This is especially important for cutlery and utensils. If you put knives and spoons coated in dough straight in the dishwasher, the hot water will bake the dough onto the utensils meaning you’ve got an even bigger problem when you unpack the dishwasher. Honestly, my kids love telling me that I haven’t cleaned the knife I use to stir my sourdough starter well enough, then laugh as I stand at the sink trying to scrape the baked on dough off! My tip above completely eliminates this issue.
3. How to Remove Dried Sourdough Starter
Dried Starter on Bowls and Jars
If sourdough starter has dried onto a jar, bowl or utensil, don’t spend ages trying to scrub it off dry. Instead:
- Add cool water and allow the dried starter to soften (soak overnight if you can).
- Scrape away the loosened residue.
- Once most of the starter is removed, wash normally with warm soapy water or place the item in the dishwasher if suitable.
You can also purchase specific enzyme based dough cleaners, but after testing them, I’m not convinced they’re worth it. I generally just soak jars, knives etc with cold water and a little dishwashing liquid and it works just as well. I generally buy a large bottle of Dawn when I’m at Costco and it does the job!
4. Should Sourdough Starter Go Down the Drain?
This can be a controversial one. In general, I would not pour a large amount of thick, active sourdough starter straight down the drain. Flour and water can form a sticky paste, so it makes sense to avoid sending a big lump of starter into your plumbing.
That said, in my own kitchen I’ve never had an issue with very thin or well-diluted starter going down the sink. If I only have a small amount of thin starter left in a jar, I’ll rinse it away with plenty of running water. If the starter is thicker, I’ll usually fill the jar with water, shake it well to loosen and dilute everything, then pour it away while continuing to rinse the sink thoroughly.
So my rule is simple:
thick starter = scrape it out first
thin or heavily diluted starter = rinse it away well
It may not be the advice everyone agrees with, but this is what I’ve done for years without a problem. The key is that I’m never pouring a large quantity of thick starter directly into the drain. Sourdough starter is essentially a mixture of flour and water, so large quantities can become thick and sticky inside plumbing. You can also feed excess sourdough starter to your chickens or add it to your compost.
Kate’s Pro Tip
Excess Starter
If I have excess starter left in a plastic tub, like a Cambro container, I’ll often leave it uncovered on the counter and let it dry completely. Once dry, the starter usually shrinks away from the sides and peels off really easily, making cleanup much simpler. You can then store this dehydrated sourdough starter as a back up or share it with friends and family.
Rinse the Sink Straight Away
If flour or small pieces of dough end up in the sink, clean them up before they have a chance to dry. I love having a pull-out hose on my kitchen tap that lets me rinse my sink easily. If there’s a lot of flour or starter in your sink, you can also just wipe up the excess with paper towel first before running the water to rinse the residue away. Trust me, you don’t want dried dough stuck to your sink. Over time it becomes annoying, not to mention, gross!
5. Keeping Your Counter Top Cleaner
Store Flour Correctly
Taking flour out of bags and boxes and storing it in air tight pantry containers and buckets can help to prevent mess before it happens. Sometimes bags split or flour puffs out like powder when you open the bag. Spoons and scoops also catch on the bag causing spills.
It might sound obvious, but using the correct sized scoops and utensils for scooping flour and sugar is also important. Particularly if you are scooping flour from a container to a jar, you want to make sure that the scoop is not going to spill flour all around the jar. You want it to be the right size to get the flour straight into the jar.
Use a Dough Scraper Before a Wet Cloth
Don’t immediately attack flour and sticky dough with a wet cloth or sponges. Scrape away the dry flour and dough first. Once most of the debris is gone, wipe the counter clean. Otherwise, flour + water + dishcloth = instant gluey mess. Ask me how I know?
Something that I’ve become accustomed to is shaping my dough on the part of my counter closest to my trash can. That way, once I’m finished, I can use my dough scraper to scrape the flour and mess into the trash can before cleaning down my counters with a wet cloth.
Avoid Excess Flour When Shaping
Instead of using flour at shaping, learn how to develop the gluten in your dough better. Well-developed, correctly fermented sourdough should be easier to shape without needing excessive bench flour. If you’re struggling with your dough, getting to the bottom of why your sourdough is wet and sticky will be a game changer.
Kate’s PRO Tip
Tip The Dough Out The Right Way
Tip the dough out so the smooth top lands against the counter and the sticky underside faces upwards. This gives you enough tackiness to create surface tension without flouring the entire counter.
Use a Silicone Mat When You Do Need Flour
If you really don’t like having flour everyhwere, for recipes that genuinely require a floured surface (like sourdough discard tortiallas), a silicone mat can help contain the flour. When you’re finished, you can lift or roll the mat and dispose of the excess flour rather than spreading it across the entire counter.
6. How to Keep Your Hands From Becoming Covered in Dough
Wet Hands Before Handling Sticky Dough
Lightly damp hands can stop high-hydration sourdough sticking to your fingers during stretch and folds or coil folds. You do need to be careful not to introduce too much water to the dough when handling it. You can imagine if you add 10 grams of water to the dough for every set of stretch and folds, by the time you’ve finished, that’s 40 to 50 grams of extra water which could make your dough very wet and hard to handle!
If Your Hands Are Already Covered in Dough…
Use a little dry flour to rub sticky dough from your hands before turning on the tap. Then scrape or brush the dough into the bin and wash your hands normally. This prevents you transferring sticky dough onto taps and handles.
7. How to Keep Your Sourdough Starter Jar Cleaner
Choose a Jar With Plenty of Room
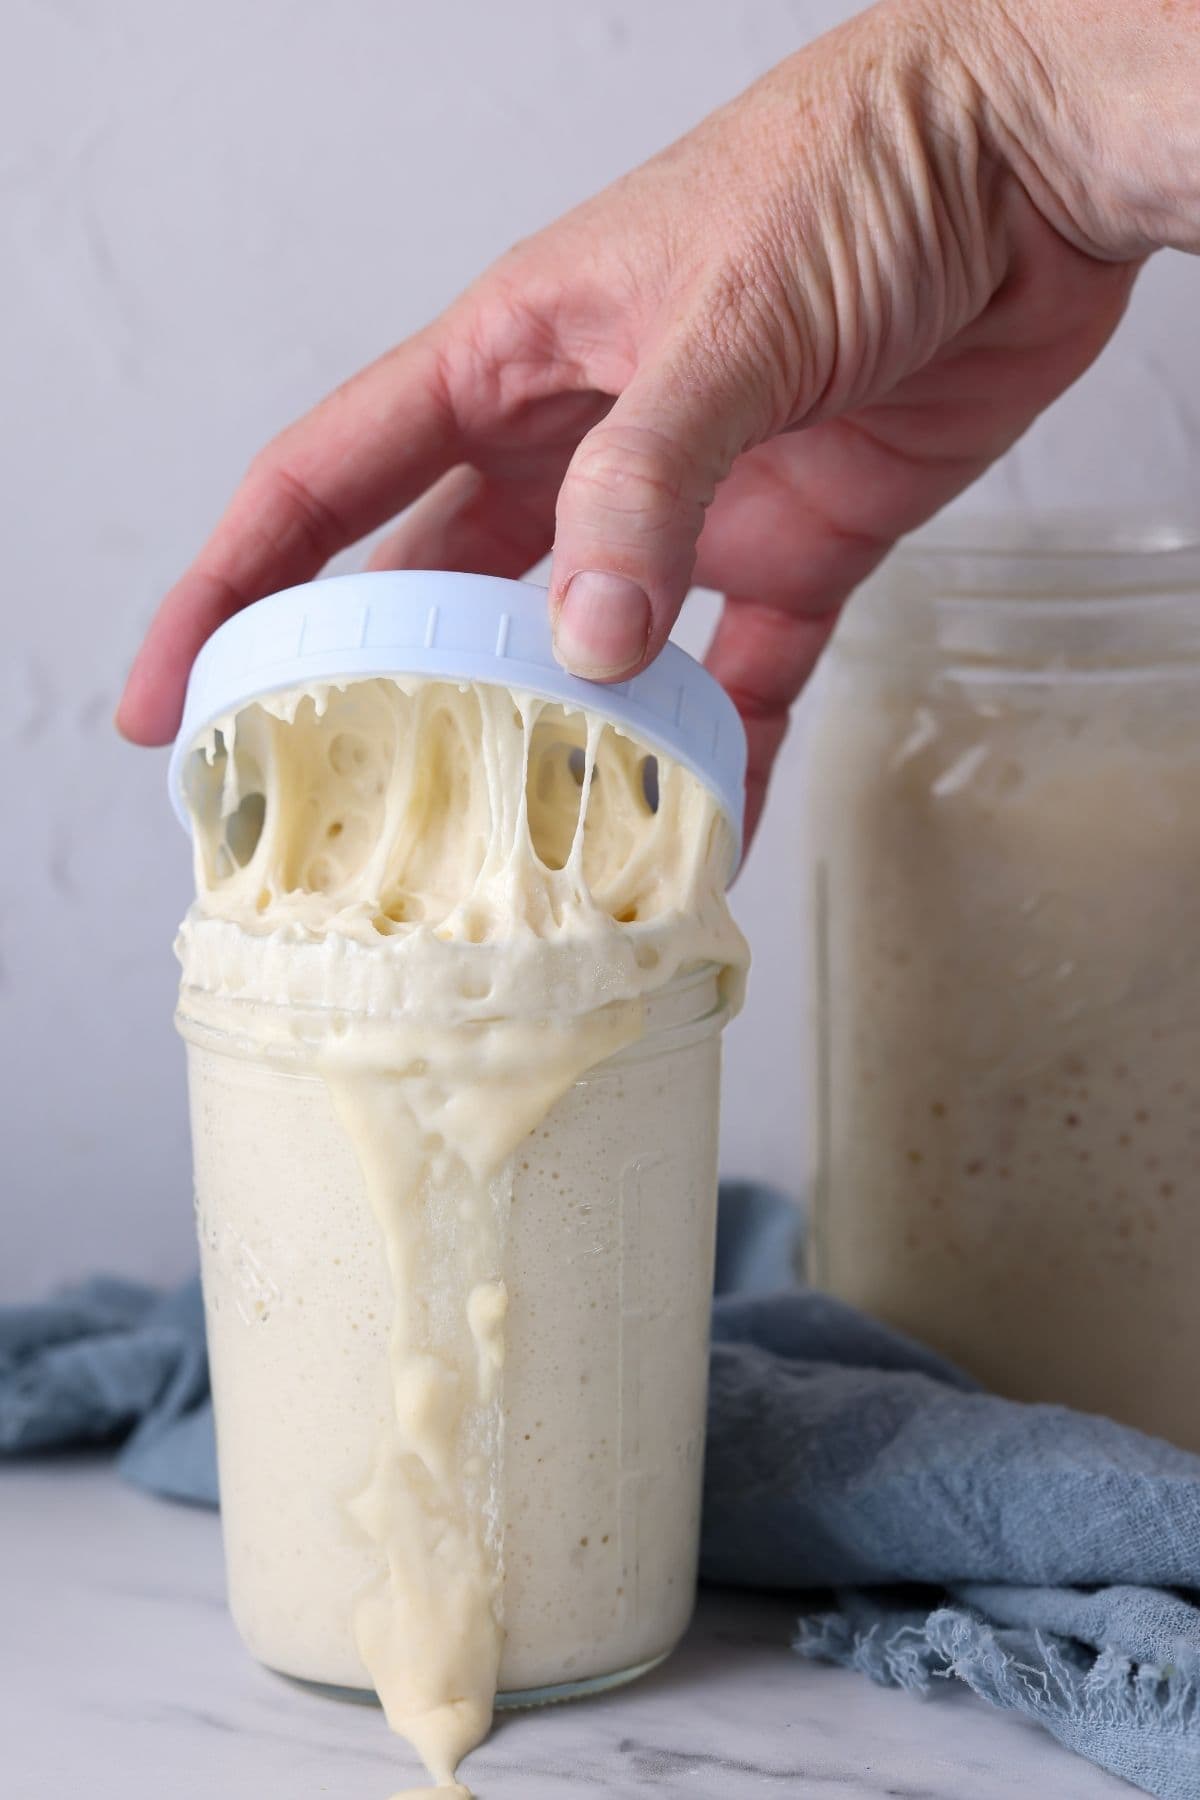
Use a sourdough starter jar around 3-4 times larger than the amount of starter you’re keeping so there’s room for the starter to rise without overflowing. No one wants to wake up to a jar of starter that’s escaped all over the counter!
If you’re using plastic containers with a lid, make sure you burp the container or leave the lid slightly ajar … otherwise you might wake up to sourdough starter on your ceiling! Trust me, I’ve done this too many times and it the noise of the plastic lid popping will wake you up in the middle of the night!
Use a Simple Stirring Tool
A chopstick or narrow spatula creates less mess than a large spoon and is easy to scrape clean. I just use a stainless steel bread knife that is wiped and thrown in the dishwasher.
Keep Two Jars if You Like a Clean Starter Jar
When you want to change jars, having two identical ones makes it easy to transfer your starter into the clean jar at feeding time. You don’t need to change your starter jar every day, but if dried starter has built up around the sides or rim, transferring it into a clean jar makes maintenance easier.
8. How to Clean a Banneton
After Proofing
- tap loose flour out over the garbage bin (never immerse bannetons in water)
- use a stiff brush to remove dried flour;
- allow the banneton to dry completely;
- store somewhere well ventilated;
- don’t seal bannetons inside plastic bags or you risk having mold form.
You’ll find a full guide to banneton care.
Do You Need a Banneton Liner?
For regular sourdough bread, a well-seasoned banneton dusted appropriately with rice flour or semolina generally doesn’t require a cloth liner. Fewer liners = fewer flour-covered cloths to wash. If you really want to use a liner, you can use disposable liners, but honestly I don’t think they’re necessary. You can read more about how to stop sourdough sticking to your banneton.
9. The Best Tools for Cleaner Sourdough Baking
I like to keep things pretty minimal when it comes to tools so I’m not going to recommend a whole heap of things here, but these are genuinely things I use every single day in my sourdough kitchen.
Dough Scrapers
I recommend a plastic, flexible dough scraper for scraping the sides of the bowl and a straight edge, metal dough scraper for cutting and shaping dough and cleaning dough from counters.
Jar Spatula
A good jar spatula is perfect for mixing sourdough starter, mixing sticky dough, scraping down sides of bowls. A silicone spatula is definitely more useful than a dough whisk and so much easier to clean!
Straight-Sided Container
Keeps bulk fermentation contained while also making dough growth easier to see. I love having larger and smaller containers to acommodate different dough sizes. Smaller straight sided containers are great for bulk sourdough starter.
10. Cleaning Flour-Covered Towels and Clothes
Even if you’re not using cloth banneton liners, you might still end up with towels and clothes covered in dough and flour. My advice is to remove any large pieces of dough and shake excess dry flour outside if you can. Avoid putting heavily dough-covered fabric straight into the washing machine. I use a cold wash for these items because hot water can cook the dough into the fabric which creates an even bigger mess!
11. Even Slicing Sourdough Can Be Messy
Catch Bread Crumbs With a Tea Towel
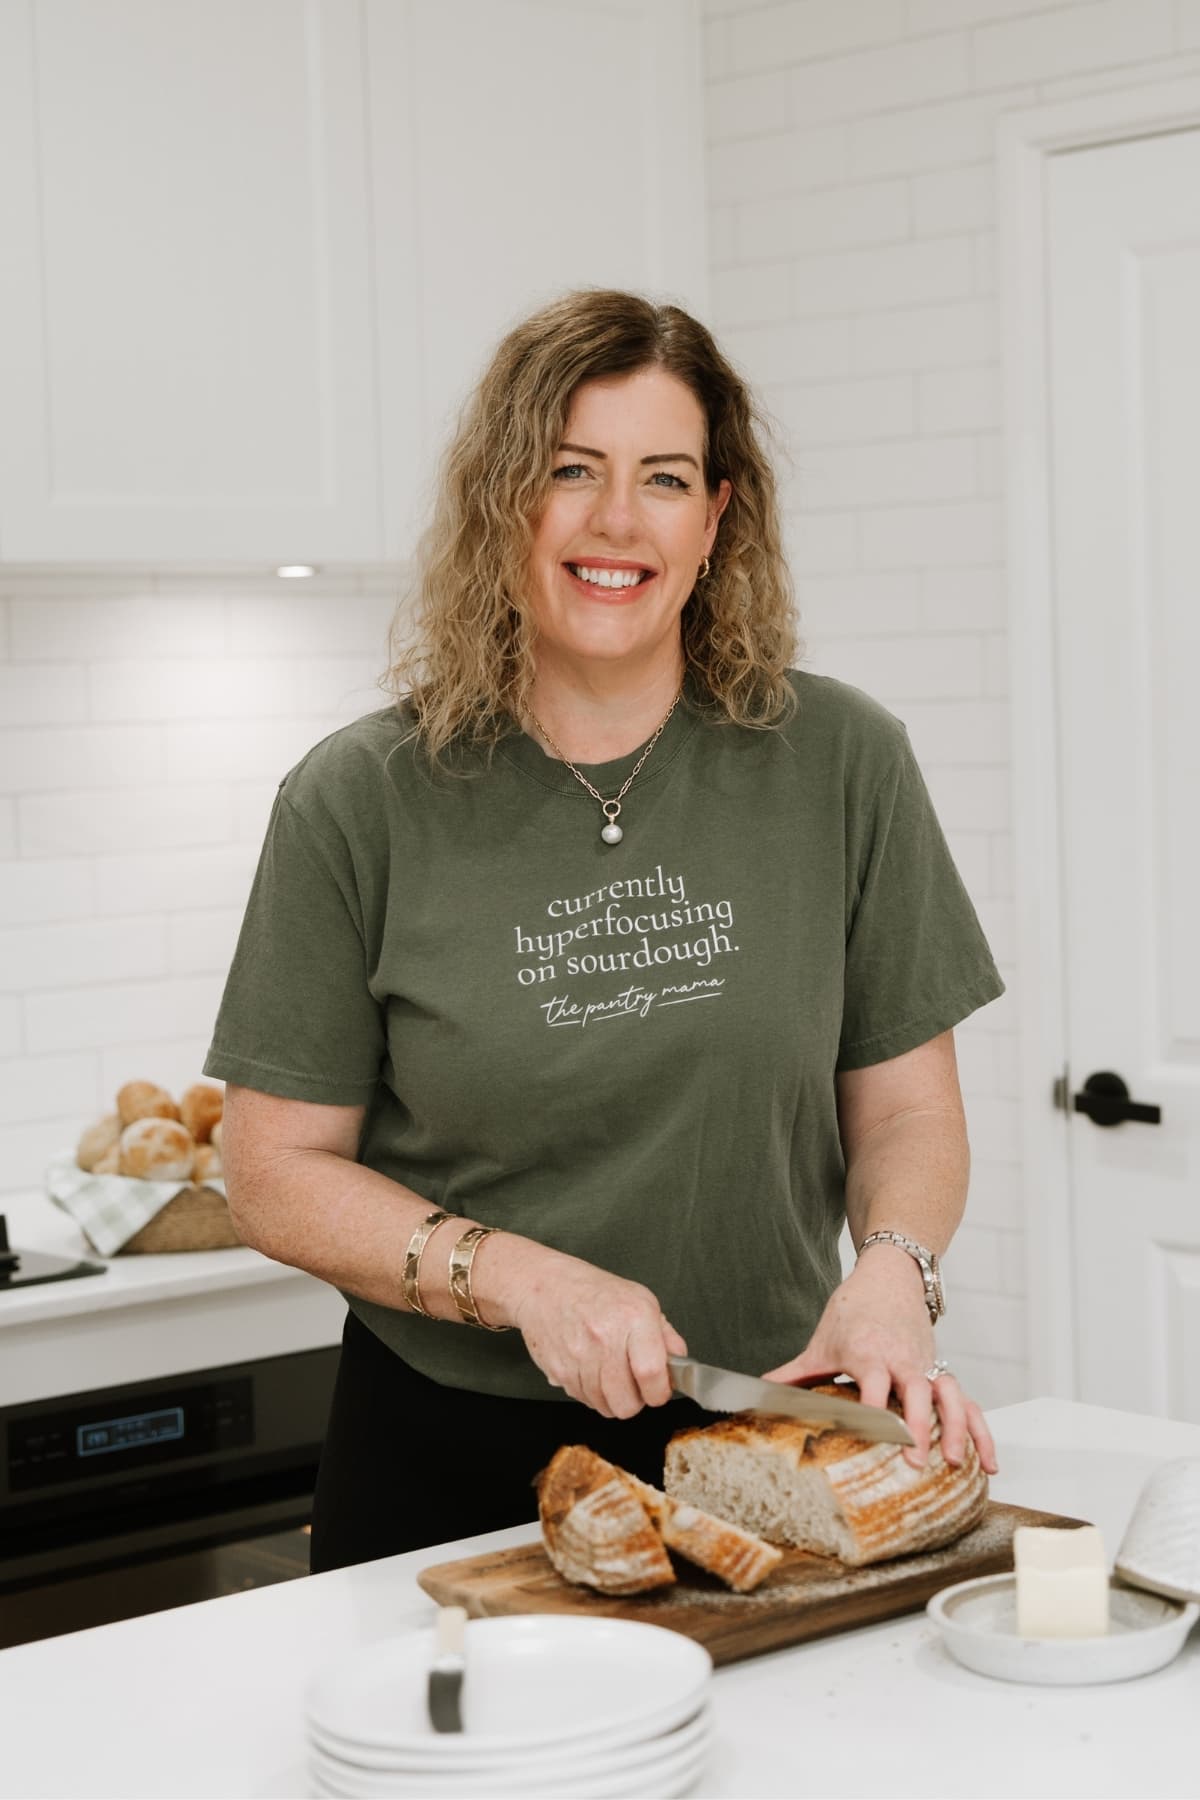
Place a large tea towel underneath your bread board before slicing a crusty loaf. When you’re finished, shake the crumbs outside or into the food-scrap bin.
Sometimes I’m a rebel and don’t even use a bread board – I cut sourdough directly onto an old tea towel. It definitely helps to contain the mess!
Better Dough = Less Mess
One thing I’ve noticed after years of baking sourdough is that the process naturally becomes cleaner as you understand your dough better. Correct fermentation and strong gluten development give you dough that is:
- less sticky – falls out of the bowl leaving little excess dough;
- easier to handle – no sticky dough hands;
- easier to shape – use little to no flour on the counter top;
- less likely to stick to the banneton;
- less dependent on large amounts of flour.
If your kitchen looks like a flour explosion every time you make bread, don’t assume that’s simply part of sourdough. Improving your fermentation and dough-handling skills, as well as understanding when bulk fermentation is finished can make the whole process cleaner as well as easier.









Great tips Kate!
Thank you for putting together a very comprehensive and useful list. 😁
Thank you for the fantastic tips! The constant supply of good tips and great recipes is greatly appreciated.
Hi Kate I read a lot of you articles and your advise on sourdough generally .. Thank you for all the lovely recipes and some I have made and mastered and some let’s just say could be used in building a house ..