This post contains affiliate links. Please see our disclosure policy.

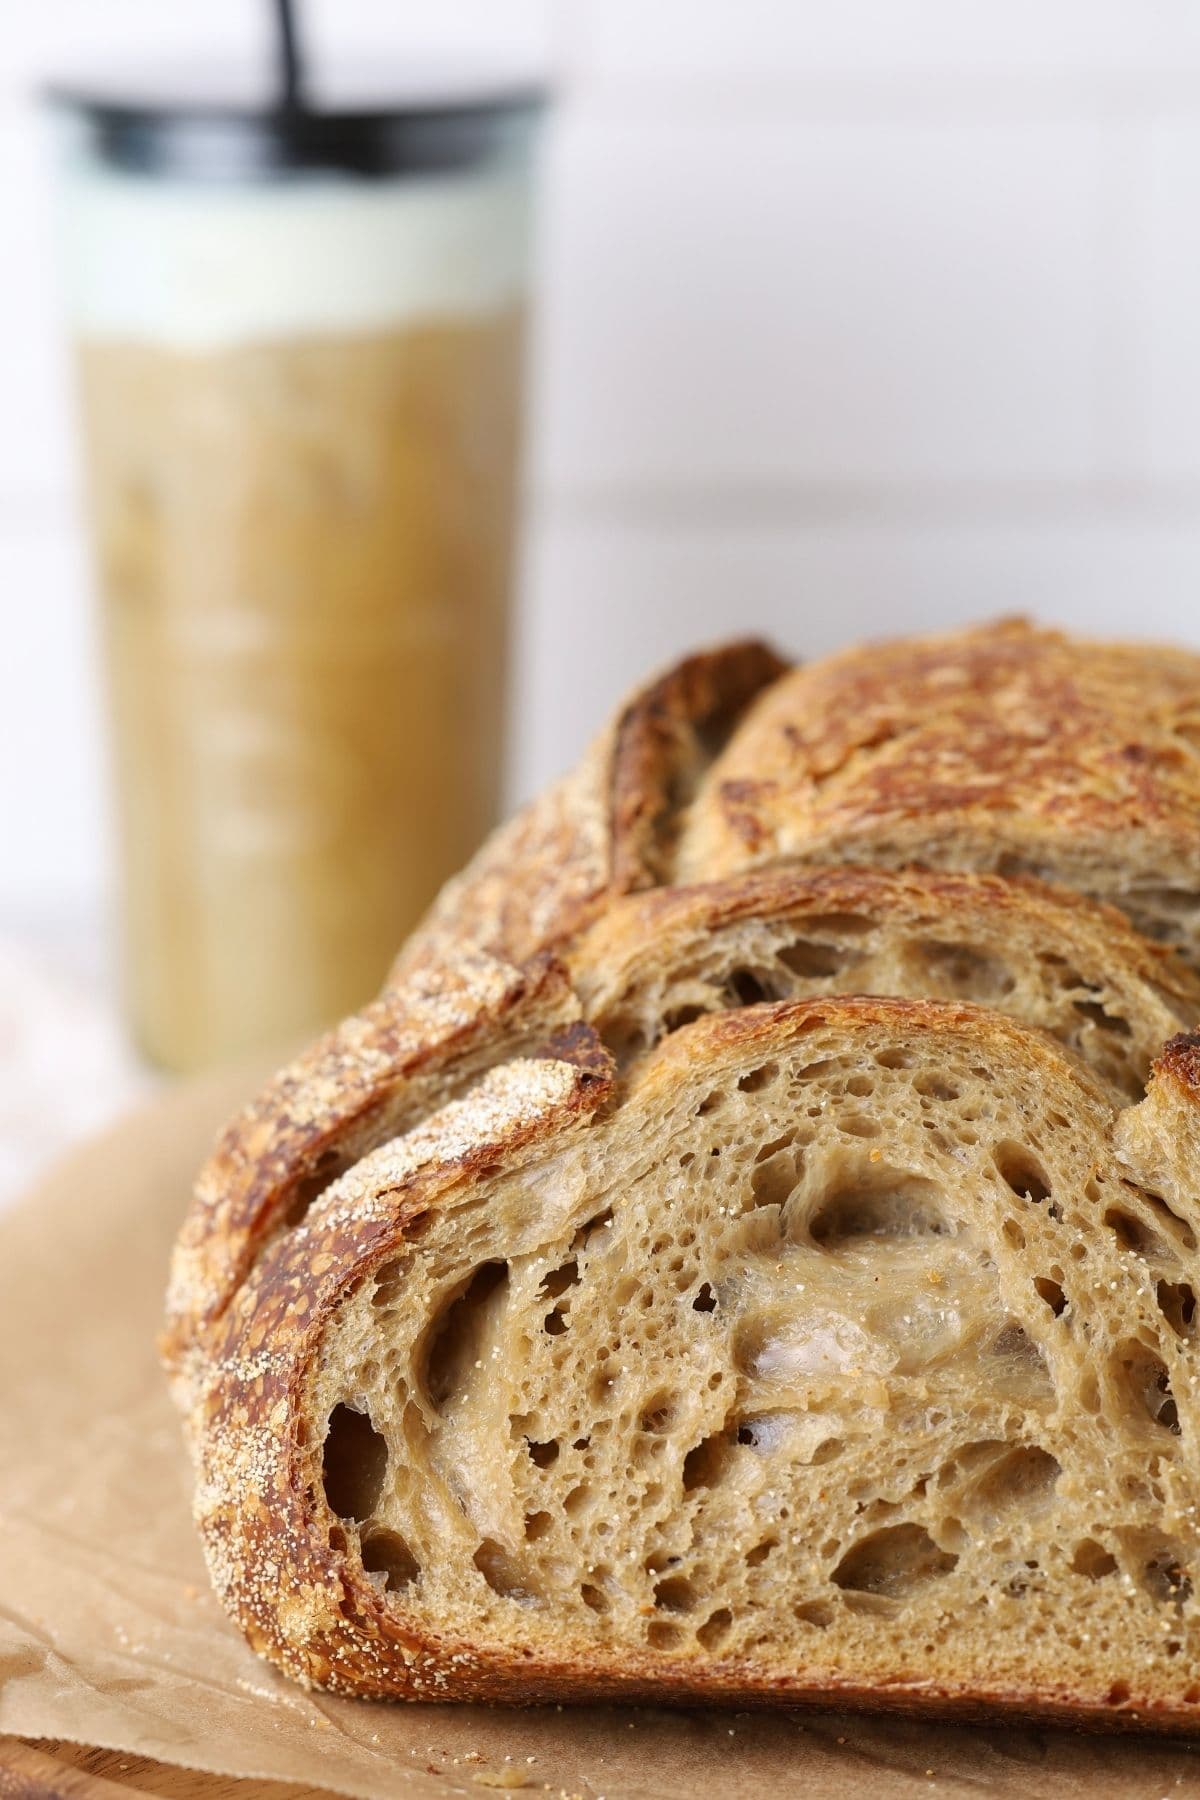
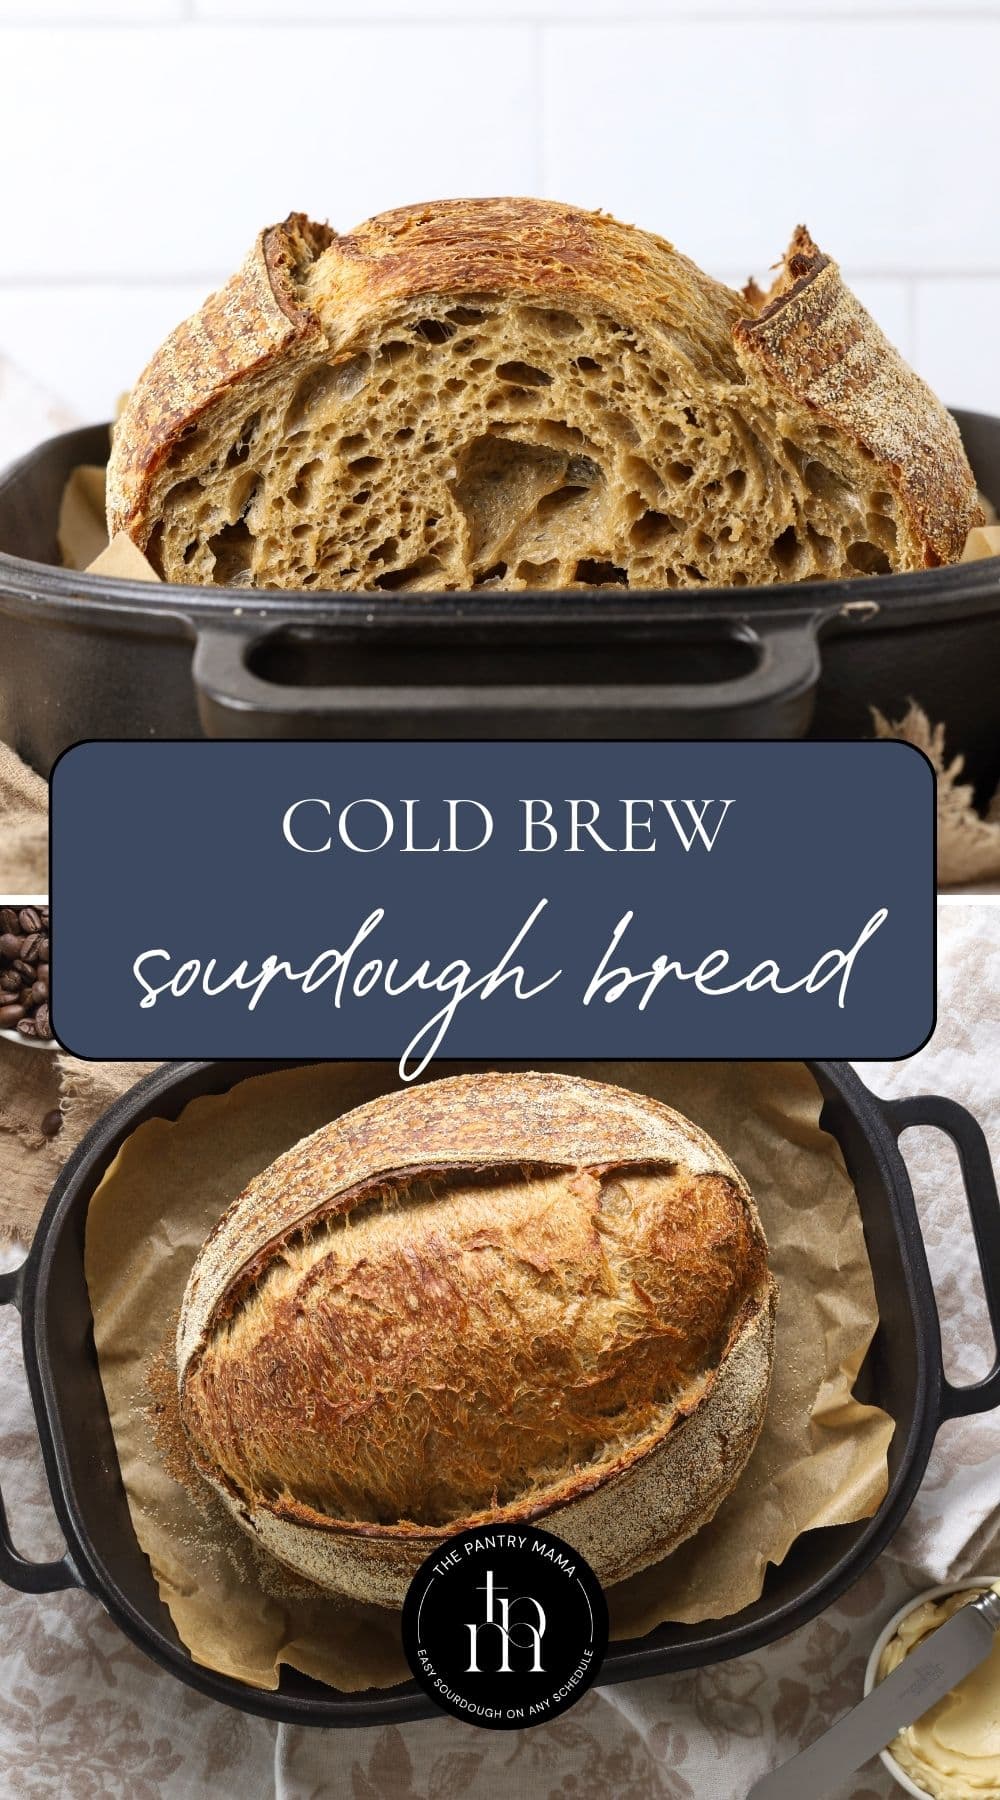
If you love cold brew coffee and you have a sourdough starter, you’re going to want to make this cold brew sourdough bread! I discovered cold brew on a recent trip to the US and since I got back, I have been brewing it non stop. It got me thinking about how I could recreate my new found obsession in sourdough form. Voila! Cold brew sourdough bread … just wait until you try it!
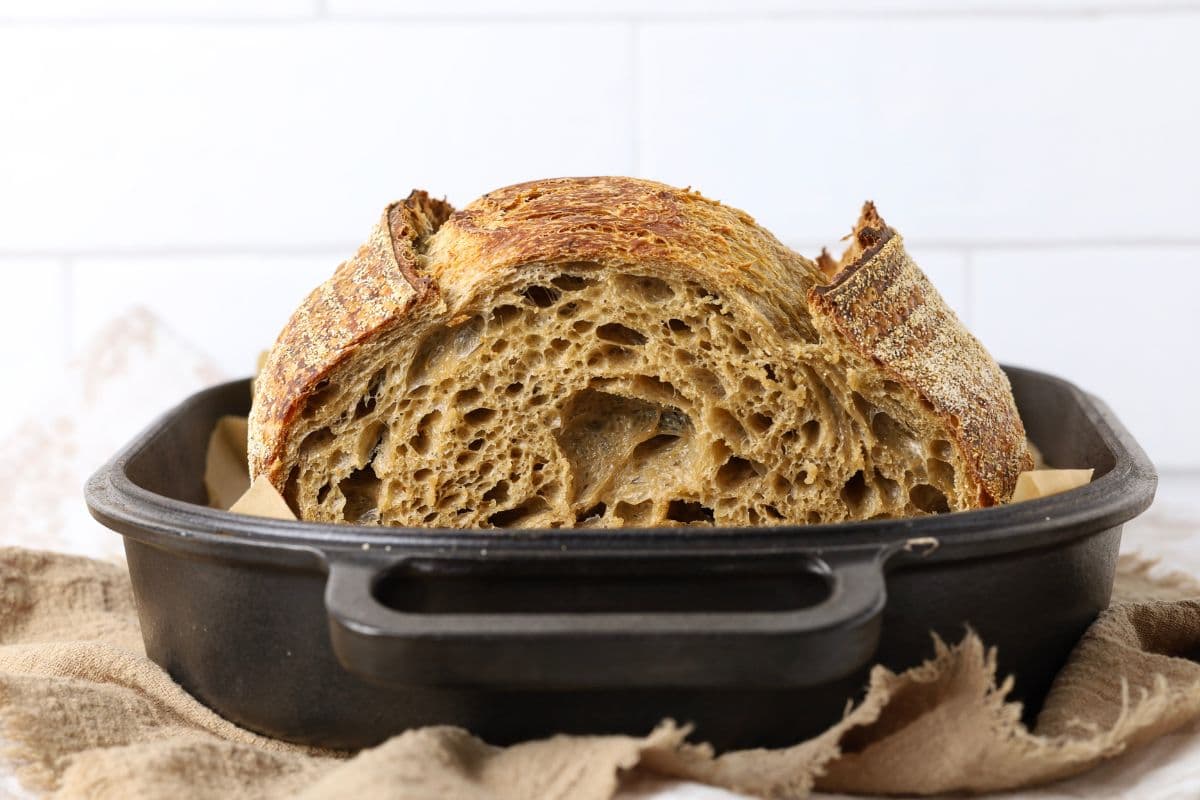
Table of Contents
Why you’ll love this recipe!

A Unique Twist on Classic Sourdough – Using cold brew coffee in place of water adds a rich, subtle depth to the flavor of this loaf. It doesn’t taste like coffee bread, but it brings a warm complexity that works beautifully with sourdough.
Simple Ingredients -This loaf uses basic ingredients you likely already have in your kitchen. Bread flour, sourdough starter, salt, brown sugar and cold brew coffee are all you need to create this impressive artisan bread.
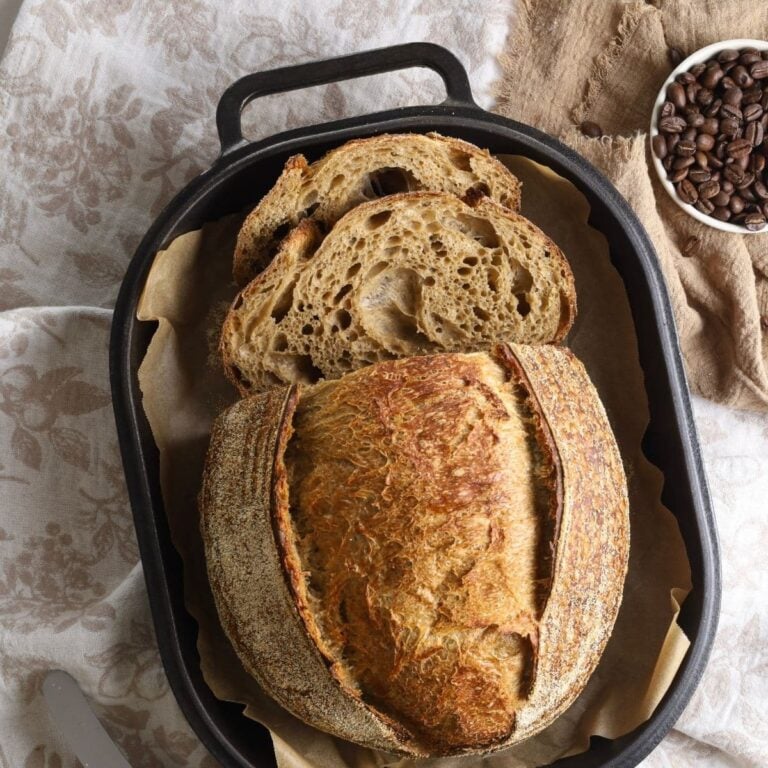
Beautiful Crust and Flavor – The coffee helps give the crust a deep golden color and a slightly caramelized flavor. A longer cold ferment in the fridge also develops wonderful flavor and texture.
Ingredients
- Bread Flour – Bread flour gives this loaf its strong structure and chewy crumb. The higher protein content helps develop the gluten needed for a good rise.
- Cold Brew Coffee – I have brewed my own cold brew coffee at a ratio of 1:12. It’s best to let your cold brew sit out at room temperature when you make this, unless you’re going to do an overnight ferment, in which case feel free to use it cold as it will slow down bulk fermentation.
- Brown Sugar – Adds a gentle sweetness that balances the coffee and sourdough flavors. It also helps with caramelization in the crust.
- Sourdough Starter – Use an active sourdough starter that has been fed a few hours before mixing your dough. A bubbly, active starter will give your bread the best rise.
- Salt
Kate’s RECIPE Tip
Make The Perfect Cold Brew Blend
I make my cold brew by adding 125g of coarsely ground coffee to my jug and then topping up with 1.5L of water (53 fl oz). I just do it on a scale so I weigh out the coffee into the filter first and then add 1500g of water on top. I let it brew for 24 hours at room temperature before removing the coffee grinds and storing the cold brew coffee in the fridge. My favorite is cold brew over ice, topped with a salted maple cold foam.
How To Make Cold Brew Sourdough Bread
The easiest way to explain this method of making sourdough is that you simply replace water with cold brew coffee! Seriously, it’s that easy. Plus I added some brown sugar to the dough as well, just to give the dough a subtle sweetness.
This one is amazing plain, but can be made even better with some of these inclusions added in during shaping:
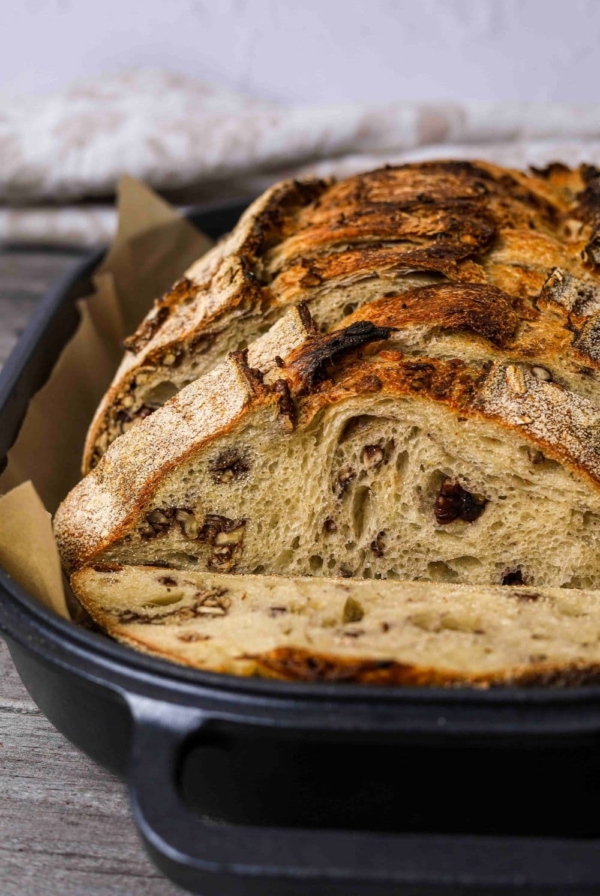
- Ground Coffee Beans sprinkled over the dough as well as 100g of semi sweet chocolate chips added during shaping.
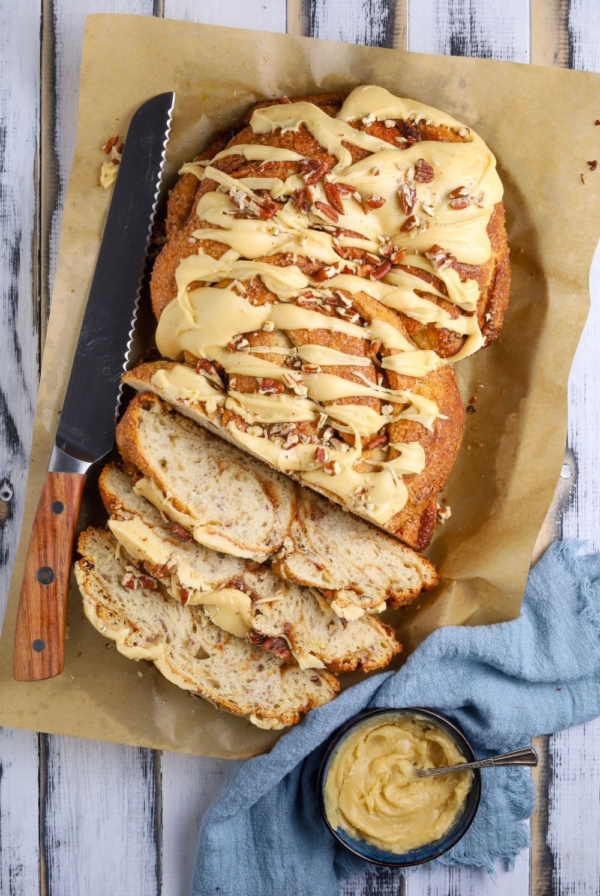
- Cinnamon Sugar Swirl sprinkled over the dough (made by mixing 5g of cinnamon with 20g of flour and 50g of brown sugar). This is similar to how I make my sourdough cinnamon swirl loaf.
Let’s make this loaf!
Weigh out your sourdough starter, brown sugar and cold brew coffee into a large bowl. Mix together briefly. Then add your flour and salt and mix whole lot together to form a shaggy dough. Cover your bowl with a plastic bowl cover or damp dish towel and let it sit for around 1 hour.
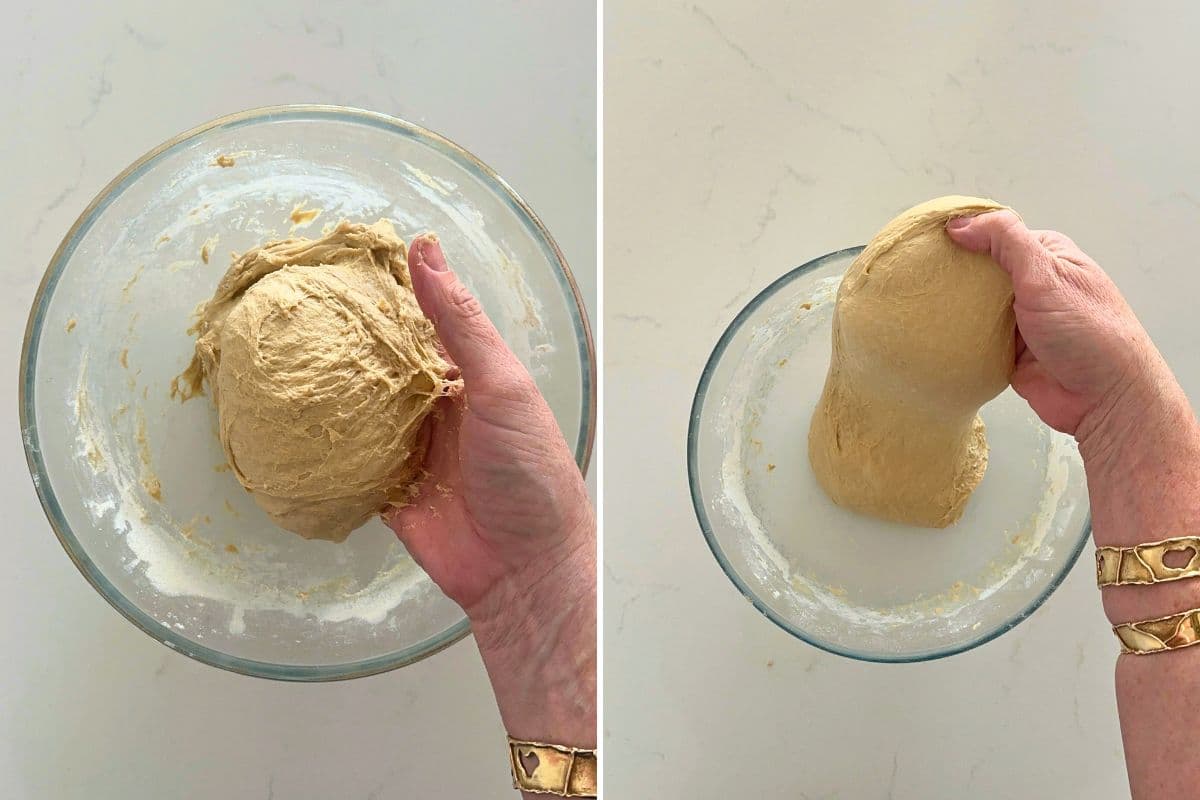
After the dough has been through fermentolyse you need to bring it together into a ball and basically taking the dough from a shaggy mess, to something a little more structured. Over the next few hours you need to create some structure for your dough by “stretching and folding”.
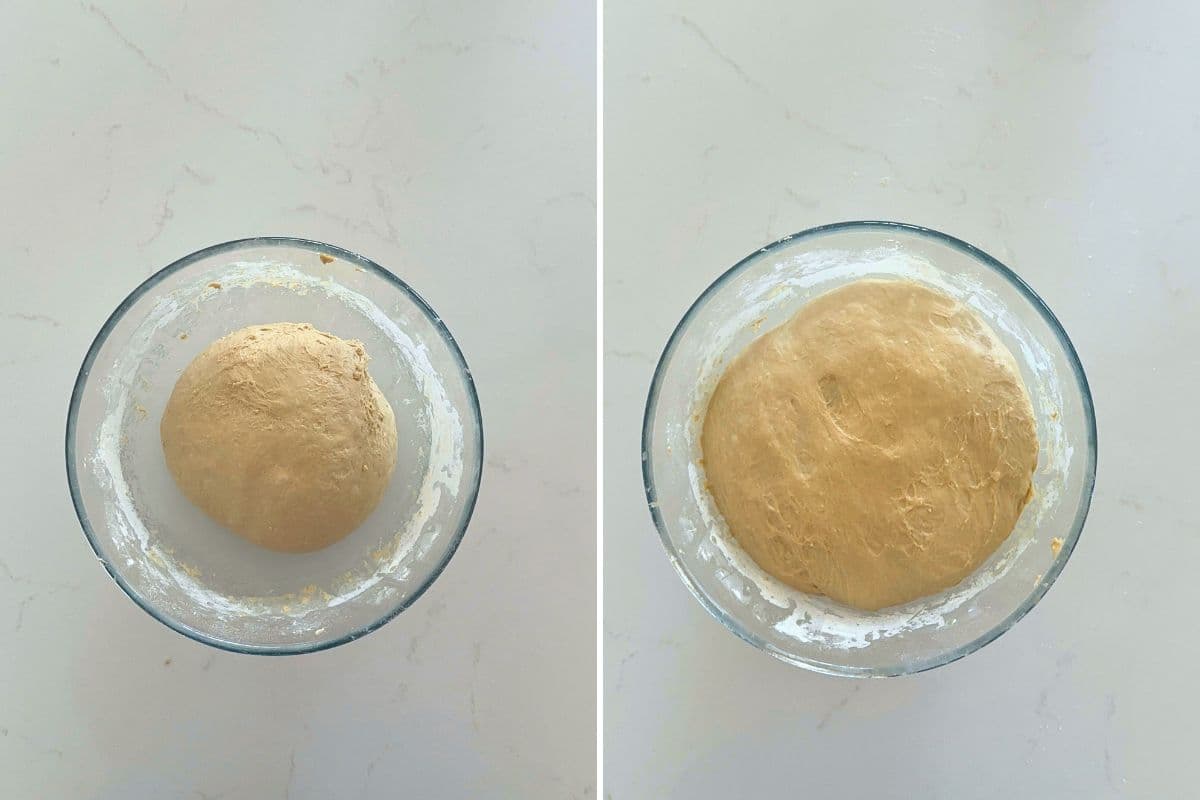
Once your dough is strong and elastic from the stretching and folding, you’ll need to let it bulk ferment at room temperature until it’s doubled. The time it takes will really depend on the temperature of your home and the strength of your sourdough starter. You can see the difference in my dough from when I finished stretch and folds to when the dough finished bulk fermentation below.
Once your dough has finished it’s first ferment, it’s time to shape it into either a boule or a batard. I’ve chosen to shape this loaf into a batard. Make sure you give the dough plenty of tension before placing it into a banneton or shaping container.
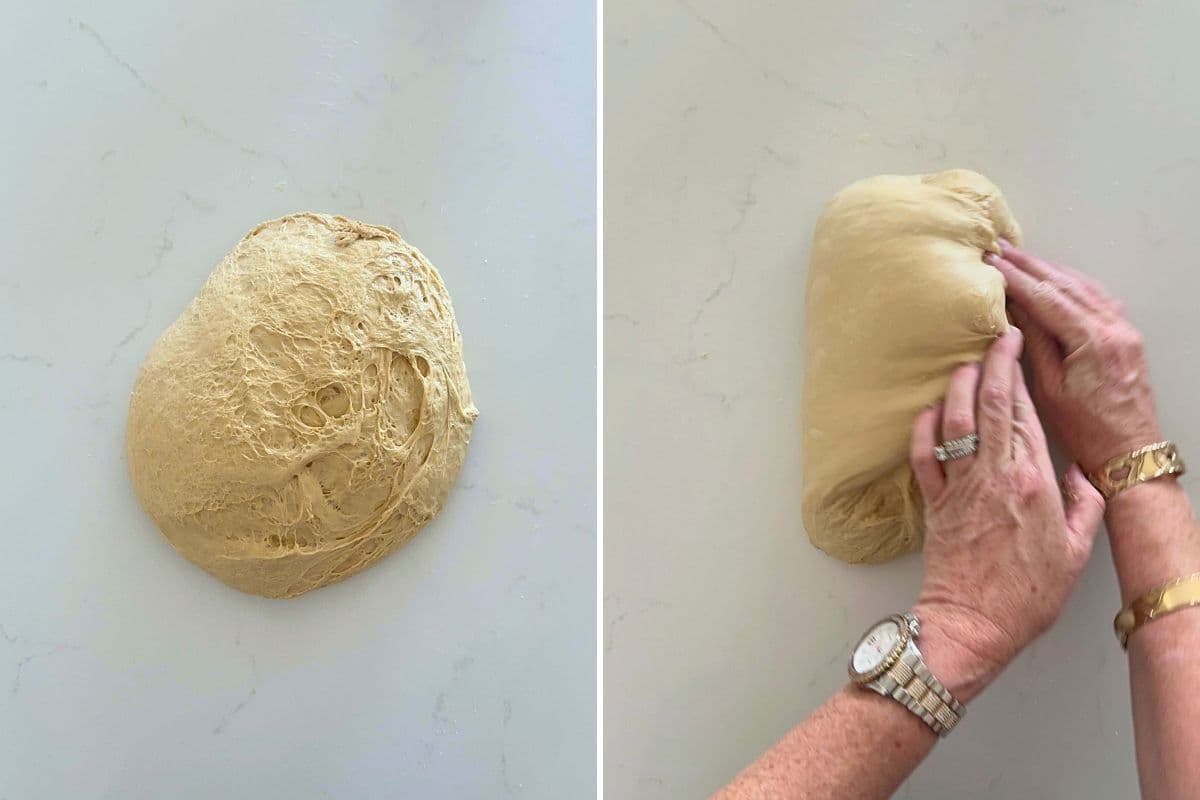
Stitch the top of the dough together if you need to. Let the dough cold ferment in the banneton for at least 5 hours. I like the leave this loaf overnight in the fridge if I can.
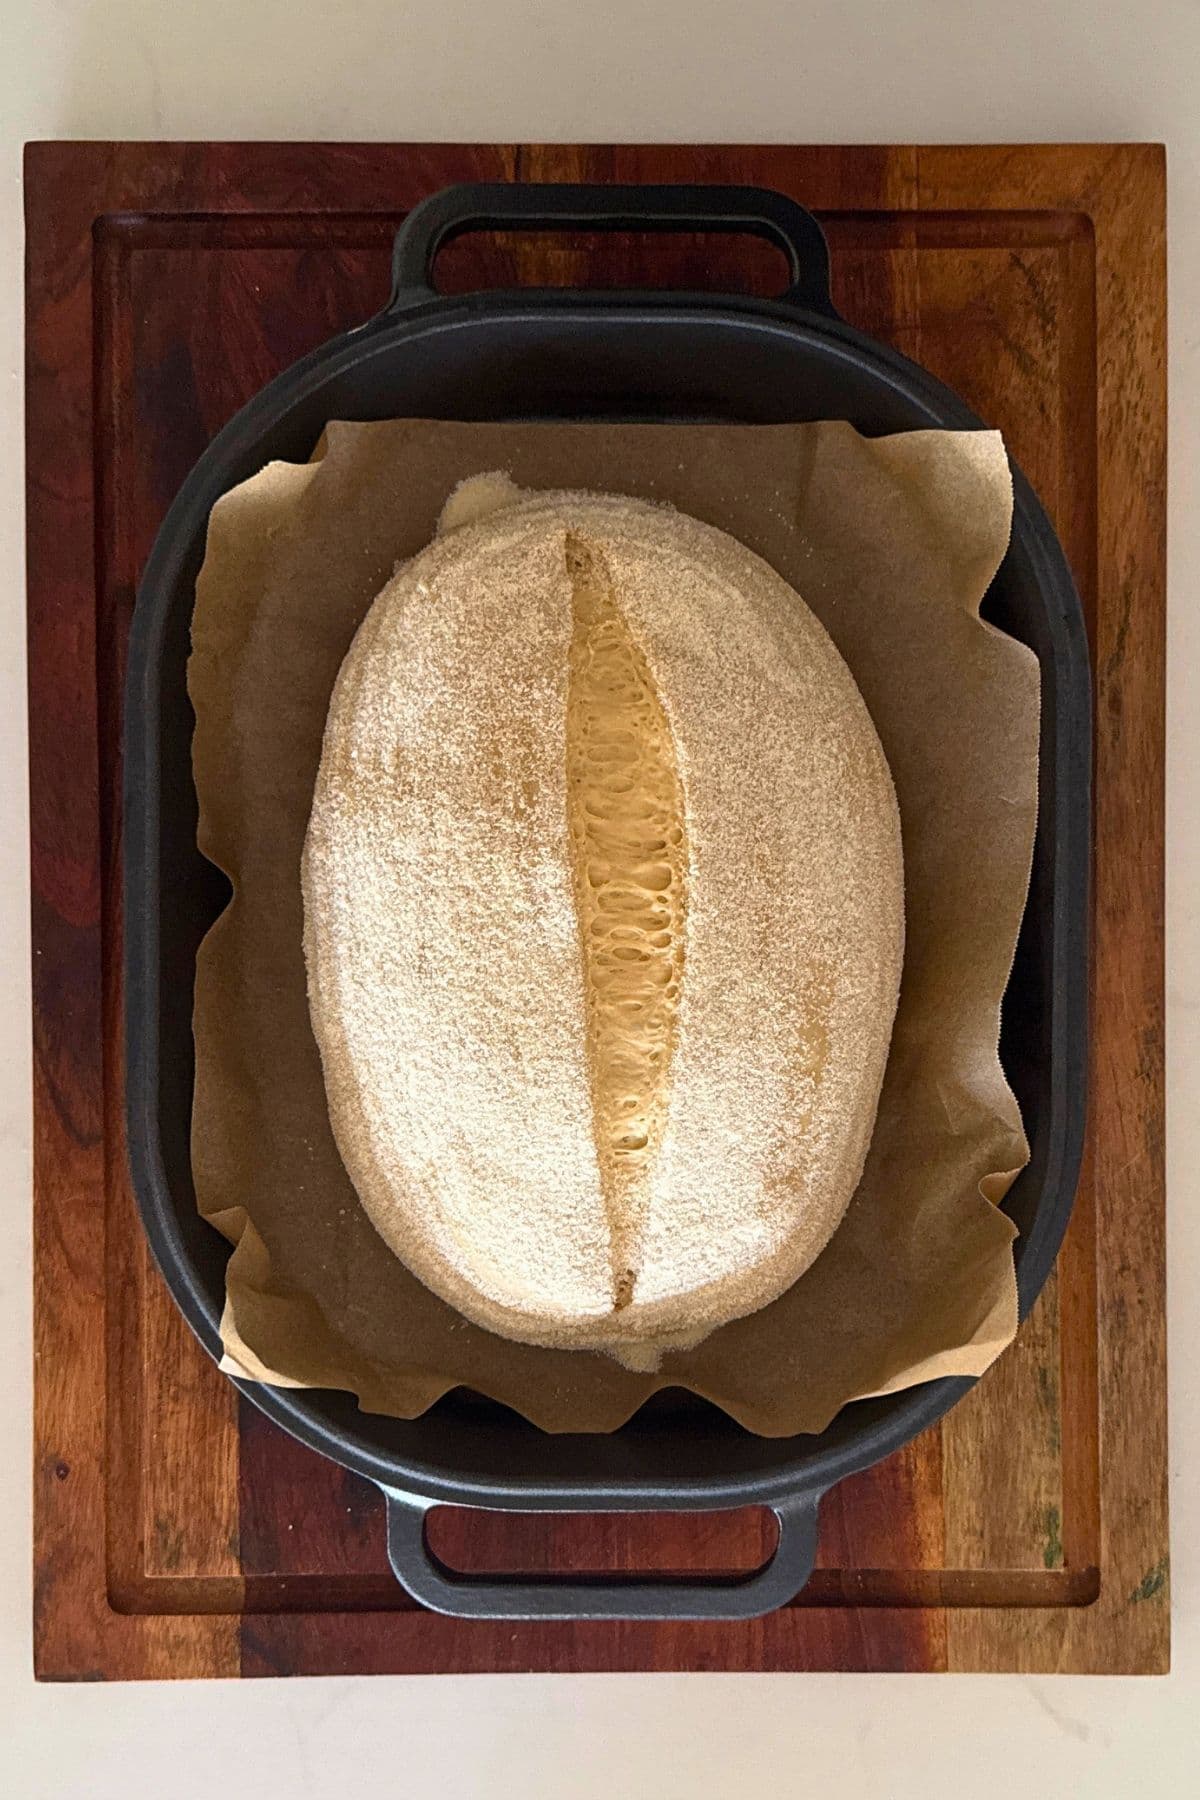
Once you’re ready to bake your sourdough, you’ll need to preheat your oven to 230ºC/450ºF. When your oven is at temperature, take your sourdough out of the fridge. Gently place it onto a piece of parchment paper and score your dough with a bread lame or clean razor blade.
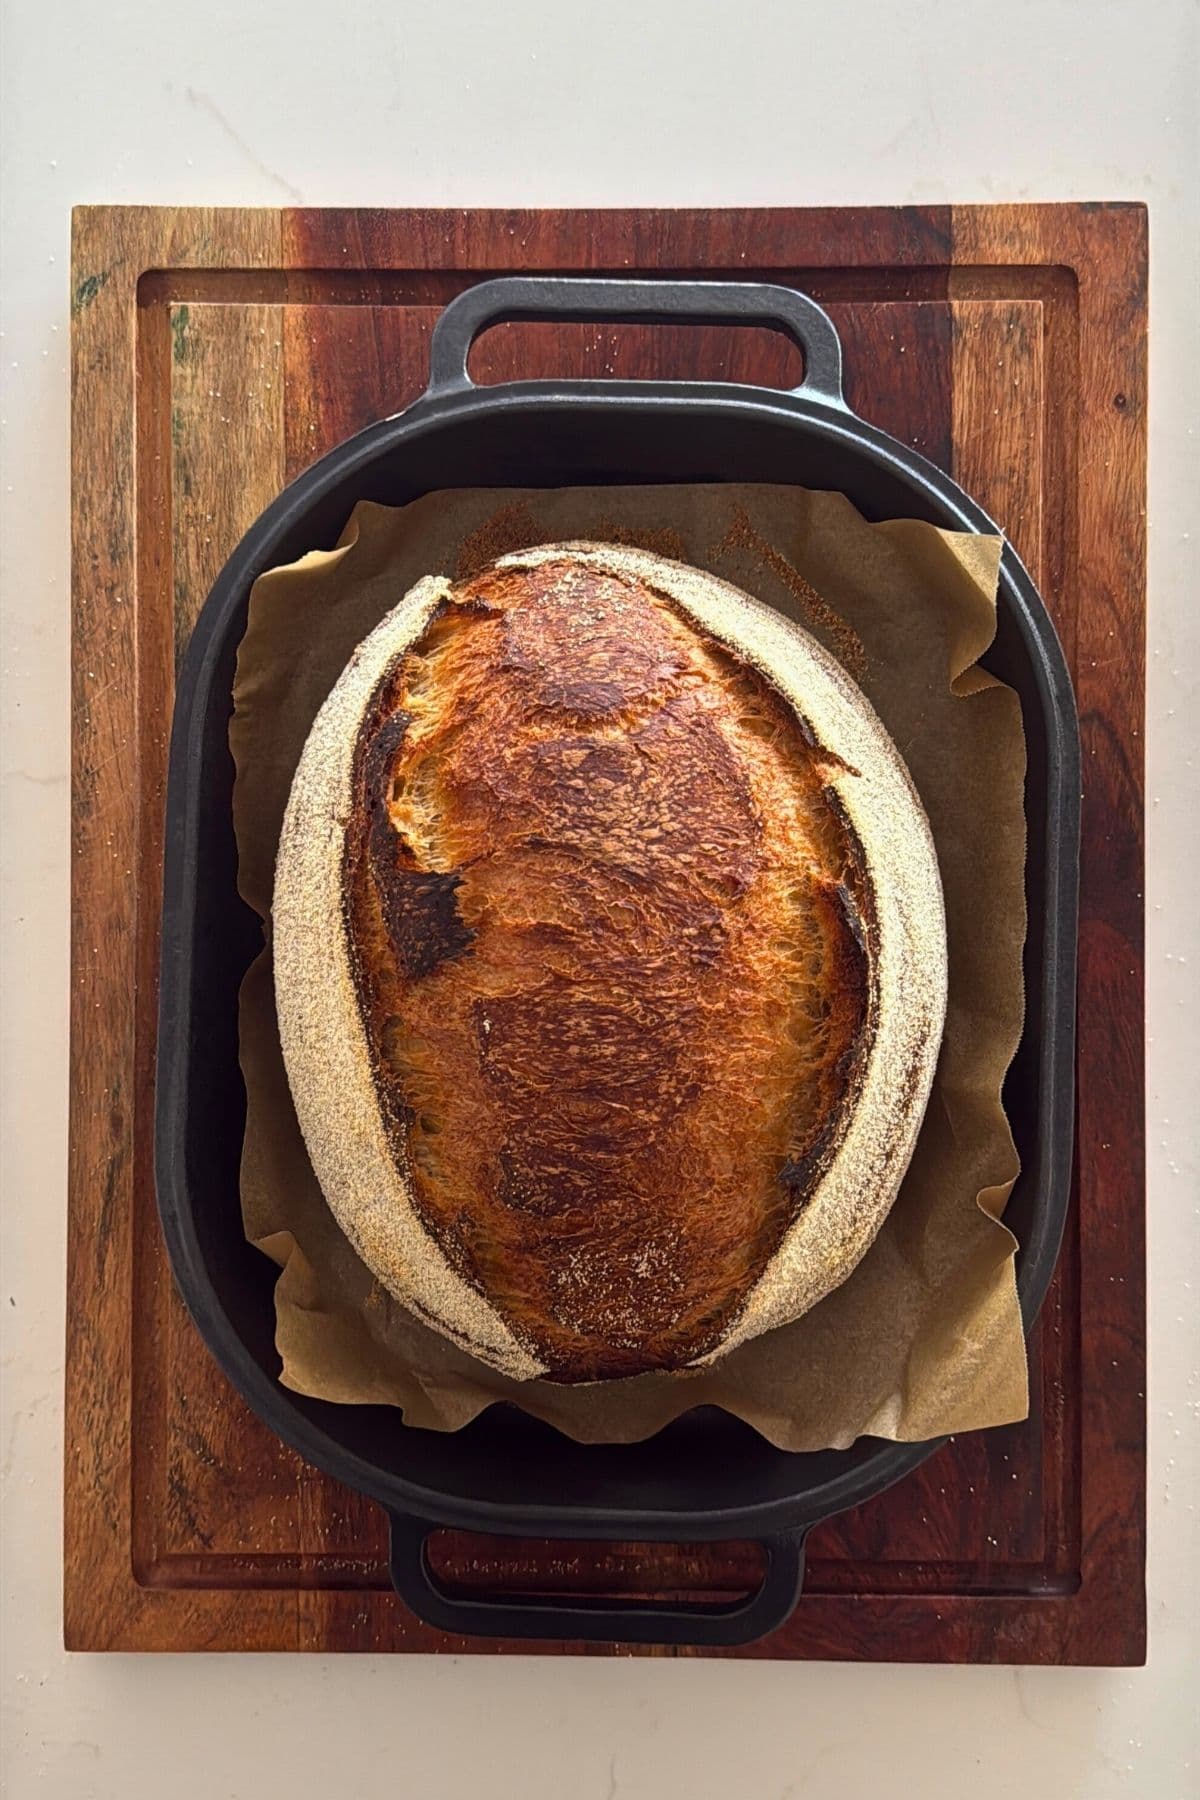
Bake your cold brew sourdough loaf for 30 minutes with the lid on at 230ºC/450ºF plus 10-15 minutes with the lid off at 210ºC/410ºF. When you remove your dough from the oven, carefully remove it from the dutch oven as soon as possible and place on a wire rack to cool.
Baking Timeline
This is an example baking timeline you can follow when making this cold brew sourdough bread. Feel free to adjust the timing to suit your own schedule. You might also find my post on creating sourdough baking timelines helpful when planning your bake.
| TIME | PROCESS |
|---|---|
| 9 am | Fermentolyse for around an hour, forming up the dough and leaving to rest for another 30 minutes before stretch and folds. |
| 11 am | 1st stretch and fold |
| 11.30 am | 2nd stretch and fold. |
| 12 pm | 3rd stretch and fold. |
| 12.30 pm | 4th stretch and fold |
| 1 pm | Bulk fermentation at room temperature. |
| 6 pm | Shape dough into a batard, place into banneton and then into fridge for cold fermentation. |
| 9 am | Wake and bake! The next morning, you can get up, make a coffee and bake your sourdough cold brew loaf! |
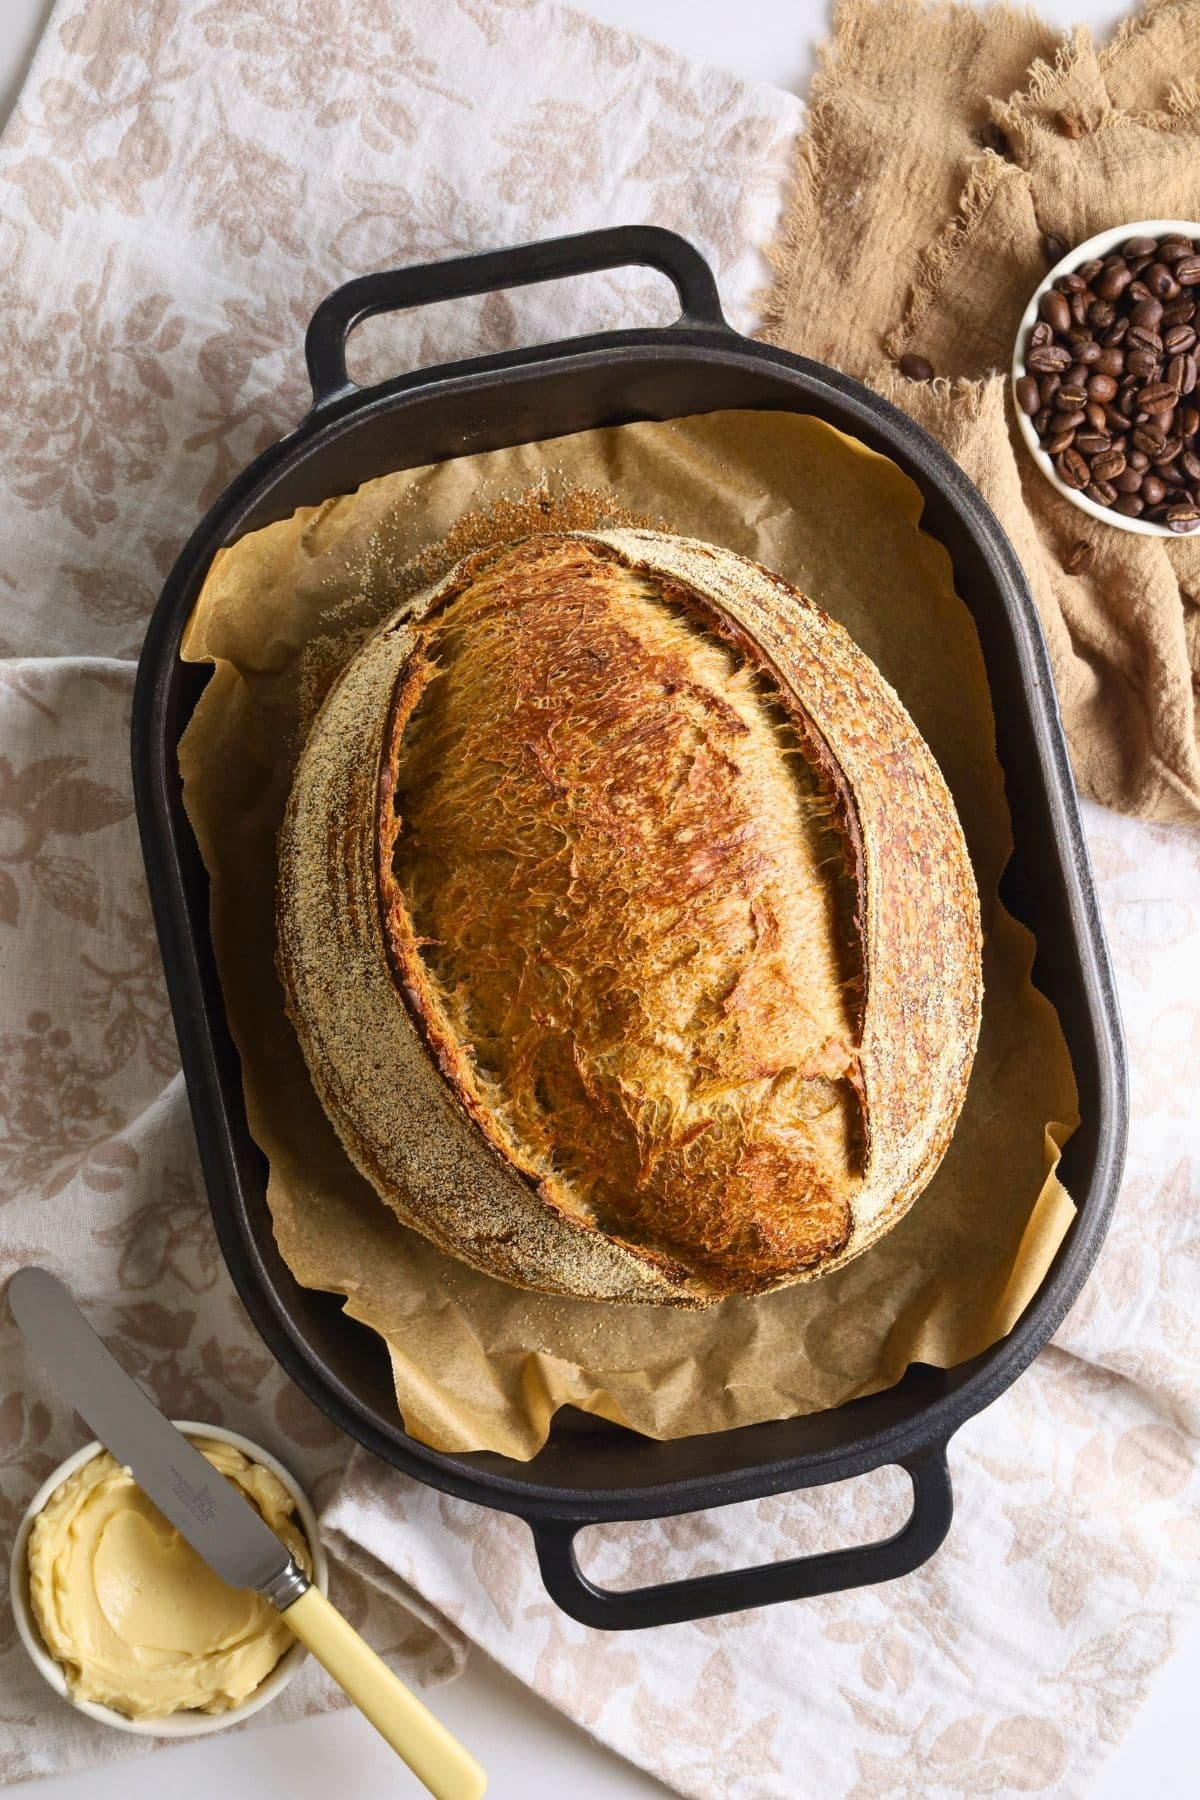
What To Serve with Cold Brew Sourdough Loaf
I love serving this delicious sourdough cold brew loaf with salted maple butter. It is also amazing toasted and topped with homemade nutella, cultured butter or whipped honey cinnamon butter. The possibilities are endless!
How to Store + Freeze
This cold brew sourdough loaf is best enjoyed fresh or within the first 24 hours while the crust is still crisp and the crumb is soft. You can keep the loaf at room temperature for a few days, but over time the crust will soften and the interior will begin to firm up.
For longer storage, slice the loaf and place the slices into a Ziploc bag or freezer-safe container. Freeze for up to 3 months. The slices toast beautifully straight from frozen, making them perfect for quick breakfasts or an easy snack.
Cold Brew Sourdough Bread
Equipment
- Mixing Bowl (use a 3L glass Pyrex bowl)
- Digital Scales (this is essential)
- Banneton (proofing basket)
- Dutch Oven (you can see the Dutch Ovens I use here)
Ingredients
- 500 g Bread Flour
- 350 g Cold Brew Coffee, (see notes)
- 50 g Brown Sugar
- 100 g Sourdough Starter
- 10 g Salt
Instructions
- FermentolyseWeigh out your sourdough starter, brown sugar and cold brew coffee into a large bowl. Mix together briefly. Then add your flour and salt and mix whole lot together to form a shaggy dough. Cover your bowl with a plastic bowl cover or damp dish towel and let it sit for around 1 hour.
- Forming Up The DoughAfter the dough has been through fermentolyse you need to bring it together into a ball. Work your way around the bowl, grabbing the dough from the outside, stretching it up and over itself, into the centre, until a smooth ball is formed. You shouldn't need more than about 20-30 stretches to form the ball.
- Once the dough has formed into a smoothish ball, pop the plastic bowl cover back on and allow it to rest for around 30 minutes.
- Stretch & Fold – Creating StructureOver the next few hours you need to create some structure for your dough by "stretching and folding". Aim to do around 4-6 sets of stretches and folds. For each set, stretch the dough up and over itself 4 times. Leave around 15 minutes in between each set. Again you do not have to be exact with time, but you need to do at least 4 sets over 2 hours.
- Bulk FermentOnce you've finished your stretch and folds, place the plastic bowl cover or damp tea towel back over your dough and let it rest and ferment at room temperature. You want the dough to double.
- Shaping The DoughOnce your dough has finished it's first ferment, it's time to shape it into either a boule or a batard and then place into a banneton.I don't like using flour for shaping, however if you feel you need it, give your counter a really light dusting of rice flour or semolina flour.
- Cold FermentNow the dough is in its proofing basket, cover it loosely with a plastic bowl cover or damp dish towel and place into the refrigerator.Try to leave it in the fridge for a minimum 5 hours up to a maximum of around 36 hours. The longer you leave it the better your bread will be! A longer cold ferment creates beautiful blisters on your crust and a deeper sourdough flavour.
- Let's Bake Your Sourdough BreadOnce you're ready to bake your sourdough, you'll need to preheat your oven to 230ºC/450ºF. Place your Dutch Oven into the oven when you turn it on so it gets HOT. When your oven is at temperature, take your sourdough out of the fridge. Gently place flip it out onto a piece of parchment paper.Make sure that you make the baking paper big enough to use the edges as a handle to lower to dough into your Dutch Oven.Gently score your bread with a bread lame or clean razor blade. Carefully take your Dutch oven out of the oven. Place the sourdough into the pot using the parchment paper as a handle. Put the lid on and place into the hot oven. BAKE TIME:30 Minutes with the lid on at 230ºC/450ºF plus10-15 Minutes with the lid off at 210ºC/410ºF
- Finishing The BakeWhen you remove your dough from the oven, carefully remove it from the dutch oven as soon as possible and place on a wire rack to cool.
Nutrition
Nutrition information is automatically calculated, so should only be used as an approximation.
Like this? Rate and comment below!


the best bread i’ve ever made. fabulous crumb, crispy crust, great taste. just wonderful.
Thank you for this recipe. Turns out really good. Yummy in my tummy 😋
Wow, Wow, WOW! I have been aching to make this since I saw the post and let me tell you this recipe did NOT disappoint. As always, Kate’s directions were easy to follow and spot on. I was tempted to add mini white chocolate chips (thinking coffee and cream) but made myself stick to the original recipe for once! I used a store bought Espresso Roast (La Colombe) cold brew coffee, and it added just the right amount of coffee flavoring to the loaf. This loaf will be on repeat for me (already planning a second bake for this week) and I will try the white chocolate chips this time. Thank you Kate for another no nonsense, easy to bake sourdough loaf that makes my family and friends (oh, and me) beg for more!
YAY! I’m so glad you loved this Barbara! Awwhh and your kind words made me smile! Thank you for making my day so much brighter 🙂 xo