This post contains affiliate links. Please see our disclosure policy.

One of the biggest misconceptions about sourdough bread is that it requires a rigid schedule. Or even worse, that you can’t bake sourdough bread if you have a busy life. The truth is, you can literally make sourdough work on any schedule. You just need to work with your schedule, not against it! I’m going to show you how to do this.
Making sourdough bread can be a lengthy process, but it can also be manipulated so that you can work the process around your life. You’re the boss here, not your sourdough starter! Whether you work full time or shift work, you’re a busy parent or you just enjoy not having to be a ruled by your dough, a sourdough baking schedule means you can bake sourdough on your terms.
What Is a Sourdough Bread Timeline?
A sourdough bread timeline is simply a roadmap that shows the major stages of making sourdough bread from start to finish.
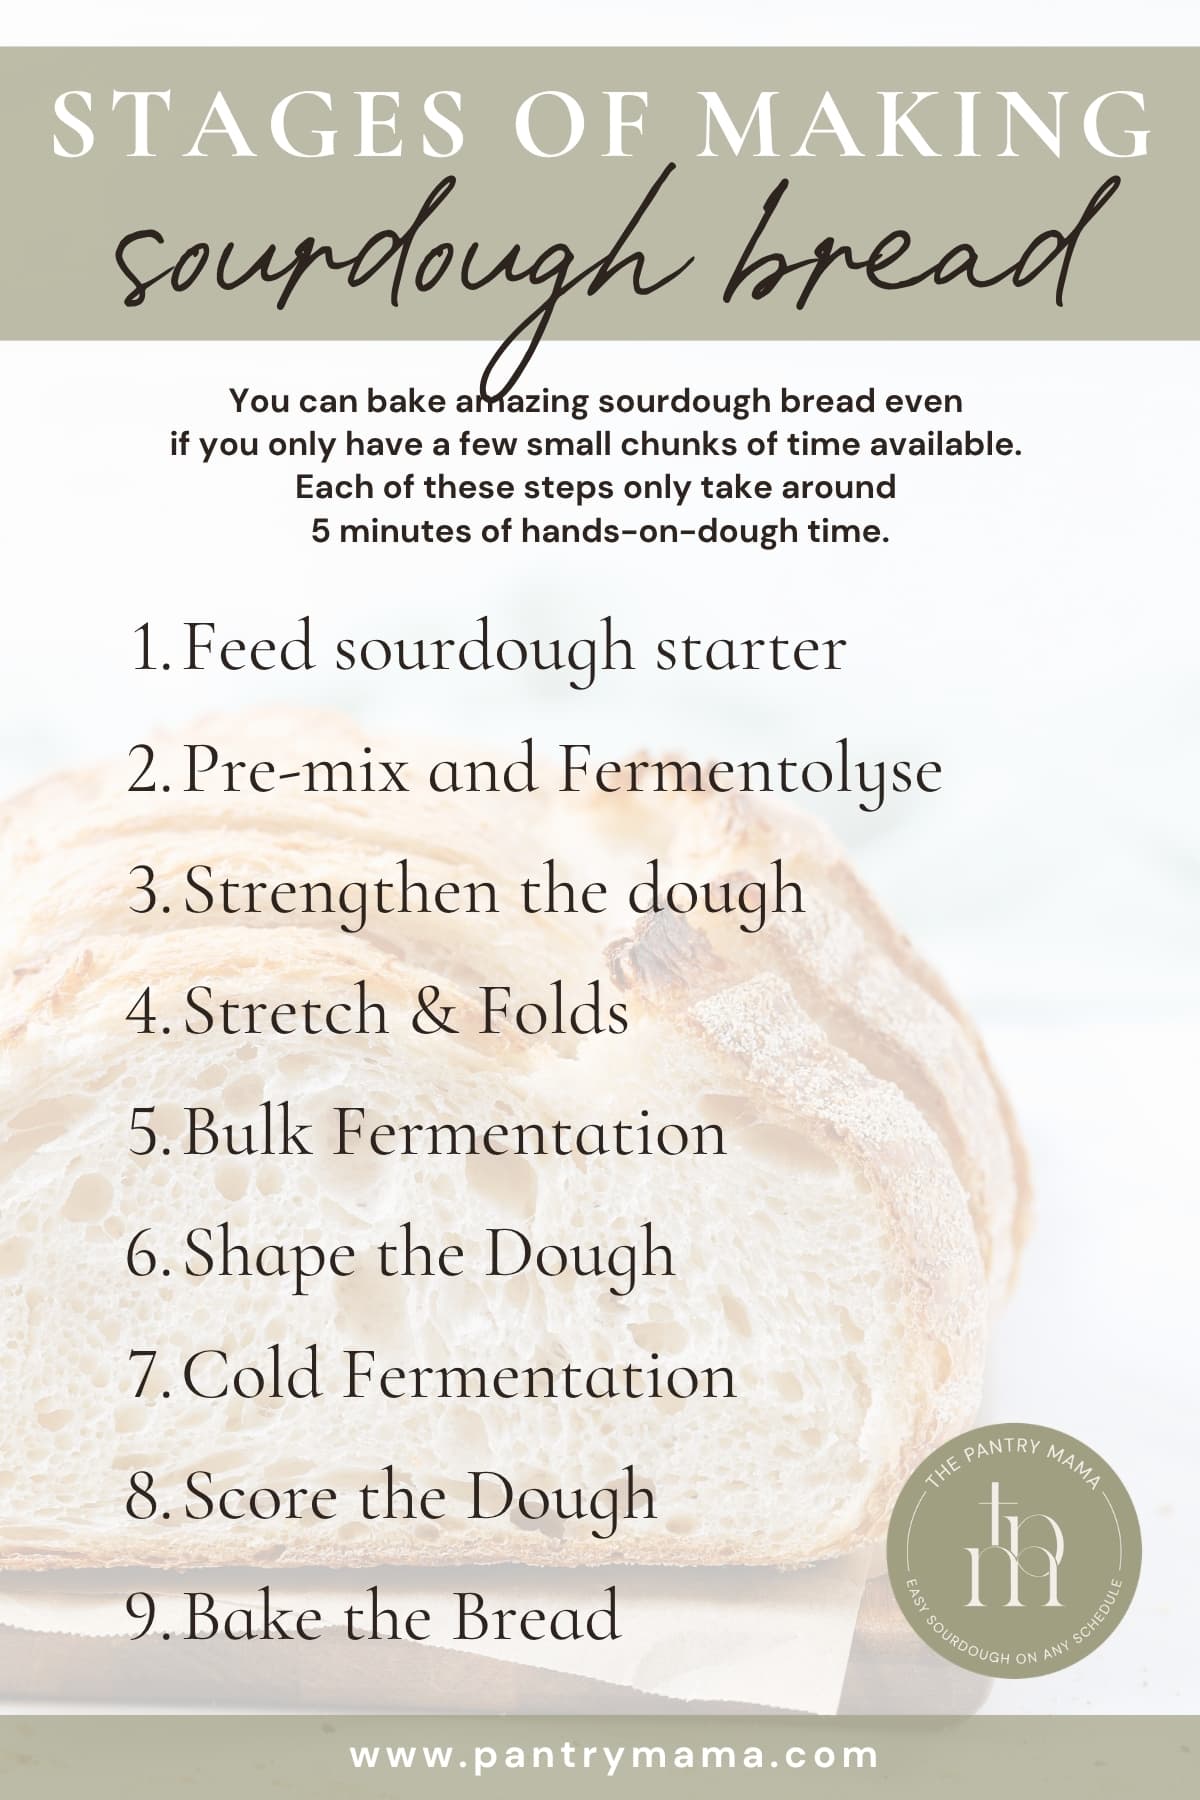
Most sourdough loaves follow the same basic process:
- Feed your sourdough starter using the right sourdough starter ratio.
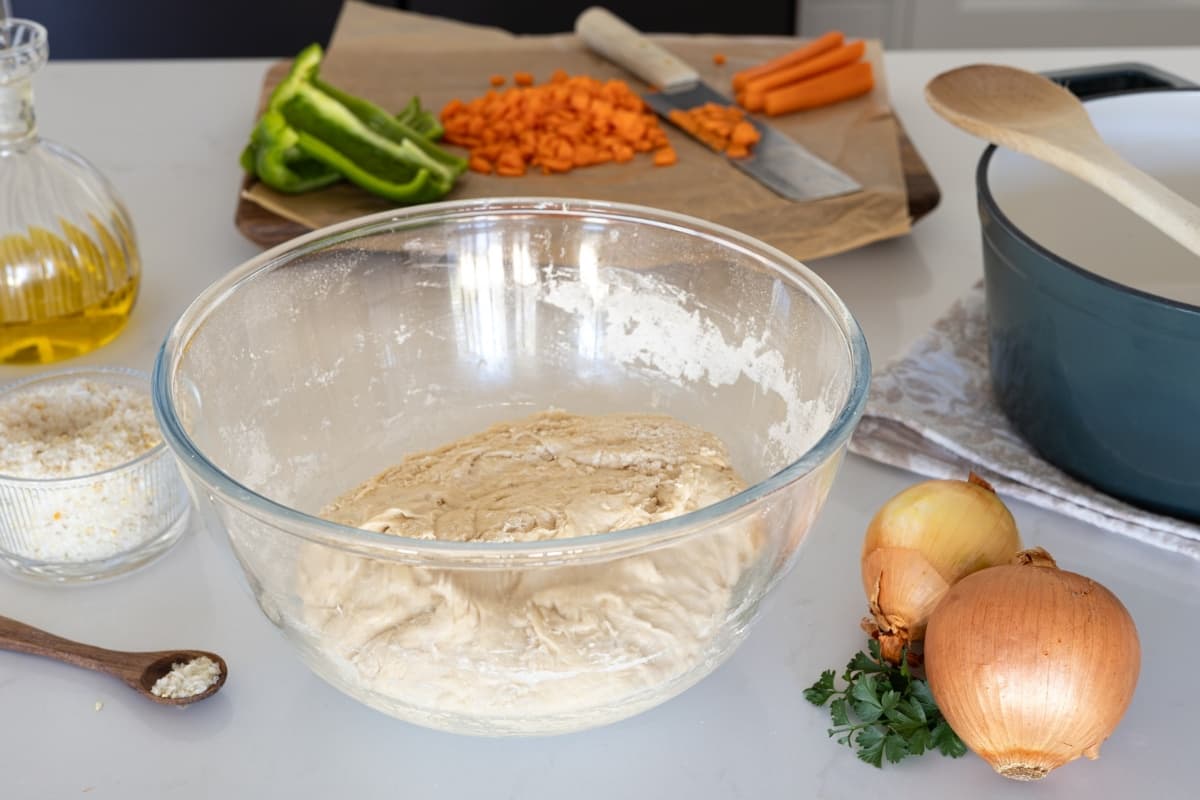
- Pre-mix and fermentolyse (water, sourdough starter, flour, salt altogether, no waiting for autolyse).
- Strengthen the dough.
- Stretch and folds.
- Bulk ferment the dough on the counter (always at room temperature)
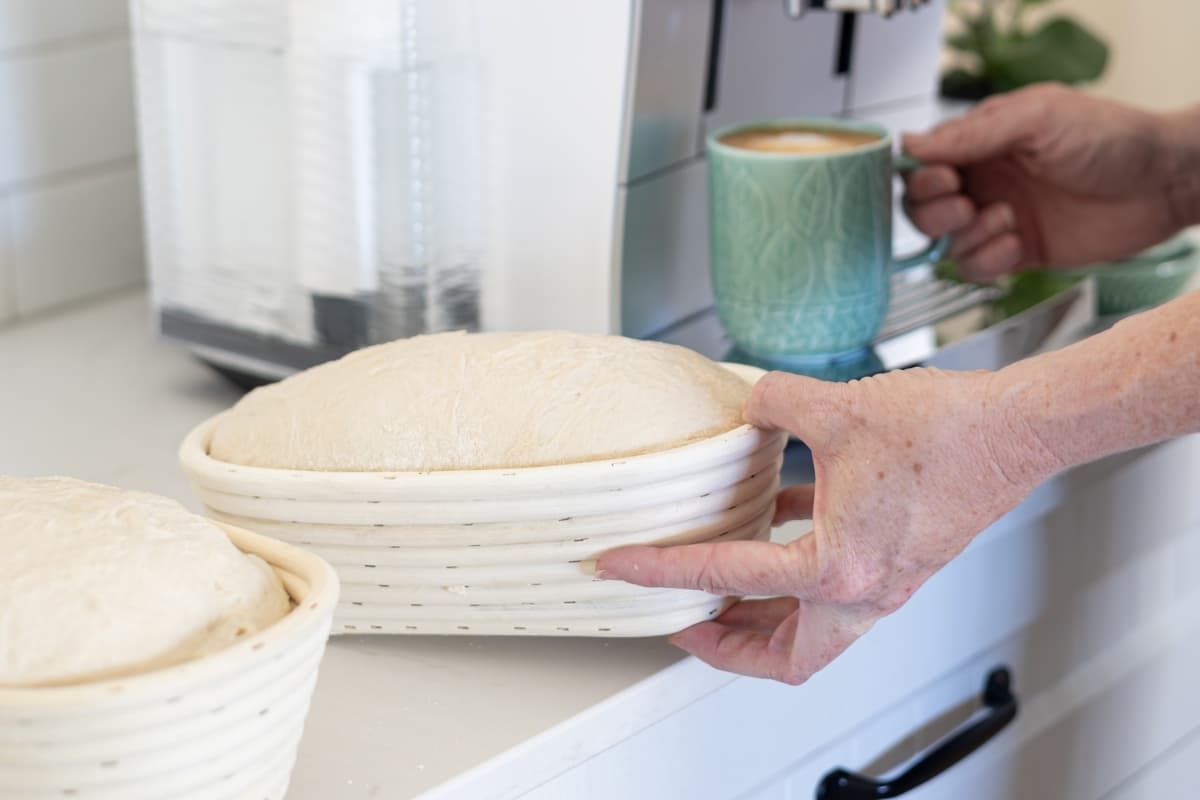
- Shape dough and place it into a proofing basket.
- Cold ferment (cold proof almost always done in the fridge).
- Score the top of the dough.
- Bake your sourdough in a Dutch Oven.
The challenge is that every one of these stages can vary depending on your starter, your dough temperature, your kitchen environment, and the type of bread you’re making. That’s why copying someone else’s sourdough schedule doesn’t always work.
Instead of focusing on exact times, successful sourdough bakers learn to understand what is happening during each stage so they can make adjustments when life inevitably gets in the way. They understand how to use baker’s percentages, sourdough starter ratios and temperature adjustments to create flexibility in their baking.

Weekday Sourdough Baking Schedule
Here is an example of a baking timeline that you could use to fit sourdough into your life (it’s the one I use to bake sourdough for my busy family). It’s based on my Simple Sourdough Bread recipe which uses a fermentolyse rather than autolyse. I also use high protein bread flour to create a stretchy and elastic dough.
DAY 1
1.00 pm – Feed sourdough starter 1:1:1 ratio.
5.00 pm – Premix and Fermentolyse with 50 grams of active starter (while I cook dinner).
6.30 pm – Form into a smooth ball. Rest for 30 minutes.
7.00 pm – Perform 4-6 sets of stretch & folds over next 2 hours to develop the gluten network.
9.00 pm – Cover and leave on kitchen counter overnight at room temp for bulk ferment.
DAY 2
6.00 am – The next morning, shape & lift your bread dough into a banneton/bowl, cover with a plastic bag or elastic food cover & place into the fridge.
(I could bake my bread from around 2pm today if I wanted to, I just prefer a longer cold ferment).
DAY 3
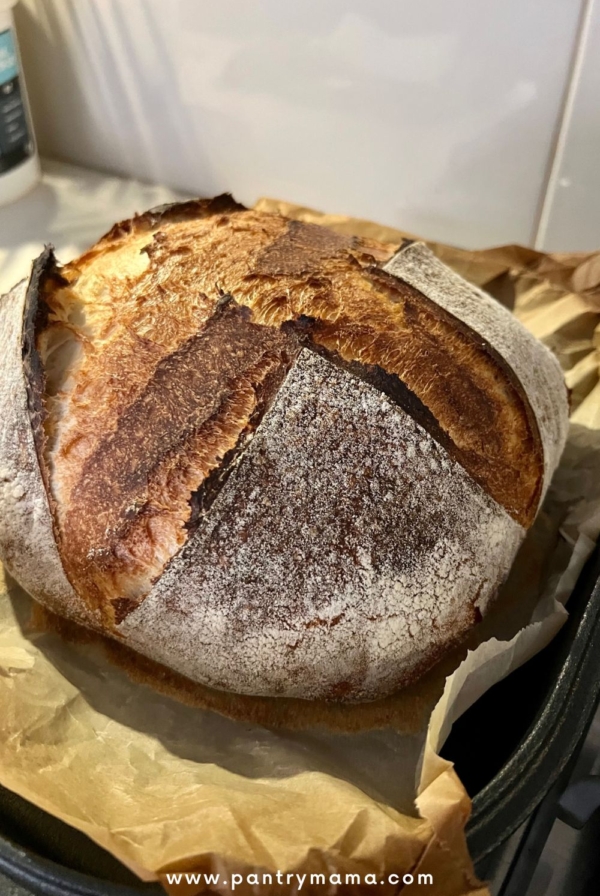
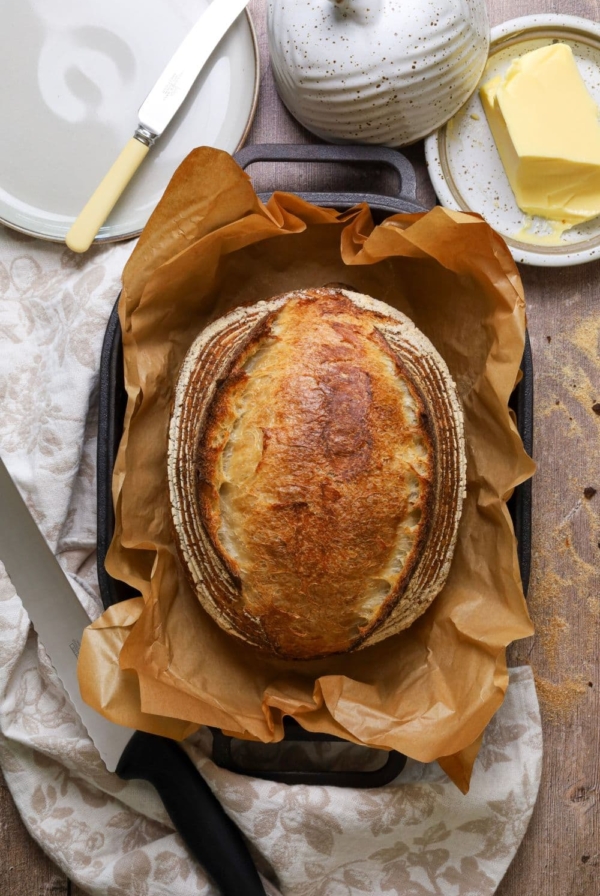
2.00pm – Score the top of the dough and place into hot Dutch oven using a piece of parchment paper.
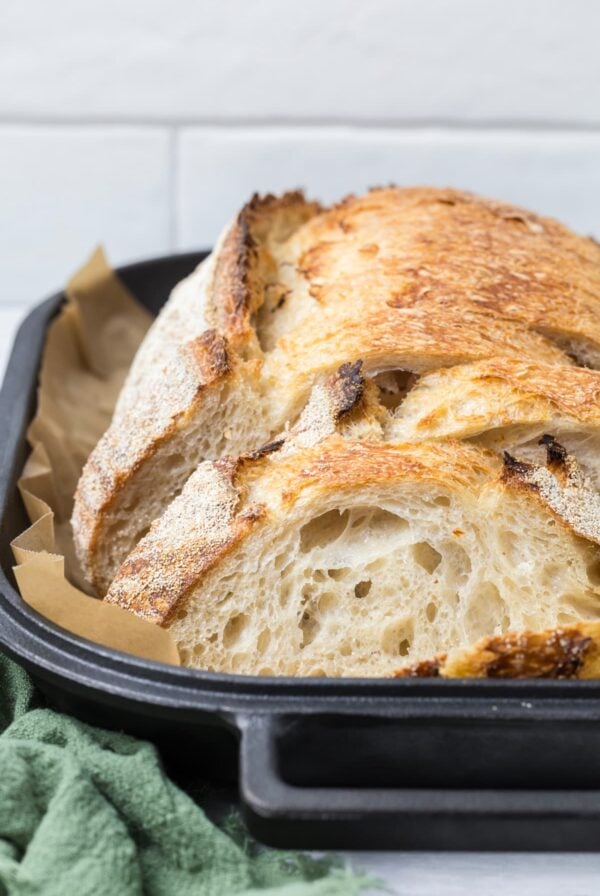
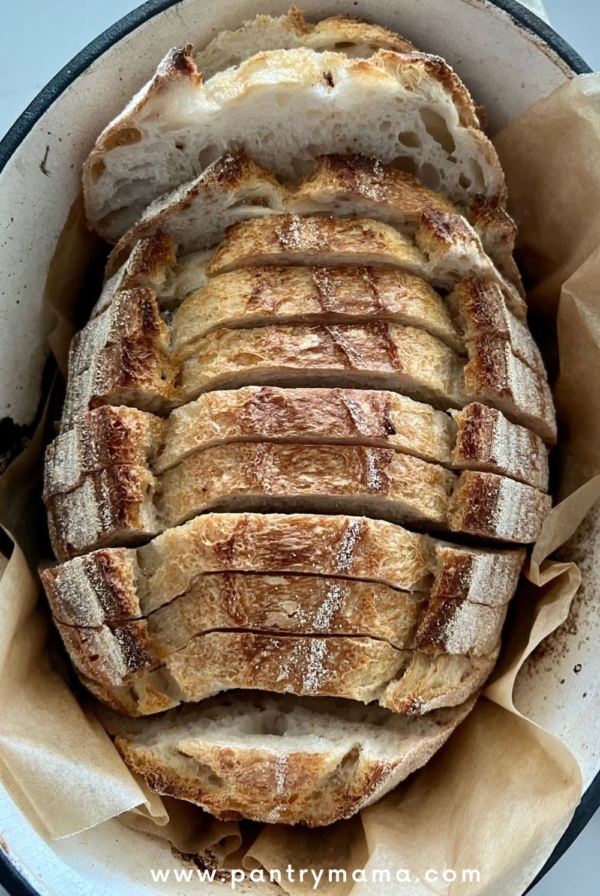
7.00pm – Cut into delicious sourdough to serve with dinner.
Why Most Sourdough Schedules Fail
Most sourdough baking schedules fail because they focus too heavily on the clock. Sourdough fermentation is a biological process driven by wild yeast and bacteria. These microorganisms don’t know what time it is, and they certainly don’t care what a recipe says.
A dough that takes 4 hours to bulk ferment in a warm kitchen might take 10 hours in a cool kitchen.
The strength of your starter, the flour you’re using, the amount of starter in the dough, and even the temperature of your water can all dramatically affect how quickly fermentation progresses. This is why I always say watch your dough and not the clock! Learning to recognize the signs of proper bulk fermentation will always be more valuable than memorizing a timeline.
How Can You Take Charge of Your Sourdough Baking Schedule?
Things like feeding ratios, starter amounts, temperature controls and your fridge will become crucial elements to allowing this to happen.
The truth is that sourdough is far more flexible than most people realize. Once you understand the stages of fermentation and what your dough is actually doing, you can build a sourdough baking schedule that works around your life, not the other way around.
As someone who has helped thousands of home bakers across the globe learn sourdough, I’ve discovered that the most successful bakers aren’t the ones with the most time. They’re the ones who understand how to adapt the process to fit their schedule. You don’t need more time to bake sourdough, you just need to understand how to fit the process around your life.
Whether you’re working full-time, raising young children, managing shift work, or simply trying to squeeze baking into a busy week, this guide will help you create a sourdough timeline that works for you. If you are a busy mom, you might like these sourdough secrets for busy moms.
Create Your Own Sourdough Baking Schedule
The best sourdough schedule is the one that works for your life.
Ask yourself:
- When do I want fresh sourdough bread?
- What time am I usually home?
- How much “hands-on-dough” time do I actually have?
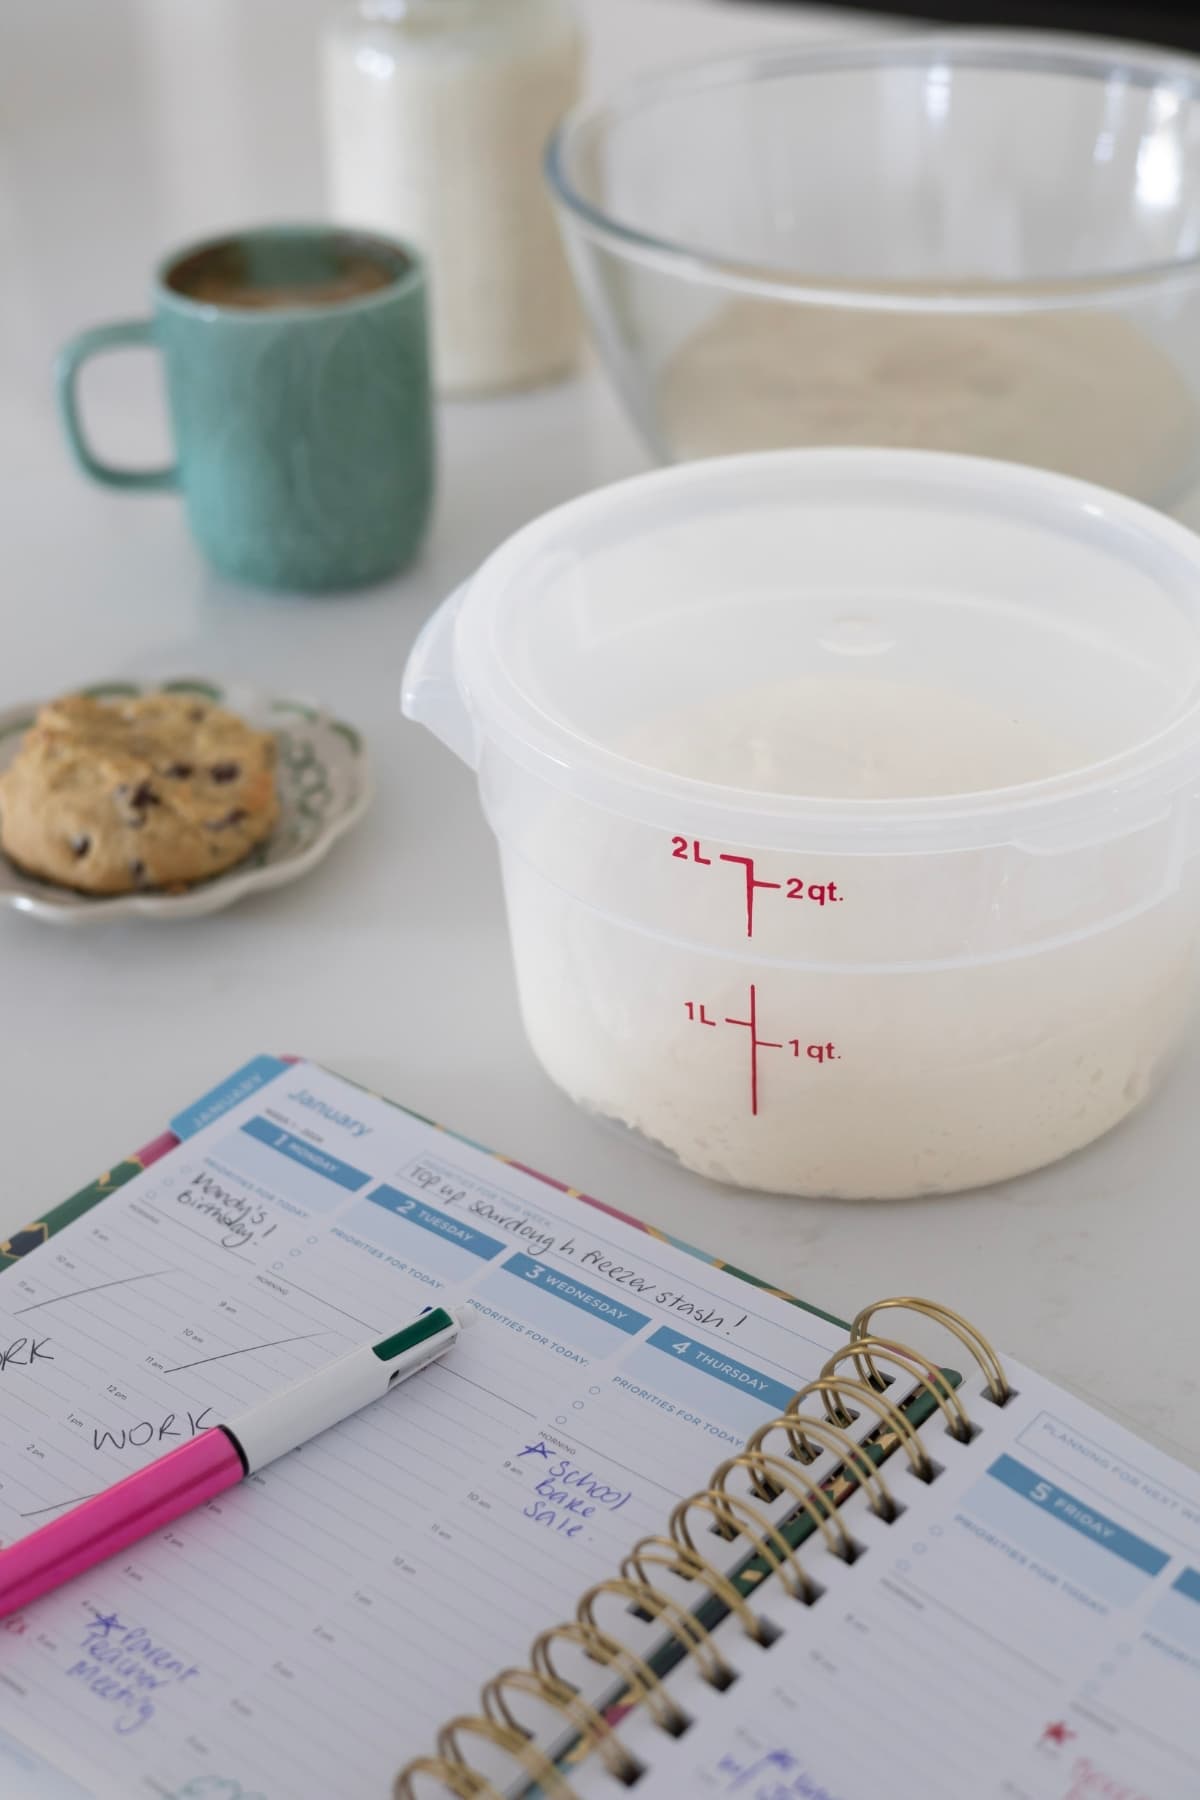
- How can I use my fridge to create flexibility?

Once you understand the stages of fermentation, you can begin adjusting starter amounts in your dough, temperatures, and cold proofing times to build a schedule that feels natural. That’s when sourdough becomes enjoyable instead of overwhelming. You can make incredible sourdough bread, no matter what life throws at you!
You can learn how to mix the dough when you get home from work, stretch and fold before going to bed and then shape the dough the next day before going to work. You can then bake your sourdough at a specific time later in the day.
After helping millions of people bake sourdough, I’ve learned that success isn’t about finding the perfect timeline. It’s about understanding fermentation well enough to adapt the process to your life.
Whether you’re baking around work, school runs, sports practice, vacations, or busy family schedules, sourdough can absolutely work for you. You don’t need to fit your life around sourdough. You just need a sourdough timeline that fits your life.

Popular Sourdough Bread Timelines
Frequently Asked Questions
While a typical sourdough loaf can take anywhere from 12 to 36 hours from feeding your starter to baking the bread, most of that time is hands-off fermentation. The exact timeline depends on your starter strength, dough temperature, and whether you choose to cold ferment your dough in the refrigerator. Understanding fermentation allows you to adjust the schedule to fit your life rather than following a rigid timeline.
Yes, sourdough dough can often be left overnight, either during bulk fermentation or in the refrigerator after shaping. Many home bakers use overnight fermentation to fit sourdough around work and family commitments. The key is understanding how temperature affects fermentation so your dough doesn’t overproof. It’s literally making sourdough while you sleep.
The easiest way to make sourdough fit your schedule is to use the refrigerator as a scheduling tool. Adjusting your starter feeding ratio, dough temperature, and fermentation times can also help speed up or slow down the process. Rather than following a fixed schedule, focus on understanding the stages of fermentation and adapting them to your daily routine.
A slightly longer fermentation is often not a problem and can even make your sourdough taste more sour. If life gets busy, placing the dough in the refrigerator can help slow fermentation and give you more flexibility. However, excessively long fermentation can lead to over proofing, which may affect the loaf’s structure, oven spring and flavor.
No! Sourdough fermentation needs to occur at room temp – particularly for the first part of the fermentation. The second part can be done in the fridge. You can read about how bulk fermentation differs from cold fermentation here.
The best sourdough baking schedule is the one that works for your lifestyle. Many busy bakers feed their starter in the evening, mix dough before bed, allow it to bulk ferment overnight, shape it in the morning, and bake the following day. Using cold fermentation gives you the flexibility to bake when it’s convenient rather than when the dough demands it.
No. Sourdough recipes provide estimated timelines, but fermentation is influenced by temperature, starter activity, flour choice, and hydration. The most successful sourdough bakers learn to read their dough rather than relying solely on the clock. Once you understand what properly fermented dough looks like, you can confidently adapt almost any sourdough baking routine to fit your life


Really, really well written Kate, very impressed I am. 🙂
Thank you for sharing.
Best regards and much success to you.
Hey there, Thank for all the ressources that I truly benefit from! I just purchased your “scheduling sourdough” paper but wanted to you if you have it designed black on white as it is very hard to read as it is, with its white font on yellow background and a low contrast. Truly thank you for all the passion you put in the topic and for the Amazing ressources! My baking has improved a lot thanks to you
Hello! I am so confused by the ‘Premix and autolyse’ step!
Autolyse is just mixing the flour and water, letting it sit and then adding the yeast, salt and starter. So what are you Premixing??
Can you please lay out what you do in that particular step? Thank you!
In my recipe I do the premix and autolyse all in one step – so you mix the water, starter, flour and salt all at once (which is great because you never forget to add the salt later). You can see exactly what I do here in this beginner’s guide to sourdough bread.
Hi! I love all your tips! I noticed you said never do allow bulk fermentation in the fridge…I experimented with this during the work week and it turned out pretty successful so far. My levain is built in the morning before work and it’s ready when I get home at 7:30pm to mix the bread. I go through the S/F steps and let it sit out on counter until about 11:00pm then I put in fridge. It just slows it down so I don’t have to stay up all night. I put it back on the counter when I get up the next morning and monitor my dough and it is ready to preshape a few hours later. So far I have success with this process. Just in case anyone wants to try it! Your thoughts would be appreciated!
Hi Lesle, so if you’re just pausing the bulk fermentation in the fridge because then you’re taking it out and resuming the bulk fermentation the next morning. The truth is, the yeast go to sleep in the fridge, so you’re not actually allowing it to bulk ferment in the fridge. The bacteria will still be fermenting the dough, but the yeast will be asleep, so you’ll still need to let them wake up and do their job before you bake it. Essentially, you can pause the bulk fermentation overnight, but you definitely still need to dough to double before you shape and bake it 🙂 But great to know this works for you and helps you bake sourdough on your schedule 🙂 K xo