
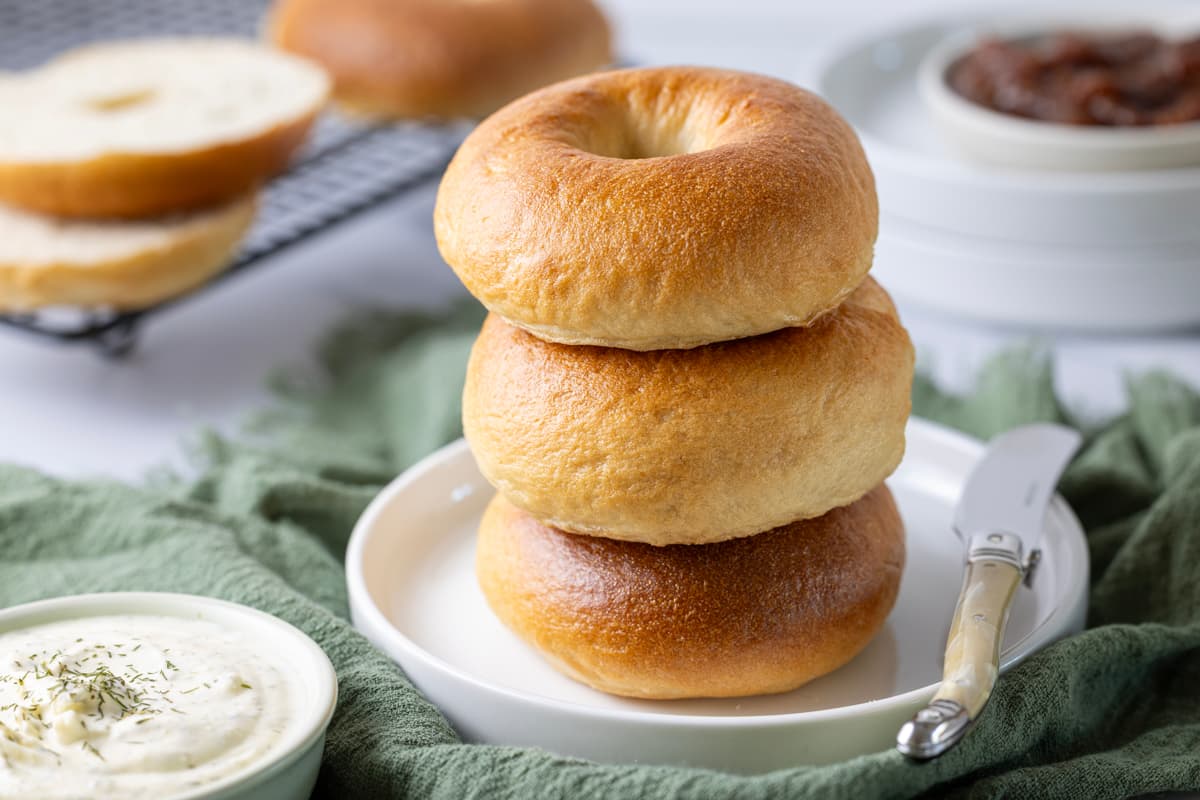
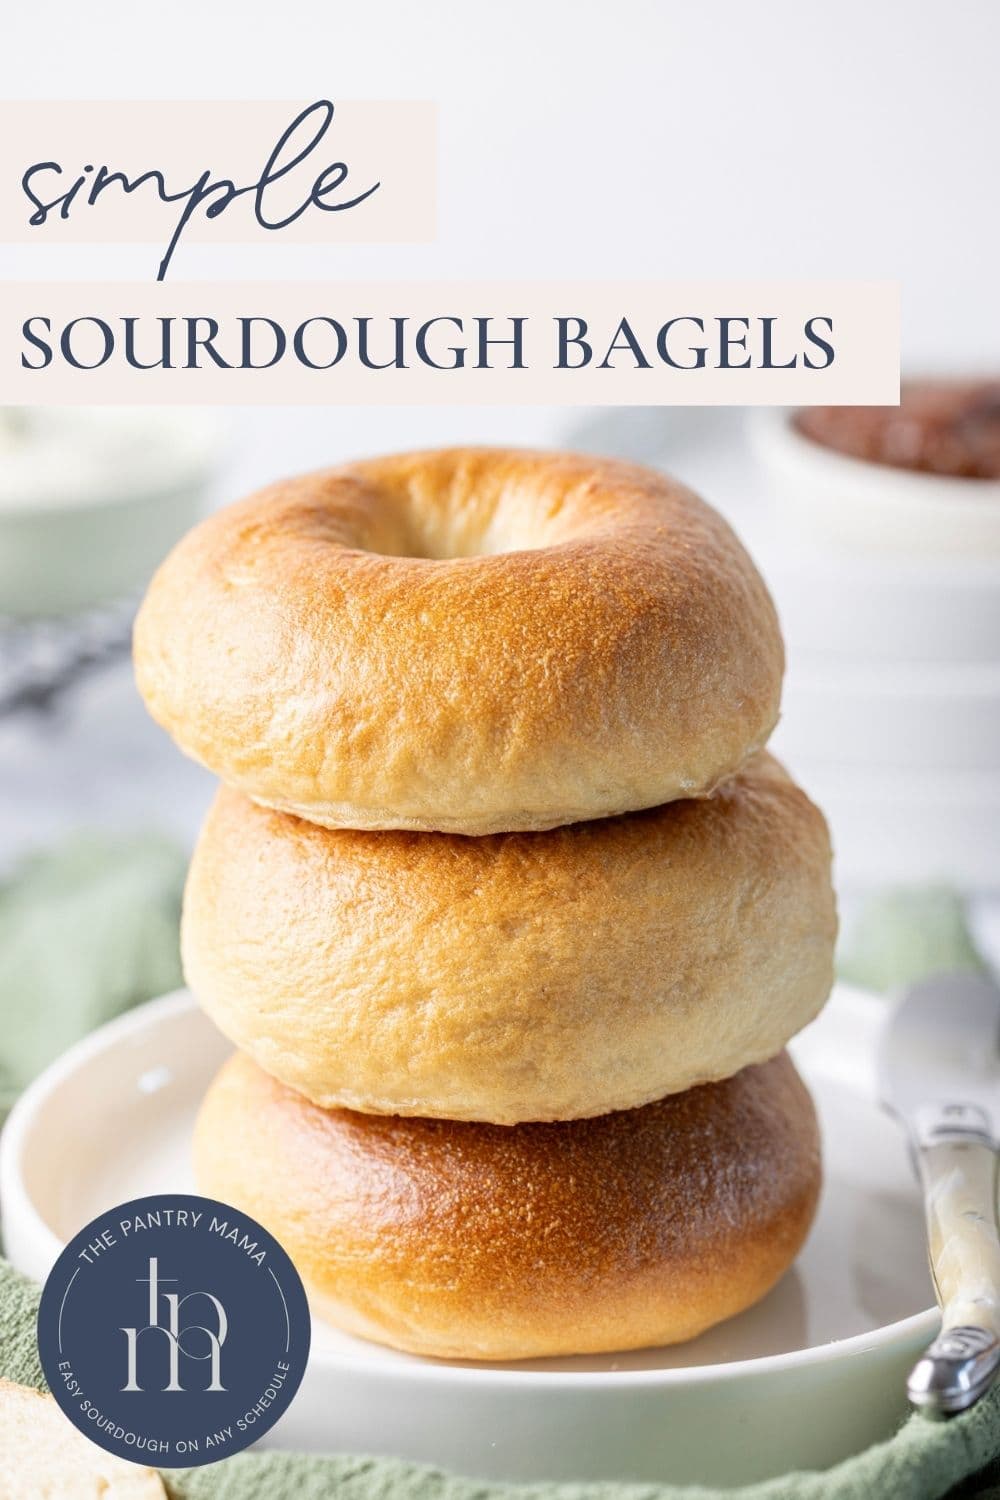
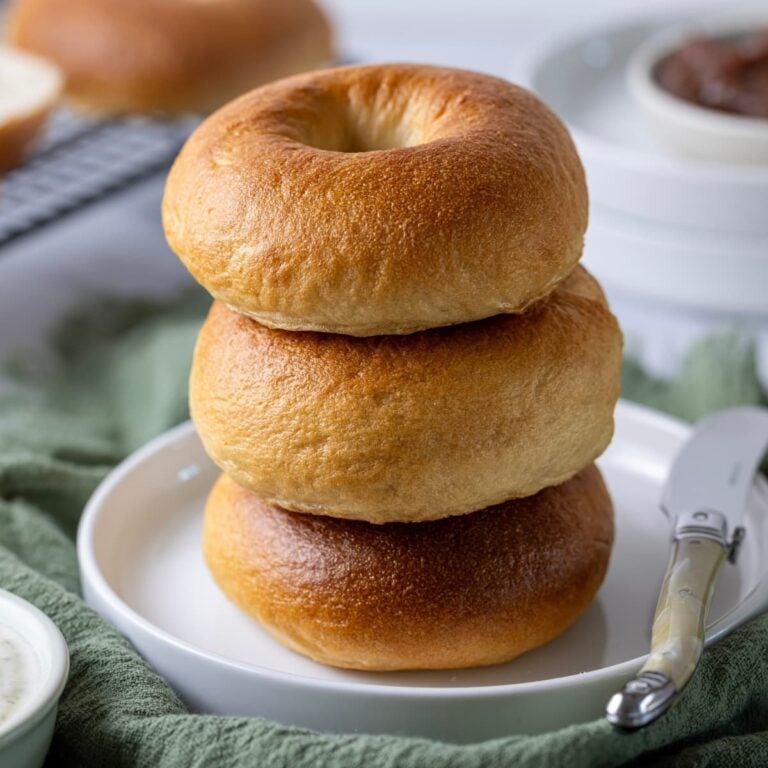
This easy sourdough bagel recipe can be made using discard and will have you wondering why you haven’t made them before! Trust me, you’ll never buy them from the store again – especially if you make a double batch and stash a batch in the freezer. Get your sourdough starter ready … because you are going to want to make these immediately!
This post contains affiliate links. Please see our disclosure policy.
Why You’ll Love This Reipce!
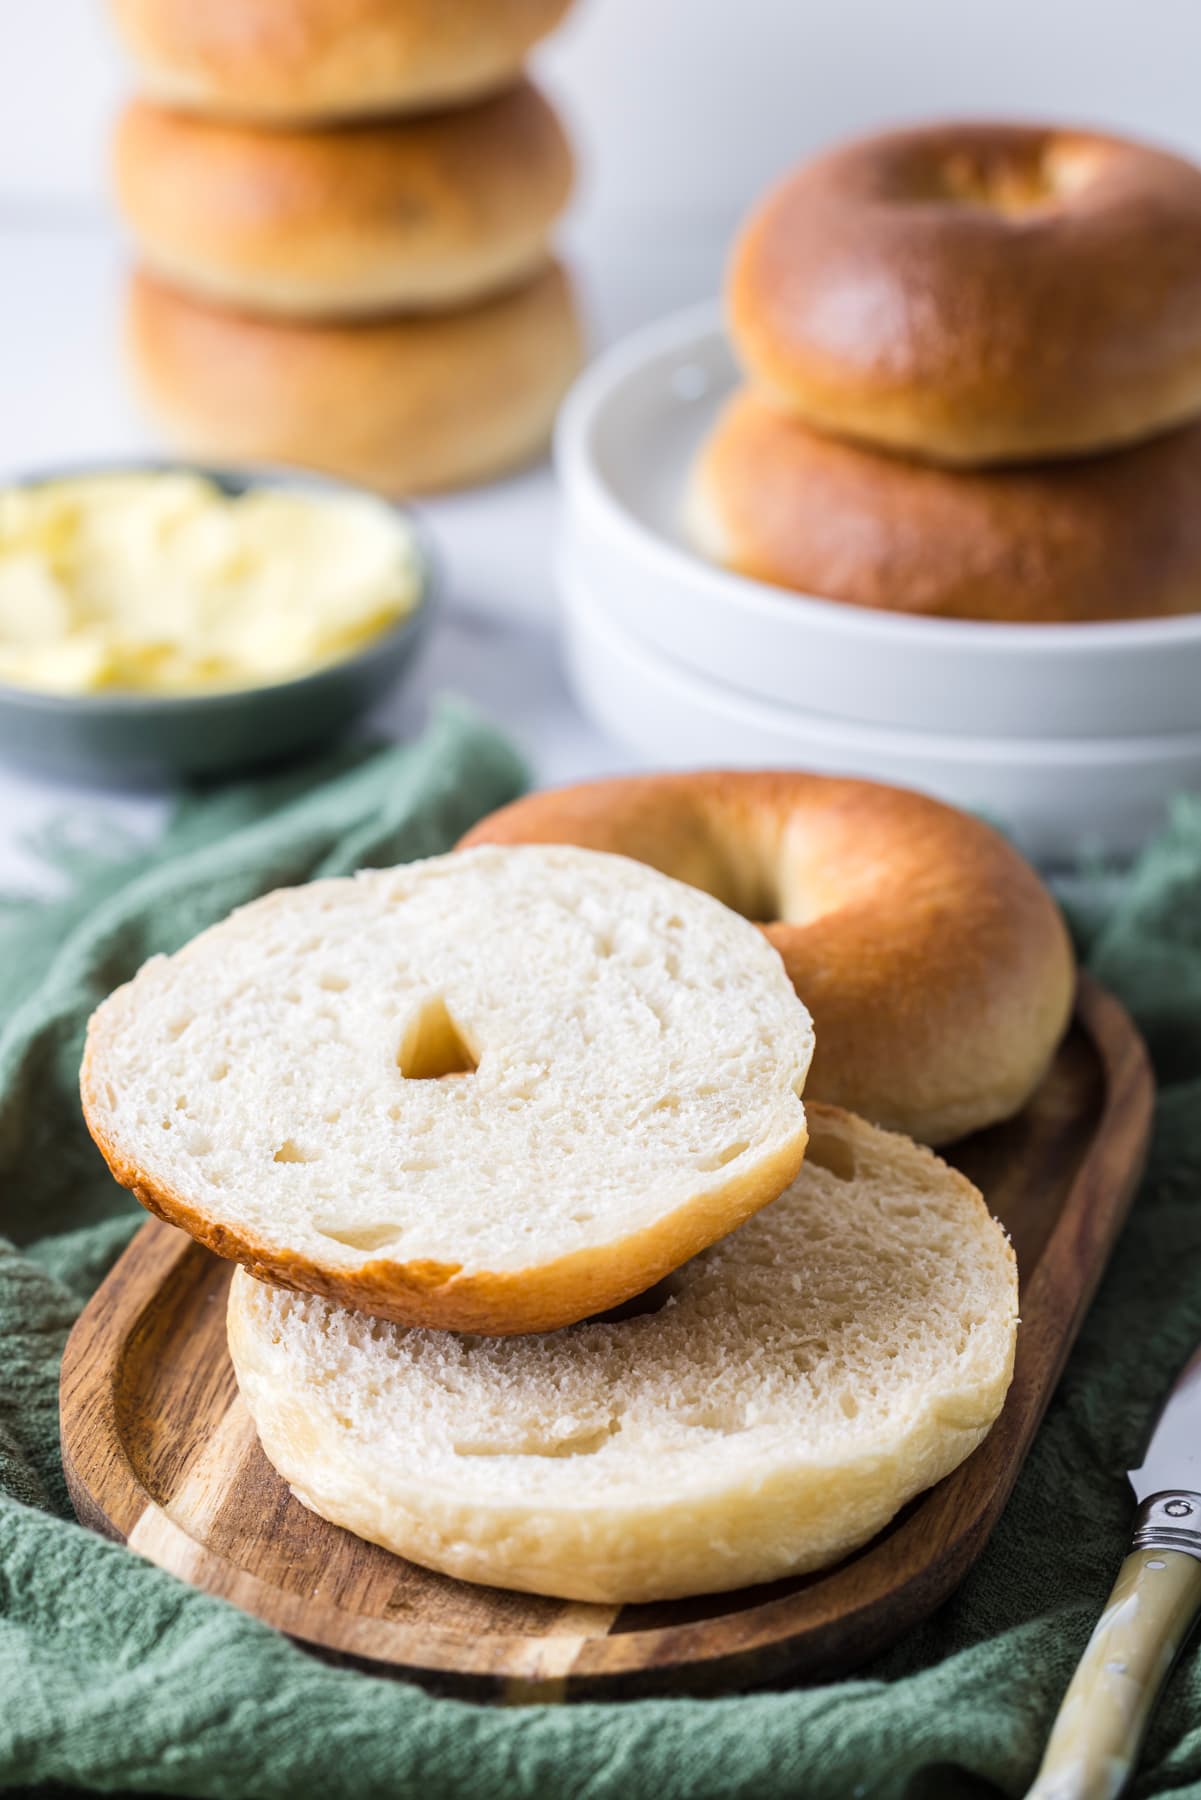
- Chewy Texture – These sourdough bagels have a complex sourdough flavor and deeply golden, chewy texture thanks to sourdough fermentation.
- Add Your Own Toppings – You can bake these as plain sourdough bagels, or add toppings like poppy seeds, everything bagel seasoning or sesame seeds. You can adjust this recipe to suit any topping preference.
- Easy Breakfast Idea – Just like sourdough English muffins, these sourdough bagels are an easy breakfast idea that can be made ahead and frozen for added convenience.
Ingredients
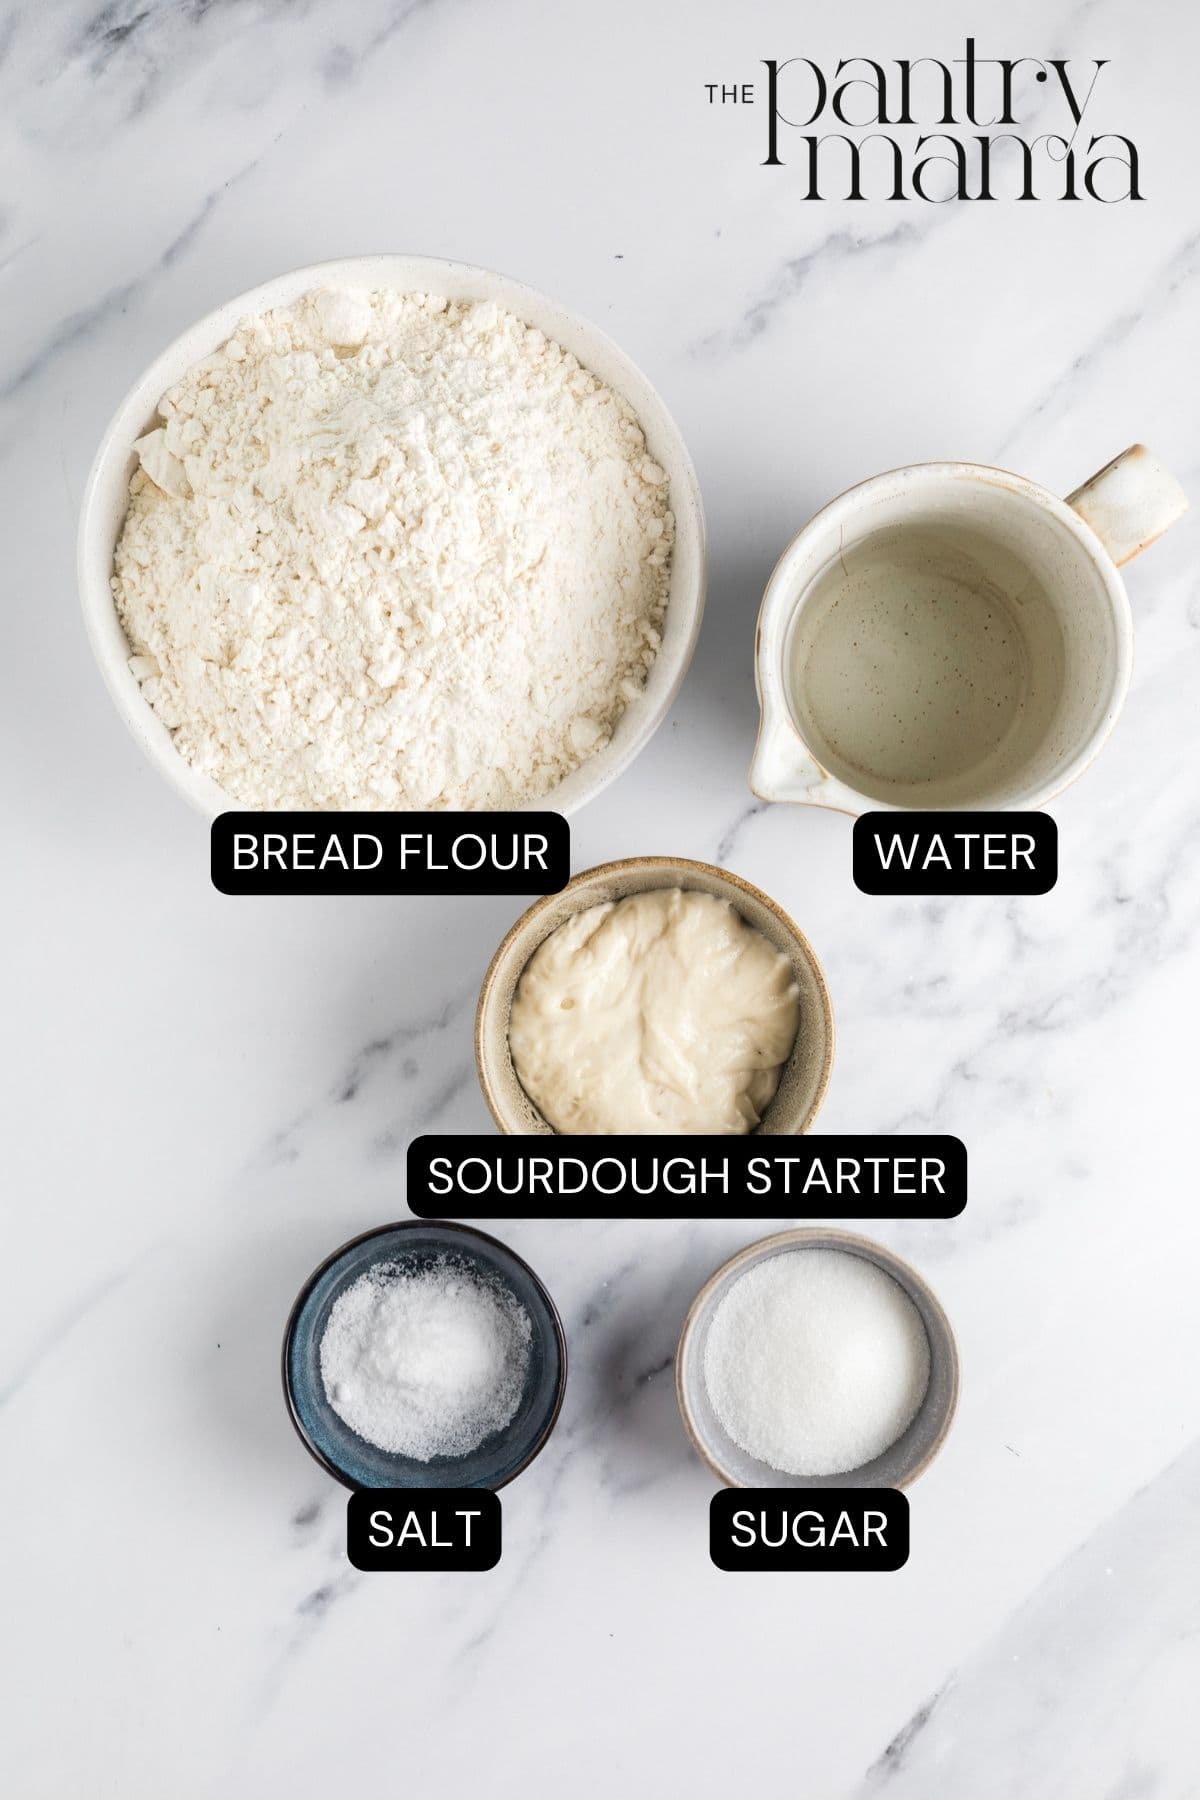
- Sourdough Starter – I prefer to use active sourdough starter, but I’ve added notes for using discard further down.
- Bread Flour
- Water
- Sugar
- Salt
- Honey – This is just for boiling the bagels in before you bake them. You can also use baking soda if you prefer.
How To Make Sourdough Bagels
Making sourdough bagels is incredibly easy! It’s a lower hydration dough which is really easy to work with. While you can knead this sourdough bagel recipe by hand, I recommend using a stand mixer fitted with a dough hook attachment.
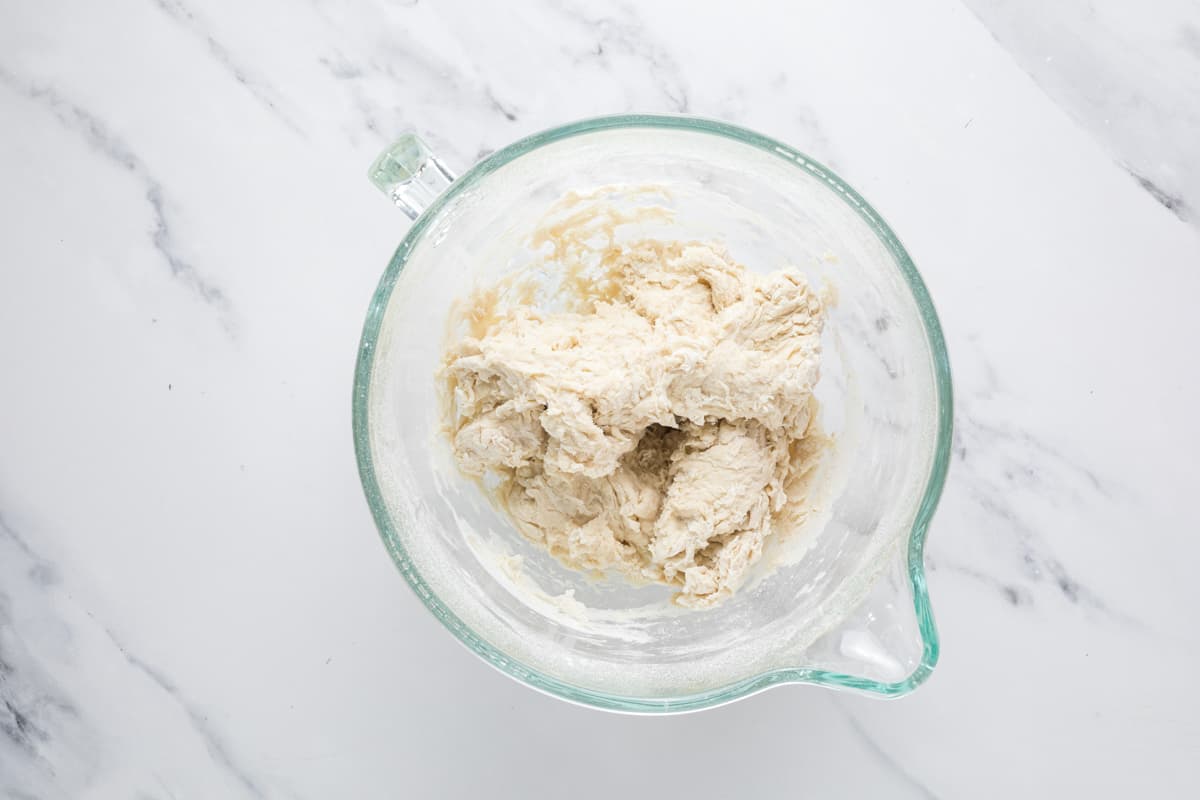
Add your active sourdough starter, water, flour, sugar and salt to the bowl of a stand mixer and bring together to form a shaggy dough using the dough hook attachment. Allow the dough to rest for around 15 minutes.
Knead the dough, either in your stand mixer or by hand, for around 10 minutes until it is smooth and supple. If you’re using a stand mixer, make sure you leave the mixer on a low speed. You’ll know the dough is ready to move to bulk fermentation when it’s slapping the sides of the bowl. This is a stiff dough (much like sandwich bread dough) so it won’t be super elastic, however it should be smooth and not sticky.
Once the dough is sufficiently kneaded, you’ll need to allow it to rise or ferment at room temperature. You want the dough to double and be puffy and soft.
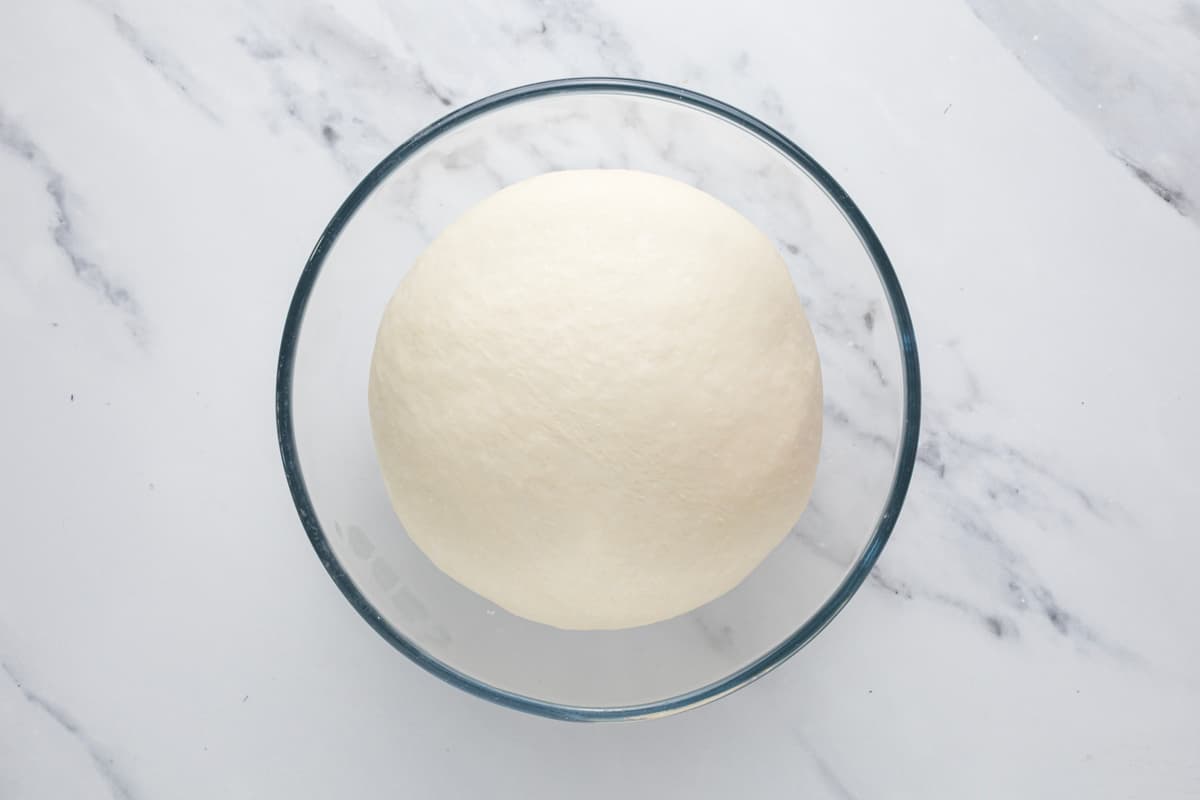
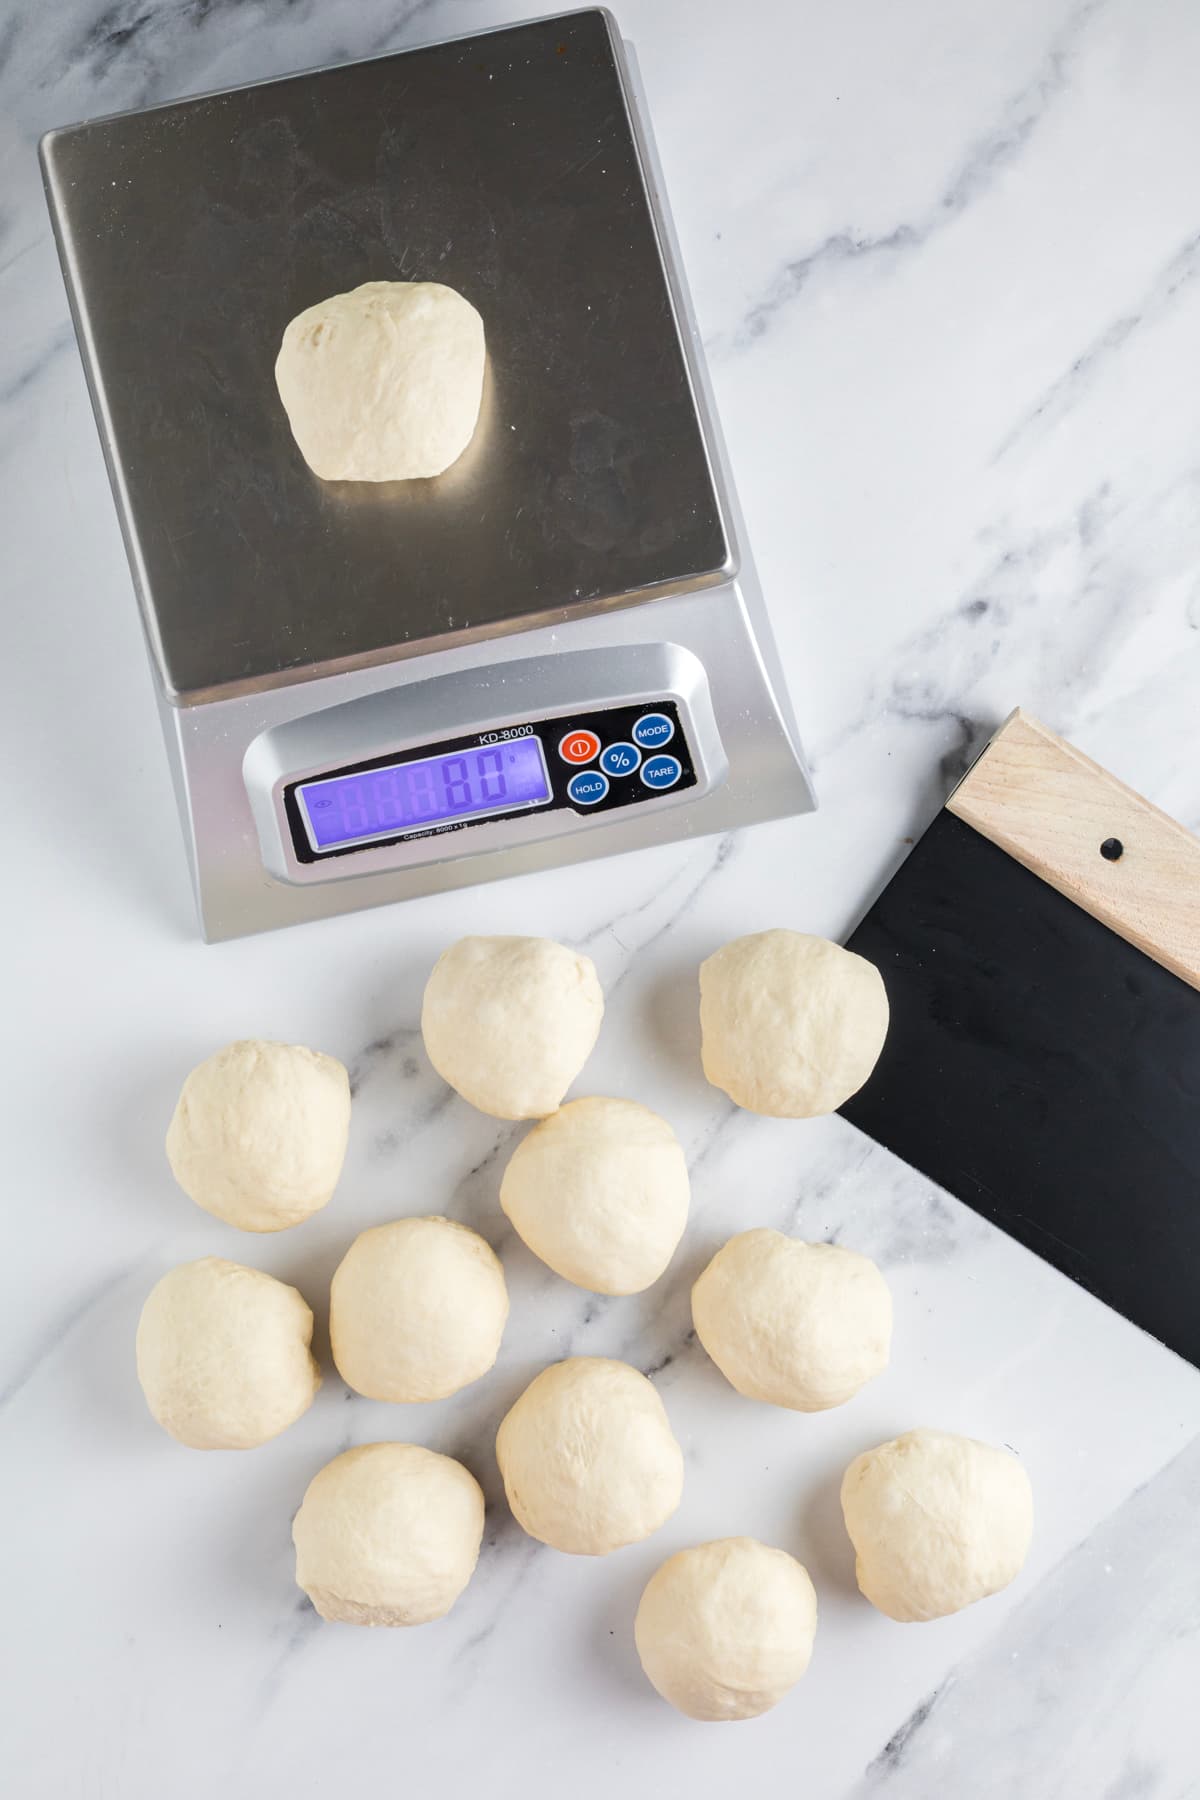
Once the dough has risen, you’ll need to shape the bagels. It’s quite simple, you just need a little patience. Divide the dough into 12 equal pieces (75 grams each). Shape each piece of dough into a small ball.
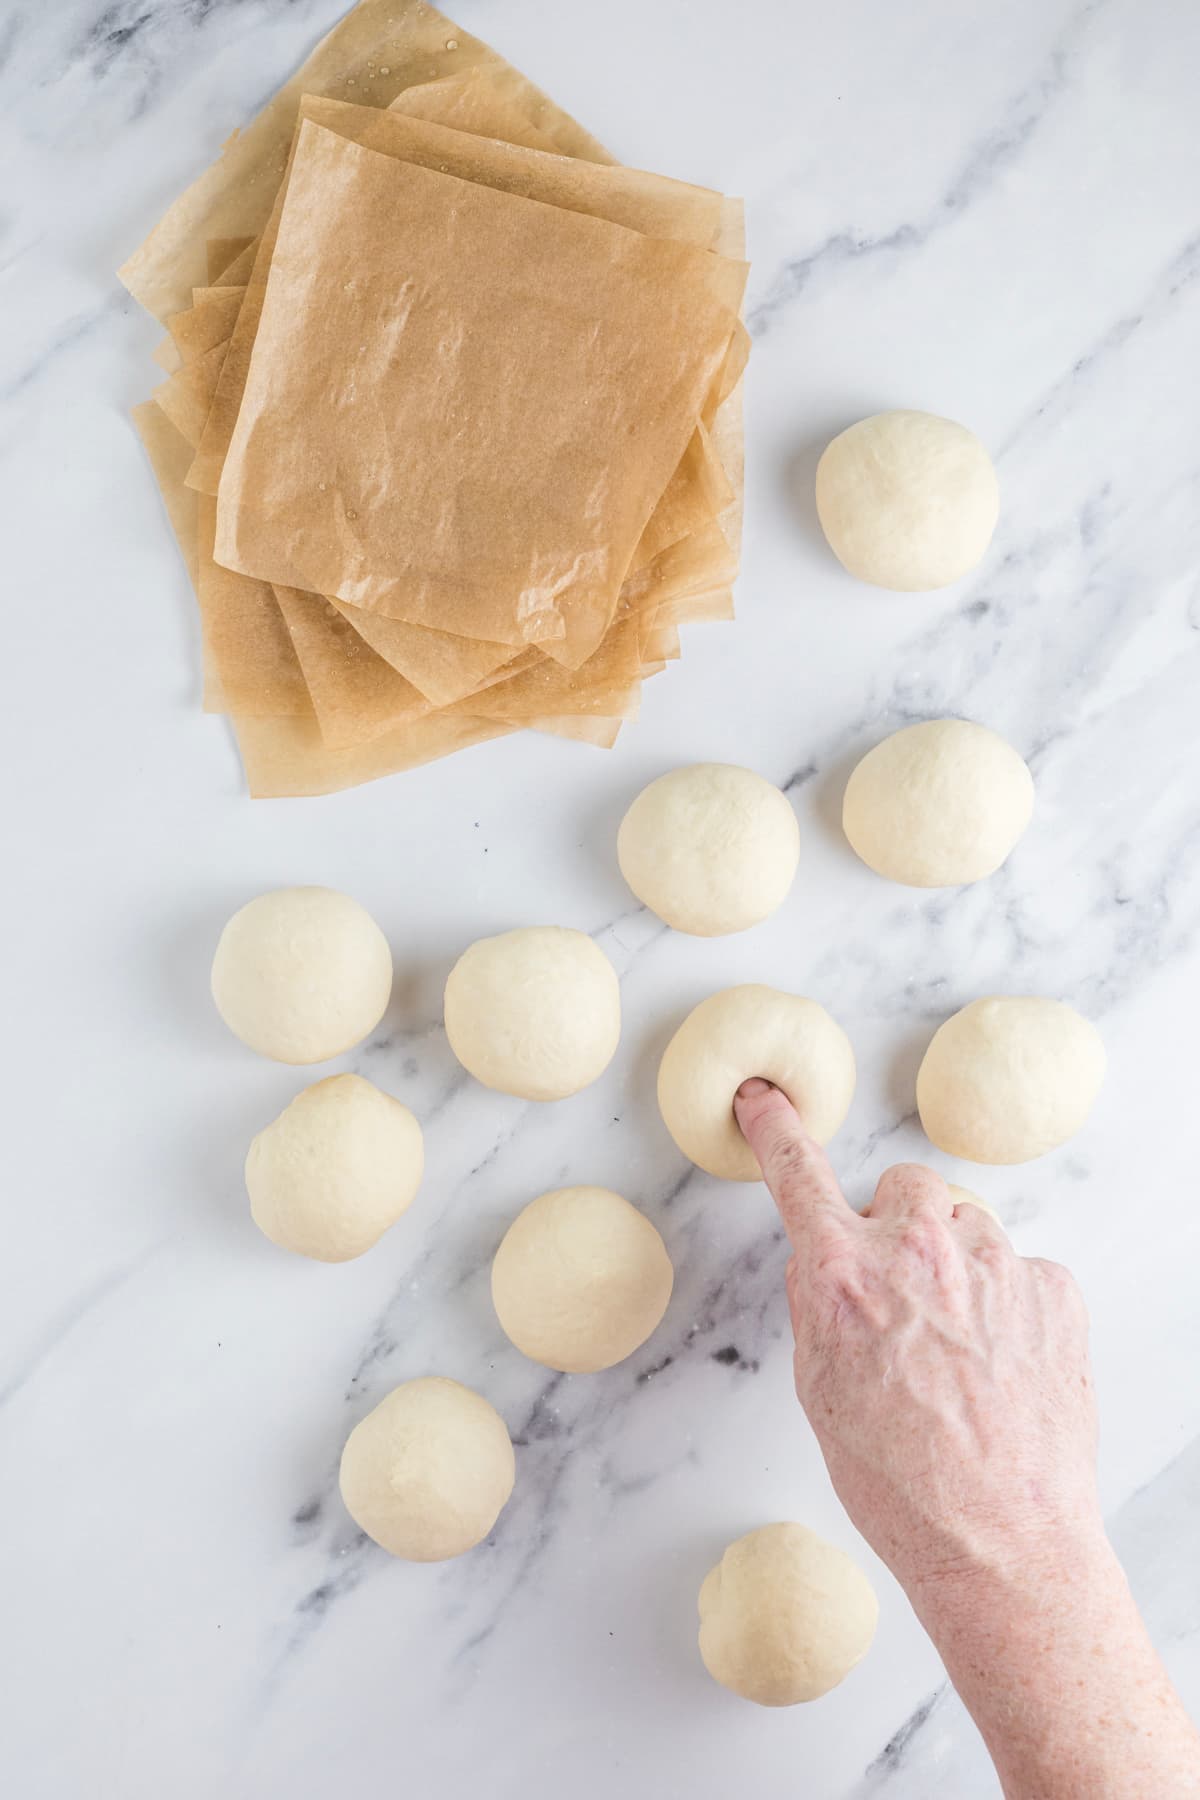
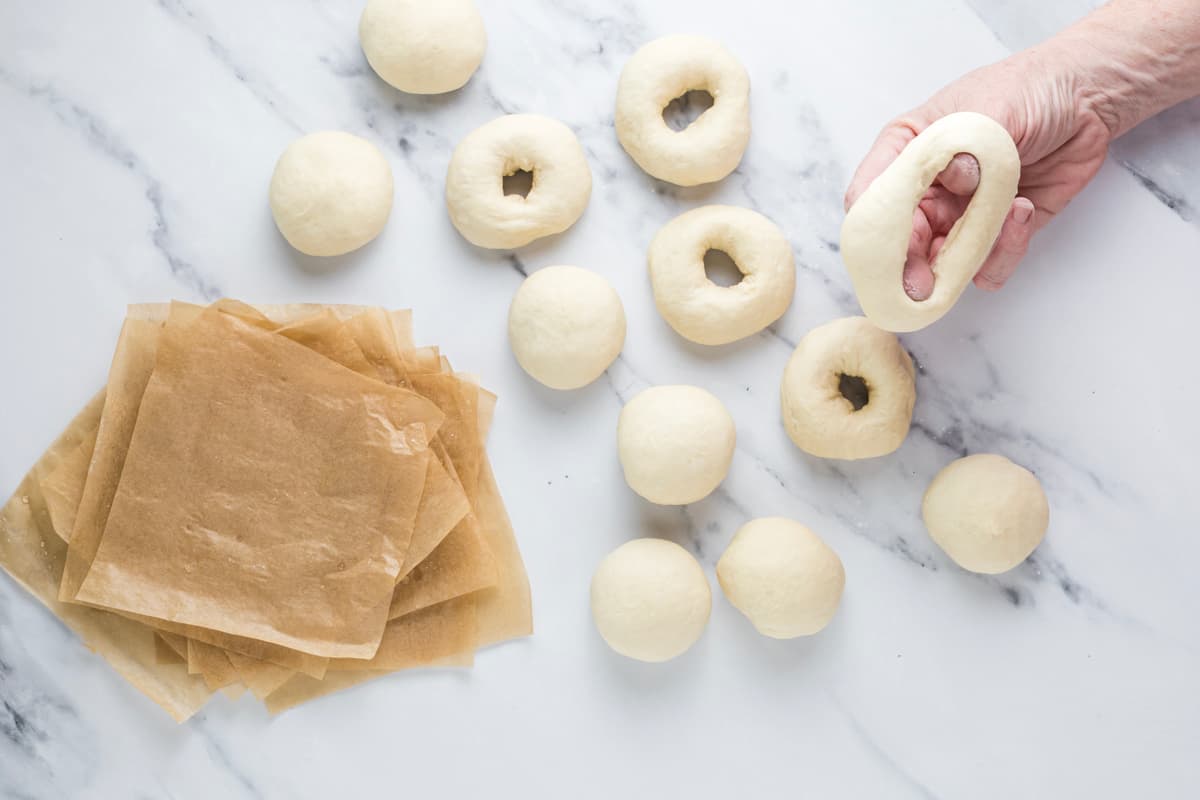
Take each ball and poke a hole in the middle.
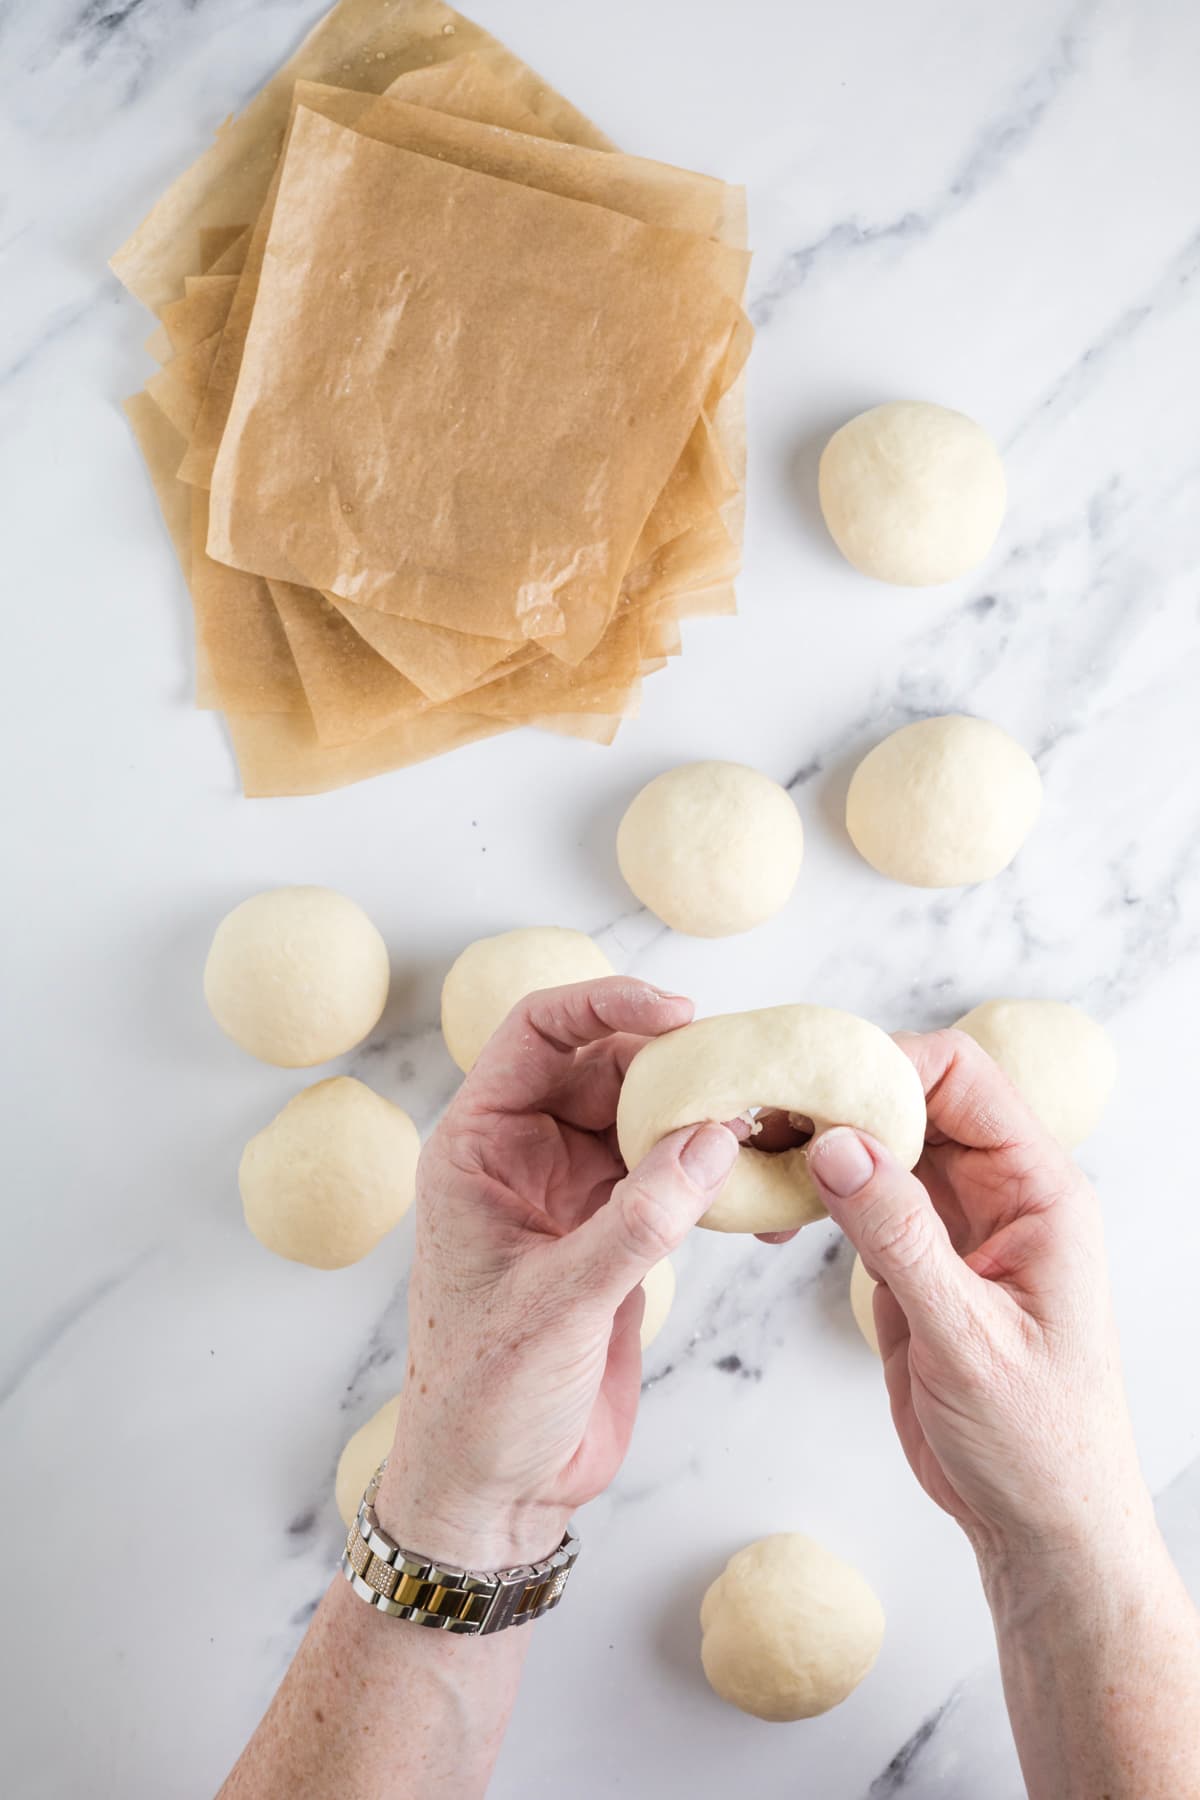
Gently stretch the hole out and then place each bagel onto a baking sheet lined with parchment paper.
Kate’s Pro Tip
The Bagel Boiling Trick That Saves Their Shape
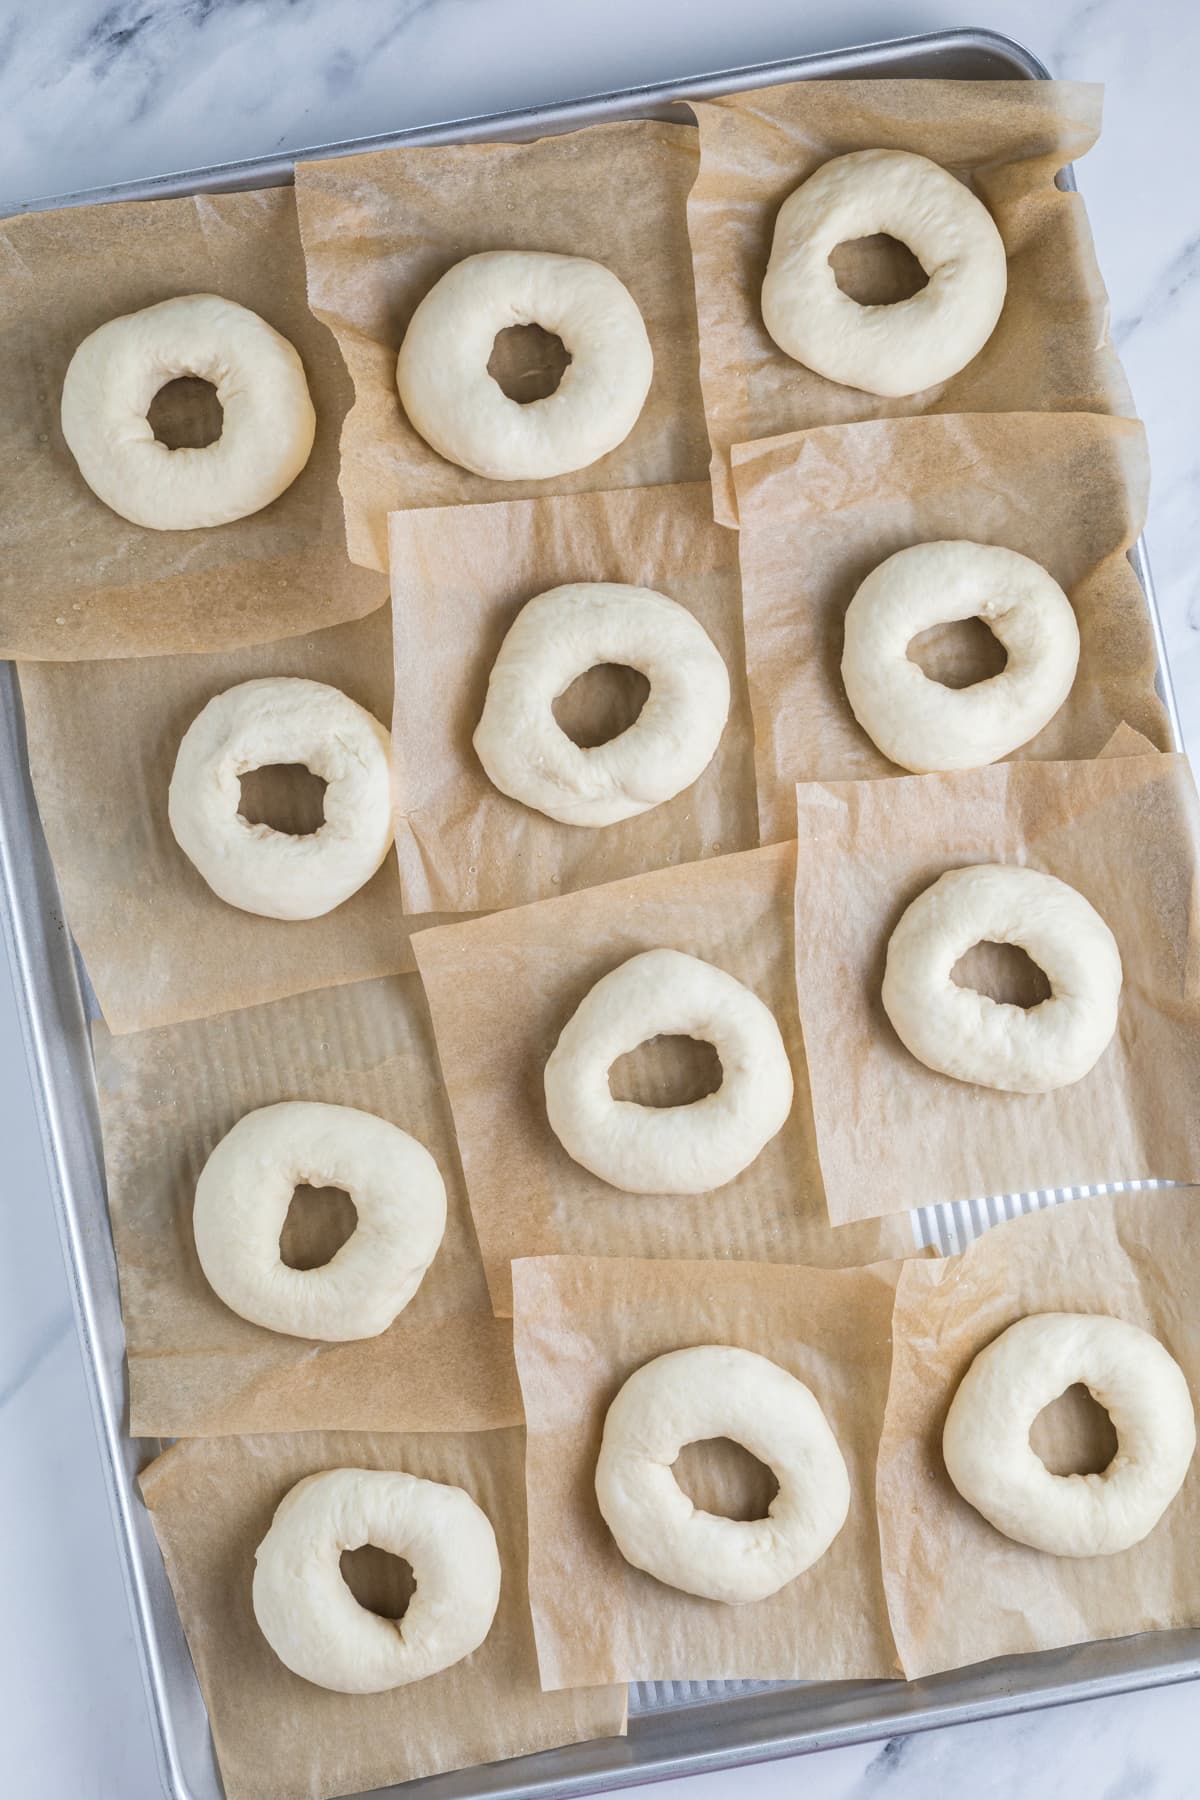
To avoid disturbing your proofed bagels, place each one on a small square of parchment paper before proofing. When it’s time to boil them, lower the bagels into the water with the paper still attached, paper side up. The water will loosen the parchment so you can gently peel it away without stretching the dough or ruining the shape.
Cover the shaped bagels with a flour sack towel and allow them to proof until they become lovely and puffy. Don’t use plastic wrap here as it will stick to the bagels and can be really hard to remove without breaking the outer skin of the bagels.
While they are puffing up, bring a pot of water with 40 grams of honey added to the boil and preheat your oven to 200ºC (400ºF).
When the water is boiling, carefully place 3-4 bagels into the boiling water at a time. You want to boil them for around 30 seconds each.
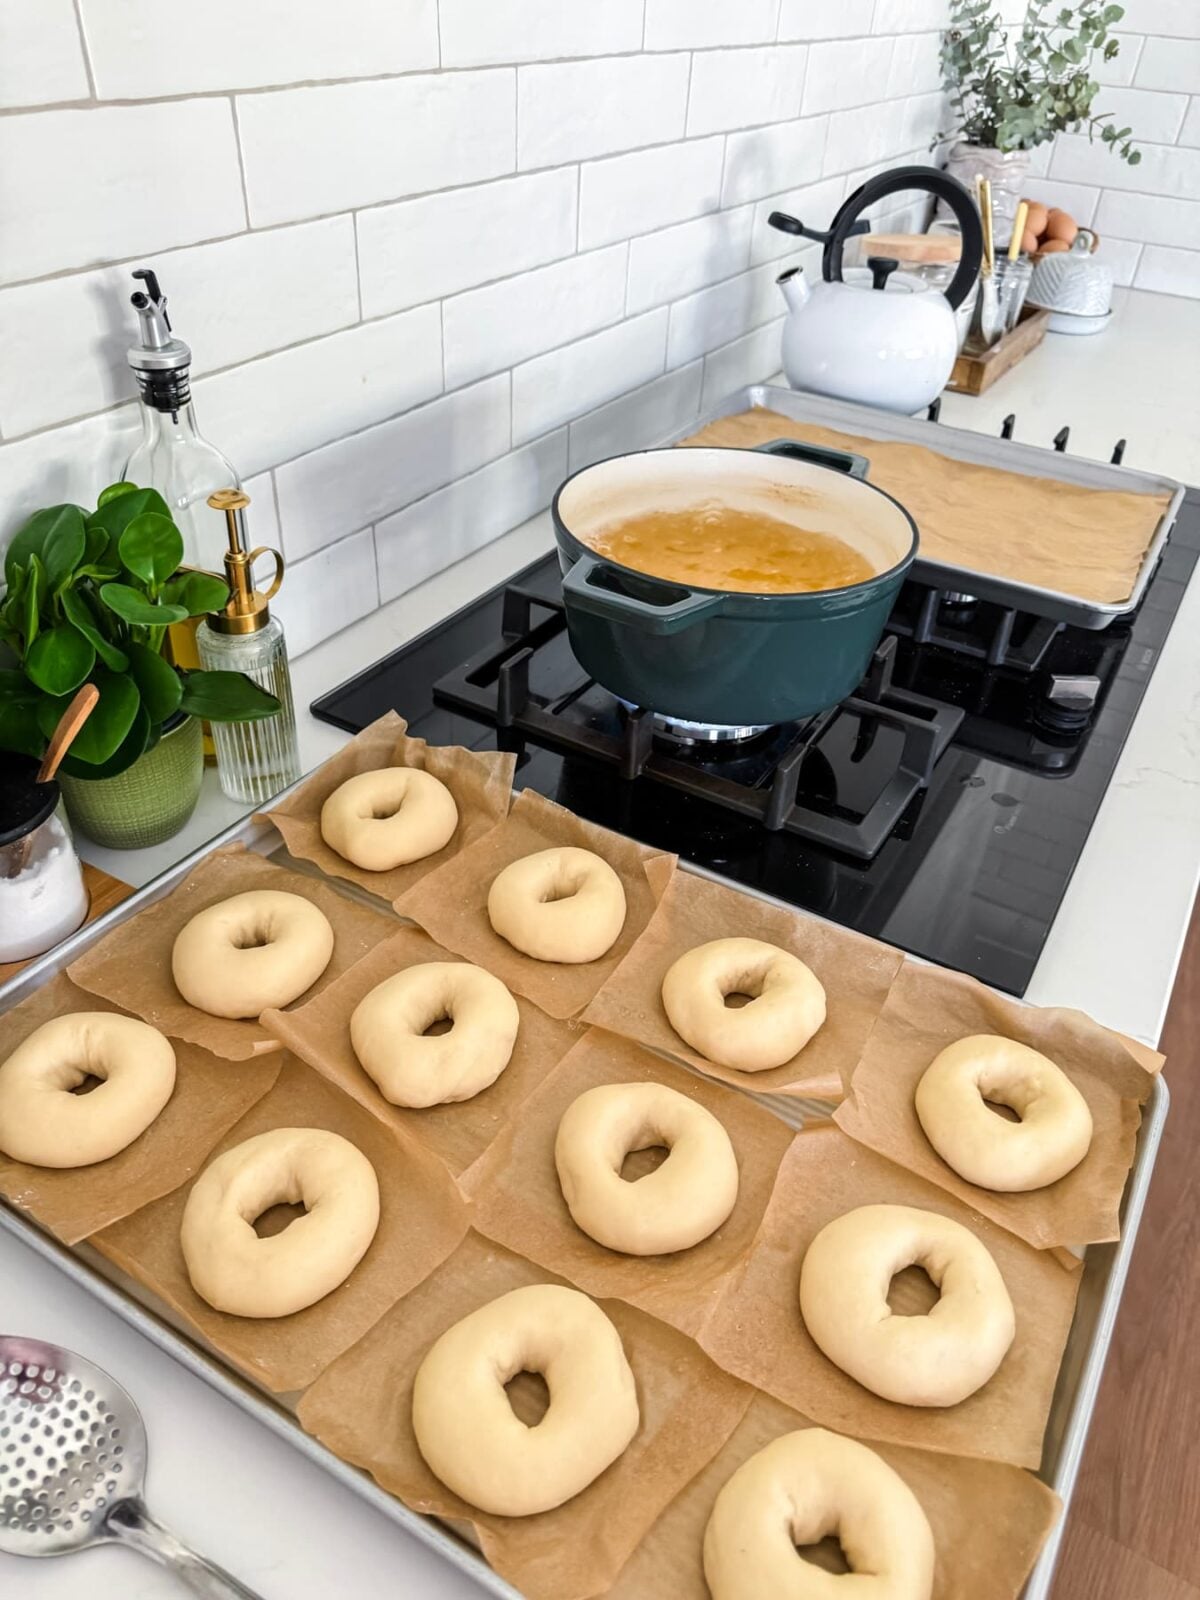
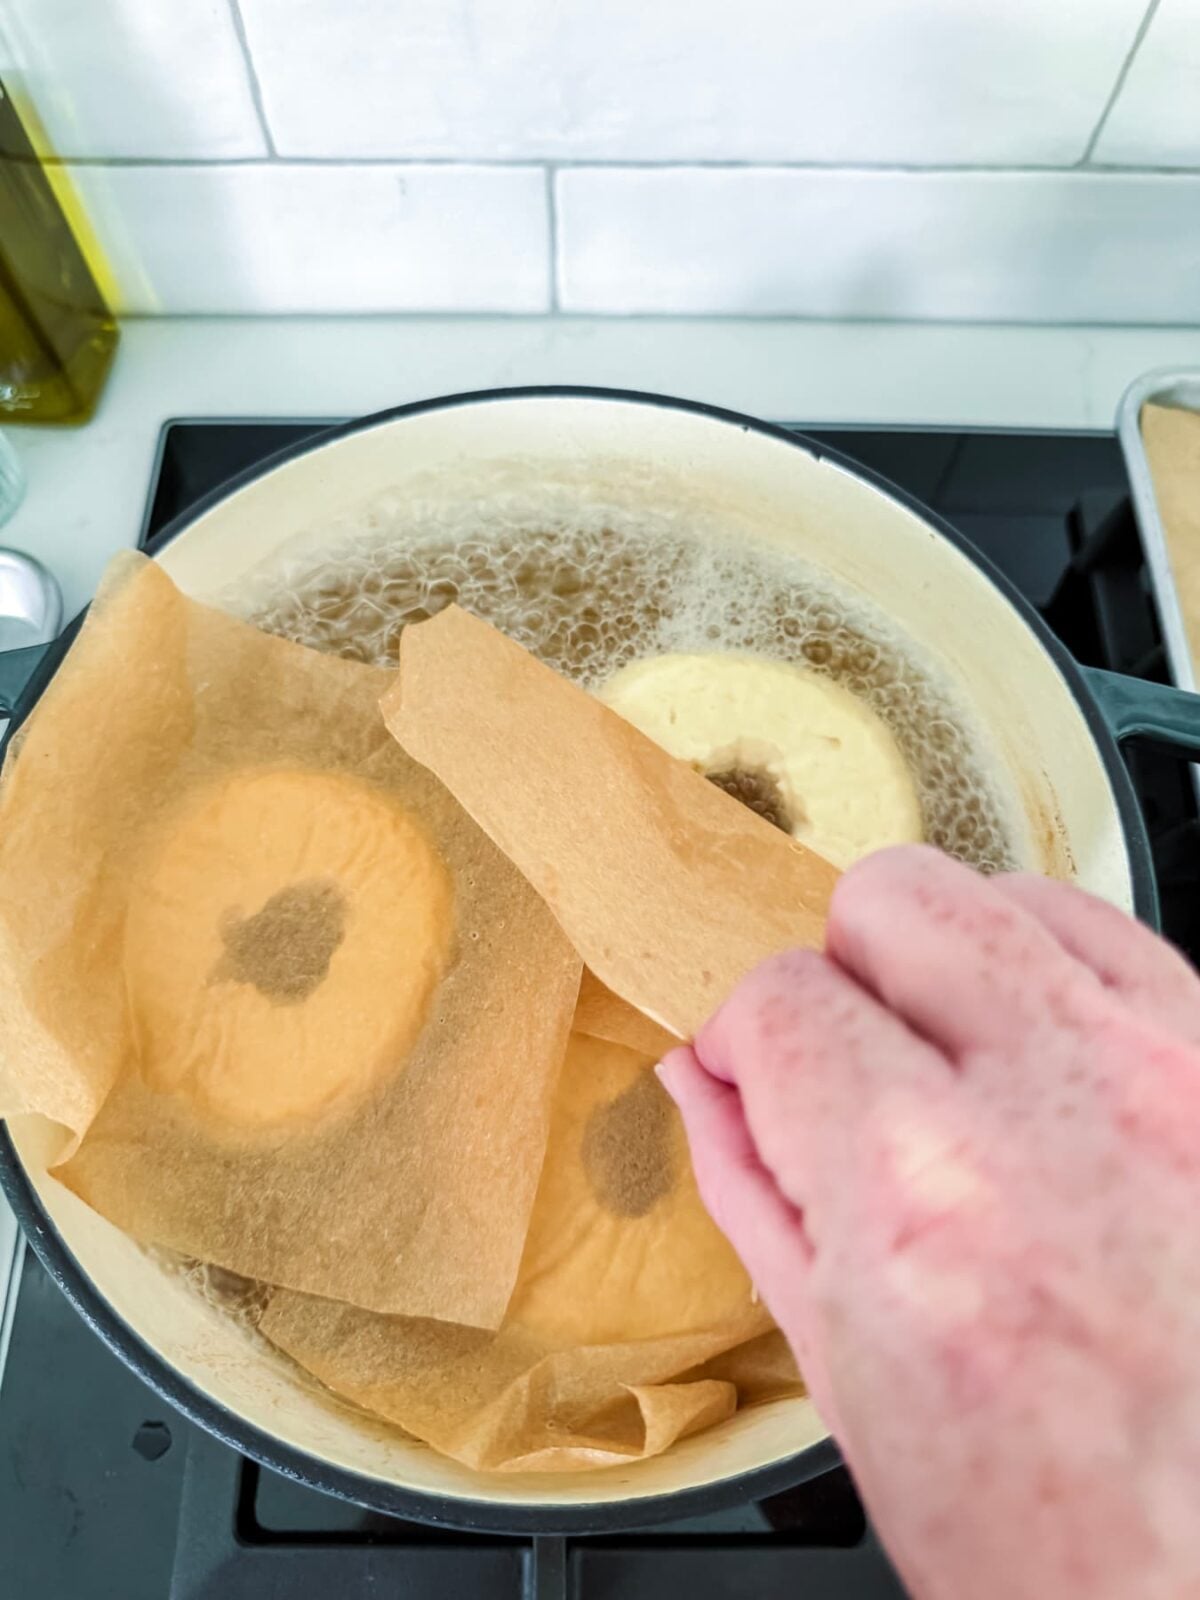
They should float to the surface and that’s when you know to take them out. If you prefer really chewy bagels, boil them for up to 2 minutes each. Carefully remove the bagels from the boiling water using a slotted spoon.
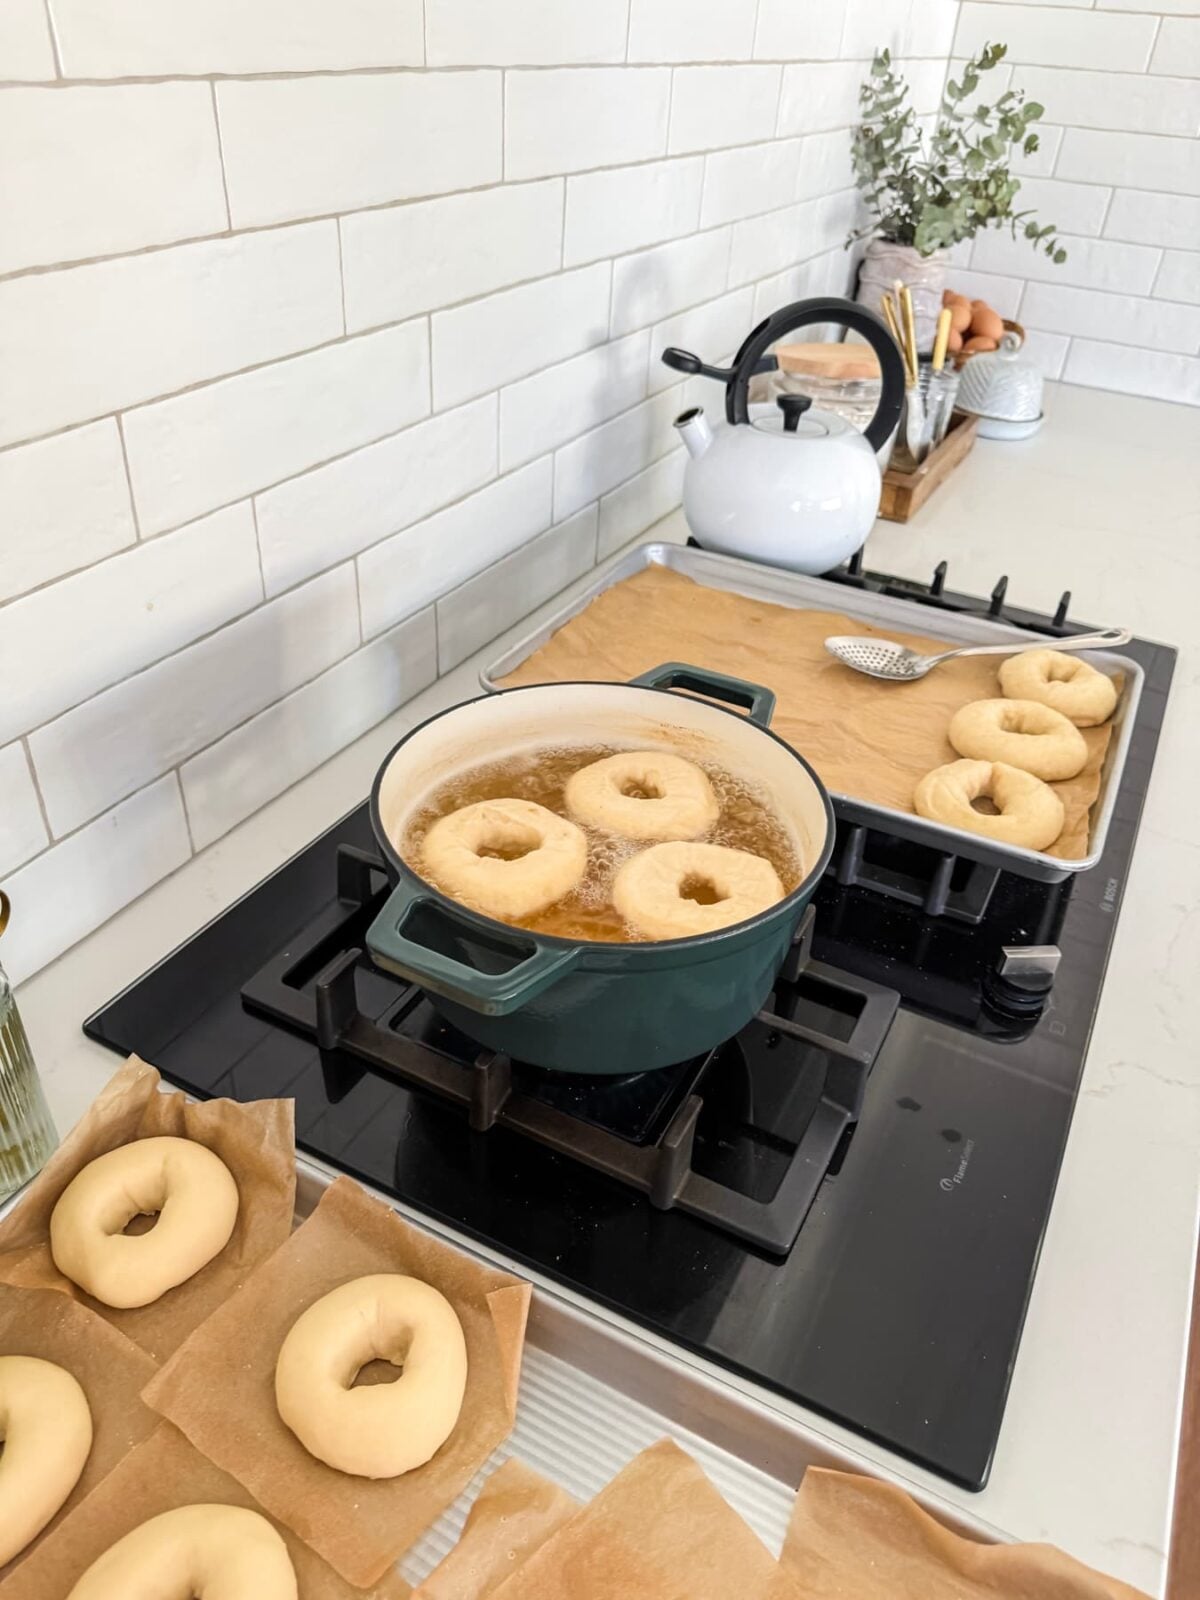
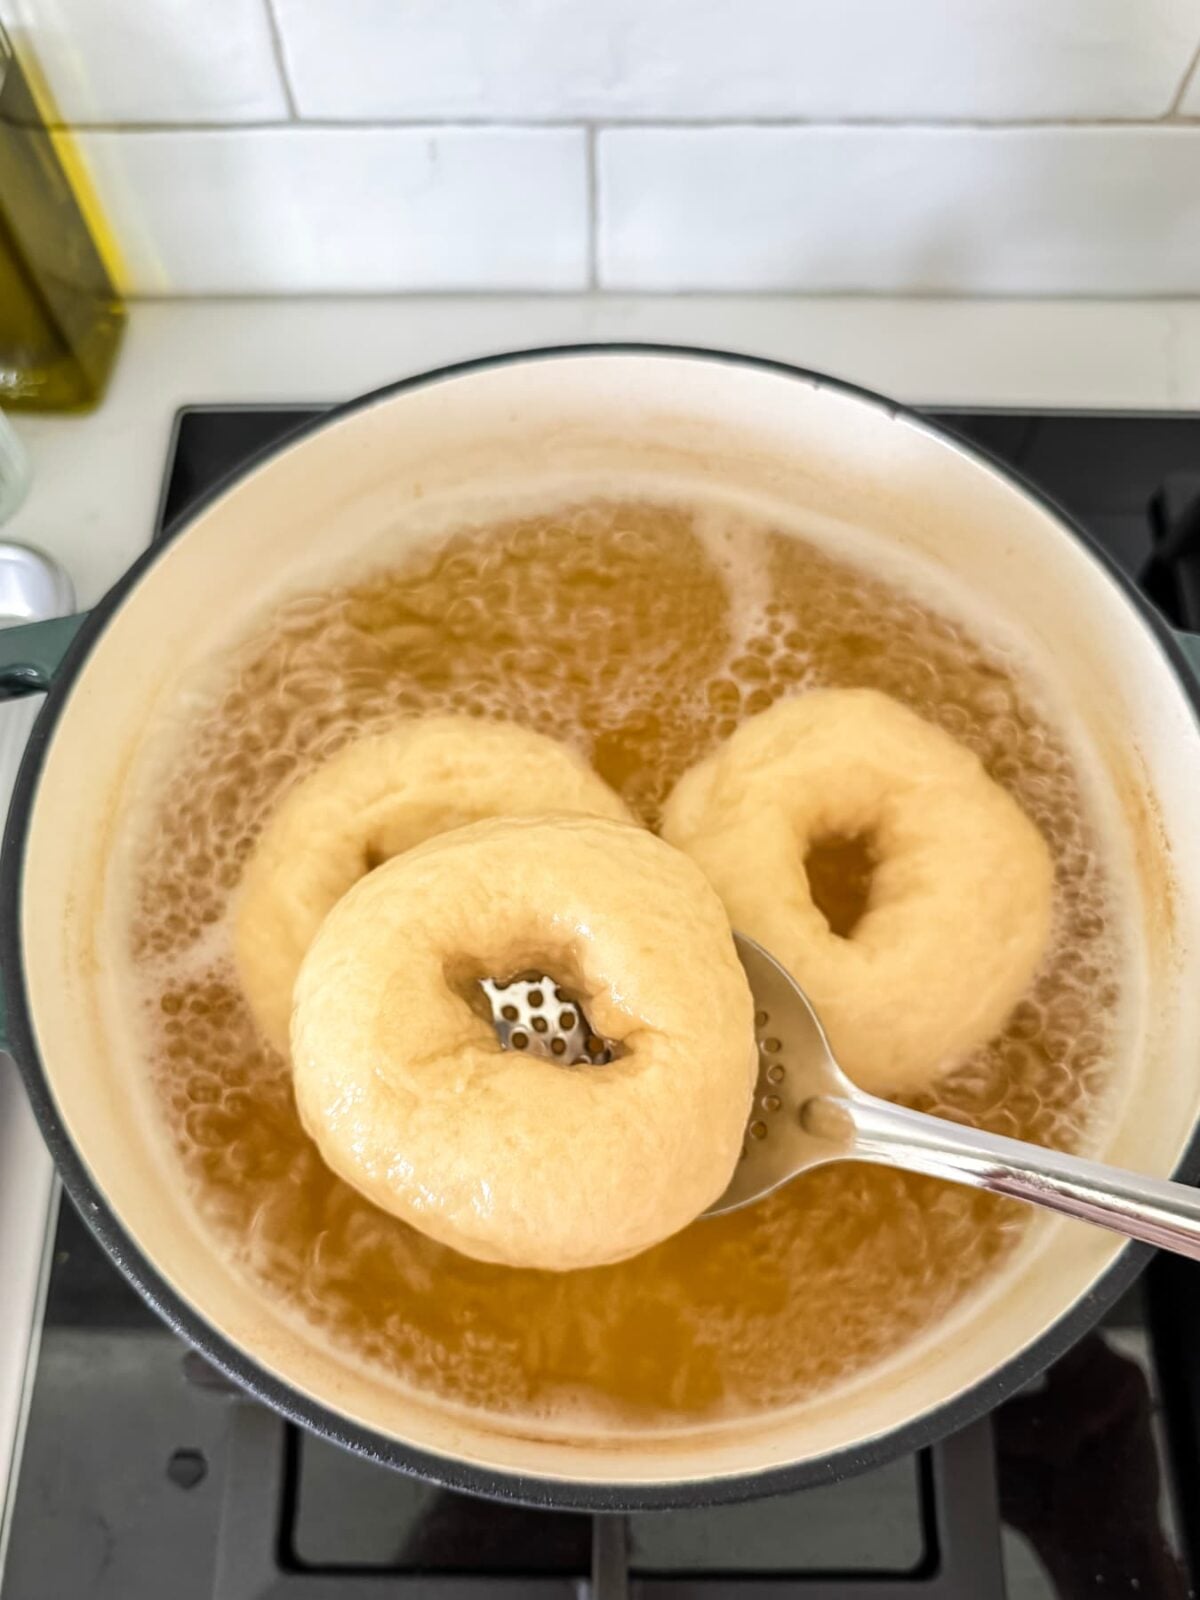
If you want to add seeds or seasonings, dip the wet bagel into the seeds/seasonings before placing on a baking tray lined with parchment paper. You can leave them plain if you wish.
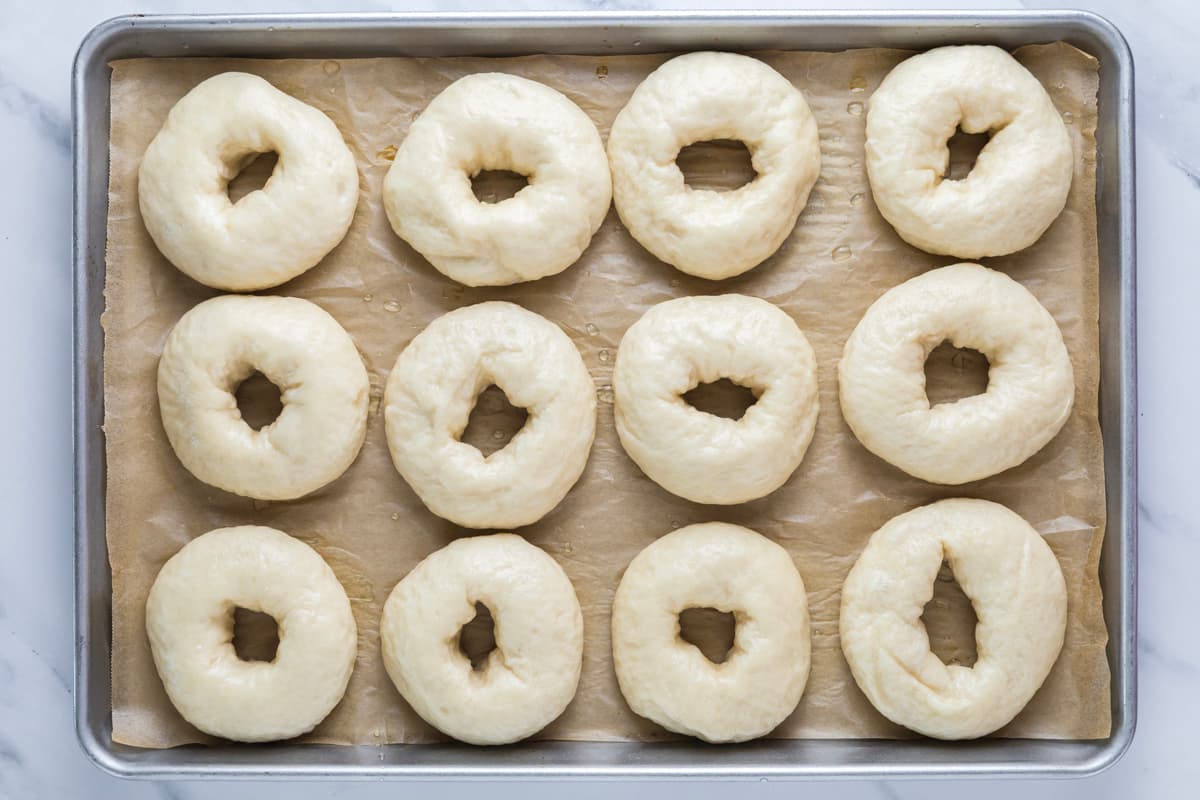
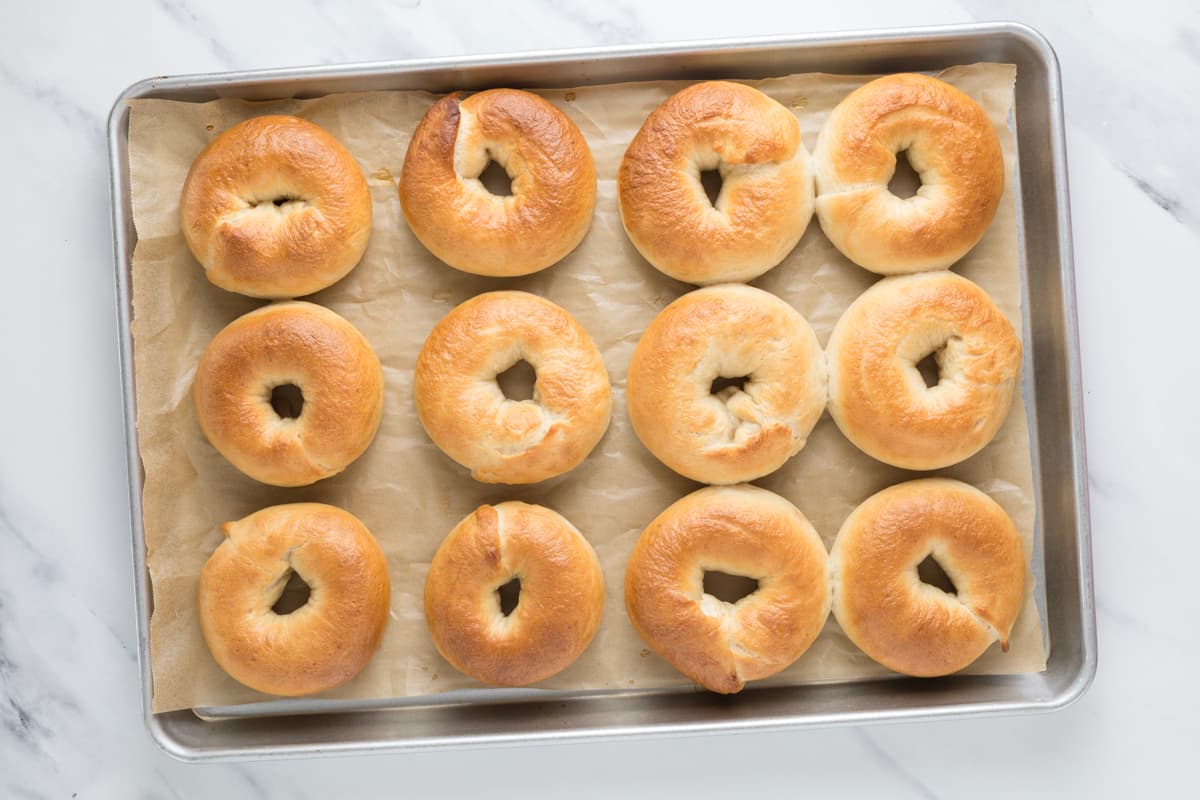
Bake the bagels for around 20 – 25 minutes at 200ºC (400ºF), until they are a deep golden brown. Remove them from the oven when they are golden brown. Allow them to cool before you enjoy them!
Using Sourdough Discard
You can make these sourdough bagels using discard or fed starter. I love making them with fed, bubbly starter and leaving the to bulk ferment on the counter overnight. It gives them such a lovely, distinct sourdough flavor. If you would like to use discard, I recommend adding just a pinch of yeast, particularly if you’re still in the establishment stage of your sourdough starter. This means you can still leave them on the counter overnight if you want to.
Adding more than a pinch of commercial yeast will make them rise much faster – and this is good if you need them in a hurry (tell me it’s not just me that wakes up craving bagels for breakfast?).
So there’s a few options I’ve given – and I’ve put them in a little table to make it easier to understand:
| Starter | Yeast | Bulk Ferment |
| Fed, Active Sourdough Starter | No | Overnight (or until the dough has doubled). |
| Sourdough Discard | Pinch | Overnight (or until the dough has doubled). |
| Sourdough Discard | Up to 7g | Around 1-2 hours (or until the dough has doubled). |
This is a great resource if you’re confused about the difference between sourdough starter and sourdough discard.
Notes on Shaping Bagels
Over the past few years, I’ve tested many different methods of shaping sourdough bagels. From poking a hole in the middle of a ball of dough, to making ropes and twisting them to even more complicated methods!
And do you know what, I have come to the conclusion that the easiest shaping method is my original “poking holes” in a ball of dough. It might not be the most glamorous of methods, but it’s easy for beginners and works every time! Plus, when you boil the bagels, you don’t risk the ends of the bagels coming apart, which can sometimes happen if you’re using the rope method to shape them.
Alternative Bagel Shaping Method
If you prefer the traditional rope method, start by gently flattening one piece of dough into a rough rectangle. Roll it up tightly from one long edge, pinching the seam closed as you go. Roll the dough into a rope around 8 to 10 inches (20 to 25 cm) long, leaving the center slightly thinner than the ends.
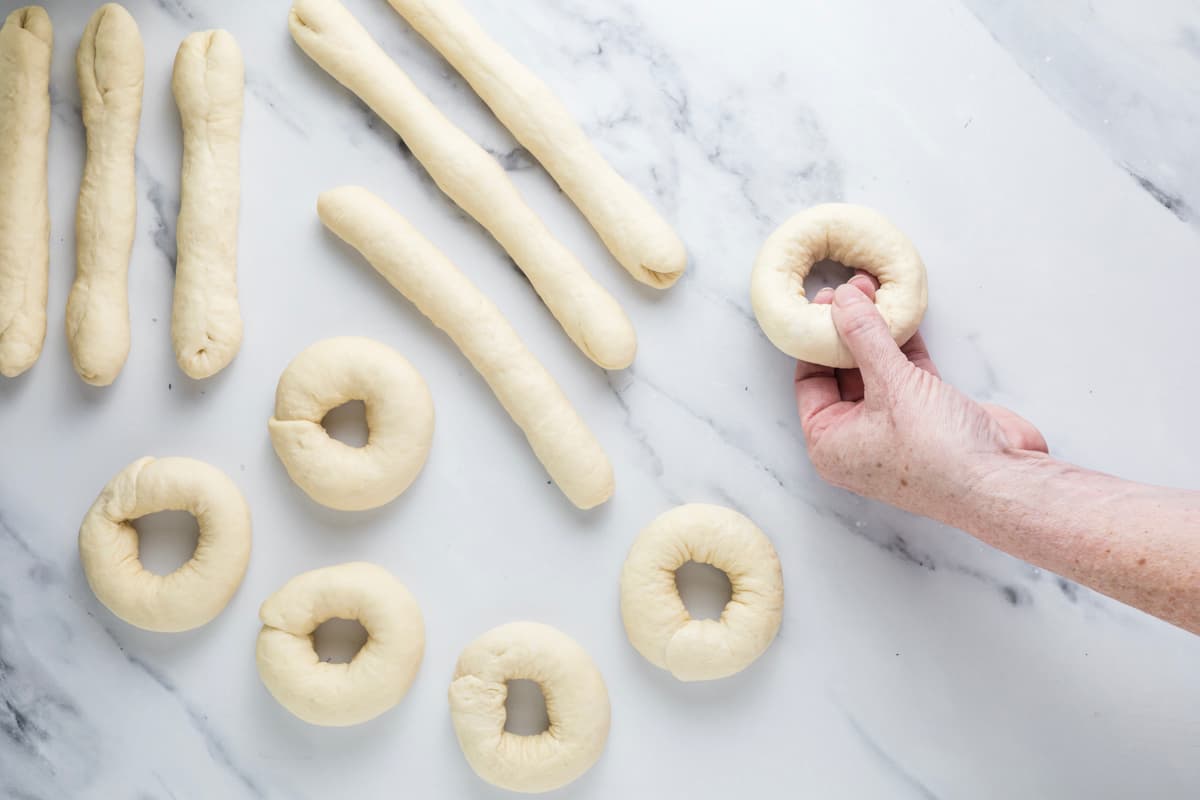
Wrap the rope around your fingers, overlapping the two ends by about 1 inch (2.5 cm).
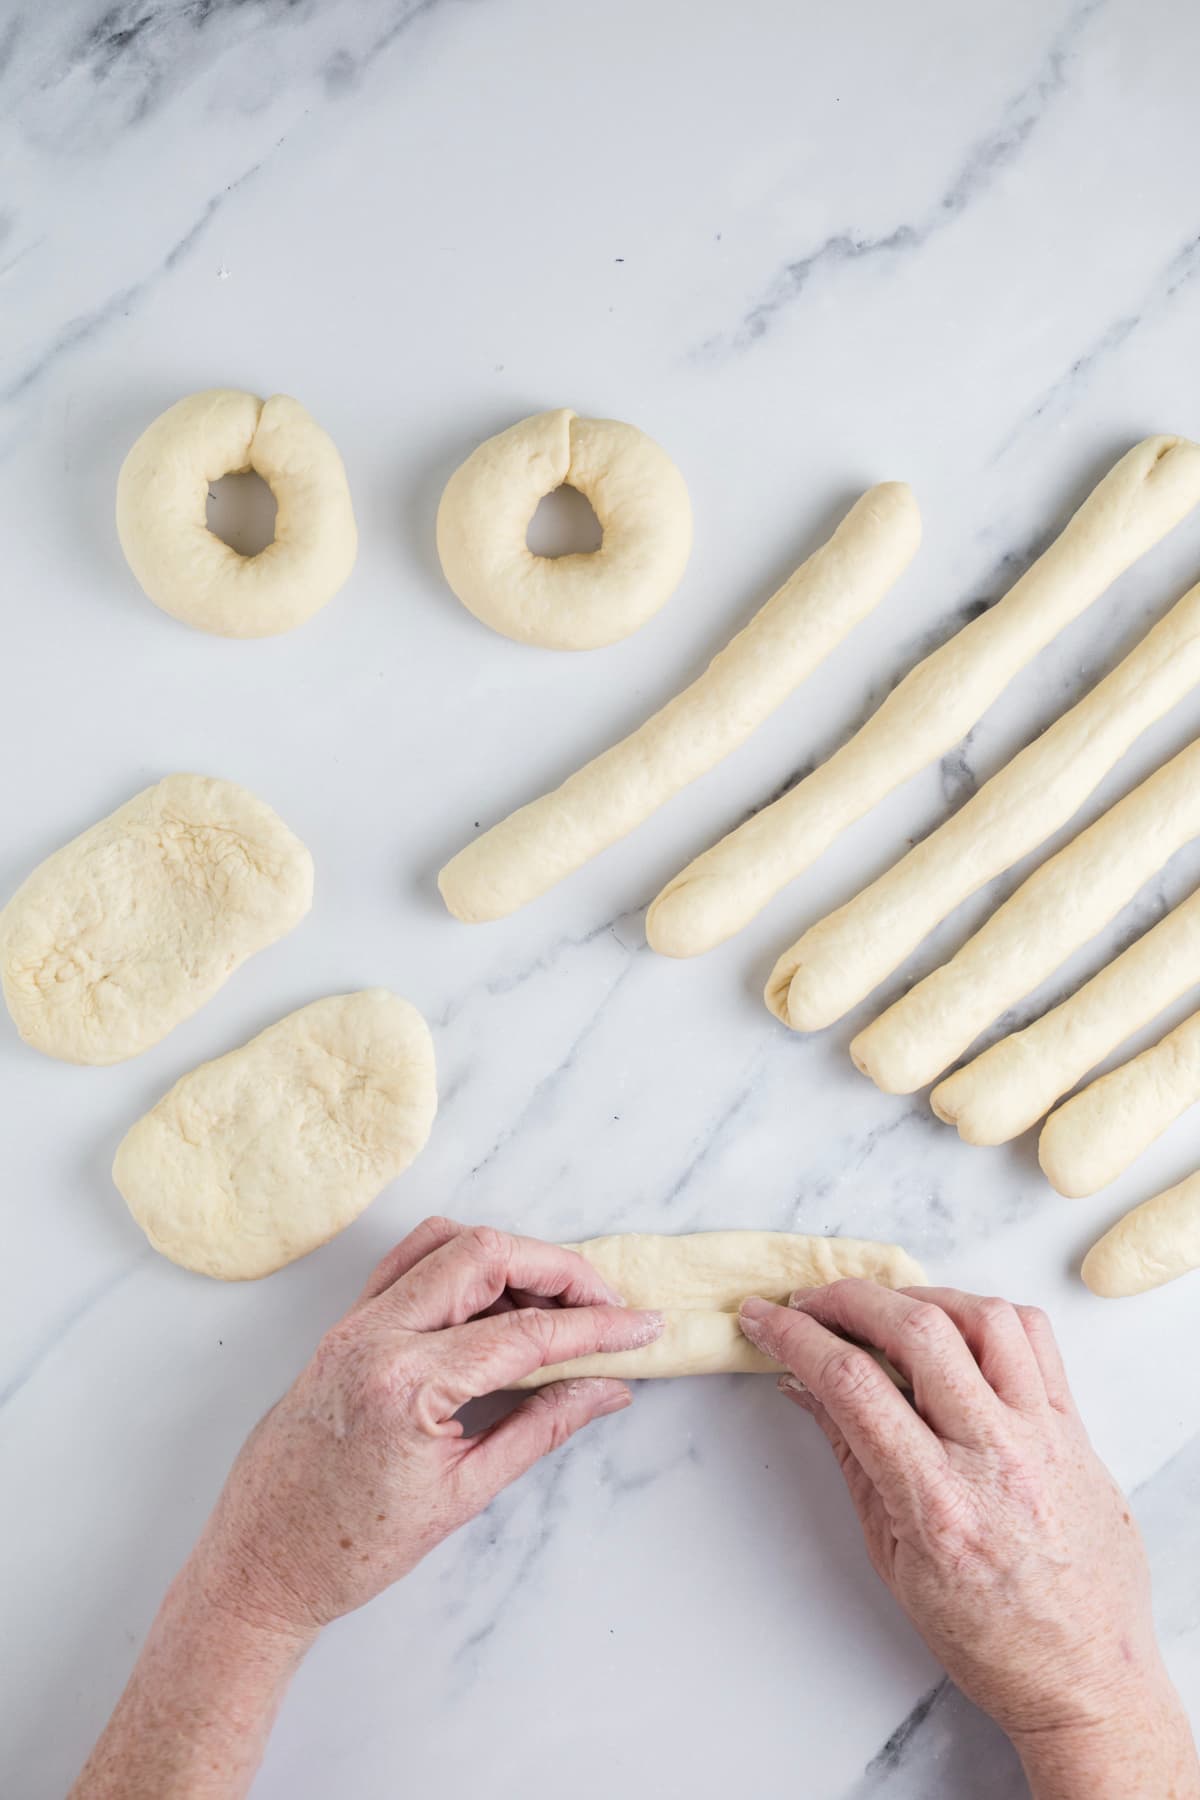
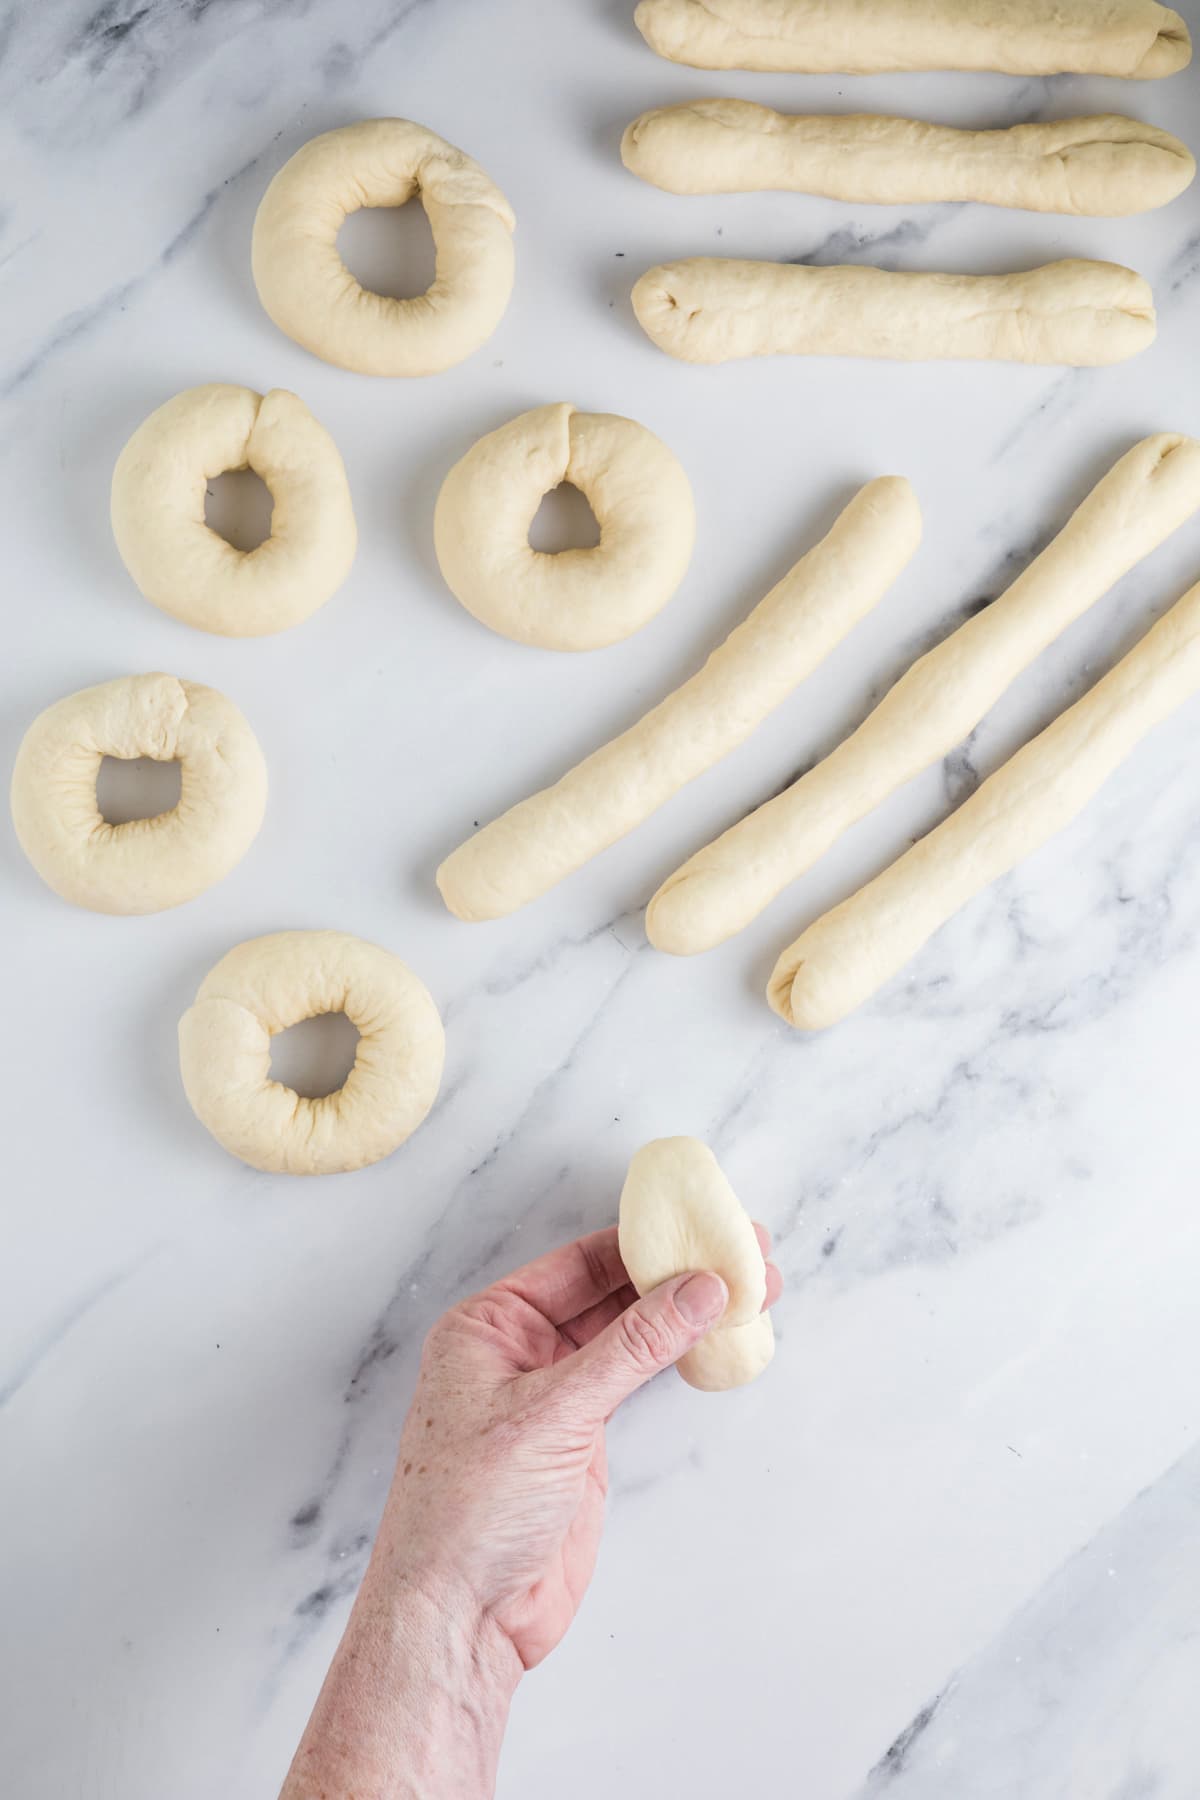
Press the ends together firmly, then roll the seam gently against your work surface to seal it. Place the shaped bagel seam side down on your prepared baking sheet and repeat with the remaining dough.
Kate’s Pro Tip
How To Keep the Hole in Your Bagels
To make sure your bagels keep their signature hole, stretch the dough a little more than you think you need to after poking the hole. You can place your index finger inside and gently spin the dough to smooth and widen the center. As the bagels proof, the dough will relax and the hole will shrink slightly, so starting with a larger hole helps it stay open through boiling and baking.
Why Do You Boil Sourdough Bagels?
Sourdough bagels are different from other types of rolls because they are boiled in water before being baked in the oven. They can be boiled in plain water or water with baking soda, lye, malt syrup or honey added. I find they taste best when boiled in honey water. The honey gives them the most lovely golden crust once baked.
The boiling of the bagels sets the crust and gives them their signature chewiness. The longer you boil them, the chewier the crust will be. They will look a little lumpy and bumpy after boiling. This is normal and they will still bake as per normal. Once they are boiled, you can dip them in any seeds you’d like to top them with. The boiled bagels will be wet and a little sticky so the seeds will stick to them.
Timeline for Sourdough Bagels
It’s really good to have a timeline worked out for baking sourdough bagels – so that you can have them baked fresh for breakfast.
It can be overwhelming to schedule sourdough, so here’s the timetable I work to when making these for breakfast. Remember this is an example only!
DAY 1
Lunchtime – feed sourdough starter.
7 pm – mix the bagel dough and set aside to ferment overnight.
DAY 2
6 am – shape sourdough bagels and set aside to get puffy.
7.30 am – preheat oven and put on pot of boiling water.
7.45 am – boil bagels and then into the oven by 8am
Using this timetable, you could be eating warm bagels by 8.30 am! If you are using discard with a little yeast, this timetable will still work – just make sure it’s literally just a pinch or they will over ferment overnight. You might also enjoy this guide to creating sourdough baking timetables.
Serving Suggestions
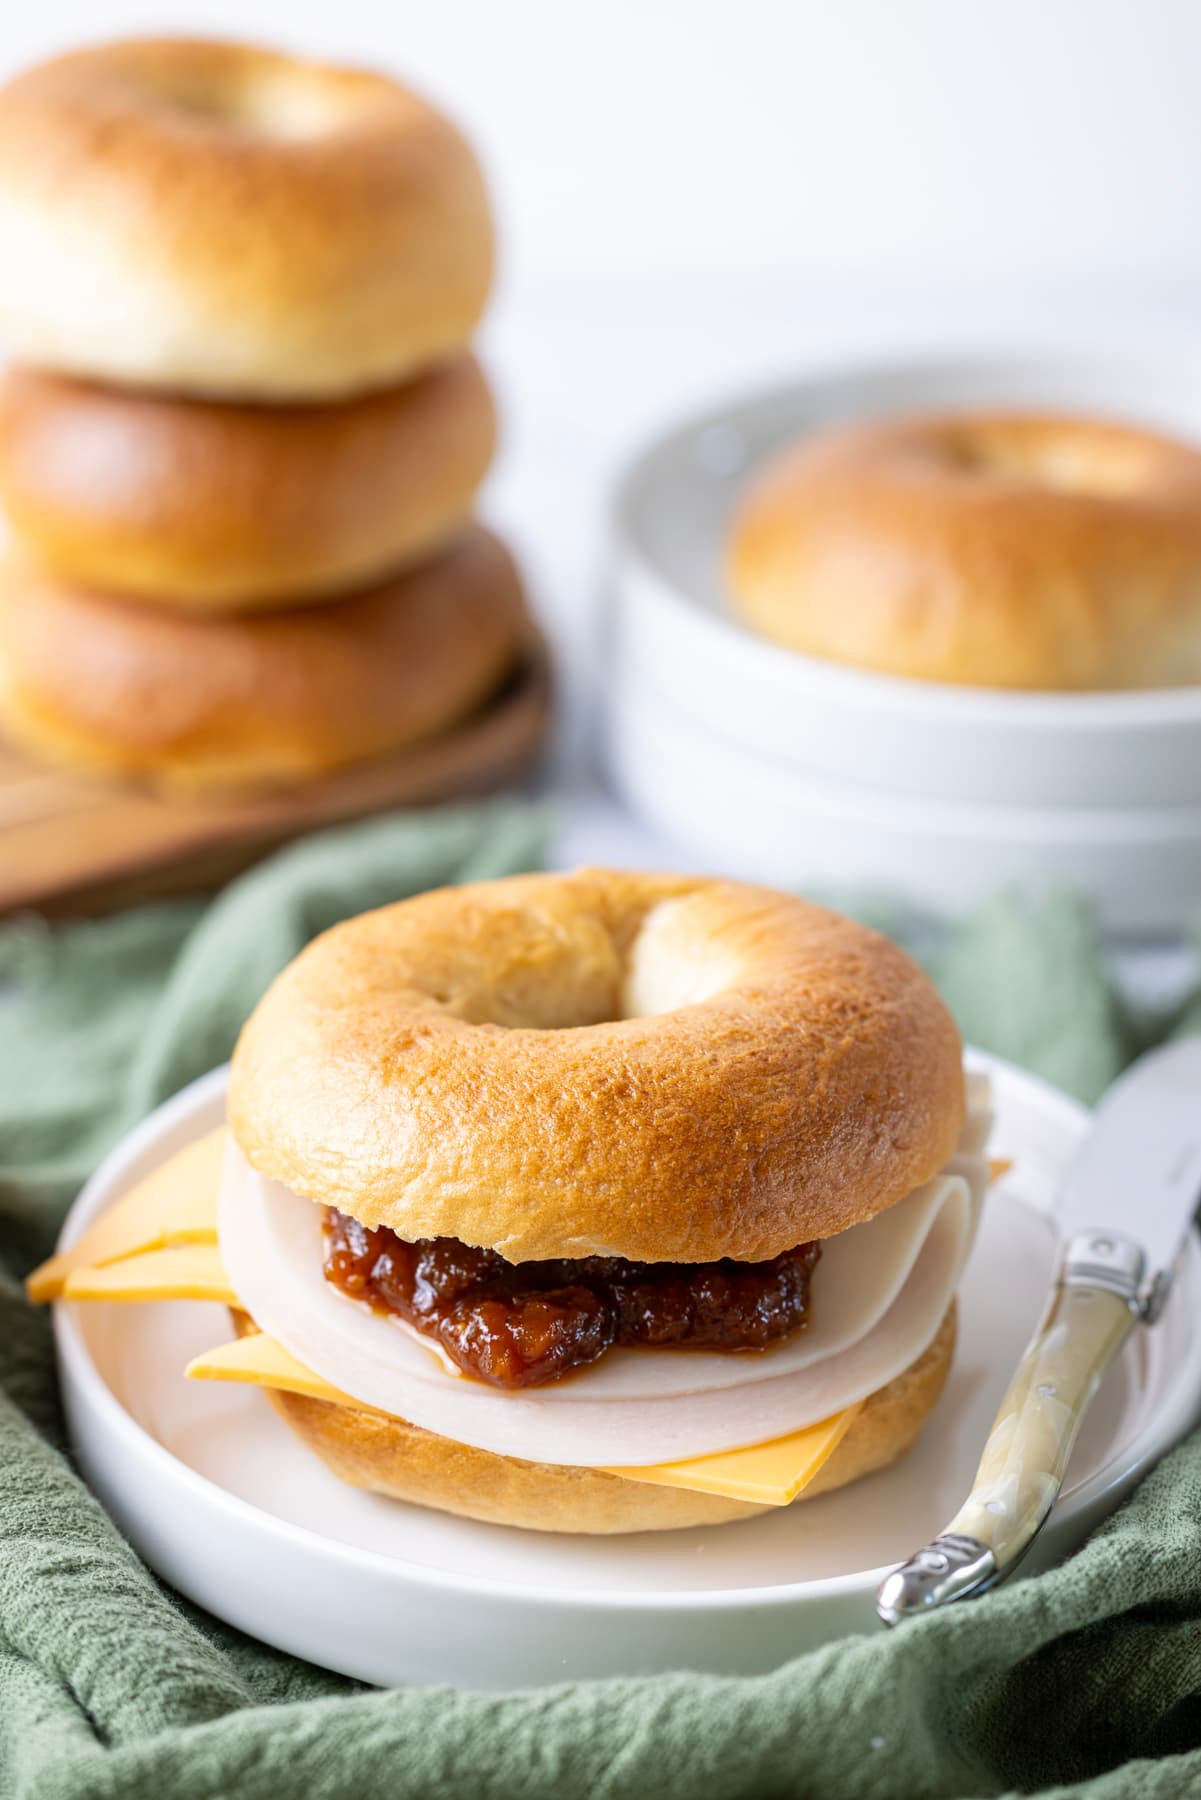
Bagels can be enjoyed with both sweet and savory toppings. You can pretty much put anything you like on a bagel. Traditionally they are eaten with cream cheese or lox – but these days, pretty much anything goes!
Some of the most delicious toppings for your bagels include:
- Cream cheese, deli ham and sliced tomato with lashings of black pepper.
- Smoked salmon, cucumber and cream cheese topped with some fresh dill.
- Seeded bagels are delicious with this whipped garlic and herb butter.
- Plain bagels work well with this cream cheese fig spread (seriously yummy) or this cultured butter.
You can personalise these easy sourdough bagels by topping them with your favorite seeds and seasonings or you might like to try these sourdough pumpkin bagels, jalapeño cheddar sourdough bagels, sourdough rye bagels, cinnamon raisin sourdough bagels or these sourdough egg bagels! And if you love things bite sized don’t miss these sourdough discard bagel bites with honey cream cheese dip!
How To Store + Freeze
Sourdough bagels are best eaten fresh. Allow them to cool a little and then slice them open. They should be consumed within 12 hours of baking for the best crust and crumb experience.
They do freeze well. I use a large resealable plastic bag and place the bagels in. You can then remove them as you need. Allow them to defrost completely before toasting or warming slightly in the microwave.
Frequently Asked Questions
Flat sourdough bagels are generally a result of under fermentation or under proofing. This means you haven’t allowed the sourdough starter or yeast to fully rise the dough which means they won’t puffy up properly when you bake them. They will dense and much more chewy than they should be. The solution for this is to allow the bagels plenty of time to rise, particularly after shaping.
Bagels are often boiled in honey, sugar or even malt syrup. All of these ingredients are high in sugar. Bagels are then placed onto a baking tray where the bottom is in contact with the tray. As they are quite small, bagels don’t take long to bake and the extra sugar sitting on the crust can cause premature browning. Just keep an eye on your bagels while baking to ensure you can turn the temperature down if necessary.
No you can’t over knead bagel dough, particularly because bagel dough is generally very low in hydration which means you really do need to work the dough hard to ensure it’s fully combined and the gluten network develops sufficiently.
I highly recommend using a stand mixer. It’s quite low hydration and is a stiffer dough than a regular sourdough bread. If you are using a regular stand mixer with a dough hook attachment, 5 to 10 minutes at speed 2 will get the dough mixed. Just remember to give the machine a break every 2 minutes to protect the motor.
You can knead this dough by hand but it will take lots of muscles to get the dough worked through. But it’s definitely doable! Whatever you do – do not add extra water to the dough as this can make the dough too soft and you will not be able to shape the bagels correctly.
I do always add diastatic malt powder to my dough when making sourdough bagels as it improves the color and flavor of the crust. If you have some on hand, I recommend adding it, particularly if your bread flour doesn’t already have it added.
Sourdough Discard Bagels Recipe
Equipment
- Stand Mixer recommended
- Baking Trays
- Stock Pot for boiling bagels
- Slotted Spoon
Ingredients
- 100 g Sourdough Starter, can be discard or fed and bubbly
- 500 g Bread Flour
- 250 g Water, warm
- 30 g Sugar
- 10 g Salt
For Boiling
- 2 Litres Water
- 40 g Honey
Instructions
- I recommend using a stand mixer for this recipe as it is a stiff dough and can easily be kneaded in a stand mixer.Add sourdough starter (discard), water, flour, sugar, yeast (if using) and salt to the bowl of your stand mixer and bring together to form a shaggy dough (you can use the paddle for this part). Allow the dough to rest for around 15 minutes.
- Knead the dough (you'll need to use a dough hook for stand mixers) for around 10 minutes until it is smooth and supple. This is a stiff dough (much like sandwich bread dough) so it won't be super elastic, however it should be smooth and not sticky. Remember to give the stand mixer a break every few minutes.
- Once the dough is sufficiently kneaded, you'll need to allow it to rise or ferment. You want the dough to double and be puffy and soft.
- Once the dough has risen, you'll need to shape the bagels. It's quite simple, you just need a little patience. Divide the dough into 12 pieces weighing 75 grams each. Shape each piece of dough into a small ball.
- Take each ball and poke a hole in the middle. Gently stretch the hole out and then place each bagel onto a baking sheet lined with parchment paper. Cover the bagels with a flour sack towel and allow them become lovely and puffy.
- While they are puffing up, bring a pot of water with 40 grams of honey added to the boil and preheat your oven to 200ºC/400ºF.
- When the water is boiling, carefully place 3-4 bagels into the boiling water at a time. You want to boil them for around 30 seconds each. They should float to the surface and that's when you know to take them out.If you prefer really chewy bagels, boil them for up to 2 minutes each.
- Carefully remove the bagels from the boiling water using a slotted spoon.If you want to add seeds or seasonings, dip the wet bagel into the seeds/seasonings before placing on a baking tray.You can leave them plain if you wish. I like to do a mix of seeded and plain.
- Bake the bagels for around 20 – 25 minutes at 200ºC/400ºF. Remove them from the oven when they are golden brown.
- Allow them to cool before you enjoy them!
Notes
Nutrition
Nutrition information is automatically calculated, so should only be used as an approximation.
Like this? Rate and comment below!











The best bagels I think I’ve ever tried. And yes I’ve tried NY bagels. I will probably be making this recipe for the rest of life for my family and I. I did use all purpose flour (King Arthur) as I did not have bread flour on hand. Don’t think I’ll be switch to bread because these taste so amazing. Also, the cream cheese is delicately devine. Thank you Pantry Mama!
Make these every week. Amazing. You’re so clever to create such an incredible recipe.
I think it needs to be specified what a “pinch” means when using discard. I used several pinches, but after it took literally all day in the oven with the light to rise even a little bit, I read the comments to see someone mention they watched the video where it said a pinch is 7 grams. These might be great if you use the correct amount of yeast or active starter, but definitely not a “pinch.”
Oh my goodness these were so good!!! Mine felt a little sticky but actually they turned out perfect. And my fussy young boys both scoffed them even though they were chewy (they can be a bit lazy when eating).
DEFINITELY make them.
Thanks so much for the recipe!! ❤️❤️
Could you please include the old measuring in with your recipes for the metrically challenged? Some people find it a problem to convert to metric. I love your recipes just not the metric system.
I’ve made these bagels before with much success. When I make them with overnight fermentation I finish them the next morning, but this time I don’t need them until later. Once they are shaped, can I put them in the fridge so I can bake them maybe 12 hours later instead of baking them right away?
Yes you can do this 🙂 You just want to make sure you get the proofing part right, so you would need to shape them, place them into the fridge and then allow them to proof and get nice and puffy right before you want to bake them 🙂
I don’t think my fermentation was powerful enough. The sourdough discard was older and a pinch of yeast didn’t seem to be quite enough. Should I add more yeast next time? They just seem flat. I wish they were more puffy.
Yes if your discard is old, you’d need to use more yeast. This will make them much “puffier”. Try them with active starter – you’ll love them! xo
This is my bookmarked, go-to bagel recipe and I swear I make it at least once a month! My toddler eats them toasted from the freezer with cream cheese & even requests it for breakfast!
The last few times I made them though, my dough was very sticky, even after my overnight bulk fermentation. Does anyone have tips on how to correct this? Thanks in advance!!!
I’m so excited to make these! I’m wondering if you have any recommendations on freezing? When I make pretzels I let them do the second rise then freeze before the boil. I imagine it would be similar but hoping for your thoughts/tips
I make these every single week for my husband who is a bagel addict and can eat several a day (and unfairly he is thin!). They are better than the best bagel shop we have near us now that we are no longer in the NY/NJ/MD area. I am a diabetic type 2 and would love to make these better for me to eat – like whole wheat. Since it is a low hydration dough, how would I change the ratios? Lets say I sub half the flour with whole wheat, what do I need to change my water to? Any help would be appreciated!
I’ve found I have to up the hydration to 60-65% or I wind up with large clumps of unincorporated flour. I’m using everything bagel seasoning and like how it turns out, but whenever I wind up using regular kosher salt it winds up melting/dissolving. How can I make it stick on for a couple days vs a few hours? I’ve tried with and without an egg wash pre-season and neither have made a difference.
These bagels were nearly perfect. I fed my starter midnight on a Friday night, made the dough late morning on Saturday, let it rise all day, shaped the bagels midnight Saturday night and refrigerated them. Then mid morning Sunday I took them out to sit for about 20 minutes, boiled them, then baked for 20 minutes in my small convection oven. They weren’t as shiny, but they were delicious! Also, I used molasses instead of honey. When making them using Joan Nathan’s recipe I used barley malt. This recipe is a keeper.
Can you freeze the dough? I make these bagels every other day and was just wondering, with the way my family eats bagels, if I can freeze the dough and how long it’s good for? If I can freeze it, what are your thawing instructions? Thank you so much!
I don’t recommend freezing the dough, but you can certainly freeze the finished bagels.
The recipe was easy to follow. My bagels had great texture, but taste slightly raw. Do I need to boil longer (I boiled until they floated, about 30-40 seconds) or bake longer (23 minutes) The color of the bagel was light brown. Thanks!
I love your recipes and refer to them often. Thank you <3
why honey and not baking soda? i have never made bagels without baking soda?
You can use baking soda if you prefer, Kate has just chosen honey in this instance. The flavor and color it gives the crust is amazing!
Absolutely the best sourdough bagel recipe. I’ve tried so many- this is it!
Hello,
About how long does it take to let the dough rest for it to rise (new baker here)?
I really can’t give a definite answer as it will depend on temperatures, starter strength etc. But you need to watch the dough, not the clock 🙂
I would add to the recipe to line or grease the baking sheet. This recipe didn’t go well for my family members who are beginners.
I’m sorry that the bagels stuck to the parchment paper. I haven’t had an issue with this. I gently peel them off the paper and pop them into the water with no issues.
How long should I let them proof to become “lovely and puffy” before boiling them?
Generally about 1-2 hours, but it’s best to keep an eye on the dough instead of the clock. 🙂
I like large bagels so I only divided my dough in to quarters and they turned out beautiful. I will make many times over. I used active sourdough starter.
Could I use barley malt syrup instead of honey
I haven’t tried this ingredient swap but I don’t see why not, let us know how it goes 🙂
Love these bagels so soft so chewy and so easy in my Ankarsrum mixer, I make them with sourdough discard, I have made them 3 times Soooo good. We love the cheese ones. Right now I’m trying your English muffins, I hope I have good luck with them. ❤️ Thank you!
You are my go to person for sd recipes and love most of them. I just tried your bagels and followed recipe to a tee except I subbed ap flour for bread flour. The recipe said to seperate dough into 80 gram balls but that gave me only 9 bagels not 12. I went back and changed to 60 grams. What went wrong?
Loved this recipe, however my micer struggled with making a double batch. What stand mixer do you recommend for the 2x or 3x recipe?
Am I able to mix this dough in a bread maker?
Yes you definitely can do this 🙂
I made these bagels in my whole family loves them. I am retired, and sometimes I have trouble timing all my sourdough with my day. This one was easily scheduled in, and they turned out great. I’d like to start them in the morning about 8 AM so only thing that I would appreciate is some kind of time estimate for the doubling of the dough and an estimate in the step where you let the shaped bagels become lovely and puffy.
I will make these again and again!!
I have a gluten intolerance that is helped when my dough is fermented for a longer time (maybe 24 hours). Do you think it’s OK to leave my dough to ferment for 24 hours?
Thank you!
I made these today with the discard and yeast. I knew I wouldn’t have time tomorrow to boil and bake them before church , so I chose to add the yeast. They came out amazing. FYI-they float as soon as they go in the water. So I set a timer for 1 minute. My daughter says they are the best bagels she ever had! 🥇 🏆 . Thanks
Excellent recipe
Worked perfectly and were delicious! This will be a regular recipe in our Oregon house!
Thank you so much!