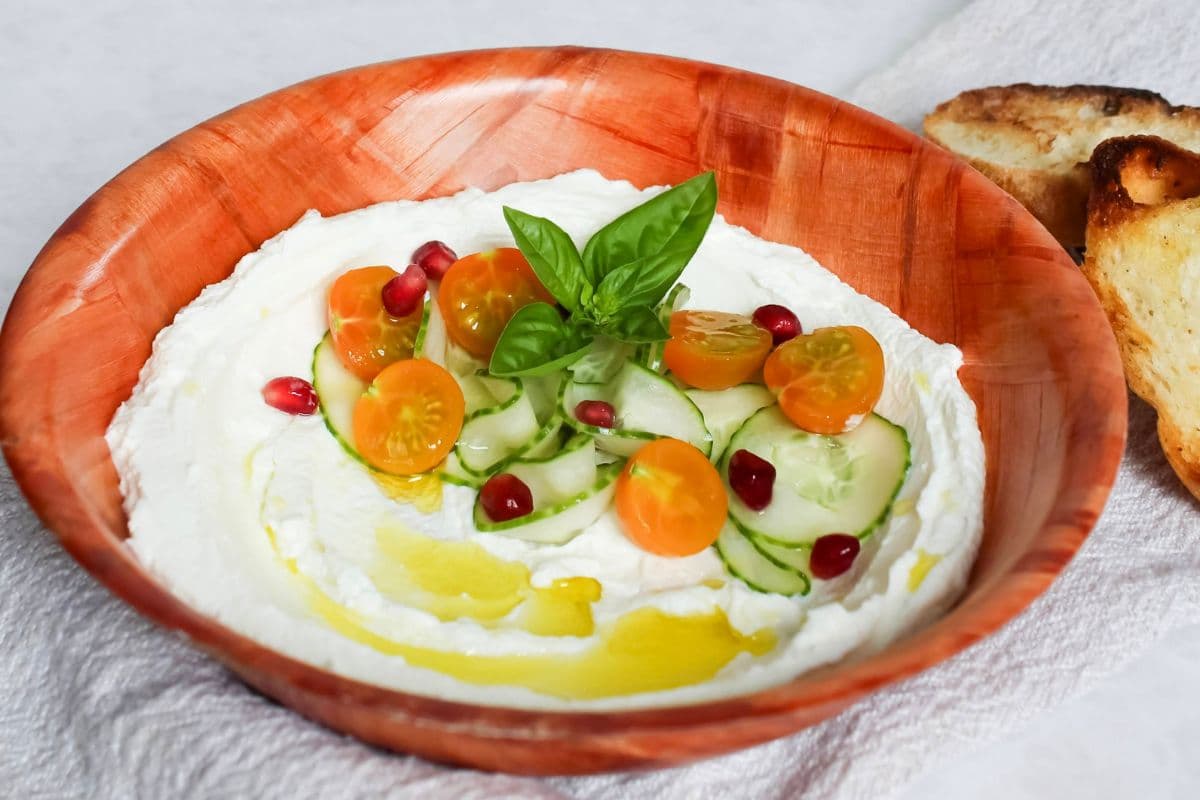
Labneh is a thick, creamy Middle Eastern yogurt spread made by straining salted yogurt until much of the whey has been removed. It’s tangy like Greek yogurt but much thicker and richer, making it perfect for spreading on sourdough bread and bagels, scooping up with crackers or serving as part of a grazing board. Best of all, this homemade labneh recipe needs just two ingredients, yogurt and salt … and the fridge does almost all of the work for you.
This post contains affiliate links. Please see our disclosure policy.
Table of Contents
What Is Labneh?
Labneh is a thick, tangy strained yogurt traditionally eaten throughout the Middle East. Salt is stirred into yogurt before it’s strained to remove much of the liquid whey, leaving behind a protein-rich, spreadable consistency that’s somewhere between Greek yogurt and soft cream cheese.
It’s important to note that labneh isn’t the same as Greek yogurt or cream cheese. It’s strained for longer than Greek yogurt, which gives it a much thicker, richer texture. Unlike cream cheese, labneh is made from yogurt, so it retains that characteristic tangy flavor.
Why You’ll Love This Recipe!
- Just Two Ingredients – You only need plain, full-fat yogurt and salt to make homemade labneh. There’s no cooking involved and very little hands-on time.
- So Creamy and Versatile – Straining the yogurt transforms it into a thick, creamy spread that you can use a little like cream cheese. Keep it simple with olive oil and herbs, spread it on a bagel or sourdough toast, or serve it as a dip as part of a grazing board.
- Mostly Hands-Off – Once you’ve mixed the yogurt and salt and set it up to strain, the fridge does the rest. Strain it for around 24 hours for soft, spreadable labneh or closer to 48 hours for a much firmer consistency.
Ingredients
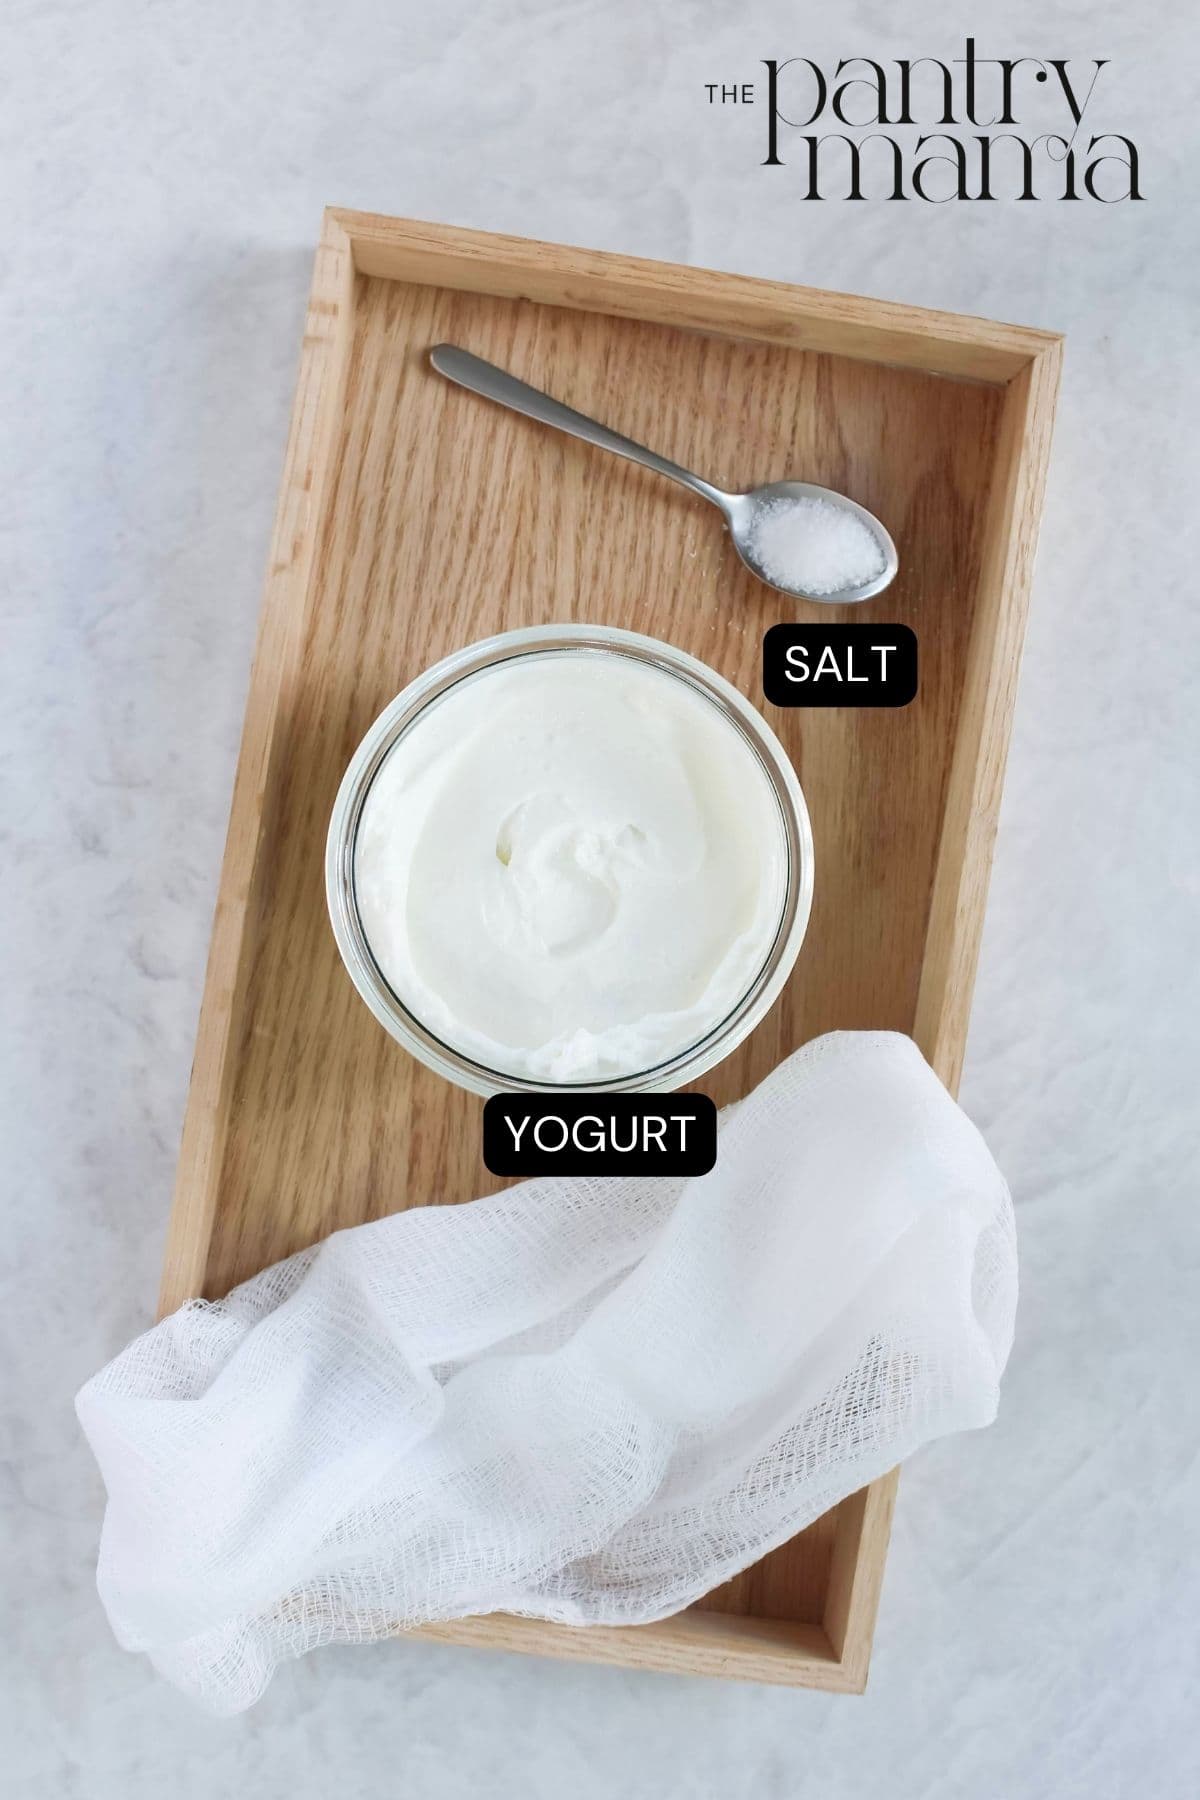
- Yogurt – Plain, full-fat yogurt will give you the creamiest labneh. You can use regular natural yogurt, whole-milk yogurt or Greek yogurt, although Greek yogurt has already had some of its whey removed and may strain more quickly. Avoid sweetened or flavored yogurt. I also prefer not to use reduced-fat yogurt because the finished labneh won’t have the same rich, creamy texture.
- Sea Salt – Try to use the best quality salt you can. I like to make this with Maldon flaky sea salt, but Kosher salt or even just regular cooking salt is just fine too.
How To Make Labneh
Making labneh is really simple, but you do need to give it plenty of time to strain. Start by stirring the salt through the yogurt until it’s completely combined.
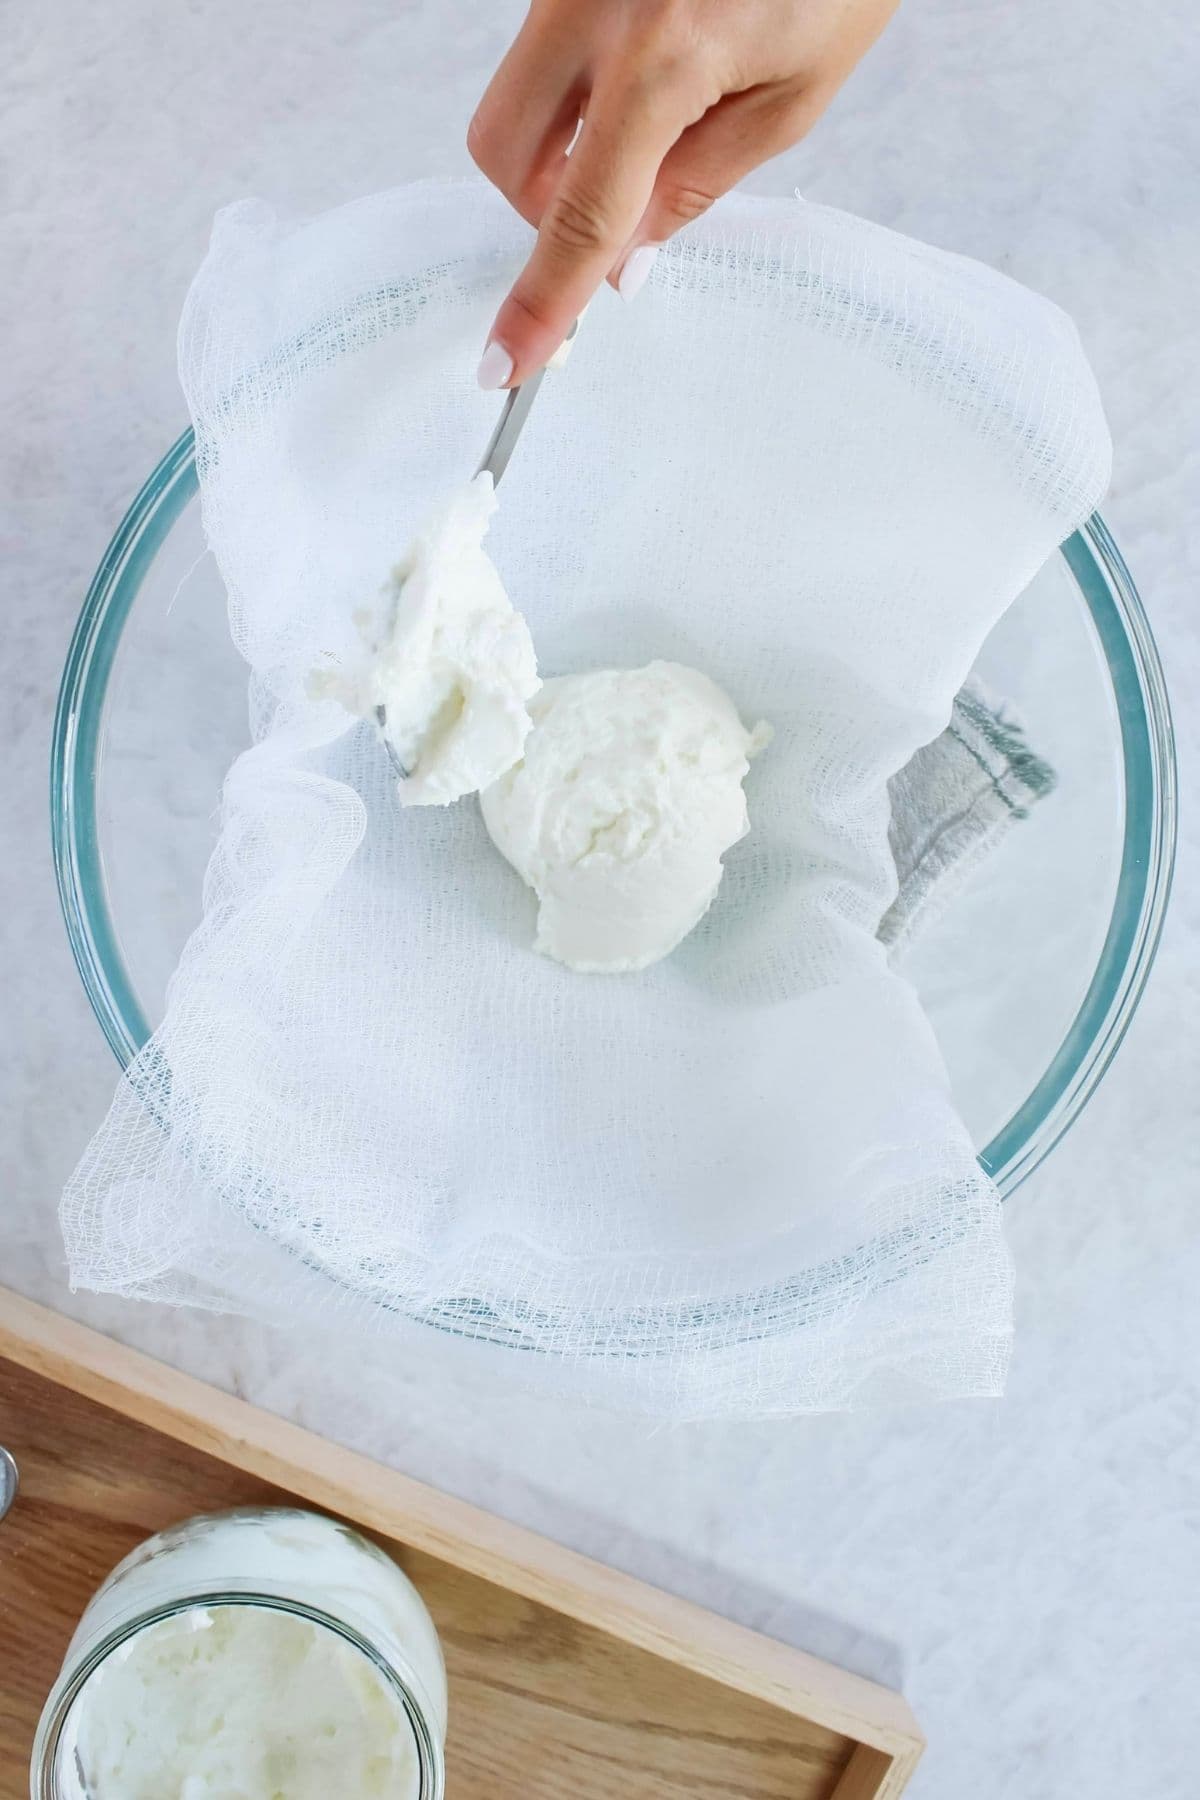
Place your cheesecloth over a large bowl and spoon the yogurt into the center. Gather the cheesecloth around the yogurt and tie it securely to the handle of a wooden spoon positioned across the top of the bowl.
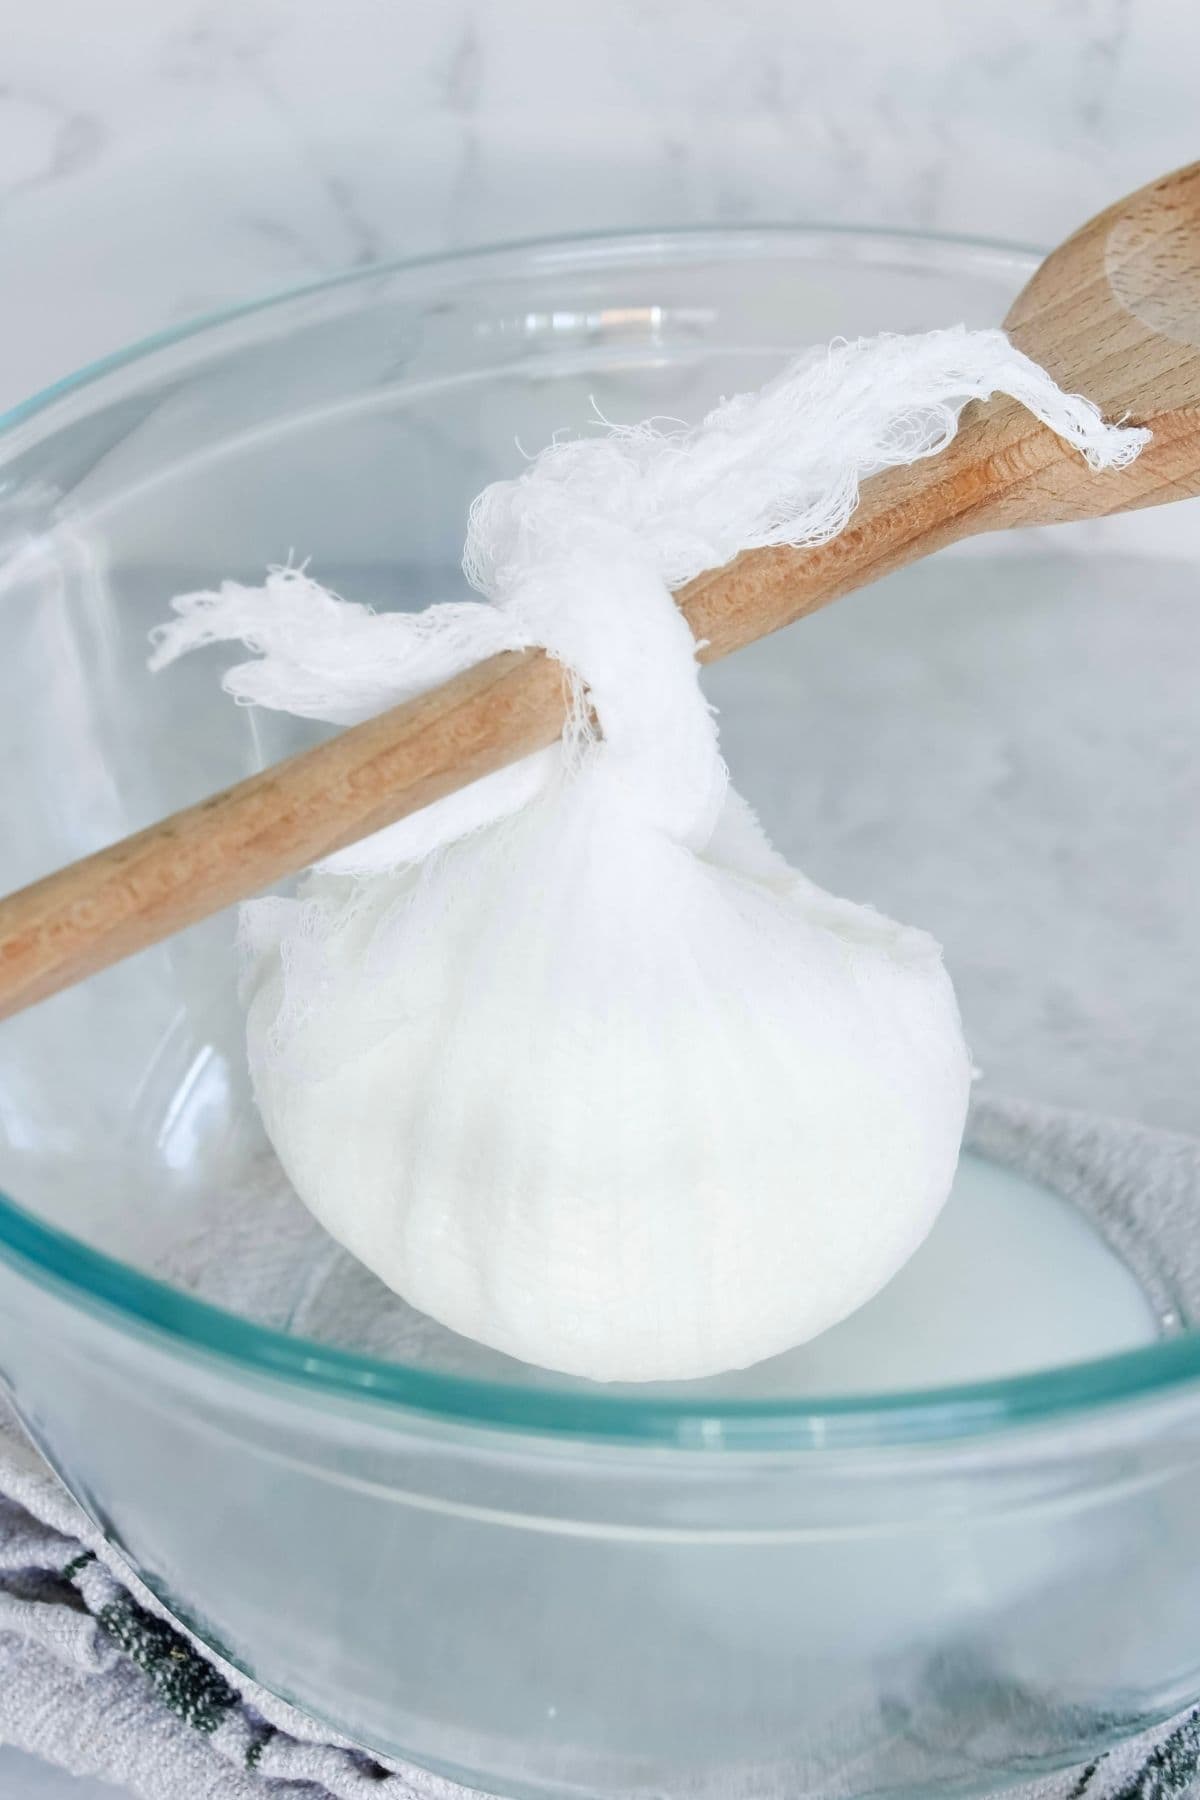
The important part here is to make sure the bundle is suspended above the bottom of the bowl. You want plenty of room underneath for the whey to drip out without the labneh sitting in the liquid.
If you don’t have a bowl deep enough to suspend the bundle, place the cheesecloth inside a fine-mesh sieve or colander set over a bowl instead. Just make sure the bottom of the labneh stays above the whey as it drains.
Place the whole bowl into the fridge and allow the yogurt to strain for at least 24 hours. If you prefer a firmer labneh, you can leave it for up to 48 hours. The longer it strains, the thicker it will become.
In cooler weather, I also do this process at room temperature, tying the cheesecloth the kitchen faucet and suspending it over the kitchen sink with a bowl underneath to catch the whey.
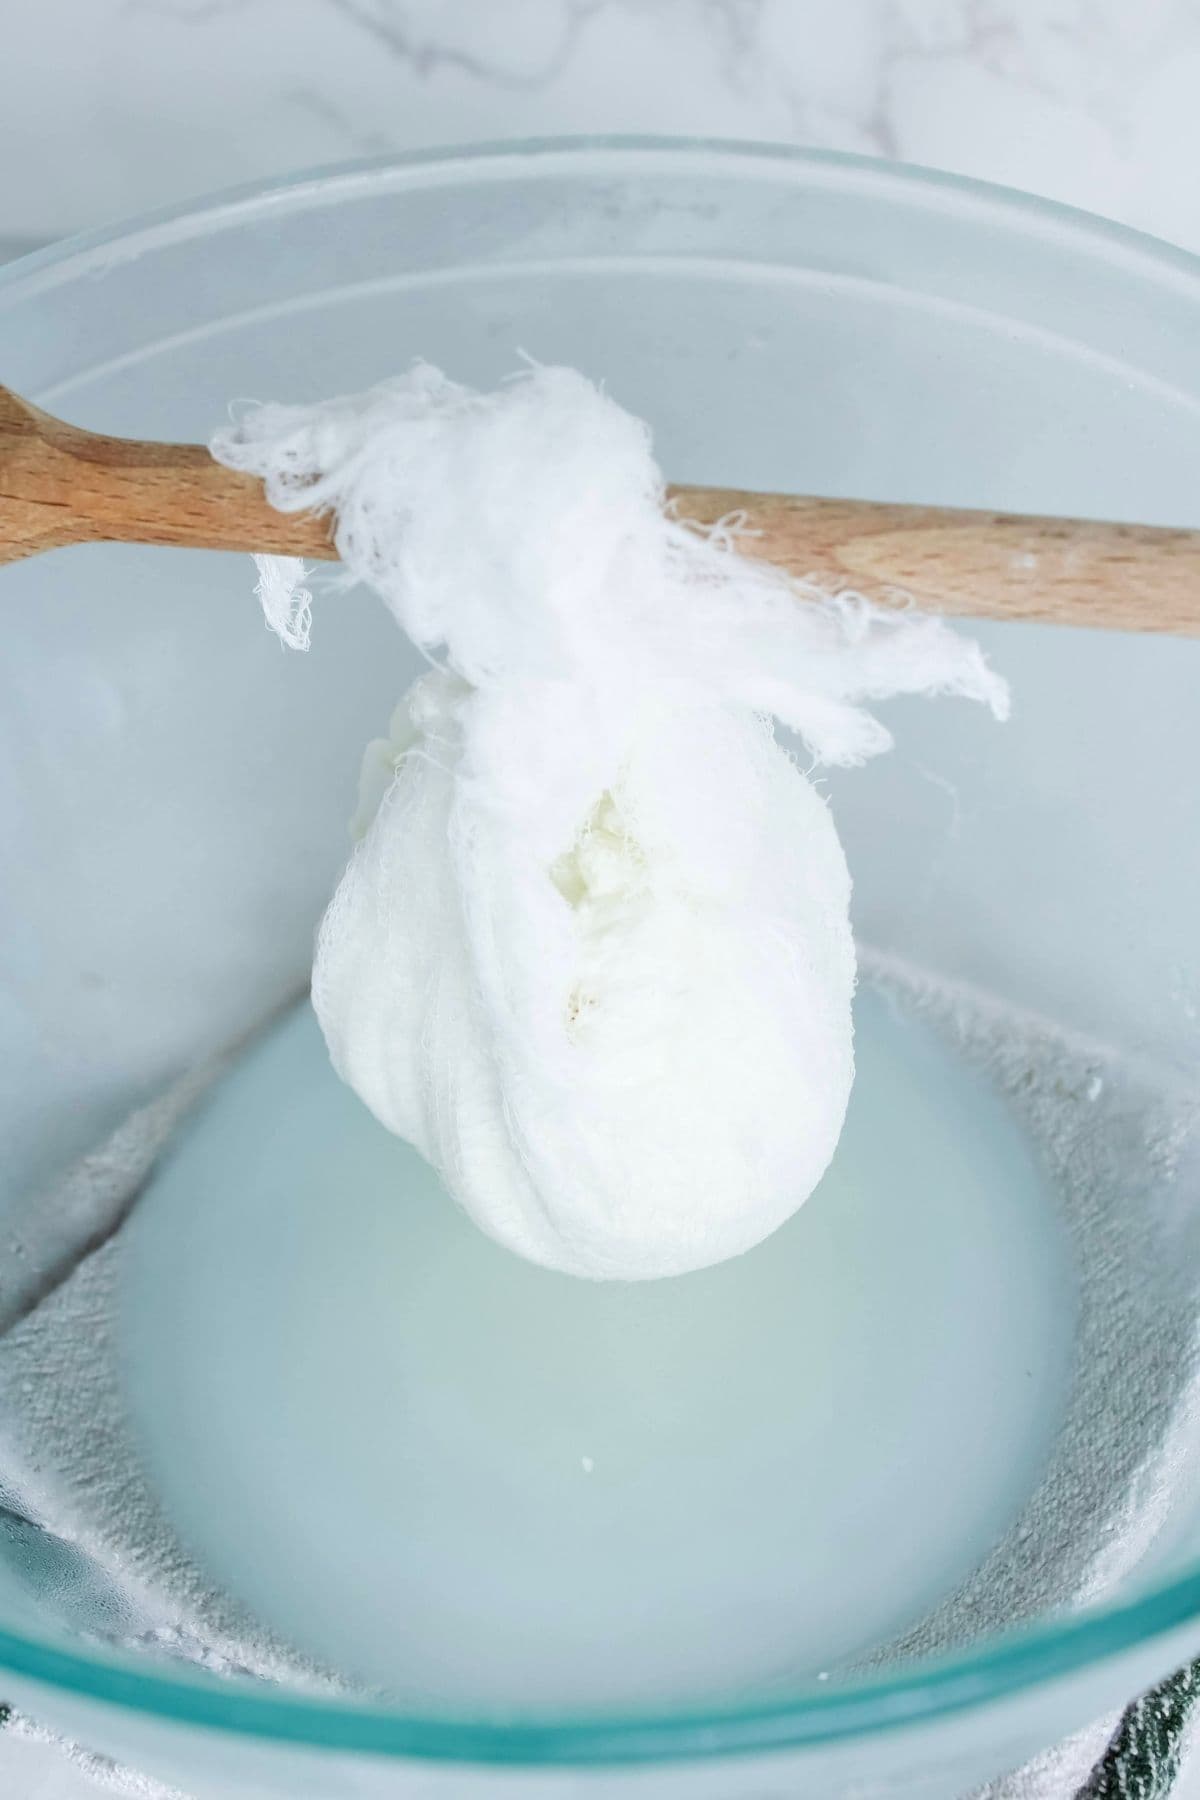
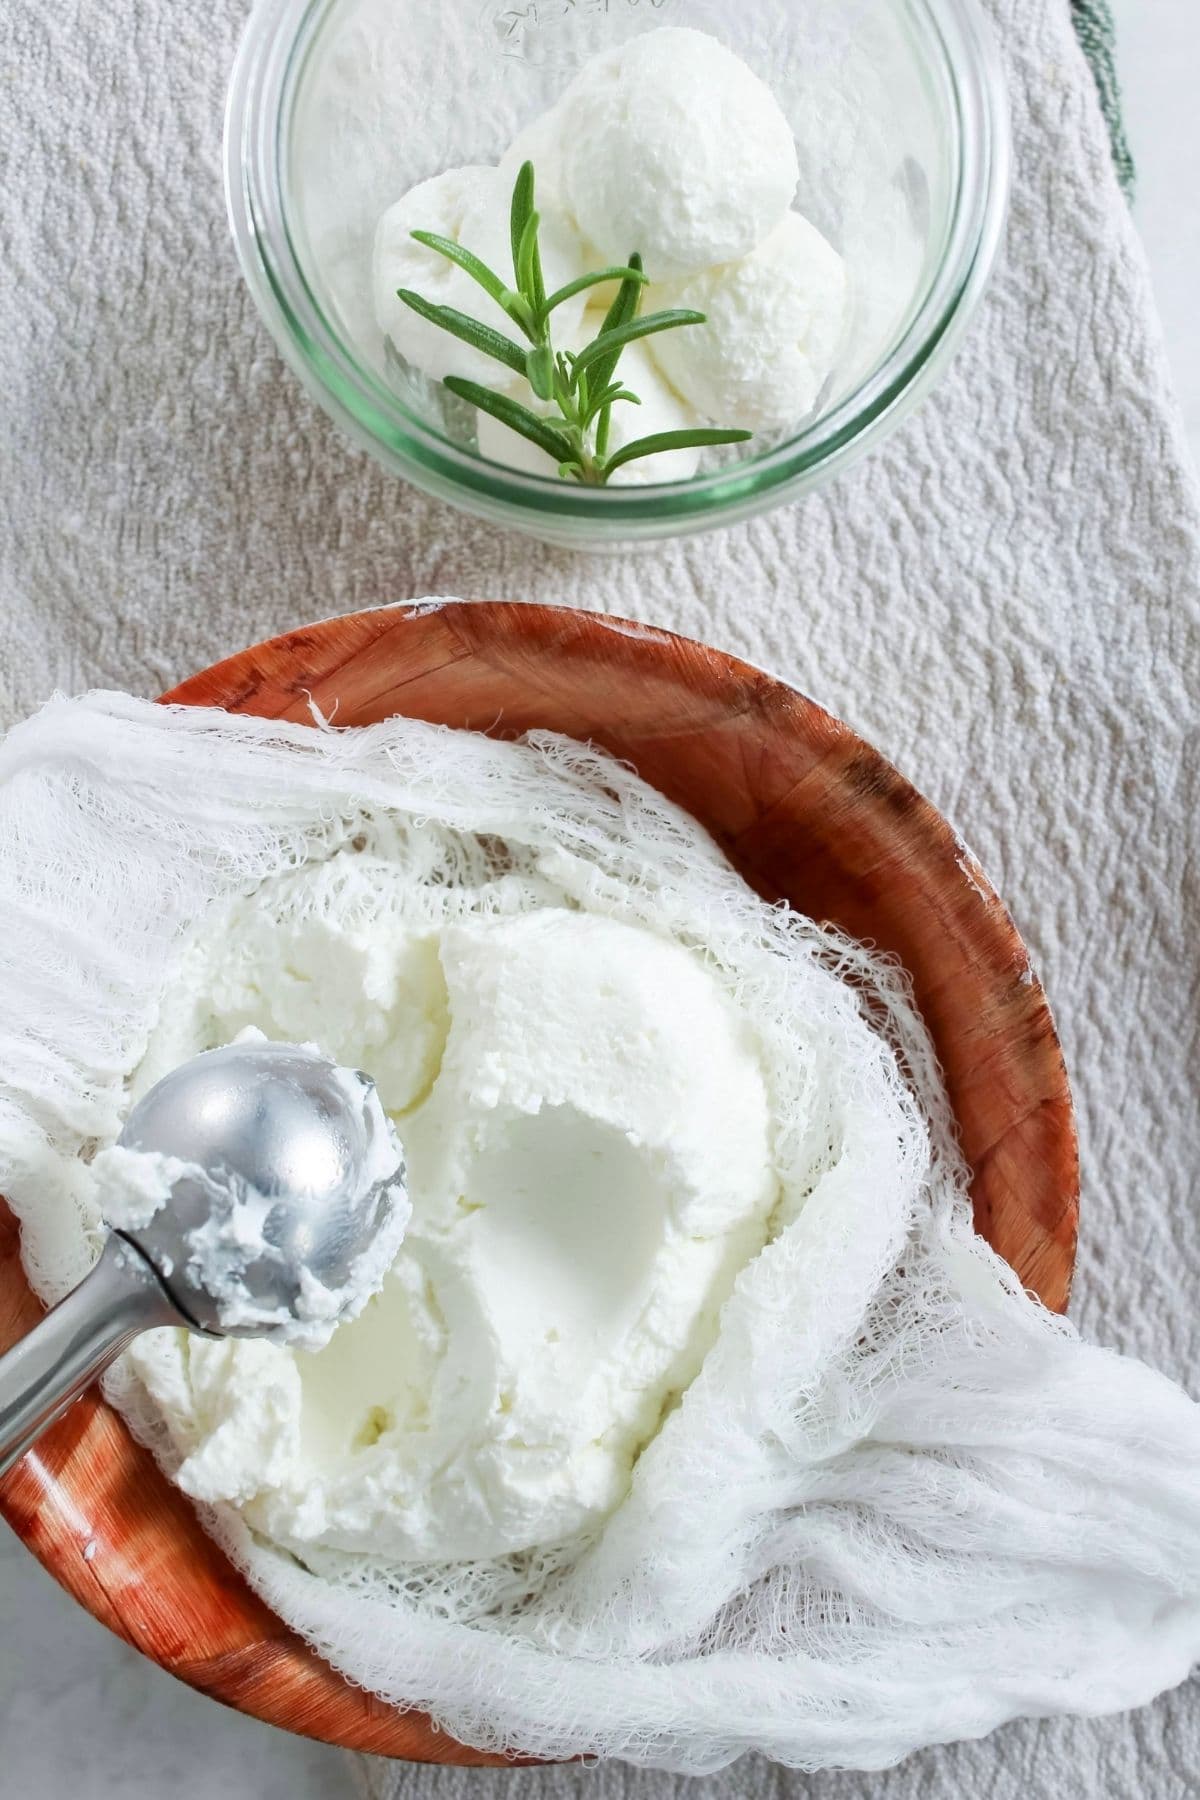
Once you’re happy with the consistency, remove the labneh from the cheesecloth and transfer it to a serving bowl or airtight container. You’ll also have whey collected in the bottom of the bowl.
Kate’s Pro Tip
Yield Notes
Starting with 430 g of yogurt gives me approximately 275 g of labneh after around 24 hours of straining. Your final yield will vary depending on the type of yogurt you use and how long you strain it.
How Long Should You Strain Labneh?
Don’t worry too much about the clock, check the texture (ok this sounds like we are talking about sourdough bulk fermentation here). The longer you strain your yogurt, the more whey you’ll remove and the firmer your labneh will become. As a general guide:
- 12–18 hours: soft and creamy
- 24 hours: thick, creamy and very spreadable
- 36–48 hours: firm and dense enough to shape
How Do I Know When Labneh Is Ready?
Your labneh is ready when it has reached the consistency you want. After around 24 hours it should be thick, smooth and spreadable, similar to a very thick cream cheese. If you’d like it firmer, simply leave it to strain for longer (as per the guide above).
Kate’s Pro Tip
Don’t Throw Away The Whey!
You can discard the whey if you want to, but I love saving it and adding to other recipes! I have a recipe for whey sourdough bread you can follow, or replace the water content with whey in other recipes.
It works especially well with this sourdough sandwich loaf, sourdough fruit bread with cinnamon, and this blueberry lemon sourdough loaf.
Easy Labneh Flavor Variations
Once you’ve made the basic labneh, you can leave it plain or add different flavors depending on how you plan to serve it.
- Classic – A sprinkle of za’atar spice and a generous drizzle of olive oil.
- Fresh Herbs – Stir through chopped mint, dill, parsley or chives.
- Zesty – Add the zest of a lemon and freshly cracked black pepper.
- Spicy – Drizzle with chilli oil or sprinkle with chilli flakes.
- Sweet – Add a drizzle of honey and toasted pecans for a sweeter version.
How To Serve Labneh
One of the things I love most about labneh is how versatile it is. You can serve it simply with a drizzle of olive oil or add herbs and spices depending on what you’re eating it with.
- Breakfast or Lunch Idea – I love spreading labneh onto these easy sourdough bagels with some chopped chives mixed through. Add smoked salmon and you’ve got a really delicious breakfast or lunch.
- Grazing Board – Labneh also makes a lovely addition to a grazing board. Serve it with sourdough lavosh crackers, olives, fresh baby cucumbers and carrots, then drizzle the labneh with olive oil and sprinkle with za’atar. I love including homemade labneh alongside my roast vegetable hummus.
- Easy Appetizer – For something a little different, spread labneh over slices of sourdough crostini and top with chili jam. The creamy, tangy labneh with the sweet and spicy chili jam makes such a good little appetizer.
How To Store Labneh
Store homemade labneh in an airtight container in the refrigerator for up to one week. You can drizzle a little olive oil over the surface before storing, which adds extra flavor and helps prevent the surface from drying out. Always keep homemade labneh refrigerated and use a clean spoon each time you remove some from the container.
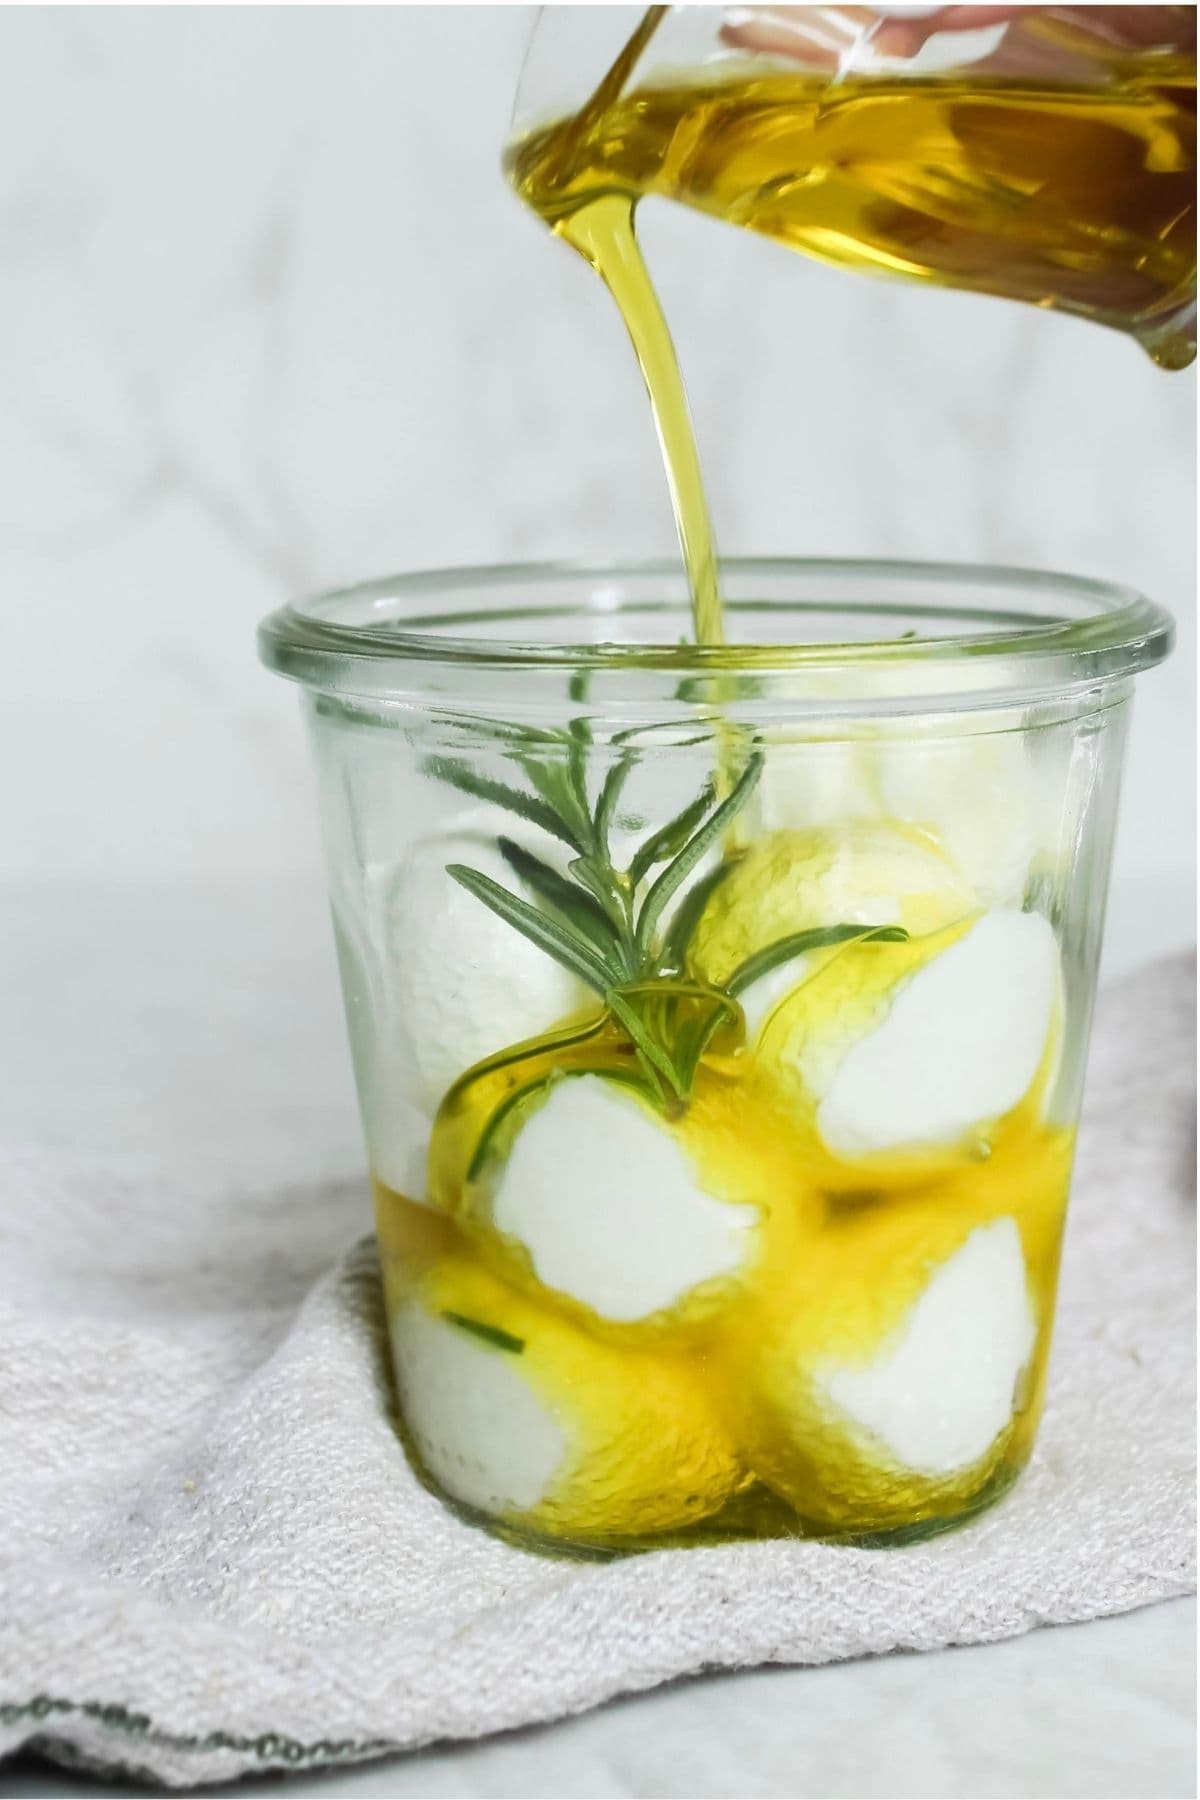
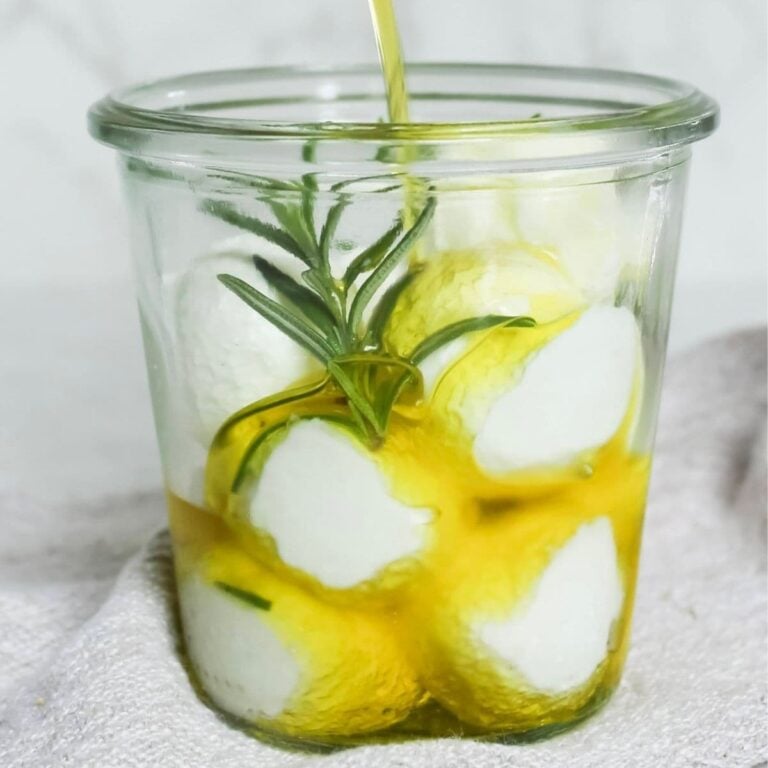
If you want to preserve labneh in olive oil for longer, the traditional method is to strain it until very firm, shape it into balls and then completely submerge the balls in olive oil. That’s a slightly different process from the soft, spreadable labneh in this recipe.
I don’t recommend freezing labneh because freezing and thawing can affect its smooth, creamy texture.

Homemade Labneh
Equipment
- Cheesecloth or dish towel
- Large Bowl
- Wooden Spoon
- Storage Jar with Lid
Ingredients
- 430 g Plain Full Fat Yogurt
- 5 g Sea Salt, (flaky salt or Kosher salt)
Instructions
- Add the yogurt and salt to a bowl and stir until well combined.
- Place the cheesecloth over a large bowl and spoon the yogurt into the center. Gather the cheesecloth around the yogurt and tie it securely.
- Suspend the cheesecloth from a wooden spoon placed across the top of the bowl. Make sure the bottom of the cheesecloth does not touch the bottom of the bowl so there's plenty of room for the whey to drain.
- Place the bowl into the refrigerator and allow the yogurt to drain for at least 24 hours. For a thicker labneh, you can leave it to drain for up to 48 hours.
- Once the labneh has reached your desired consistency, remove it from the cheesecloth and transfer it to a clean container.
Notes
Nutrition
Nutrition information is automatically calculated, so should only be used as an approximation.
Like this? Rate and comment below!