
This post contains affiliate links. Please see our disclosure policy.
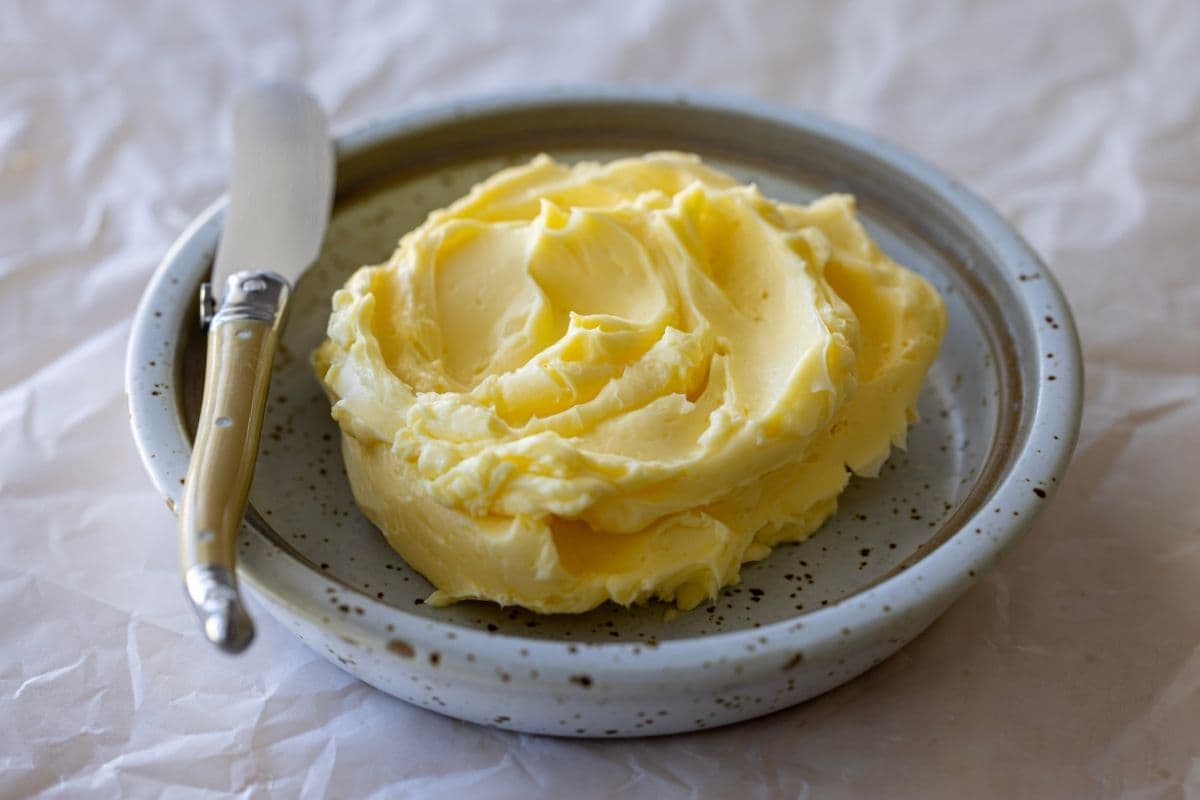
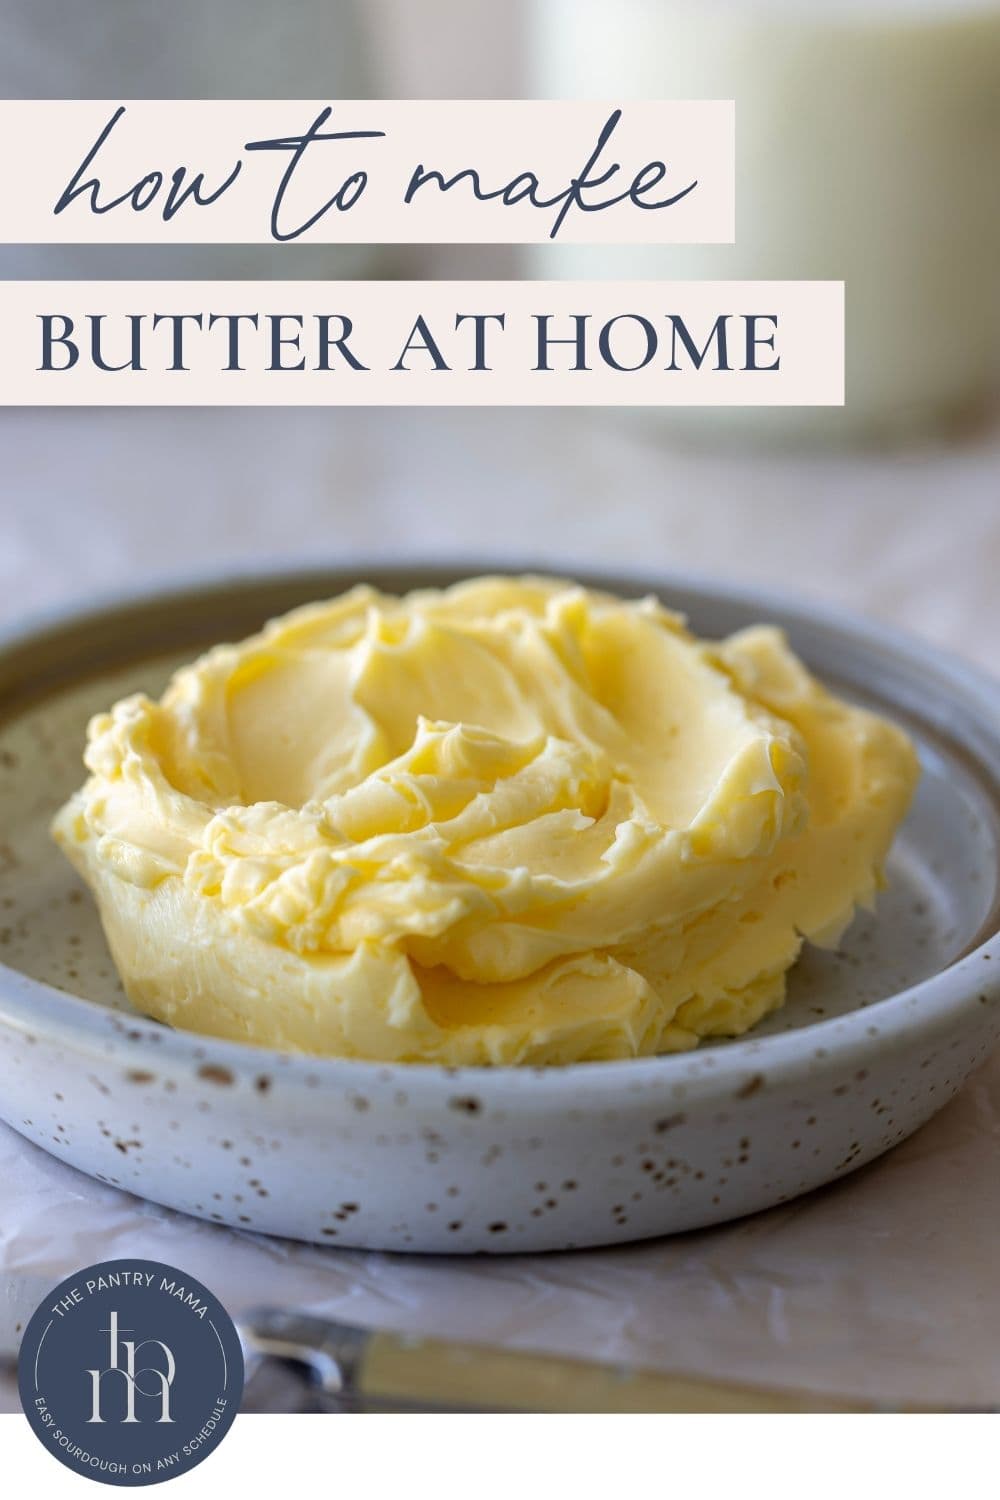
Making butter at home is surprisingly simple. All you really need is heavy cream and a way to agitate it until the butterfat separates from the liquid. In this guide, I’ll show you how to make homemade butter using a range of methods, along with exactly what to look for as the cream changes from liquid cream to whipped cream and finally into butter.
I make homemade butter regularly in my own kitchen, usually because there’s really nothing better than fresh butter spread over homemade sourdough bread. Once you understand the basic process, you can use whichever method fits the equipment and time you have.
And don’t throw away the liquid left behind! You’ll also end up with fresh buttermilk that can be used in plenty of other recipes.
Table of Contents
- Why You’ll Love Making Homemade Butter
- How Is Butter Made?
- Why Make Butter When You Can Buy It?
- What Cream Is Best for Making Butter?
- The Stages of Homemade Butter
- How To Make Butter in a Stand Mixer
- How To Finish Homemade Butter
- Why Do You Need To Wash The Butter?
- What Yield Should I Expect?
- What Can I Do With Fresh Buttermilk?
- Homemade Butter vs Cultured Butter
- How To Flavor Homemade Butter
- What Should You Serve Homemade Butter With?
- How To Make Butter Recipe
Why You’ll Love Making Homemade Butter
Just One Main Ingredient – All you really need is heavy cream. Salt is completely optional (but you better believe I’m adding it).
Choose the Method That Works for You – In writing this guide to making butter at home, I tested a range of methods including using a stand mixer, shaking a mason jar, Thermomix, a simple butter churn, as well as an electric hand mixer. The process is the same, only the way you agitate the cream changes.
Nothing Goes to Waste – Along with your creamy butter, you’ll also collect fresh sweet cream buttermilk that can be used in other recipes.
How Is Butter Made?
Butter is made by agitating cream until the fat globules begin to clump together and separate from the liquid. The cream will move through several distinct stages. It starts as liquid cream, turns into whipped cream, becomes stiff and grainy, and then suddenly separates into yellow butter solids and cloudy liquid.
Once the butter has separated, strain off the liquid, wash the butter in very cold water and work out as much remaining liquid as possible. Add salt if you like, and you’ve made butter!

Why Make Butter When You Can Buy It?
Depending on where in the world you live, buying good quality butter can be expensive, so being able to make it yourself is a great skill to have. Making your own butter means you know what goes into it – there’s no preservatives, additives, colors or numbers. No flavor enhancers. Just pure butter (and a little salt if you choose).
Another great reason to make your own butter is you can take advantage of buying cream when it’s on sale or clearance. You can easily make butter from cream that is very close to its expiry date, so buying cream that is marked down is a great way to lower the cost of your butter. And looking after your budget is always a good idea, right? And I always think, if you’re making sourdough, it just makes sense to have good quality homemade butter to spread on top!
What Cream Is Best for Making Butter?
Use a good-quality heavy cream, whipping cream or pure cream with a milk-fat content of at least around 35%. Higher-fat cream will generally give you a better butter yield, but you don’t need to hunt down cream containing exactly 40% butterfat before you can make butter.
I’ve successfully made butter with cream containing around 35% milk fat, and it separates beautifully. Where possible, I prefer cream with a simple ingredient list and without added gums, stabilizers or thickeners. In Australia, look for pure cream or whipping cream rather than thickened cream if you can. In the US, you’ll need heavy cream. Do not use cooking cream as this has a lower fat content to prevent splitting at high heats and will not give you a good butter yield.
The Stages of Homemade Butter
No matter what appliance or method you use to make butter, the process is always the same. The cream will go through 4 stages in order to make butter, starting with the liquid cream you purchase from the store:
- Liquid Cream – This is the heavy whipping cream as you’ve bought it from the store.
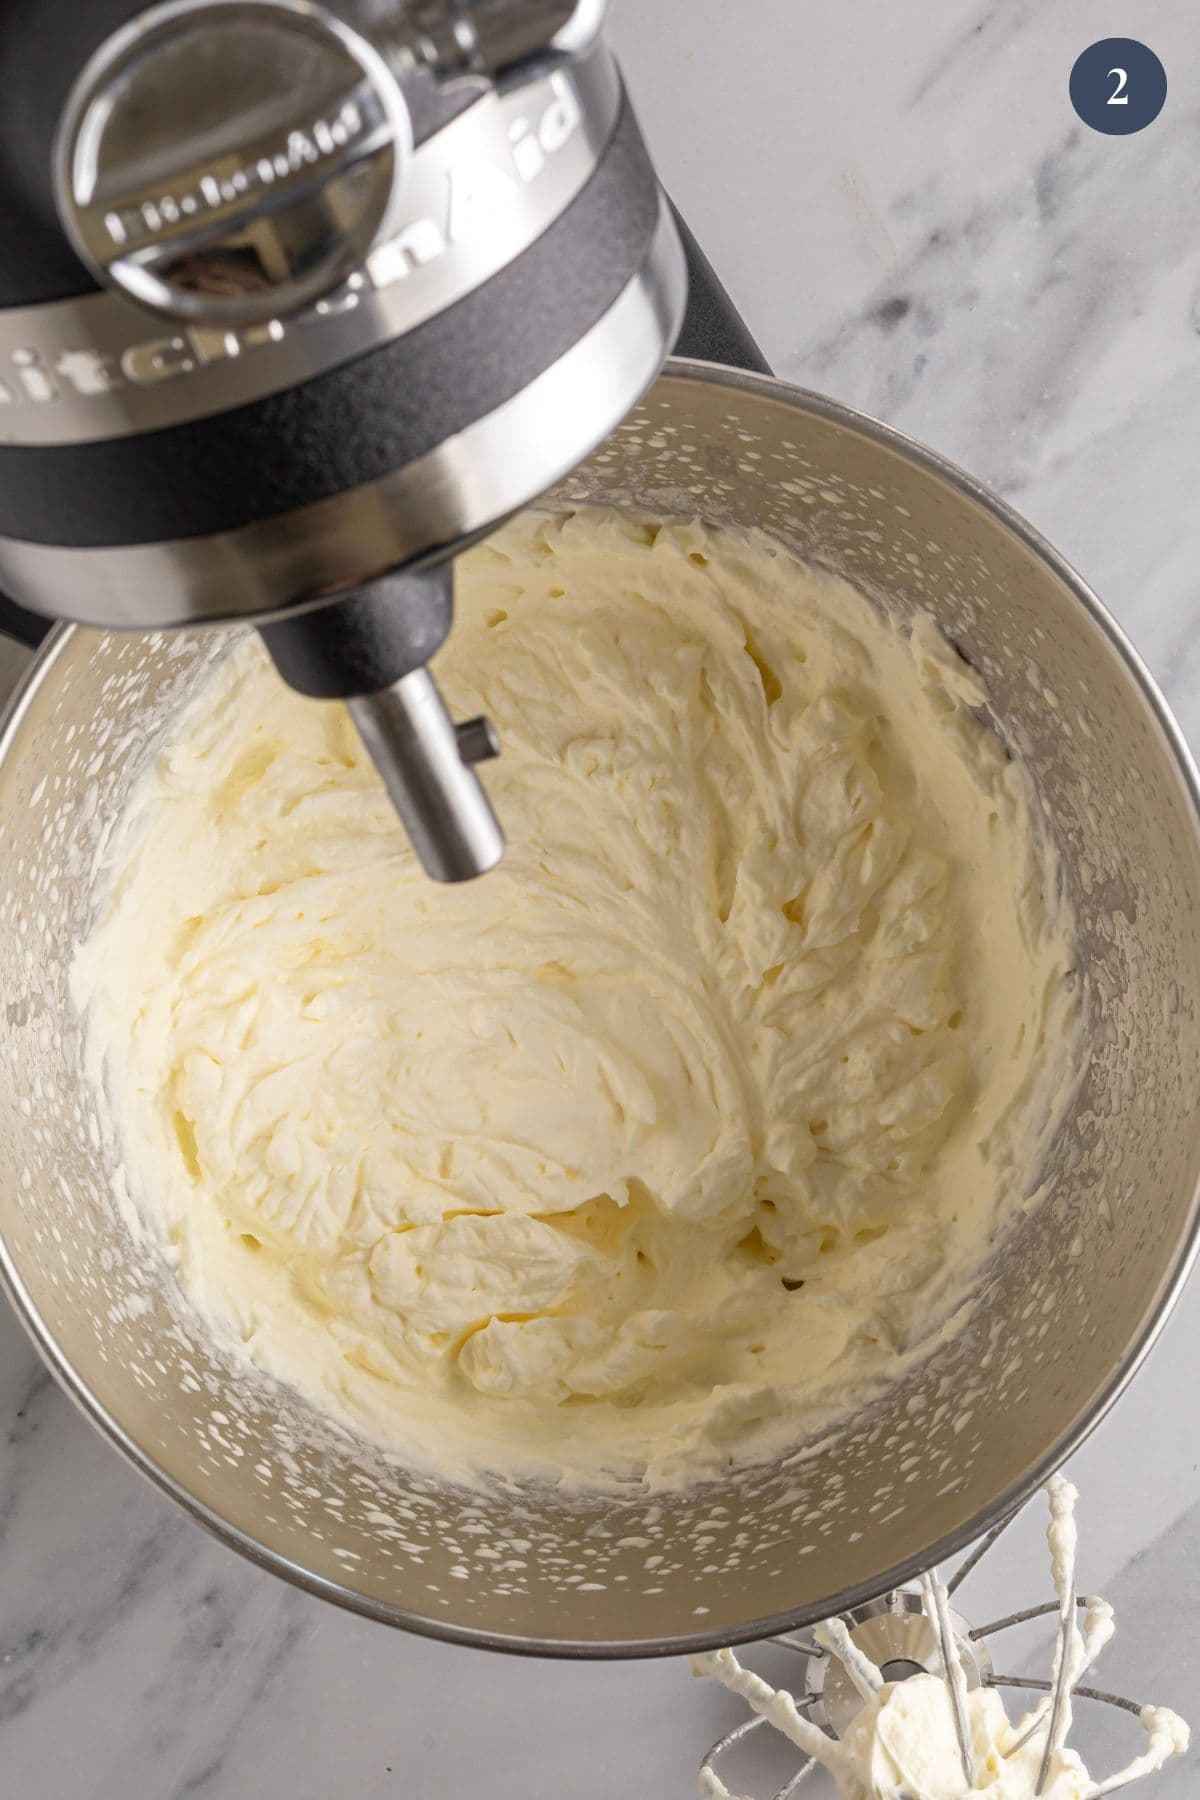
- Whipped Cream – Soft peaks form as you agitate the cream. Don’t stop now, you haven’t gone far enough.
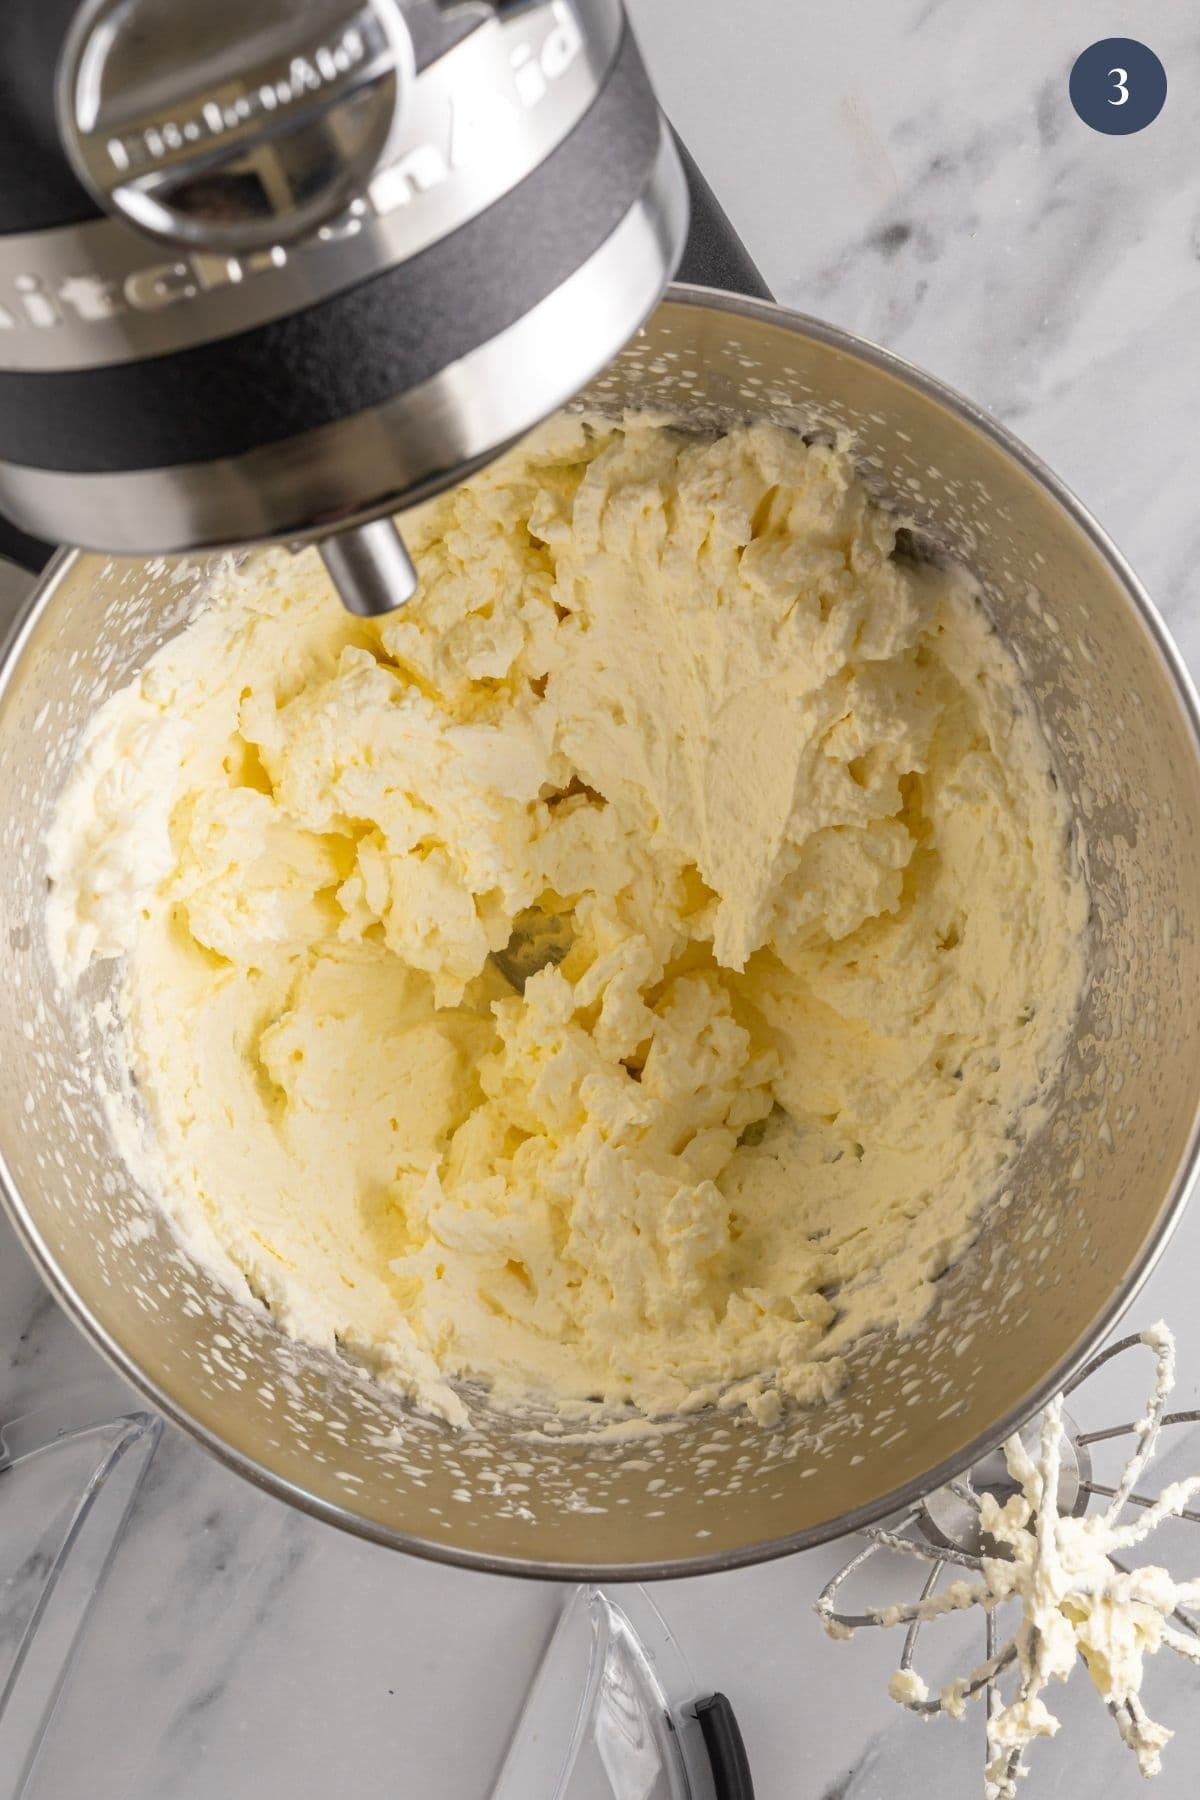
- Stiff and Grainy – Keep going and the whipped cream will begin to look rough, grainy or almost curdled. It will become more yellow as it’s moving closer to splitting into butter and buttermilk.
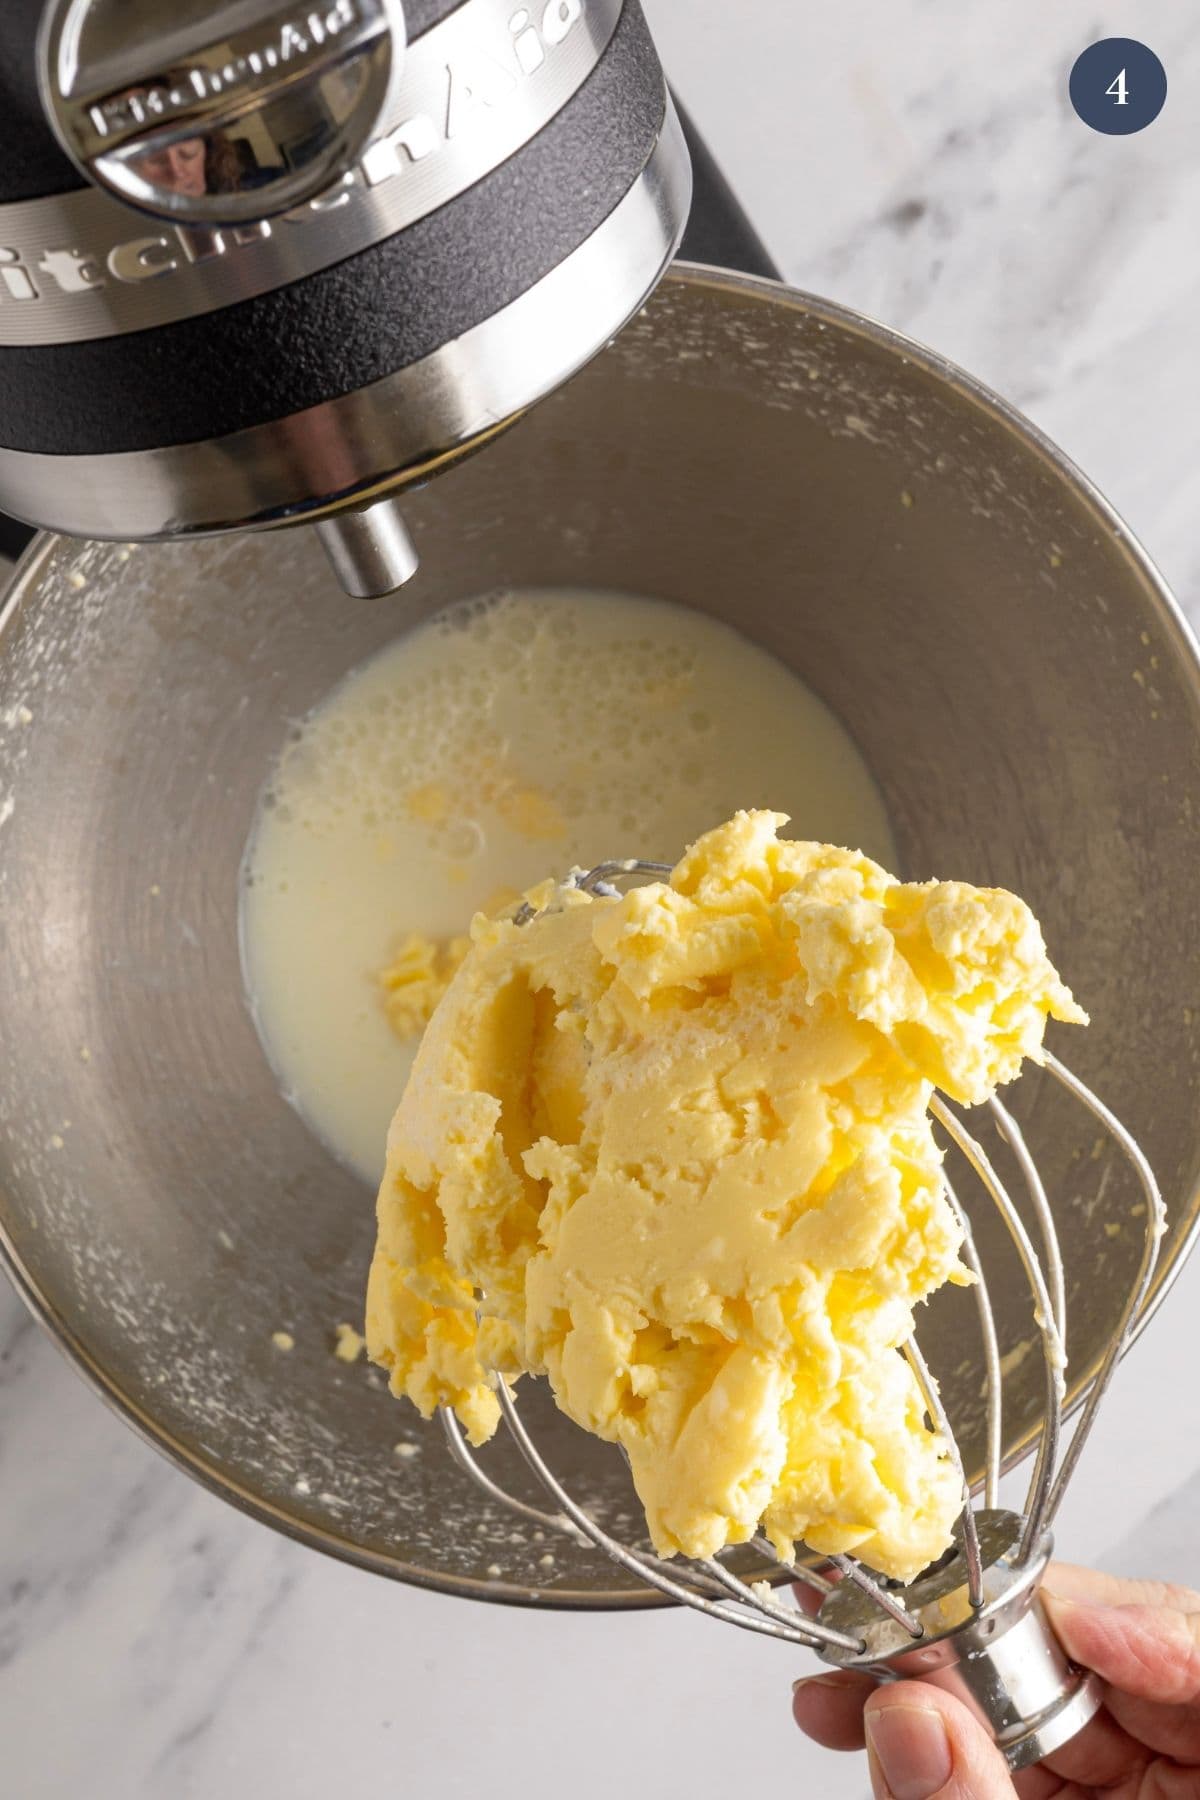
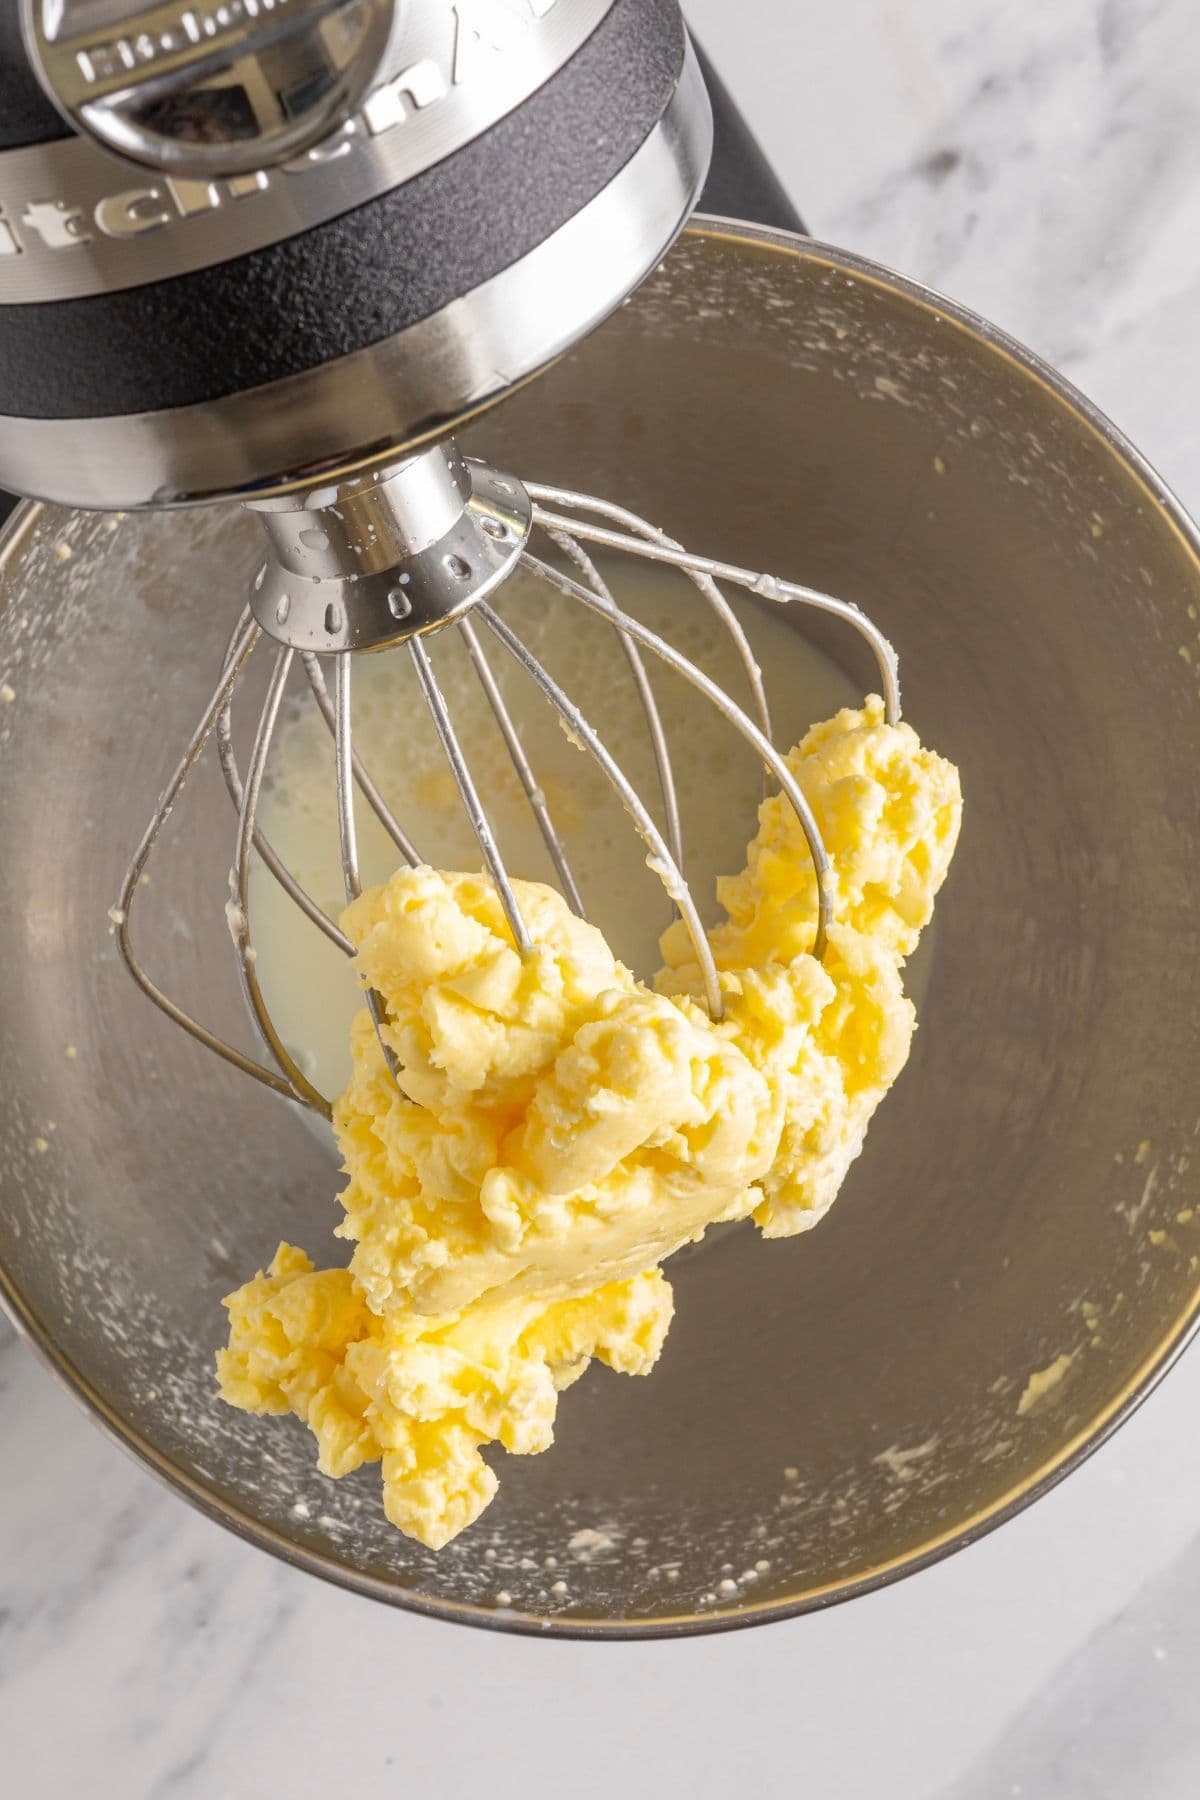
- Butter and Buttermilk – Suddenly the mixture will separate. You’ll see yellow clumps of butter sitting in cloudy liquid. Once you can clearly see this separation, the churning stage is complete. This transition can happen quite quickly, so keep an eye on your cream once it starts looking grainy.
How To Make Butter in a Stand Mixer
I’m showing you what it looks like to make butter using a stand mixer, but you can make butter using whatever appliance you have on hand, whether it’s a stand mixer, food processor, Thermomix or electric hand mixers. You can also just agitate the cream in a mason jar.
To start, pour the cream into the bowl of a stand mixer with the whisk attachment fitted. Start whipping the cream. Start slow and move up to speed 10. I do recommend using the splatter guard when making butter. If you don’t have one, you can also cover your stand mixer with a kitchen towel to stop the buttermilk splashing everywhere when the cream splits.
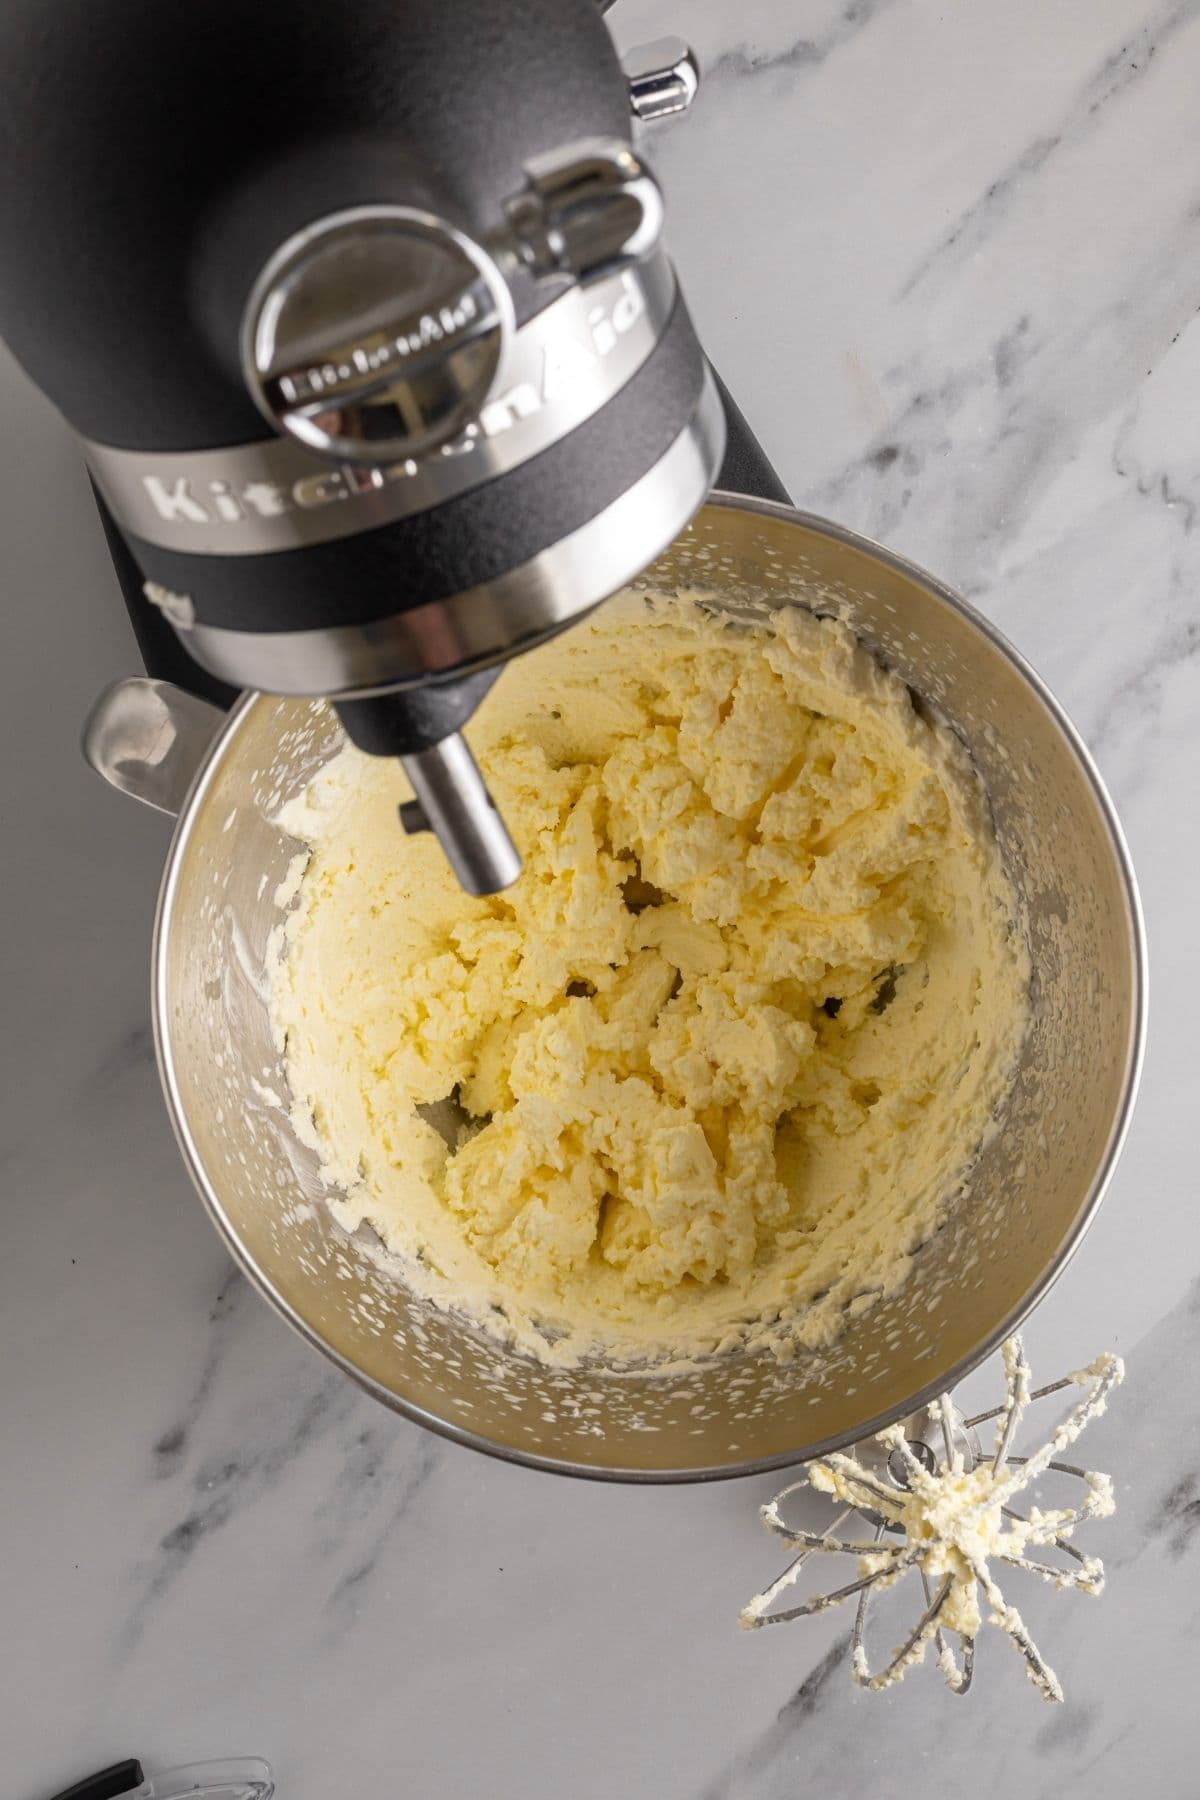
Continue to run the stand mixer until the cream splits into butter and butter milk. From here, no matter what method you’re using to make butter, the finishing process is the same.
How To Finish Homemade Butter
Once your cream has separated, the remaining process is the same no matter how you churned it.
1. Strain Off the Buttermilk
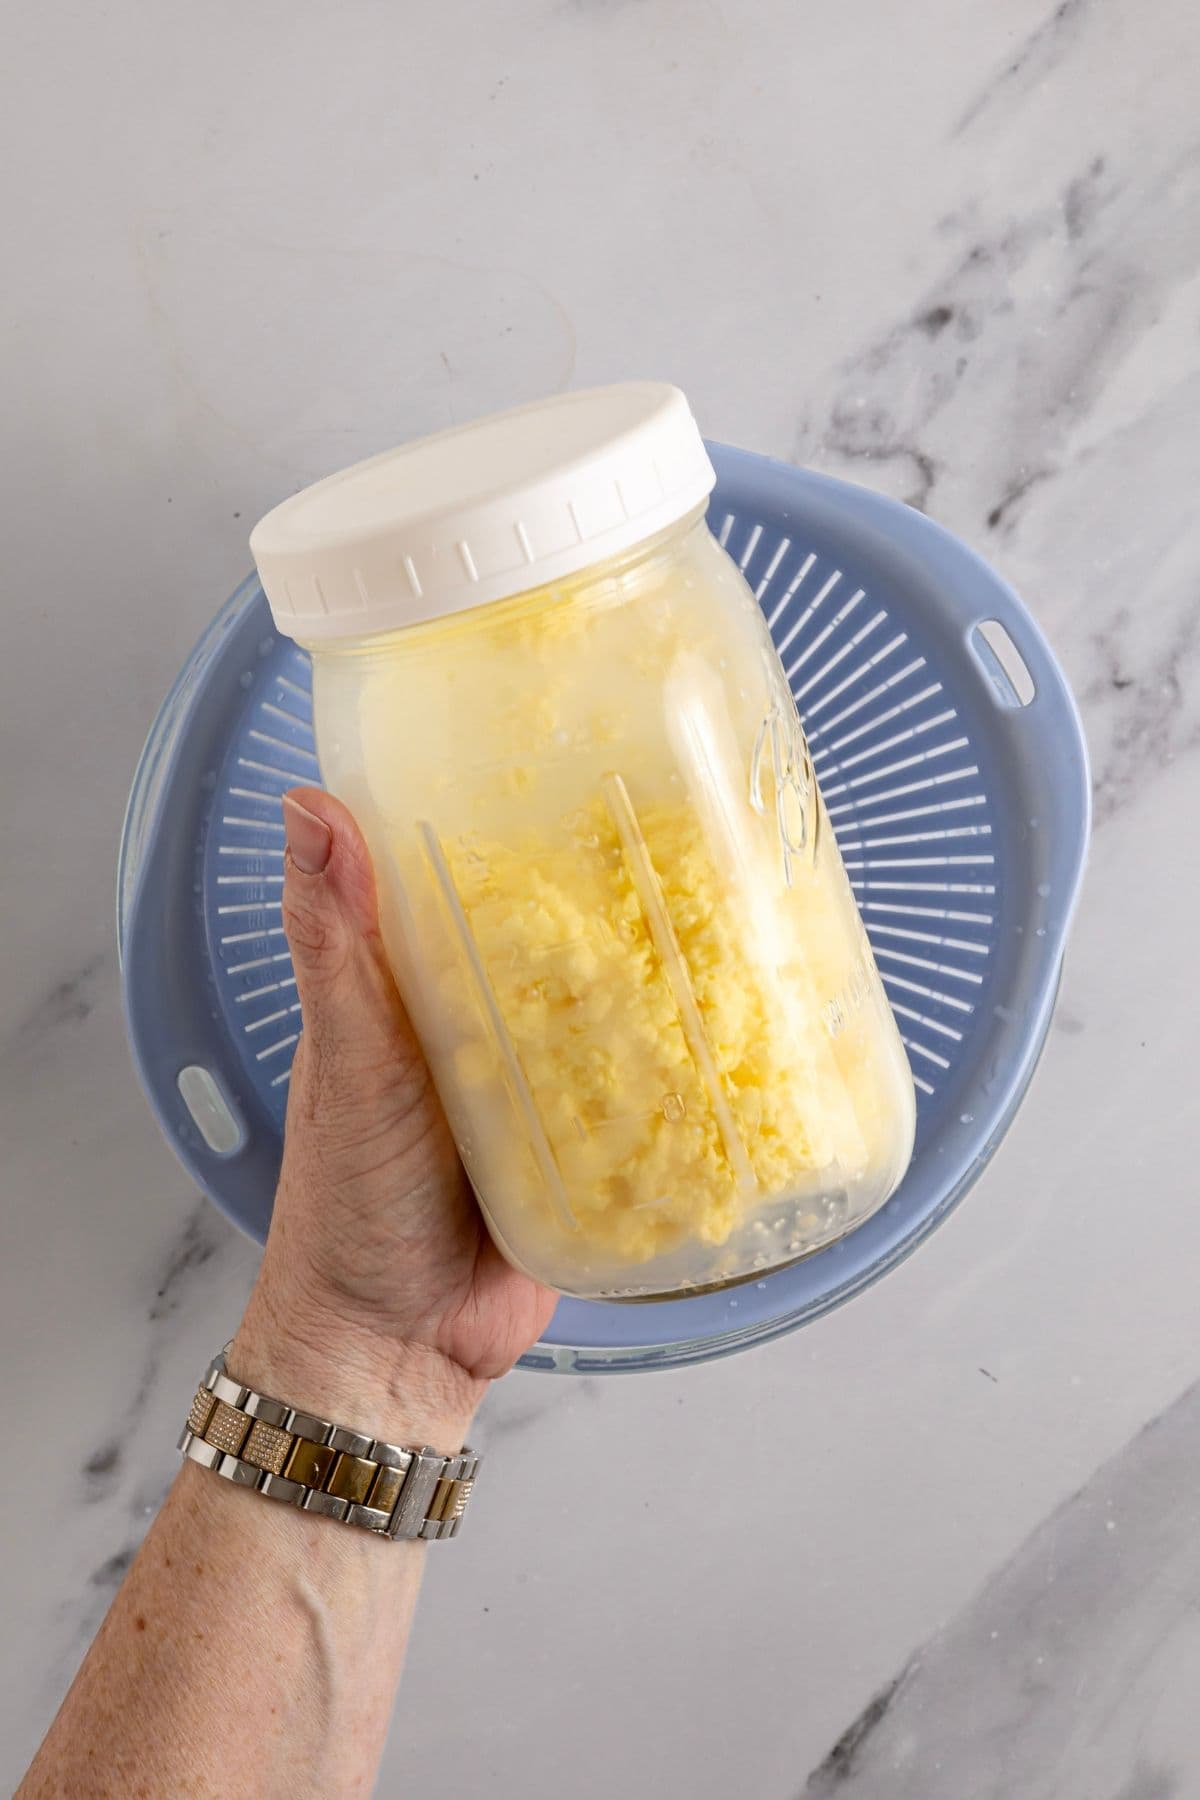
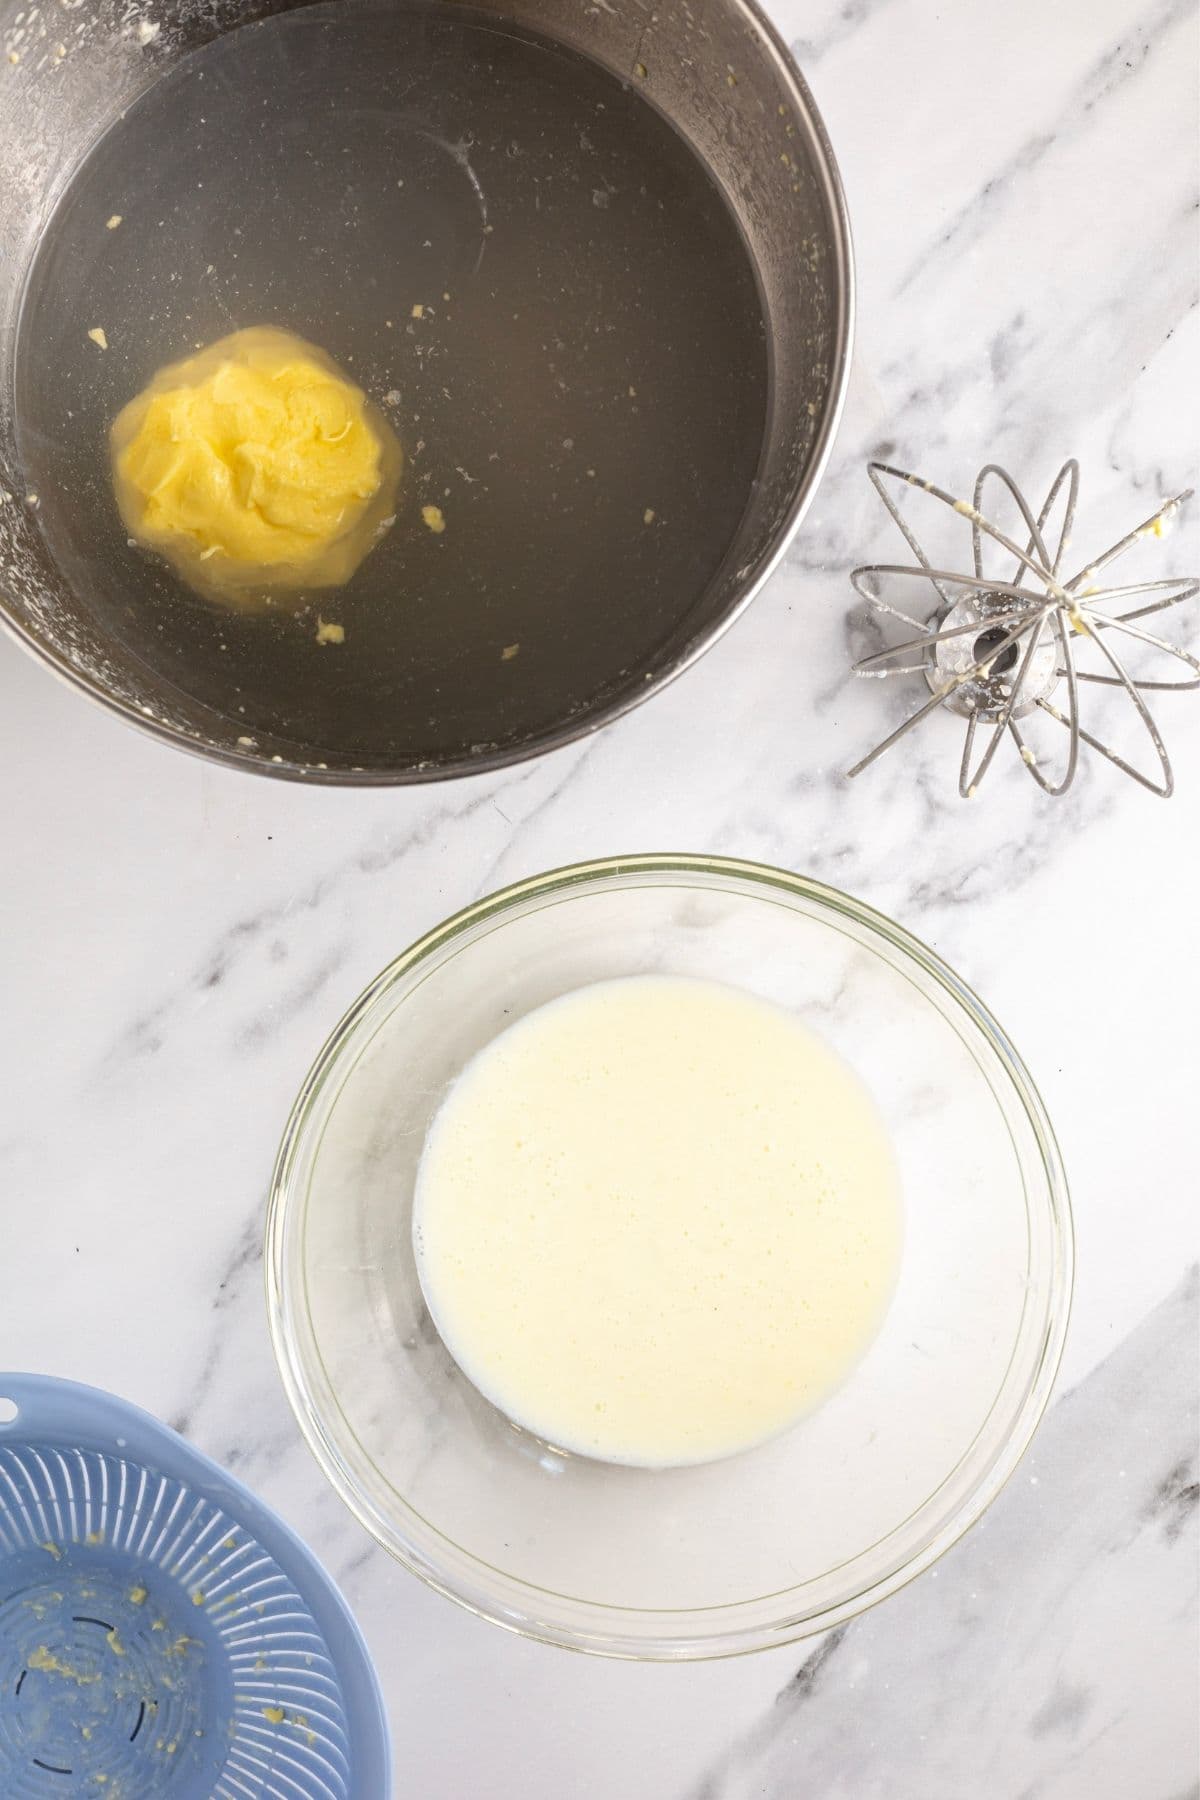
Pour the separated butter and liquid through a fine-mesh strainer or cheesecloth over a clean bowl or jar. Keep the liquid. There are lots of ways to use it! If any small pieces of butter end up in the strainer, add them back to the main butter.
2. Wash the Butter in Cold Water
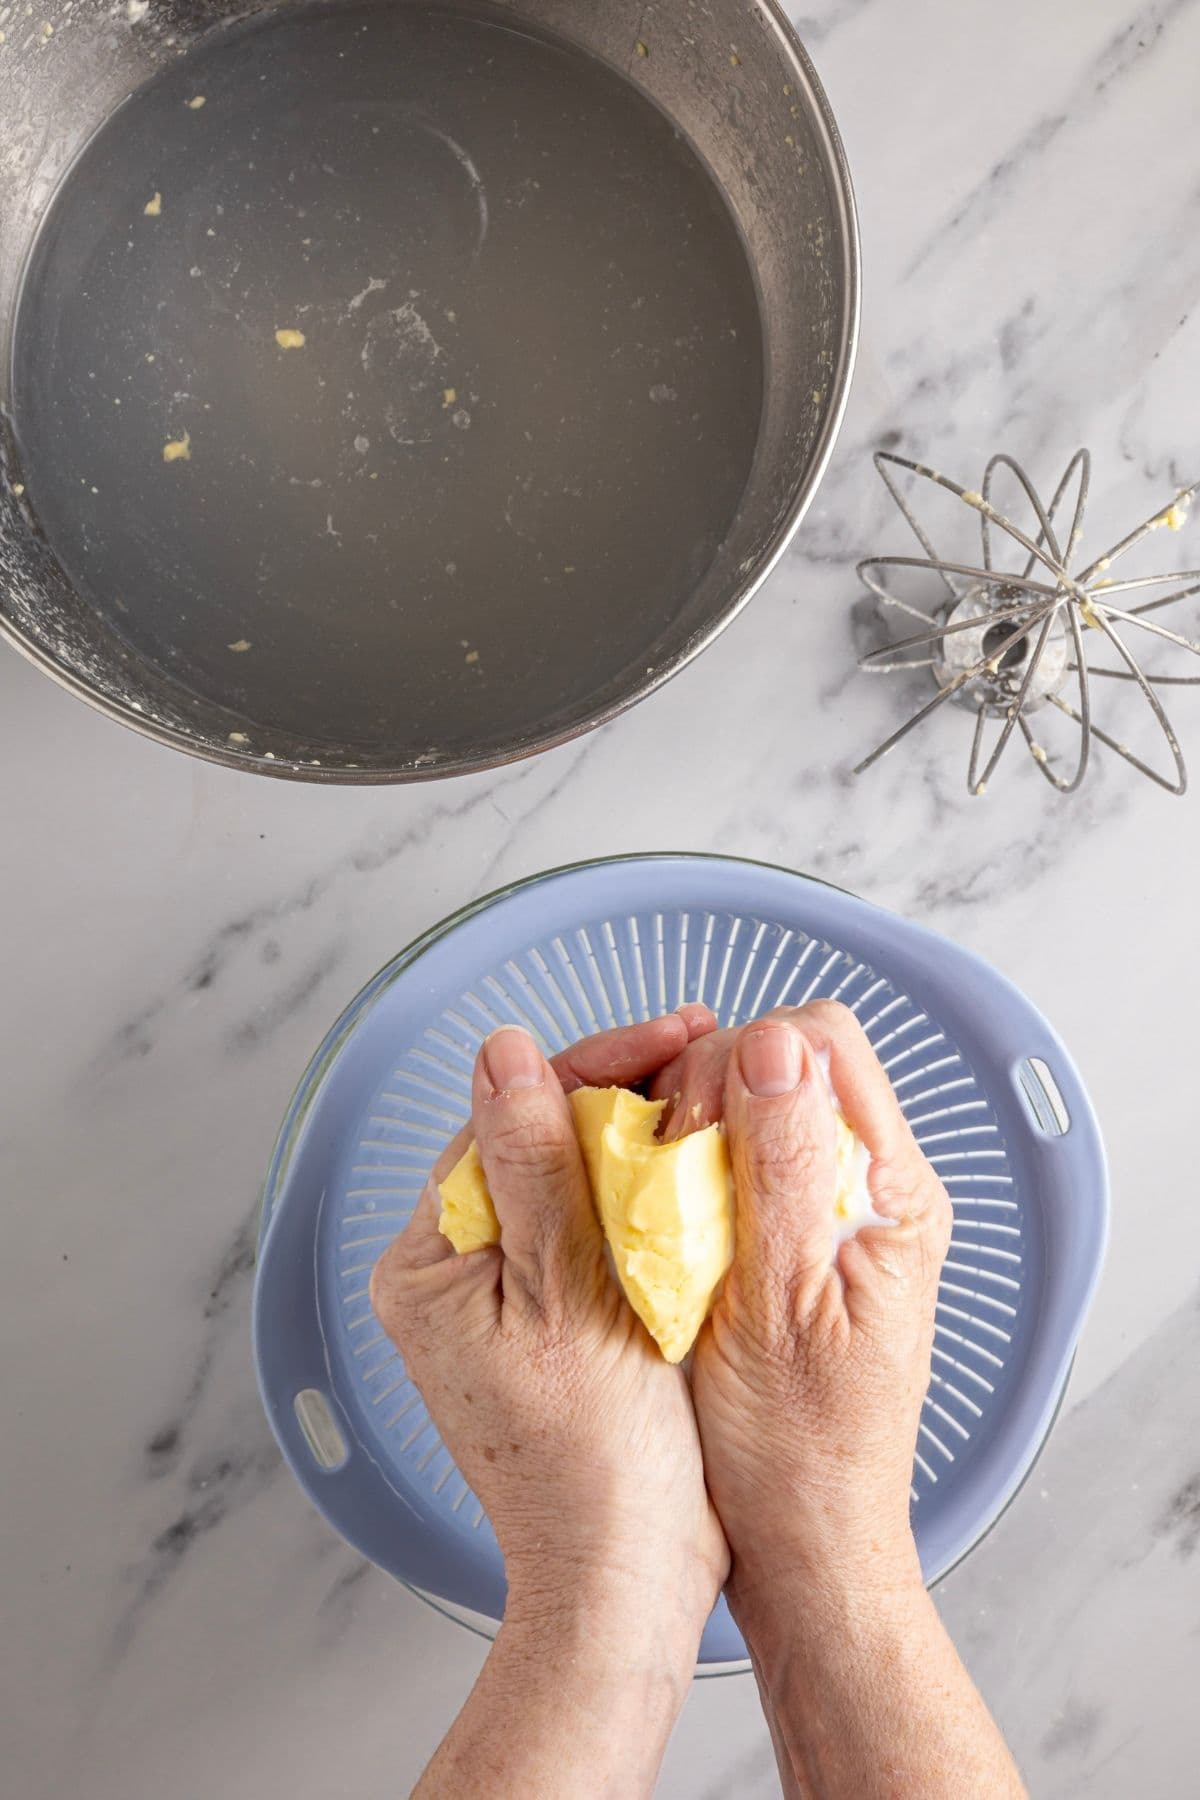
Squeeze the butter as much as you can and then place the butter back into your stand mixer bowl and cover it with very cold water. Turn the stand mixer to a speed 4-5 and allow the butter to wash through the water. It only needs to be around 10 to 15 seconds. Pour the water out over a strainer to ensure you catch stray pieces of butter. You need to wash the butter at least once, but repeating the washing process twice is completely optional.
Kate’s Pro Tip
Why Do You Need To Wash The Butter?
Washing homemade butter helps remove the remaining buttermilk and moisture trapped in the butter solids after churning. This is important because excess moisture can cause homemade butter to spoil more quickly. To wash the butter, work it gently in very cold water. The water will turn cloudy as the remaining buttermilk is released.
3. Work Out the Remaining Liquid
Once the butter has been washed, press and squeeze it to remove as much remaining water and buttermilk as possible. You can do this using clean hands, a spatula, wooden butter paddles or a clean cloth. The less residual liquid left in the butter, the better it will keep. If your butter feels very soft, it means that it still contains too much buttermilk.
4. Add Salt
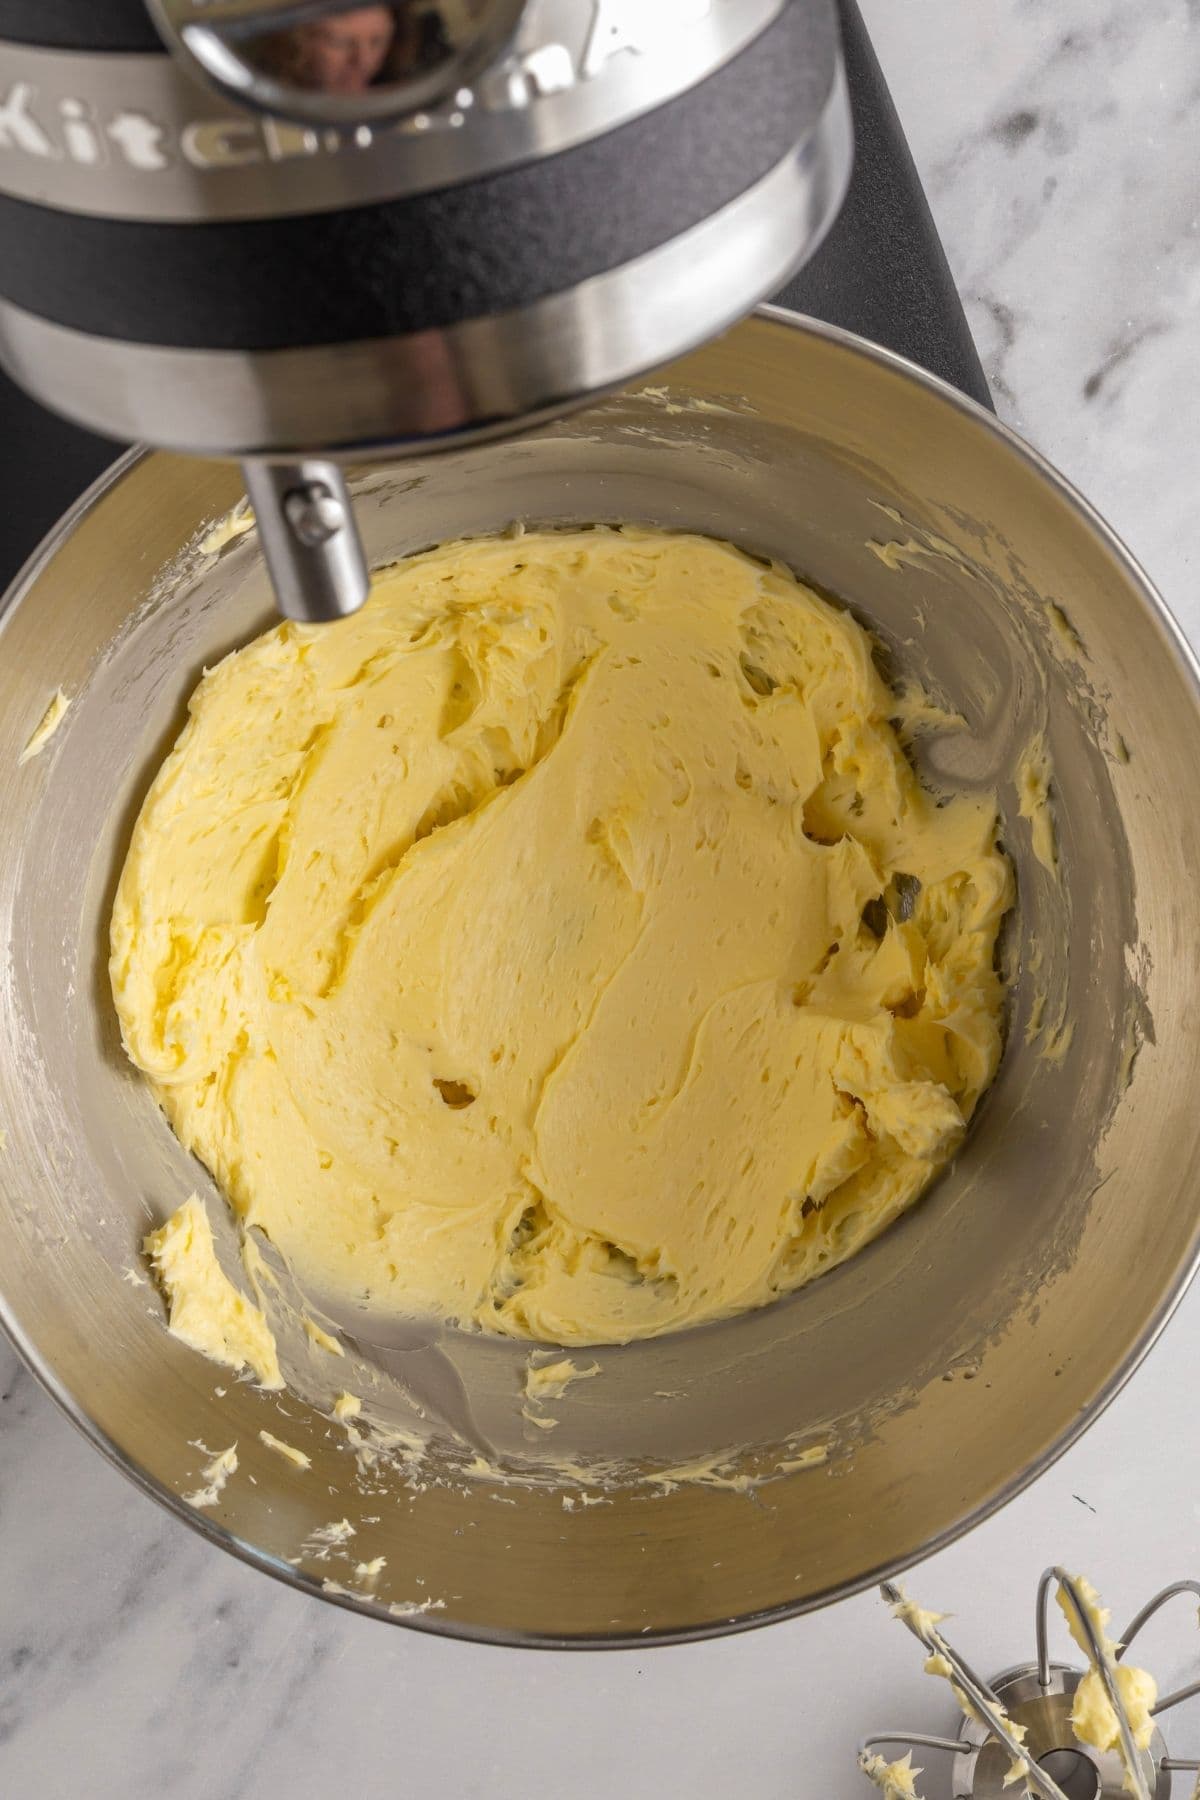
If you’d like salted butter, add salt to taste and work it evenly through the butter. If you prefer unsalted butter, simply leave it out. I like to whip the butter and the salt together in a clean stand mixer bowl. This ensures the butter is light and creamy and the salt is well distributed. You can just add the salt using a spatula or spoon if you prefer. Salt not only adds flavor to your butter, it also acts as a preservative and gives your butter a longer life. Unsalted butter will spoil faster than salted butter.
5. Shape + Store
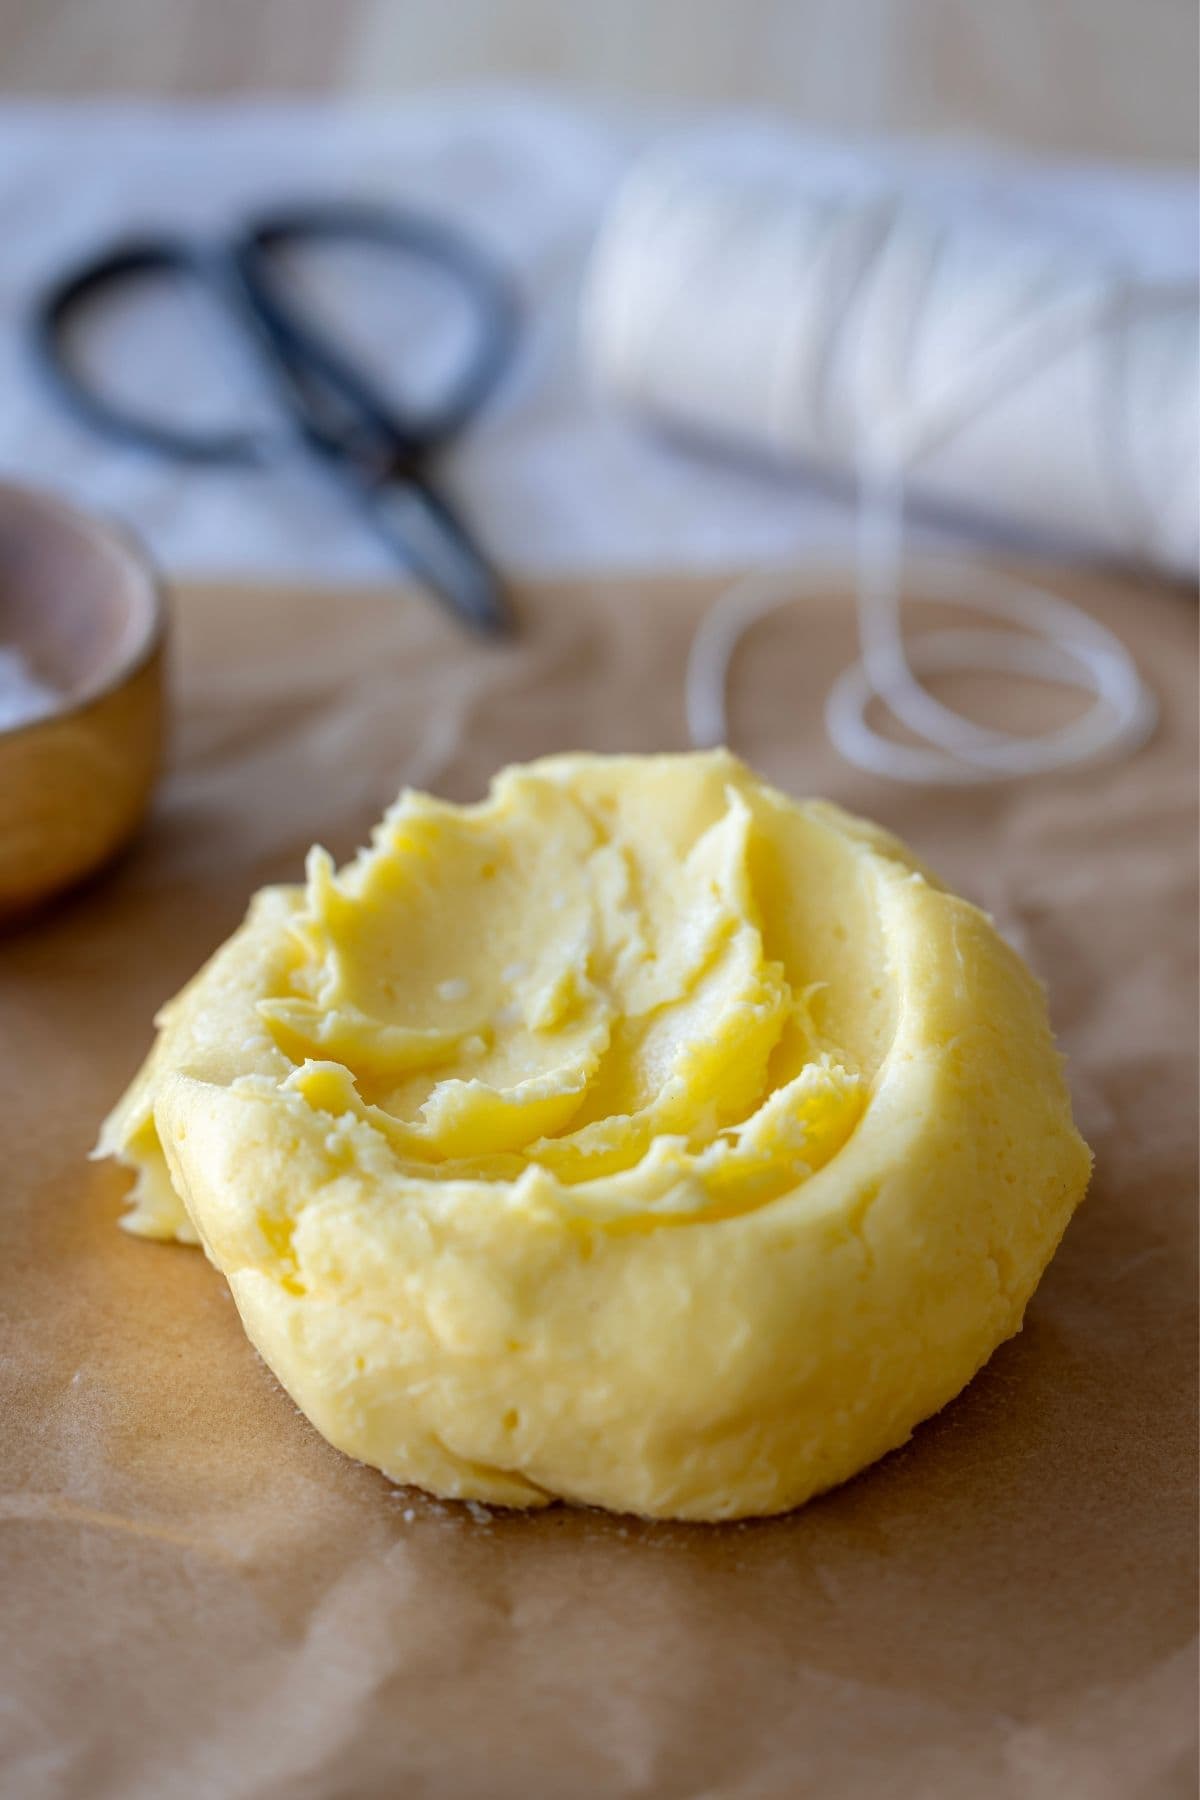
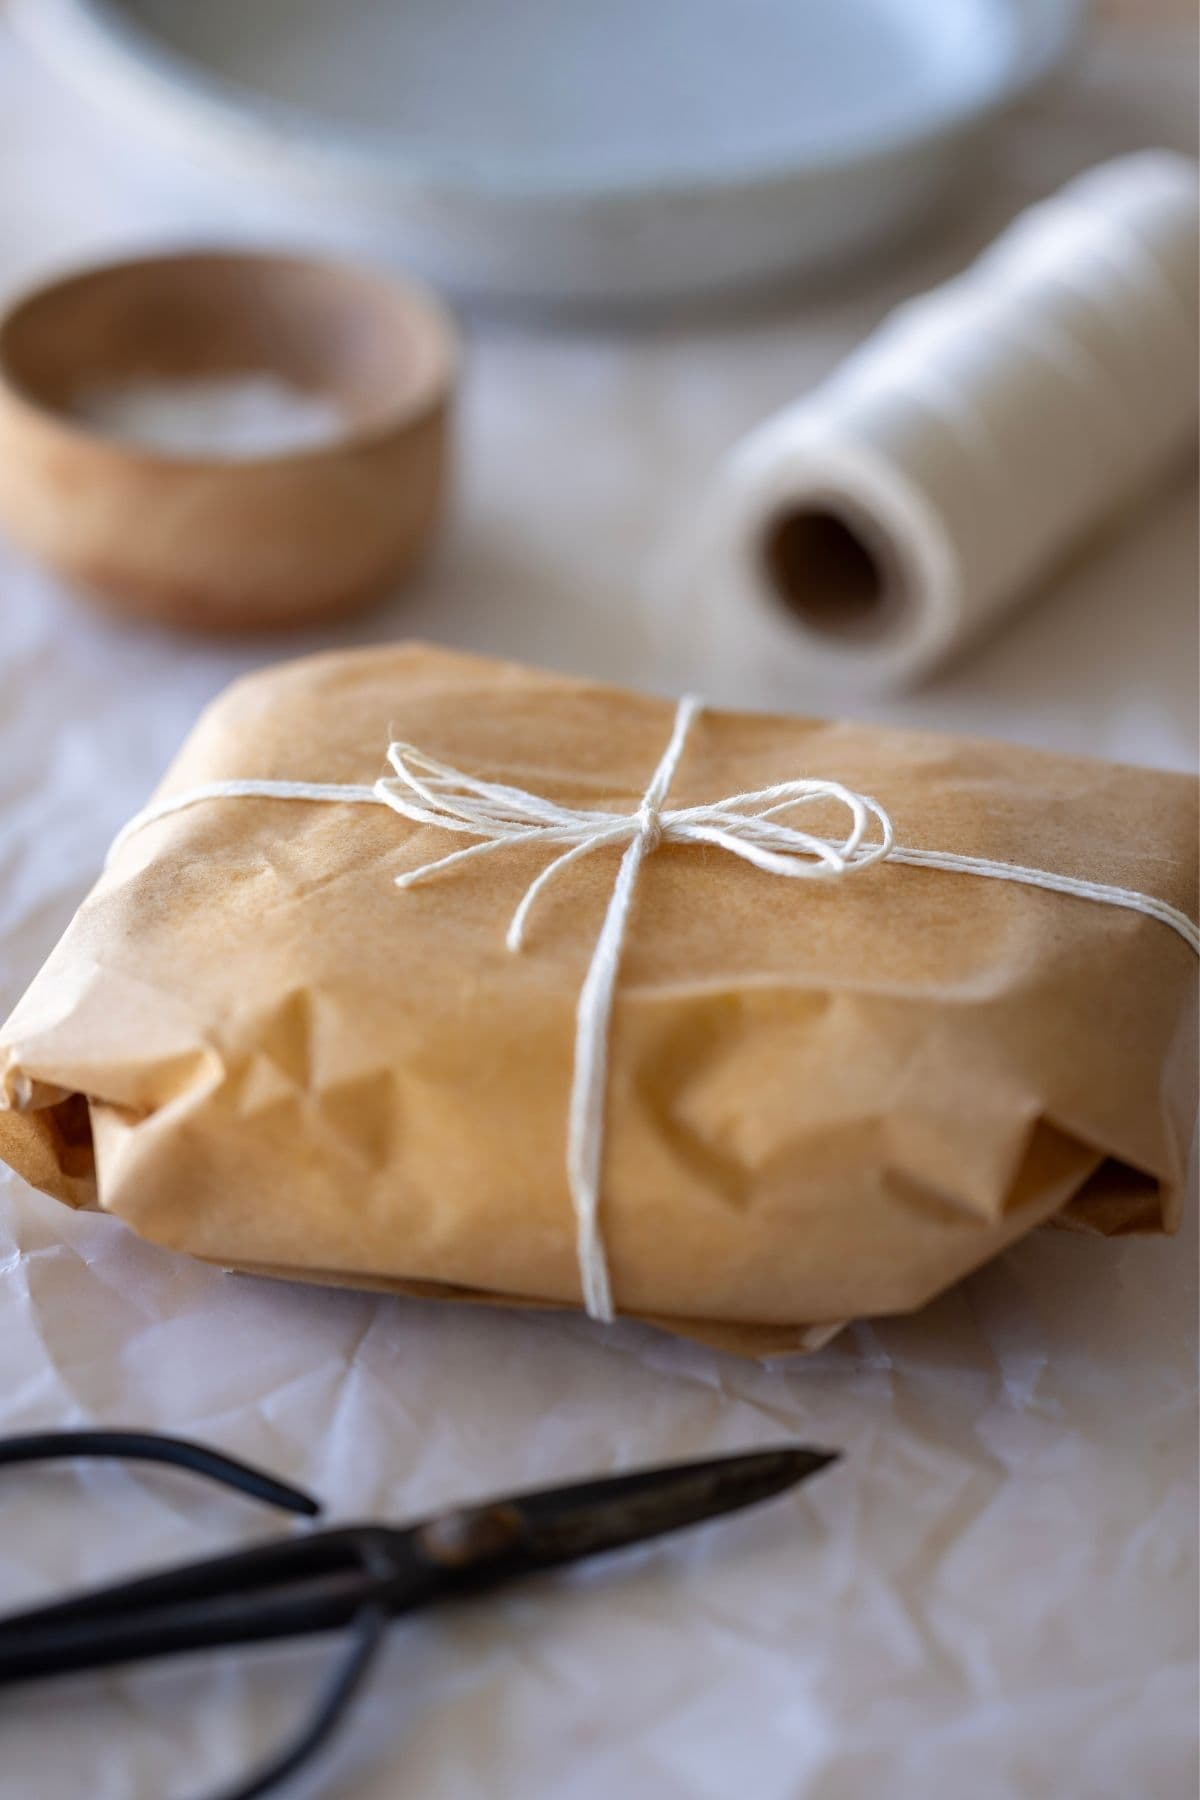
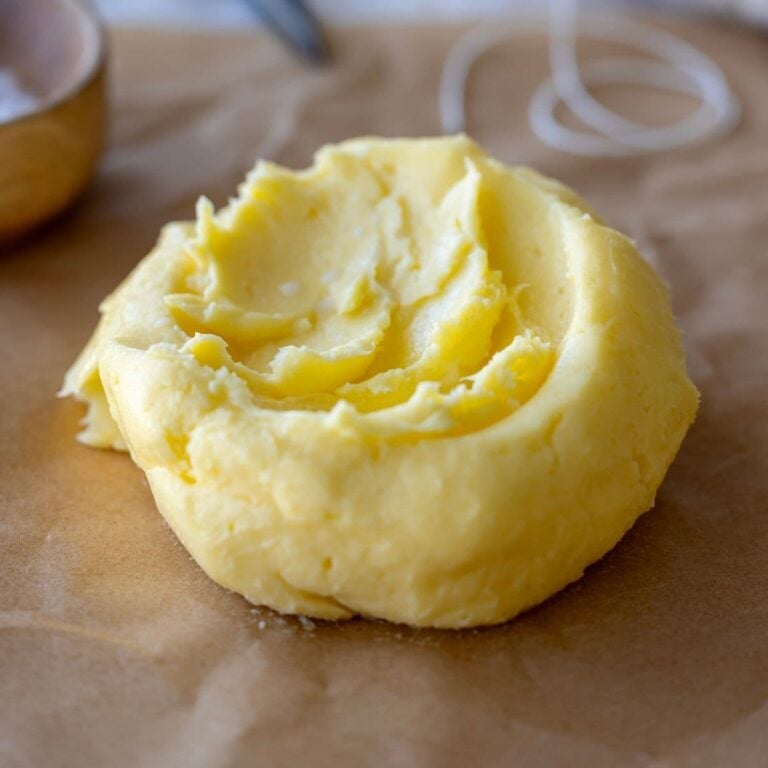
Once you’ve added the salt, place the butter into an airtight container or wrap in parchment paper and store in the fridge for up to 2 weeks. You’ll need to take your butter out and let it soften at room temperature before you use it.
If you wish to keep your homemade butter on the counter at room temperature, I recommend using a French butter bell which submerges the surface of the butter in water. To use this method, you need to change the water in the bottom of the butter bell every 1-2 days.
What Yield Should I Expect?
Your final butter yield depends largely on the fat content of your cream. Cream containing more milk fat will generally produce more butter, while the remaining portion becomes buttermilk and other liquid.
I’ve made hundreds of batches of butter and I never get the exact same yield every time, but as an average yield, using 600mls of cream that is around 35-38% fat, I yield 180-200 g of butter and 200-250 g of buttermilk. If using a pint of cream (473mls) I yield around 140-160 g of butter and 150-200 g of buttermilk.
What Can I Do With Fresh Buttermilk?
The cloudy liquid that separates from the butter is traditionally called buttermilk. Definitely don’t throw it away! Depending on the recipe, this buttermilk can be used in things like sourdough discard pancakes, sourdough discard waffles or sourdough biscuits And because we’re obviously going to talk about sourdough around here, I particularly love experimenting with it in bread dough, just like this sourdough buttermilk bread.
Homemade Butter vs Cultured Butter
The butter you’re making in this recipe is sweet cream butter because you’re churning fresh cream without fermenting it first. Cultured butter begins differently. The cream is first fermented with live bacterial cultures before it is churned. This develops a deeper, slightly tangy and nutty flavor in the finished butter. If you’ve mastered this basic homemade butter, homemade cultured butter is a great next step. It’s especially good thickly spread over fresh sourdough bread!
How To Flavor Homemade Butter
Once you know how to make butter, flavored butter is an easy next step. You can turn your flavored butter into a whipped butter or even a compound butter. Some of my favorite flavored butters are:
You might also like to browse this collection of flavored butter recipes for inspiration.
What Should You Serve Homemade Butter With?
Homemade butter is especially worth making when the butter itself gets to be one of the stars. And obviously, my first choice is this simple sourdough loaf. There’s something particularly satisfying about serving homemade butter alongside bread you’ve made yourself. You might like to try your homemade butter with:
- Sourdough Dinner Rolls
- Sourdough Cornbread Muffins
- Sourdough Baguettes
- Sourdough Discard Sandwich Bread
How To Make Butter
Equipment
- Stand Mixer (optional)
- Mason Jar (optional)
- Thermomix (optional)
Ingredients
- 473 mls Heavy Cream, (1 pint)
- 1000 mls Cold Water
- 5 g Sea Salt, (optional)
Instructions
- You'll need to use the whisk attachment to make butter in your stand mixer. I highly recommend using the splatter guard too as when the cream separates it can splatter a lot.
- Add the cream to the bowl of your stand mixer. Start whipping the cream, using a low speed at first, moving up to speed 10 gradually. The cream should start to get thick as it starts to whip.
- Keep the mixer going at its highest speed until the cream separates into butter and buttermilk. It can take anywhere from 2 to 5 minutes. It happens quite suddenly once the cream becomes grainy.
- Once the cream has separated and the butter has collected inside the wire whisk, turn the stand mixer off. Strain the buttermilk that has collected in the bowl, collecting any stray butter in a strainer or fine cloth. Squeeze the butter to remove as much buttermilk as you can. Set the buttermilk aside.
- Add the butter back to the stand mixer bowl and pour over one litre of icy cold water. Turn the stand mixer on and gradually increase from lowest speed to speed 4 for around 10 to 15 seconds. Once the butter has collected in the wire whisk, turn the mixer off.
- Strain the water through a sieve or cloth to collect any stray butter pieces, gathering the butter together squeeze out as much water as possible. You can use a coth for this if you prefer, but clean hands are just fine.
- You can repeat the washing process if you want to, but it's ok just to wash the butter once.
- If you want to add salt to your butter, add the butter back to a clean stand mixer bowl and add up to 5g of salt. Turn the mixer on, gradually moving from lowest to highest speed until it's light and creamy and the salt has been whipped in. This is optional though and you can use your butter unsalted if you prefer.
- Use a spatula to remove the butter from the whisk and bowl and transfer it to a clean container or jar. You should end up with around 140 to 160 grams of butter from one pint of cream.
Notes
Nutrition
Nutrition information is automatically calculated, so should only be used as an approximation.
Like this? Rate and comment below!










Excited to try this! You mentioned you can use cream close to expiry, how long will the butter then last?
you can just treat it as you would normal butter. I always salt my butter which increases it’s shelf life 🙂 If you’re worried, just store it in the fridge 🙂
I made this for the 1st time today using my stand mixer & it turned out brilliantly. Love the fact that I have homemade butter & buttermilk.
Just waiting for a French butter dish & moulds to arrive so my next batch will be more professional.
Thank you Kate
How many sticks of butter does the stand mixer method make?
Is cheesecloth ok to strain the butter, or would I need a cloth with a tighter weave?
So easy and so delicious. Tried the mason jar method and it was simple and work great! Will definitely make again for my next batch of sourdough. Thanks!
Thank you for sharing this. Looking forward to making my own butter. Love all your recipes and appreciate you sharing your talent.
Wow. it’s been a minute since I have made butter. When I was a kindergarten teacher, we made butter in a jar just like this. I didn’t think about adding salt then. I never had a recipe for it and I am glad to have an official recipe. I used this as a science project about how some things can change shape or form. The kids loved it and so did I. We put the butter on a couple of saltine crackers. I retired in 2001 after teaching 28 years.
You can make butter with whole milk. Unhomogenized is best. The issue is that you get far less butter