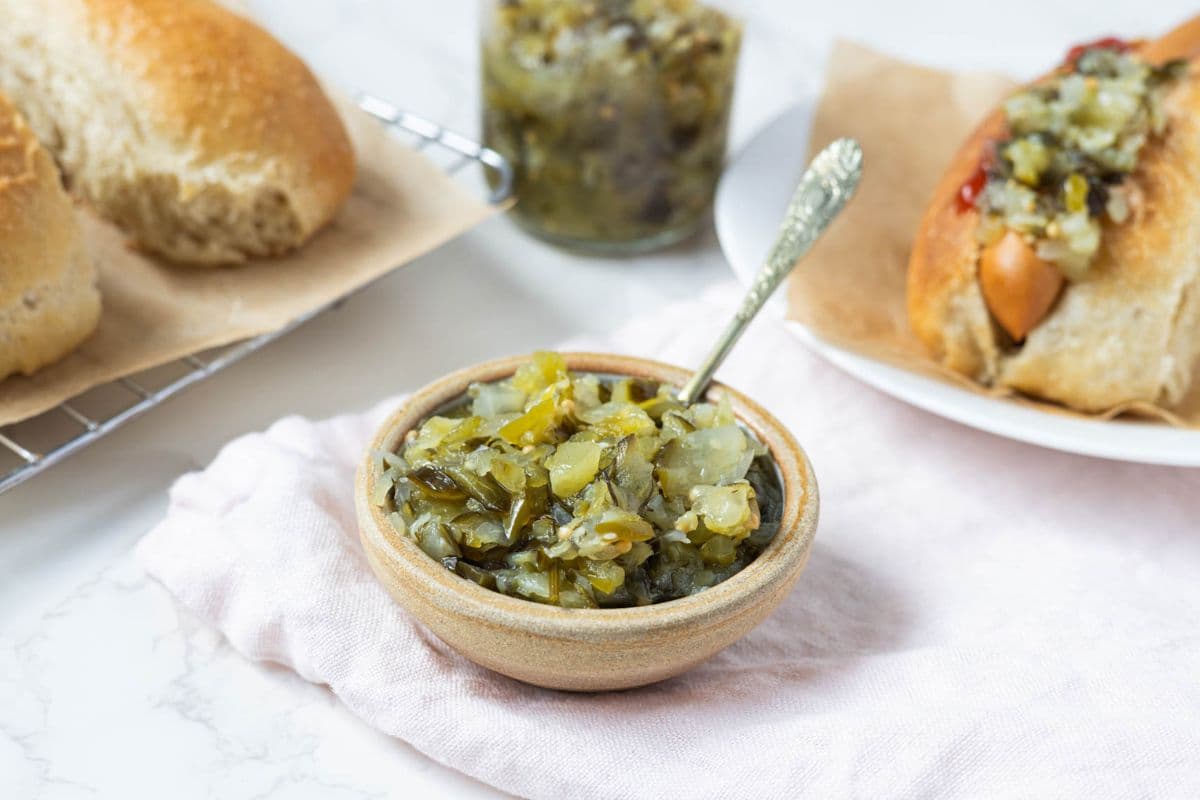
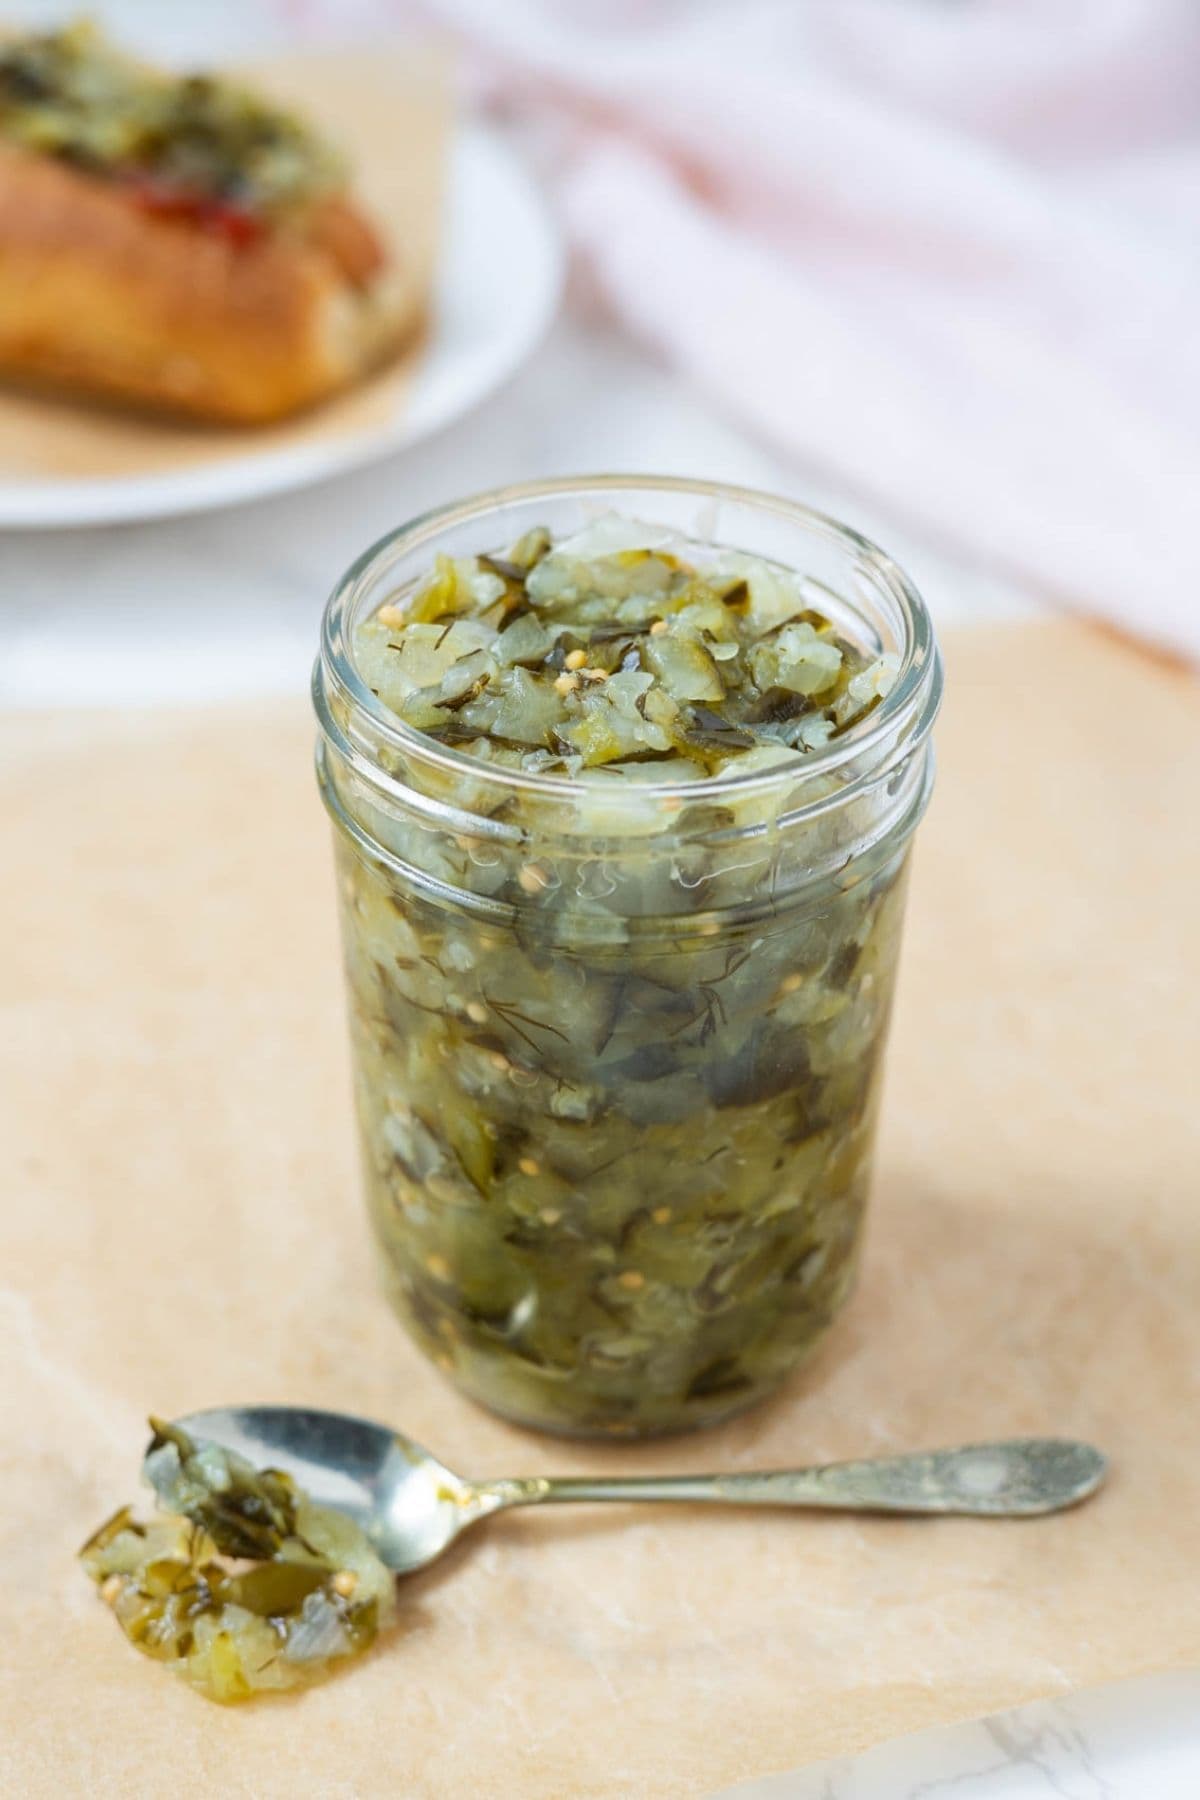
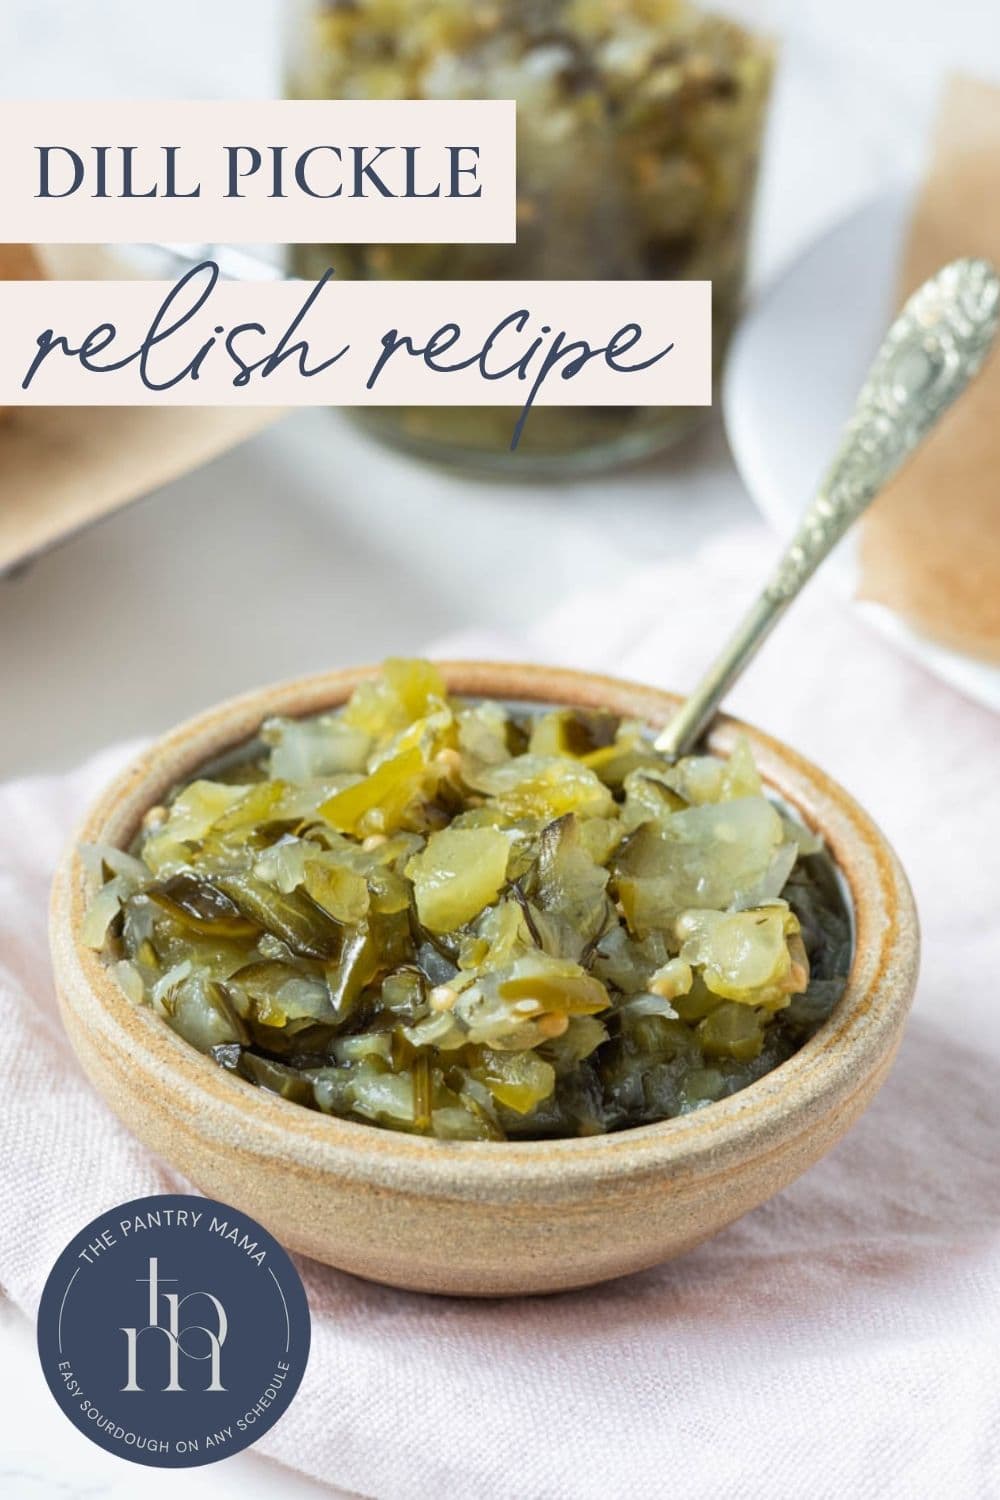
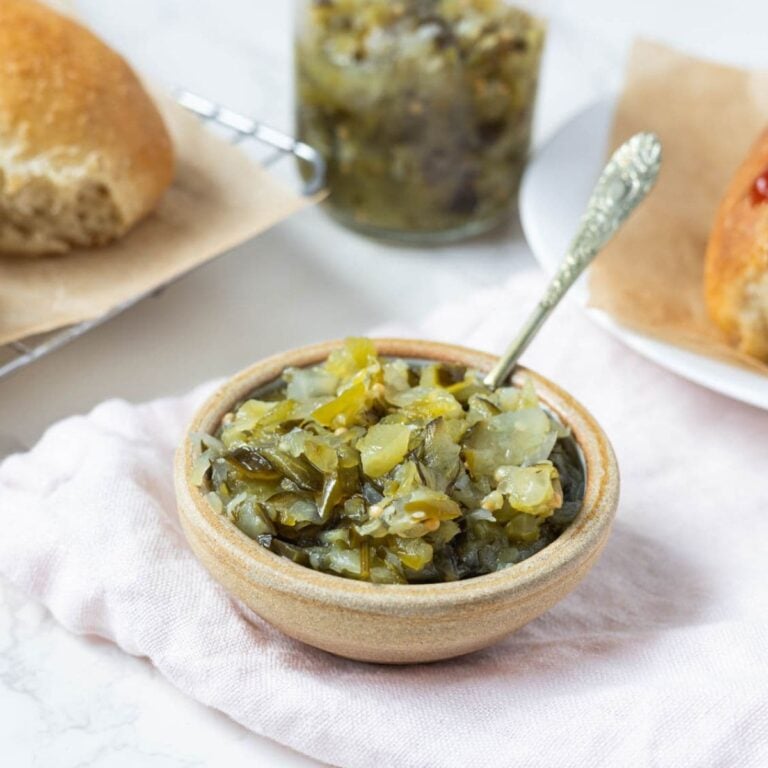
If you’re a pickle fan, you’re going to love this dill pickle relish! There’s nothing like a bright, fresh relish to add lots of punchy flavor to your meals. This homemade version features cucumbers, peppers and onions, and is perfect on hot dogs and burgers, especially when paired with your very own sourdough buns!
This post contains affiliate links. Please see our disclosure policy.
Table of Contents
Why You’ll Love This Recipe!
Make it Your Own – I love dill pickle relish but sometimes have a hard time finding the exact balance of sweet, sour, and savory at the grocery store. Sometimes store-bought relishes have a ton of added sugar and it overwhelms the pickle flavor, and commercial relishes often have a lot of dyes and preservatives. When you make it yourself, you can have it exactly the way you want it!
Super Easy – When you use a food processor to chop up all the vegetables, this relish is a cinch! All you do is chop up the vegetables, salt them, and let them sit for a bit to draw out all the moisture. Start simmering the rest of the ingredients, add the vegetables, and cook until it’s exactly the way you like it.
Great for BBQs – A jar of this dill pickle relish is the best condiment to bring to a barbecue or cookout. You’ll be everyone’s favorite guest when people can crack open a jar of homemade relish to spoon straight onto their just-grilled burgers and hot dogs.
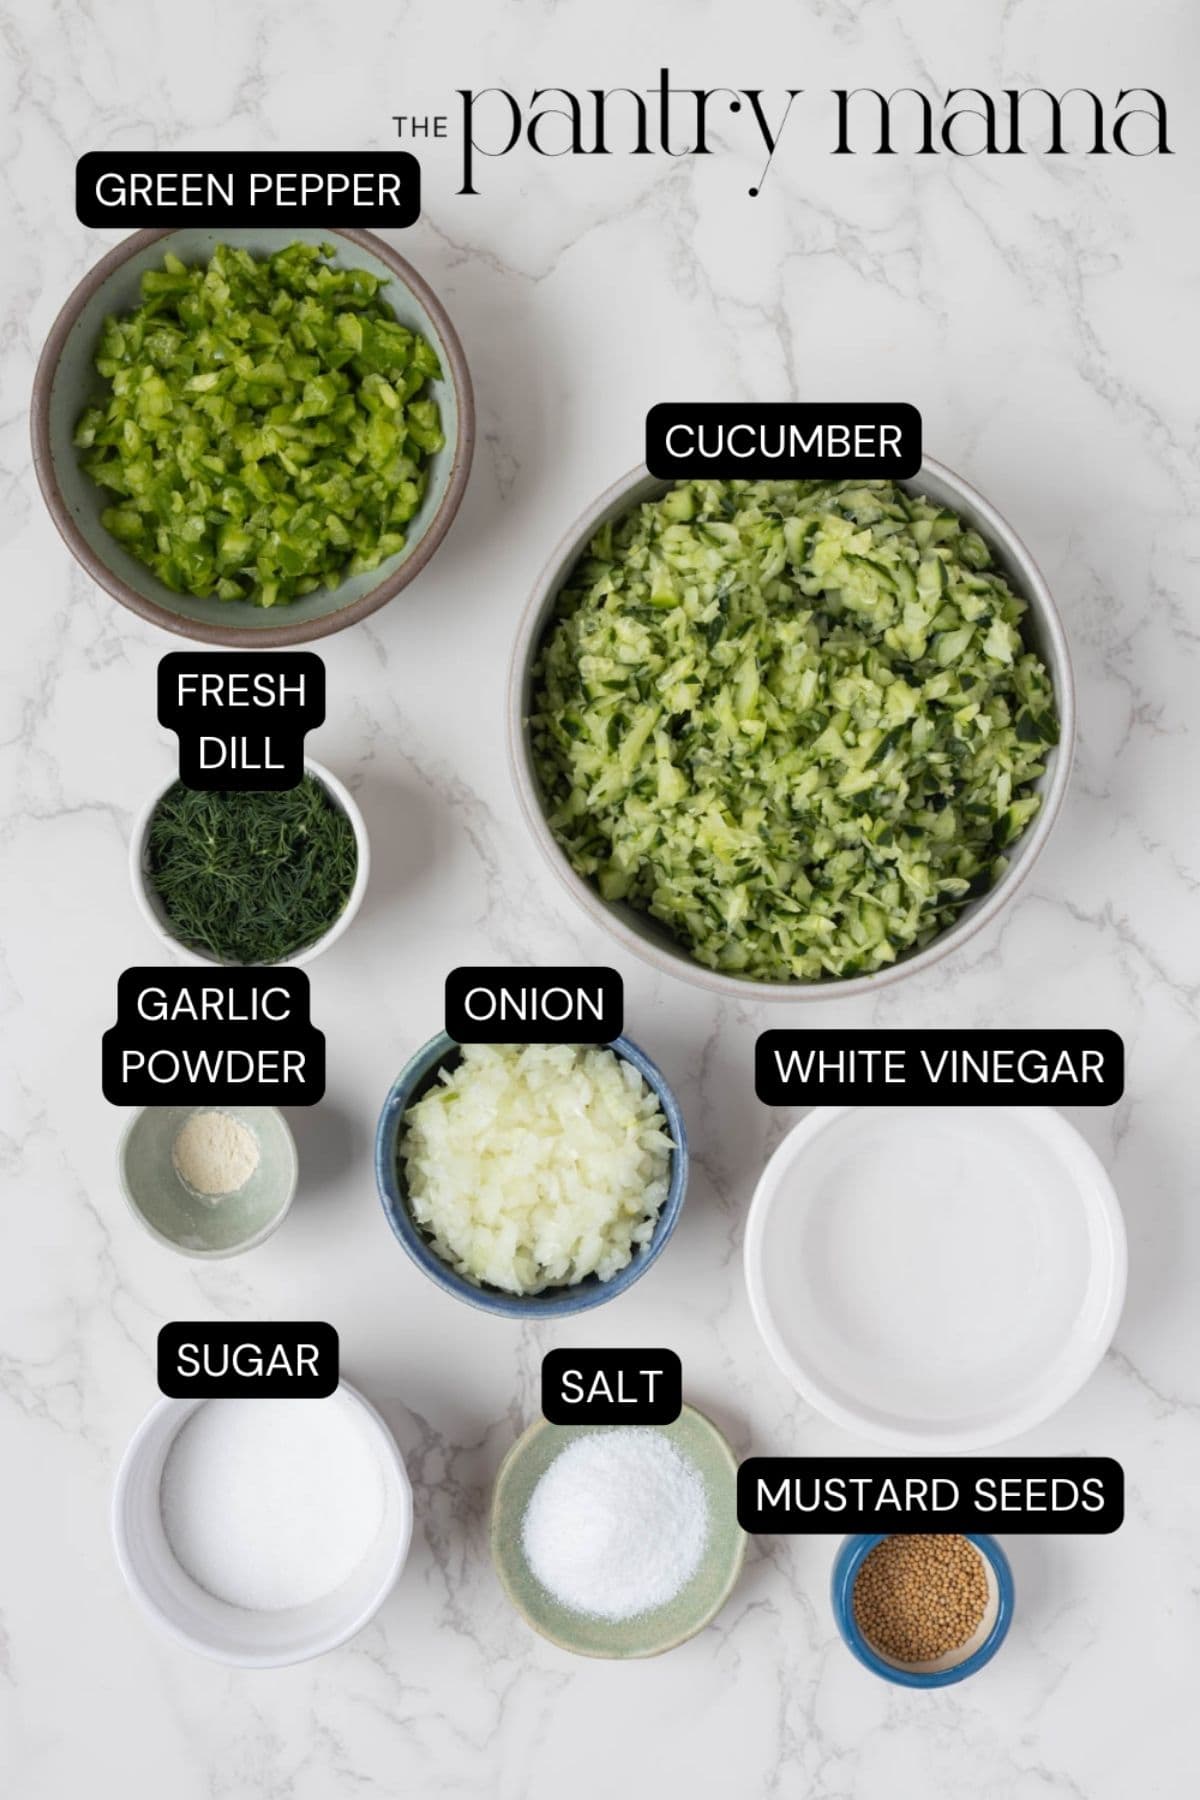
Ingredients
- Cucumber – I used English cucumbers here, but you can use other varieties as well. I don’t usually peel cucumbers for relish, especially English or smaller ones, as I love the texture and color, but if yours have a thick skin, it’s best to peel them.
- Green Bell Pepper – I like a very green dill pickle relish, so I love the combination of cucumber and green bell pepper. But feel free to use yellow, orange, or red if you want a pop of color, or if that’s what you have!
- Onion – I like the white onion to keep the green color of the relish, but you could use a yellow onion, or a red onion for color contrast if you like.
- Salt
- White Vinegar – White vinegar is neutral tasting and super budget friendly, but apple cider vinegar would be good too.
- Sugar – I recommend white sugar for this recipe.
- Mustard Seeds – I prefer yellow for the color but you could also use black.
- Garlic Powder – I like using garlic powder here so the garlic doesn’t overwhelm the dill or the sweet flavor.
- Fresh Dill – I love the taste of fresh dill and often have some in my garden!
How To Make Dill Pickle Relish
Add the trimmed cucumber, bell pepper, and onion to the food processor and pulse to a fine dice.
Kate’s Pro Tip
Chopping Tip
The food processor can be your best friend, especially if you hate chopping vegetables as much as I do! Just be careful not to over-process the vegetables though. You want your relish to have nice crunchy bits, not be a vegetable puree!
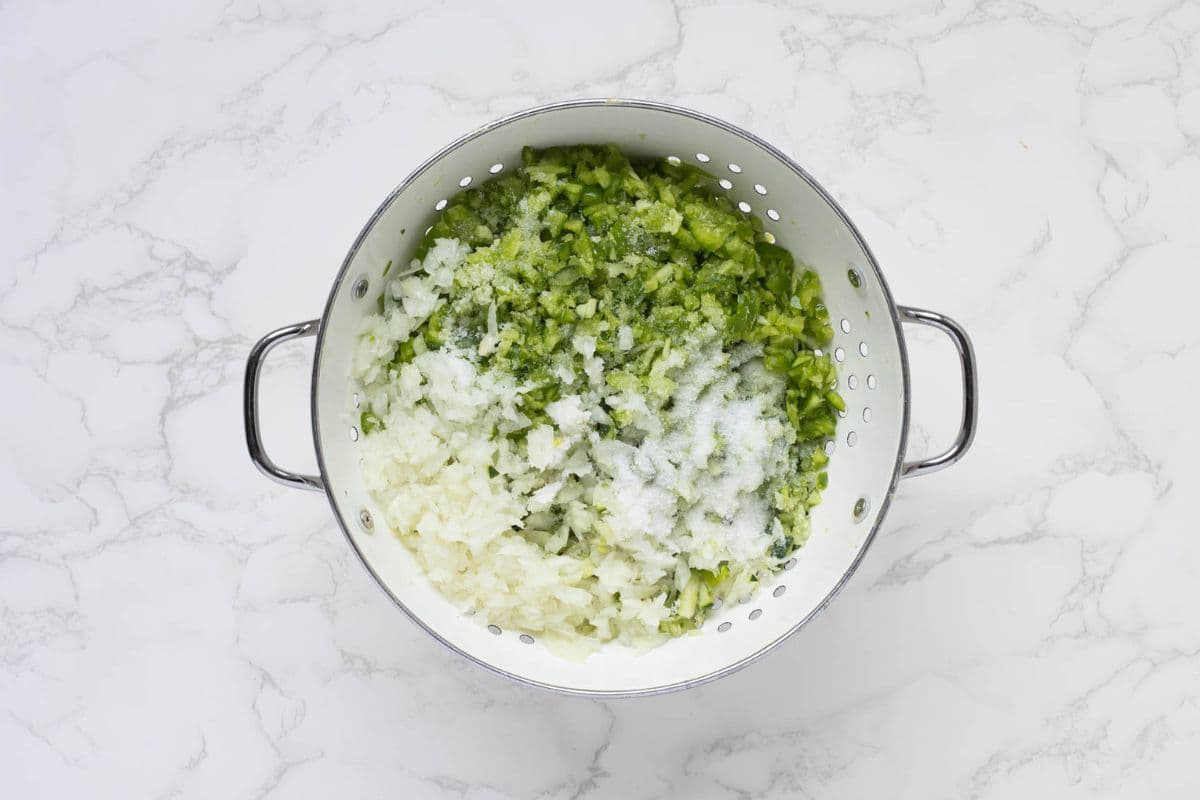
Transfer the chopped vegetables to a large colander and sprinkle with the salt. Stir to combine and let drain for at least 30 minutes over a bowl or the sink. Be prepared for a lot of liquid to come out!
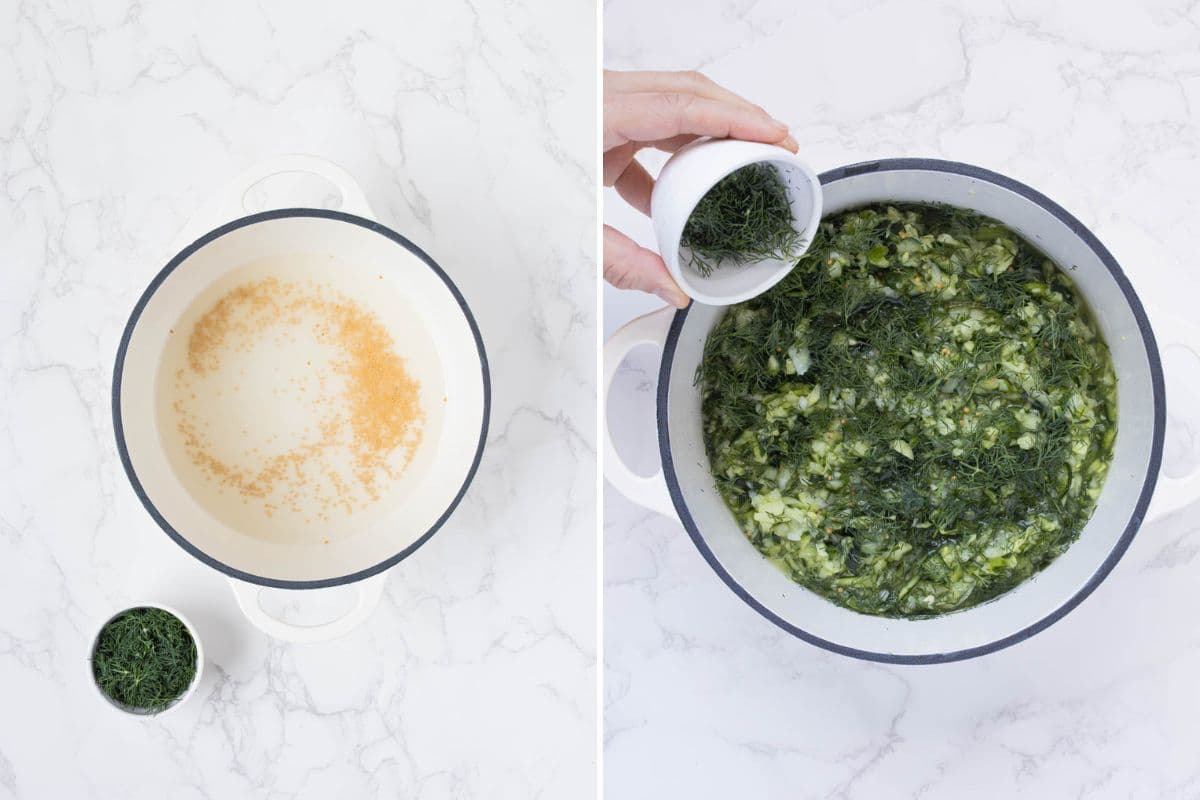
Meanwhile, combine the vinegar, sugar, mustard seeds, and garlic powder in a pot. Bring the mixture to a boil, then simmer for about 5 minutes to dissolve the sugar and soften the mustard seeds. If the vegetables aren’t ready by this point, you can just turn the heat off.
Once the vegetables are ready, add them to the pot along with the fresh dill and stir to thoroughly combine.
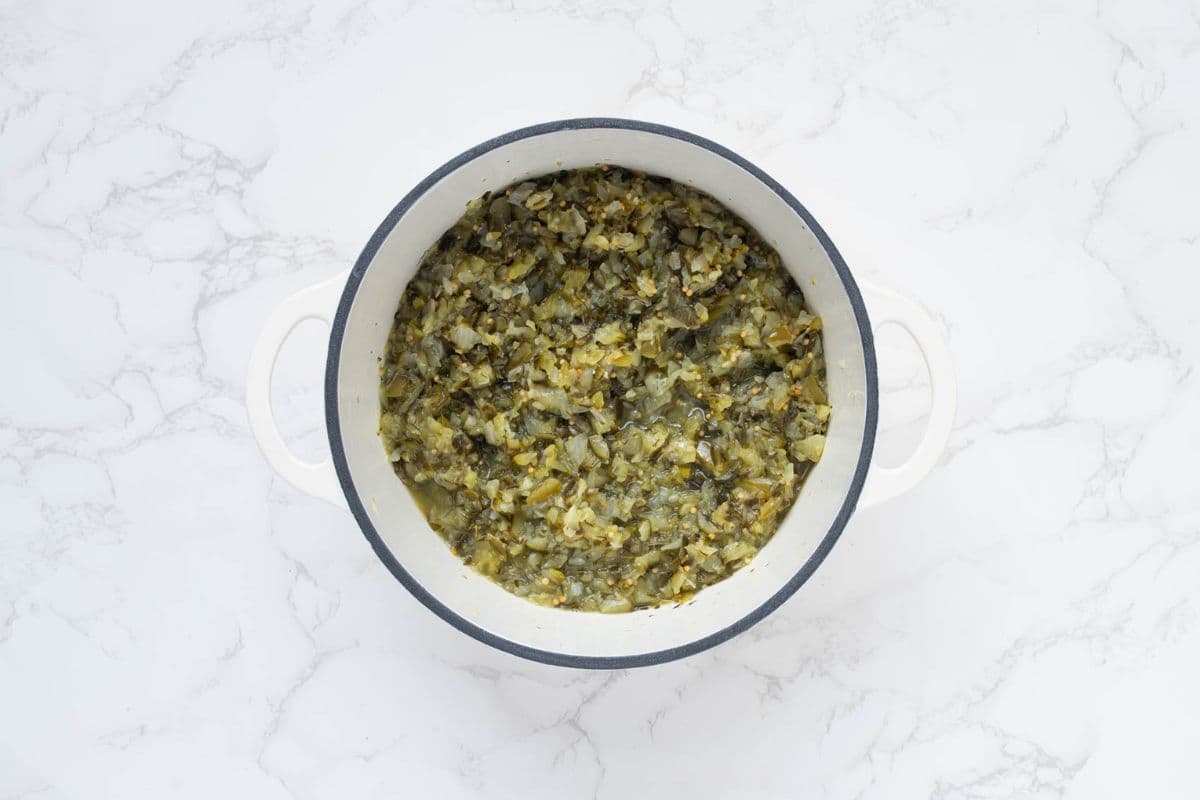
Bring the mixture to a boil, then continue to cook for 5 to 10 minutes, or until you like the consistency. Taste for seasoning, adding salt, sugar, or a pinch more dill if you think the relish needs it.
Prepare your jars by pouring boiling water inside and letting them sit for a few minutes before carefully emptying them out. Alternatively, you could run them through a hot dishwasher cycle to sterilize.
Using a stainless steel jar funnel and ladle, carefully fill the jars, leaving around 1cm head room at the top of the jar. Place the lids on and seal immediately. Leave the jars on the counter to cool, then transfer to the fridge.
How To Serve Dill Pickle Relish
Dill pickle relish is of course the perfect condiment to serve with hot dogs, as you can see in these photos. Nothing beats a pairing of relish along with my small batch homemade ketchup and sourdough hot dog buns!
Pickle relish is also an essential accompaniment in our house on burger night! Make these sourdough discard hamburger buns and impress your family and friends.
I love relish of all kinds on a cheeseboard and this one would be great with a nice sharp cheddar. Try it on my whole wheat sourdough crackers or seeded sourdough crackers to make a great-looking platter for guests.
How To Store + Freeze
If you store the pickle relish in an airtight container, it will last a week or so in the fridge. With sealed and sterilized jars, the relish should last a few months in the refrigerator.
You can also freeze this dill pickle relish, just be sure to leave enough headroom in the jar for the liquid to expand.
Frequently Asked Questions
A lot of store-bought brands actually use artificial dyes to get that familiar neon green color of commercial pickle relish. That makes this homemade version a great option if you’re looking to avoid food dyes. If you’d like a slightly yellower hue, you can add a teaspoon of turmeric to the vinegar along with the mustard seeds.
I grow fresh dill in my garden and absolutely love the flavor and aroma of fresh herbs! If you can’t find any fresh dill but you have the seeds, feel free to substitute a teaspoon or more for the fresh dill.
This is a bit of a personal preference, but you do want to make sure most of the liquid has cooked off and the mixture has thickened. It should be easily scoopable and spreadable and the vegetables should still have some bite.
Dill Pickle Relish
Equipment
- Food Processor
- Heavy Based Pot
- Stainless Steel Jar Funnel
- Stainless Steel Ladle
- 3 Glass Jars and Lids (my jars are 8oz or 240mls each)
Ingredients
- 2 English Cucumbers, about 650g once trimmed
- 1 Green Bell Pepper, about 140g once trimmed
- 100 g White Onion, about ½ medium onion
- 15 g Salt
- 200 g White Vinegar
- 50 g Sugar
- 8 g Fresh Dill, chopped
- 5 g Mustard Seeds
- ¼ tsp Garlic Powder
Instructions
- Add the trimmed cucumber, bell pepper, and onion to the food processor and pulse to a fine dice.
- Transfer the chopped vegetables to a large colander and sprinkle with the salt. Stir to combine and let drain for at least 30 minutes over a bowl or the sink. Be prepared for a lot of liquid to come out!
- Meanwhile, combine the vinegar, sugar, mustard seeds, and garlic powder in a pot. Bring the mixture to a boil, then simmer for about 5 minutes to dissolve the sugar and soften the mustard seeds. If the vegetables aren’t ready by this point, you can just turn the heat off.
- Once the vegetables are ready, add them to the pot along with the fresh dill and stir to thoroughly combine.
- Bring the mixture to a boil, then continue to cook for 5 to 10 minutes, or until you like the consistency. Taste for seasoning, adding salt, sugar, or a pinch more dill if you think the relish needs it.
- Prepare your jars by pouring boiling water inside and letting them sit for a few minutes before carefully emptying them out. Alternatively, you could run them through a hot dishwasher cycle to sterilize.
- Using a stainless steel jar funnel and ladle, carefully fill the jars, leaving around 1cm head room at the top of the jar. Place the lids on and seal immediately. Leave the jars on the counter to cool, then transfer to the fridge.
Notes
- I don’t usually bother peeling my cucumbers when making relish, as I like the texture and added color. This is especially true for English cucumbers or small cucumbers. However, if you have a very thick-skinned cucumber, you may want to peel it for this recipe.
- The food processor can be your best friend, especially if you hate chopping vegetables as much as I do! Just be careful not to over-process the vegetables though. You want your relish to have nice crunchy bits, not be a vegetable puree!
Nutrition
Nutrition information is automatically calculated, so should only be used as an approximation.
Like this? Rate and comment below!