
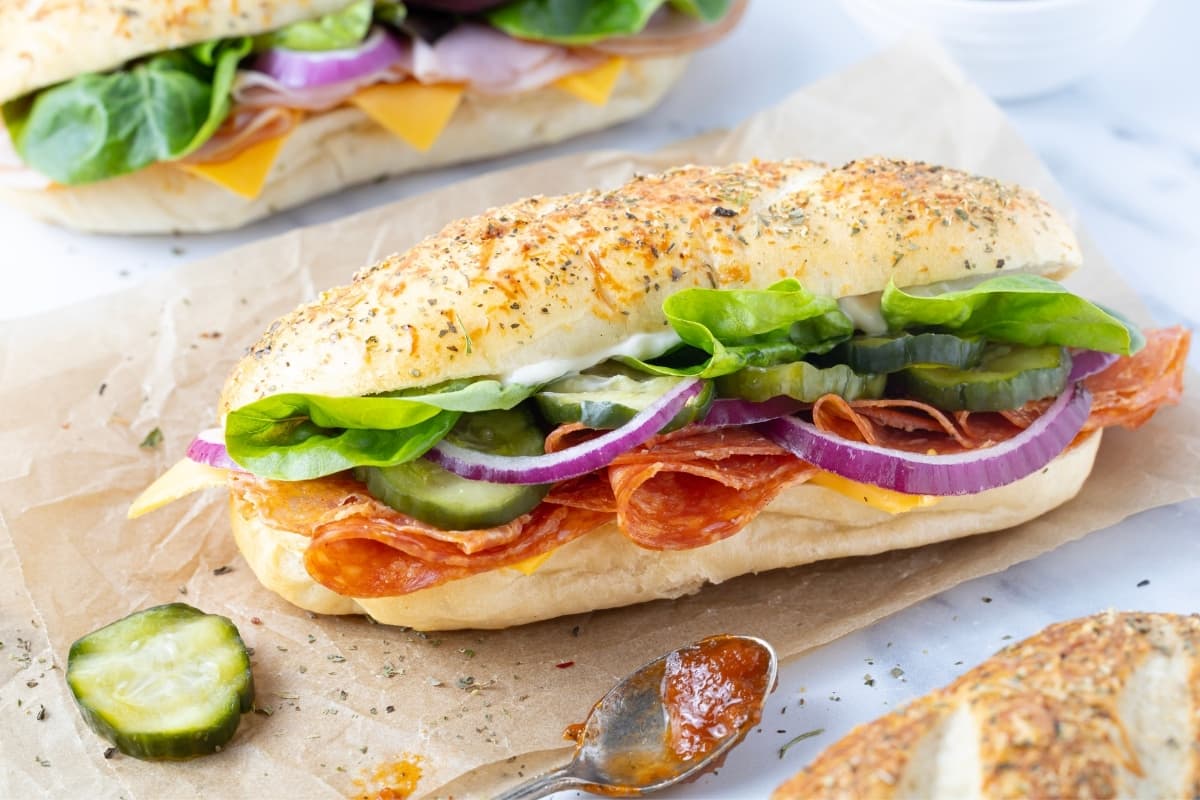
These sourdough sandwich rolls are deliciously soft and chewy. Robust enough to hold all your favorite fillings, but still soft enough to bite into without any trouble. Whether you call them sourdough sandwich buns, sourdough Italian sub rolls or sourdough hoagie rolls – there’s no doubt you’ll want to make these over and over again.
This post contains affiliate links. Please see our disclosure policy.
Why You’ll Love This Recipe!
Fantastic Texture – These sourdough sandwich rolls are soft and chewy, yet still robust enough to hold your favorite sandwich fillings, whether they’re hot or cold.
Beginner Friendly – This is one of those great recipes that’s perfect for beginners who want easy to knead and shape recipes to start their sourdough journey. All you need to do is roll them up like a log.
Easy To Freeze – These rolls freeze and thaw really well. I love to make a double batch and put half in the freezer for another day.
Ingredients
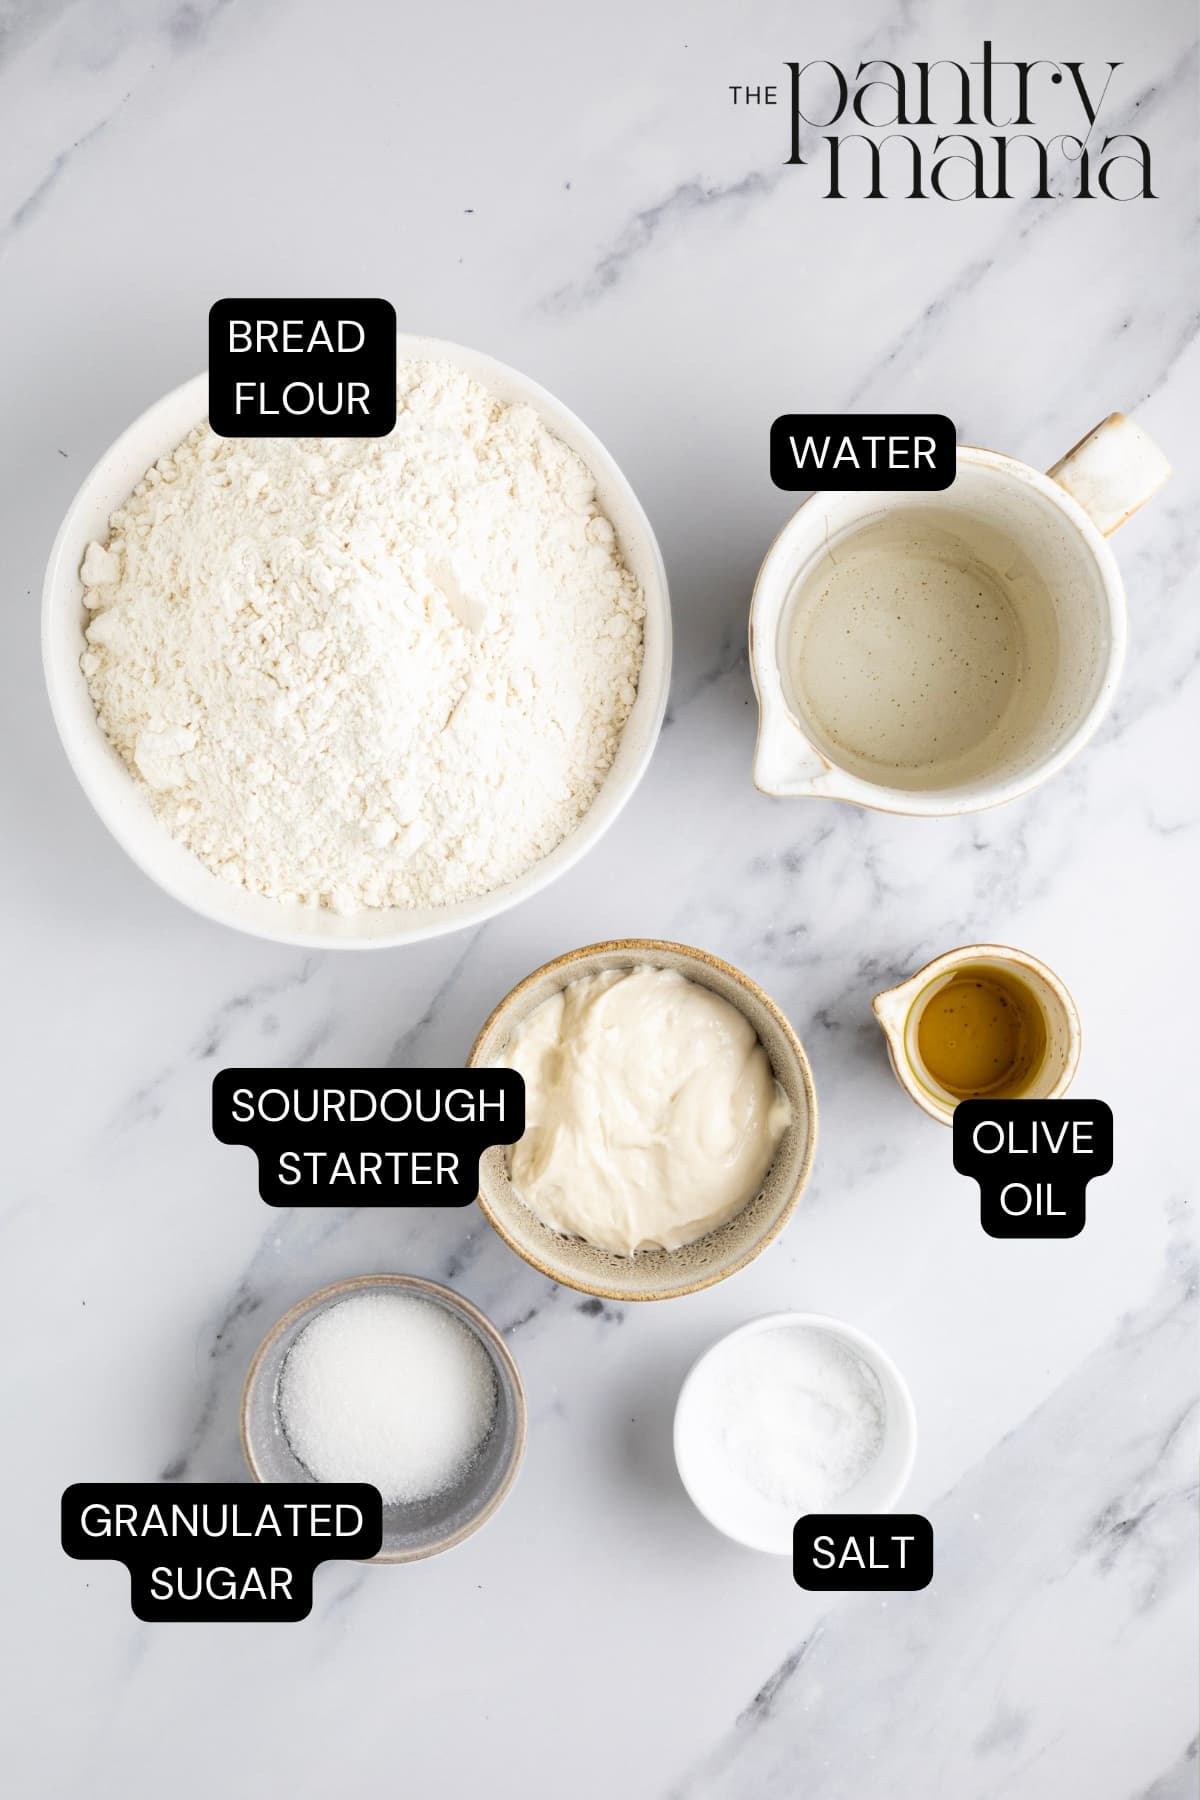
- Sourdough Starter – You’ll need an active sourdough starter that’s bubbly and risen to leaven this recipe.
- Sugar – The rolls aren’t sweet, the tiny amount of sugar is just included to soften the texture of the rolls.
- Water
- Olive Oil
- Bread Flour – I don’t recommend substituting all-purpose flour here because you’ll need a nice elastic dough to form the rolls.
- Salt
How To Make Sourdough Sandwich Rolls
I highly recommend using a stand mixer to knead the dough here. Not only does it save you time, but the mechanical kneading also brings a softer texture to the rolls and ensures they don’t fall apart when filled.
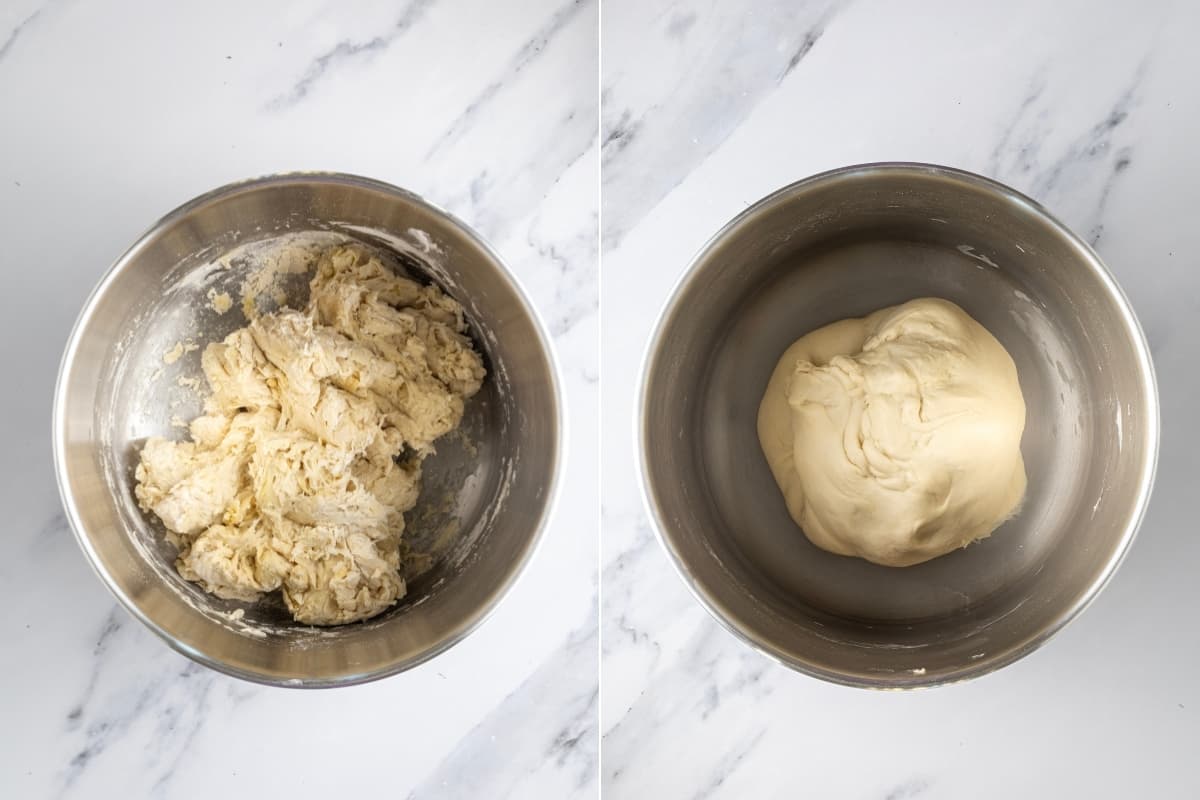
Start by adding your sourdough starter, sugar and water to a to the bowl of your stand mixer and stir until dissolved (I just use a spatula here rather than whisk). It’s ok if some of the starter still floats on top of the water. Now pour the oil in, then add the flour and salt on top of that. Bring the ingredients together into a dry, shaggy dough using the dough hook attachment. Cover the bowl and allow to sit for around an hour.
Now, knead the dough using the dough hook attachment with the stand mixer running at a low speed. It generally takes around 5 minutes for the dough to be sufficiently kneaded. If you are kneading by hand, I find it takes around 10 minutes to knead the dough sufficiently.
Once the dough has formed a smooth ball and is fairly supple and elastic, place it back into a covered bowl and let it bulk ferment at room temperature.
Kate’s Pro Tip
Bulk Fermenting Tip
For these rolls, you don’t want the dough to double, you want it to rise around 50%, but it’s ok if it’s a little over. Remember, bulk fermentation time will depend on the strength of your starter, the temp of your dough and your kitchen. It will also be affected by the lower hydration of this dough, which can extend bulk fermentation time a little bit.
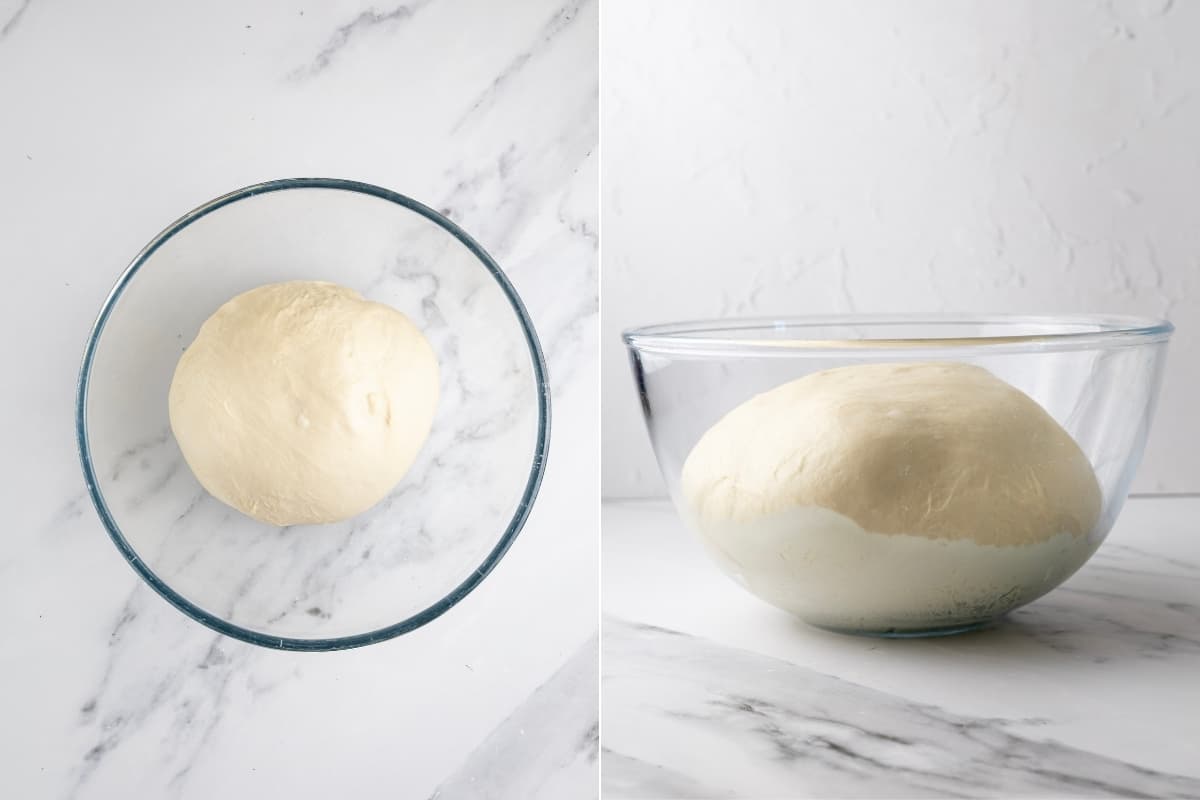
When the dough is ready, tip it out onto a clean surface and divide the dough into equal portions. I usually do 5 larger rolls at 180 grams each or 8 smaller rolls at around 110 grams each.
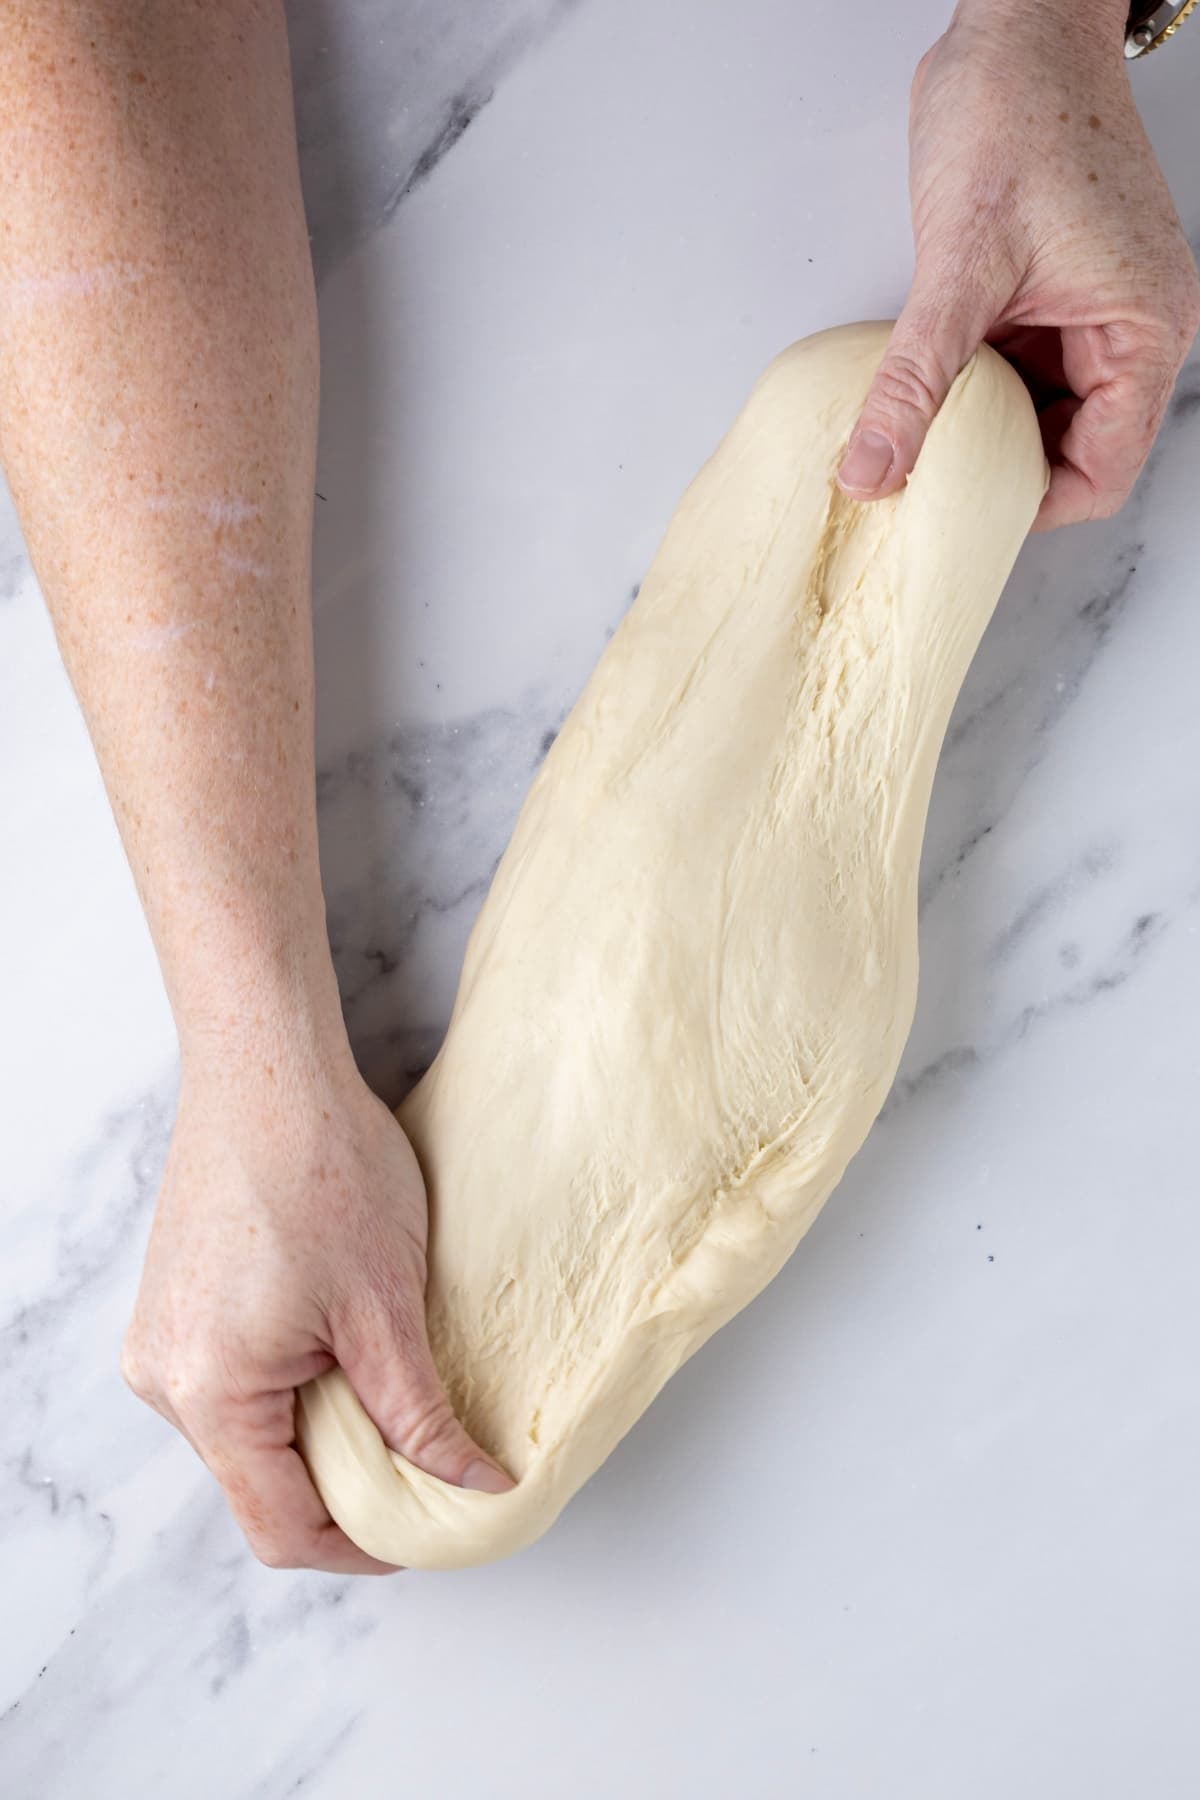
Pull each piece of dough into a rough rectangle, with the long edge in front of you. Then roll the dough up into a log and gently pinch the ends to seal them off. Repeat this for each piece of dough. Place the shaped rolls onto a baking sheet lined with parchment paper and loosely cover with a flour sack towel.
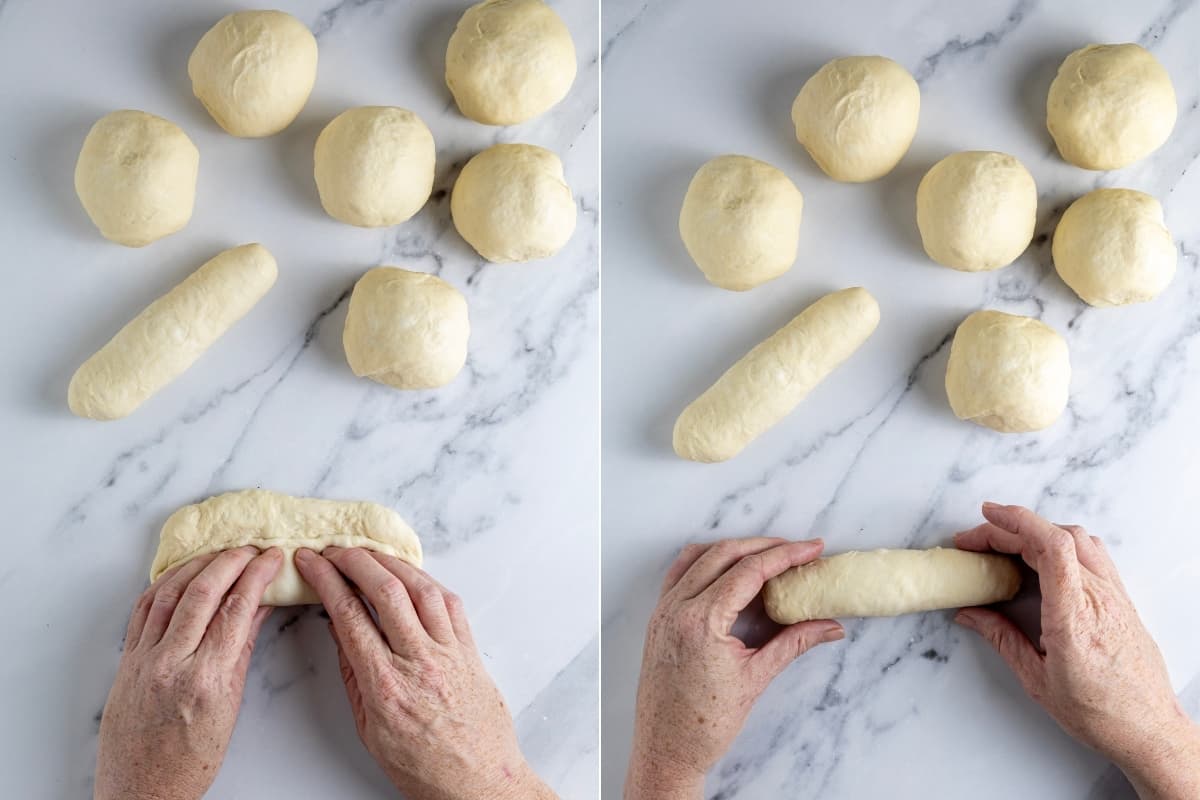
Allow them to proof at room temperature.
Kate’s Pro Tip
Avoid Dense Rolls
This is probably the biggest secret to soft sandwich rolls. You really want them to be soft and puffy before you bake them, or you’ll end up with dense rolls. If they’re still firm or feel dense when you gently touch them, give them more time to proof.
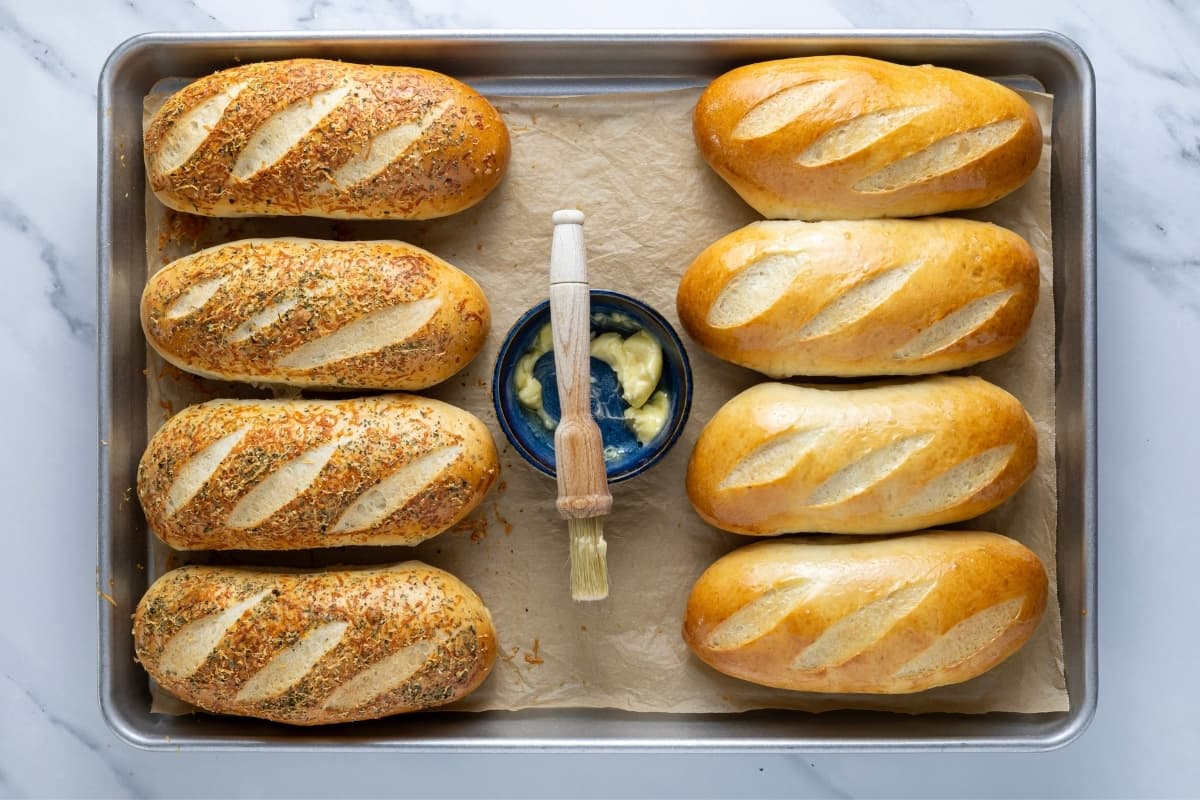
When you’re ready to bake the sourdough sandwich rolls, preheat your oven to 200ºC/390ºF. Lightly egg wash the rolls and then slash the top of the dough with a sharp knife.
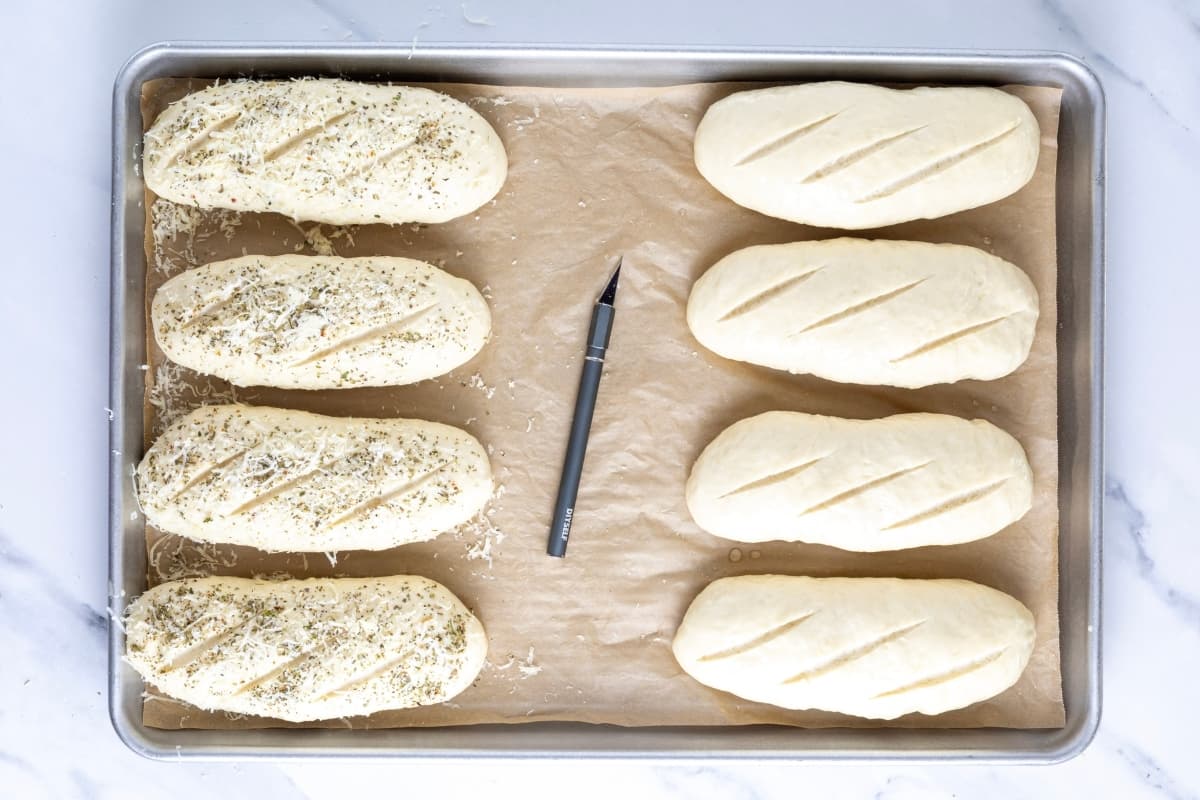
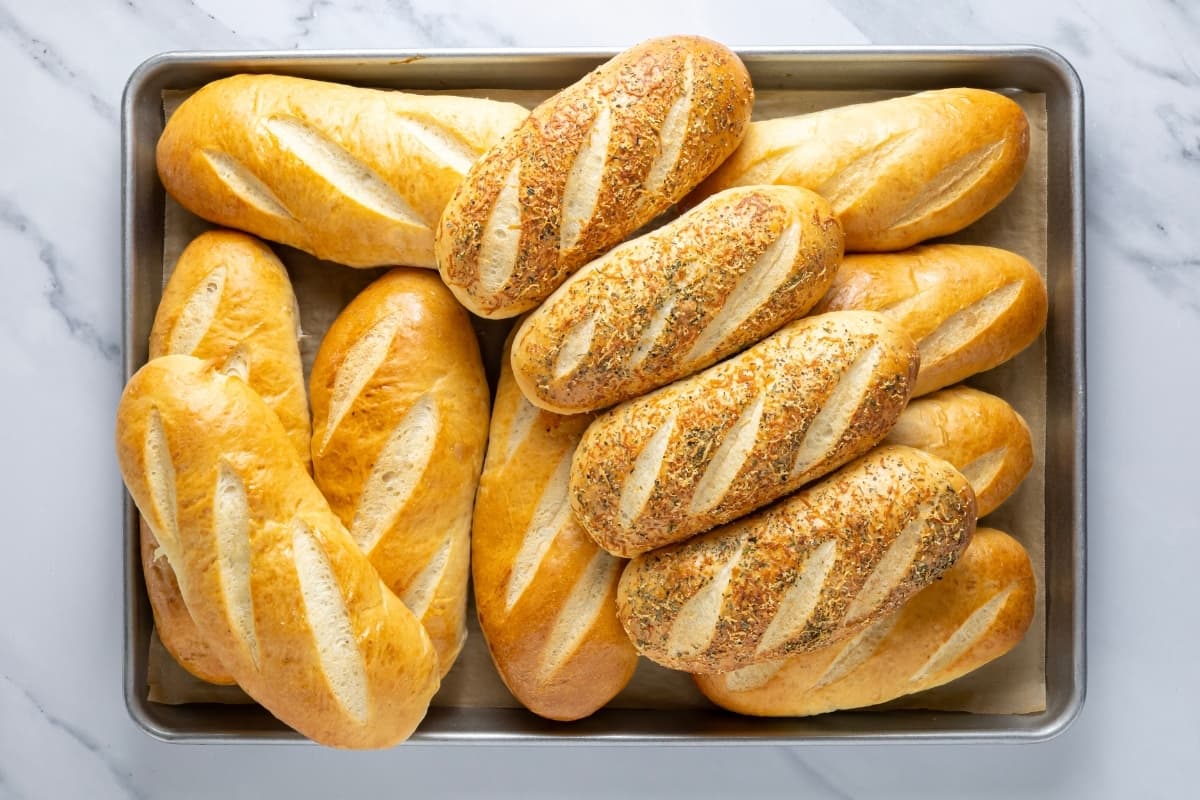
Bake them in the oven until just golden. This will take around 25 to 30 minutes depending on your oven. You don’t want to over bake them or they will be too crispy on the outside.
Kate’s Pro Tip
Get The Perfect Crust
As soon as the rolls come out of the oven, brush the tops with melted butter. This keeps the crust soft and gives them that bakery-style finish.
Allow them to cool on a wire rack before slicing open and filling with your fave sandwich fillings!
Baker’s Timeline
This is the rough timeline I use when making sourdough hoagies. You could adapt this timeline to suit your own situation. You might also find this article on creating a sourdough baking timeline helpful in adapting it. Remember, you need to read your dough, not the clock when it comes to sourdough.
The Night Before
10 pm – Feed sourdough starter so it’s bubbly and ready for work tomorrow morning.
The Next Morning
7 am – Mix the dough, knead and allow to rise a little in the bowl (remember you don’t want it to double).
12 pm – Shape the sandwich rolls, squish them down on a tray and cover and leave to proof in a warm place – we want them nice and puffy!!
6 pm – Bake the rolls!
Flavor Variations for Sourdough Subs
While these sourdough sandwich rolls are perfect made plain, there are also lots of fun ways to create different flavors. The great thing is that you could even make each individual roll with its own topping! Choice is good, right?
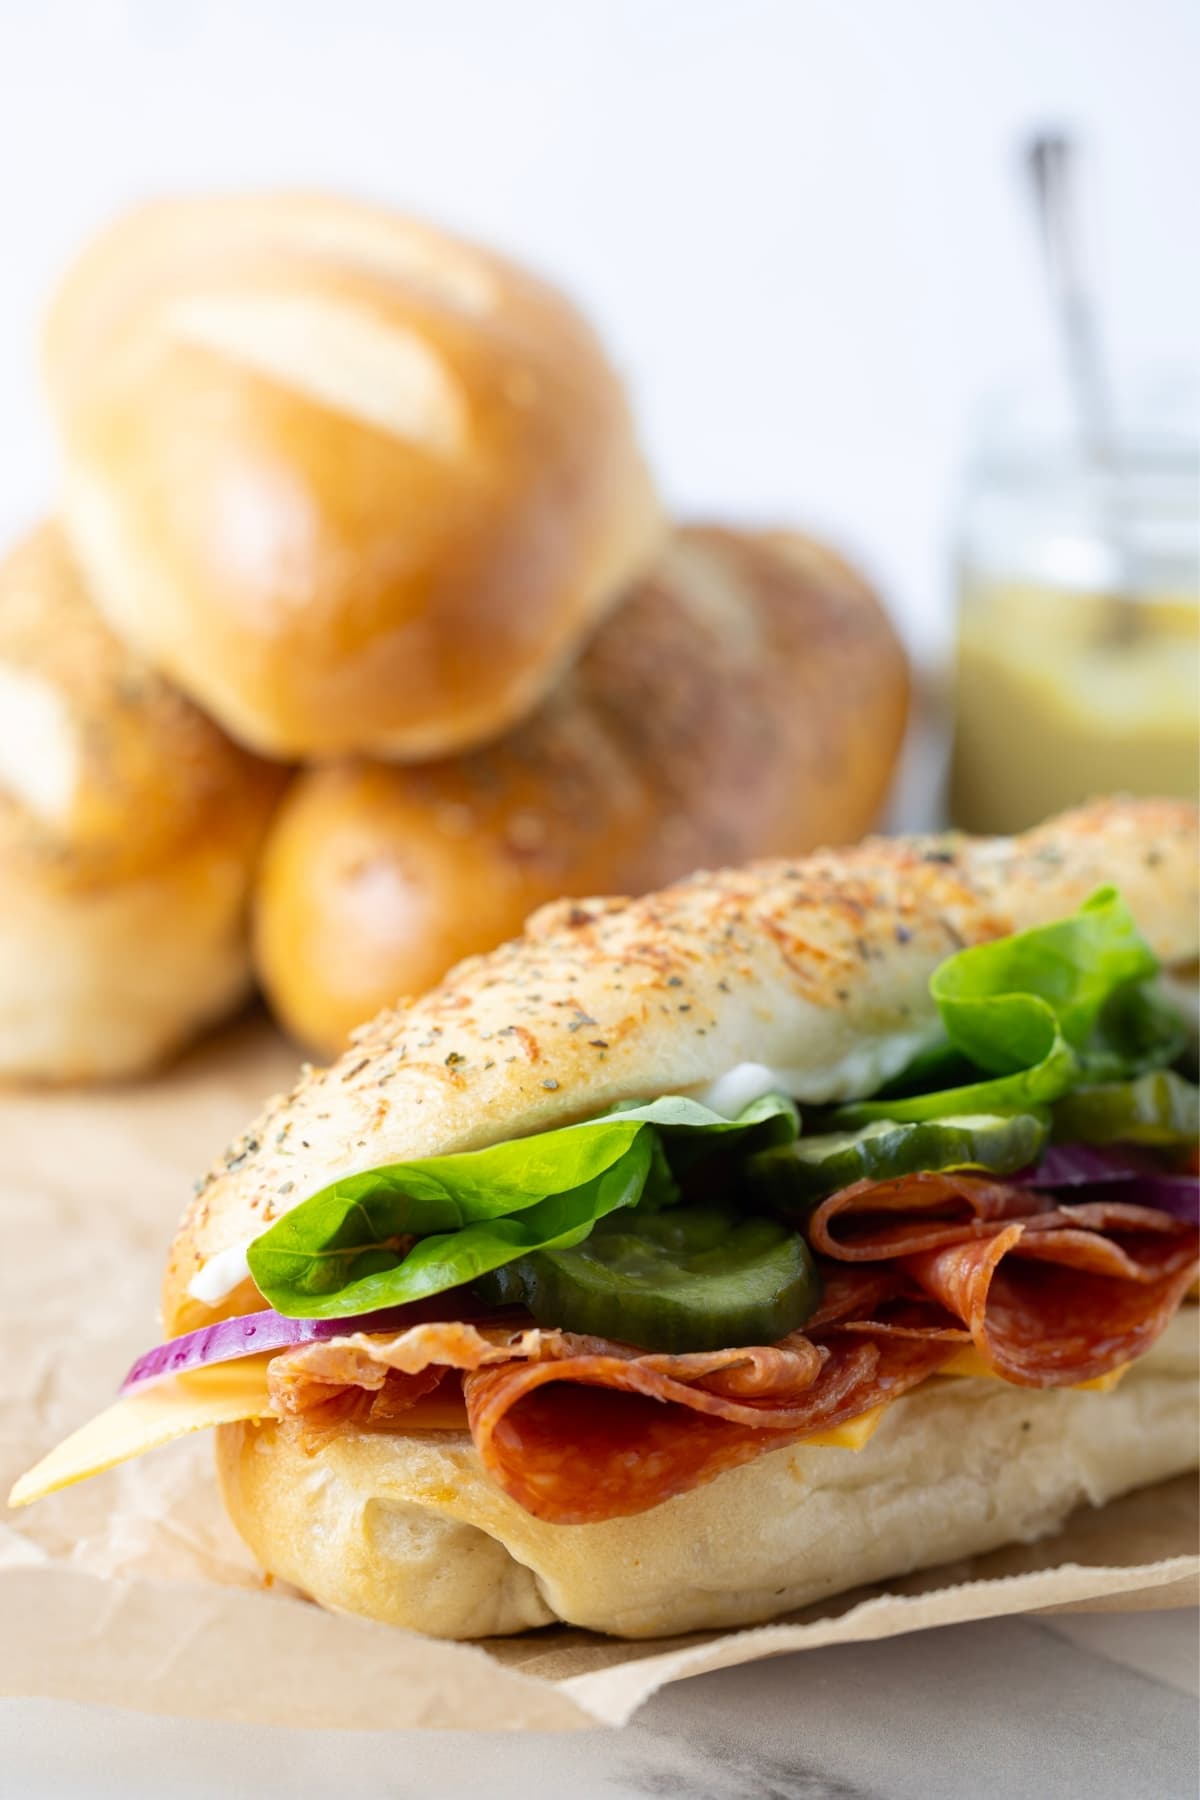
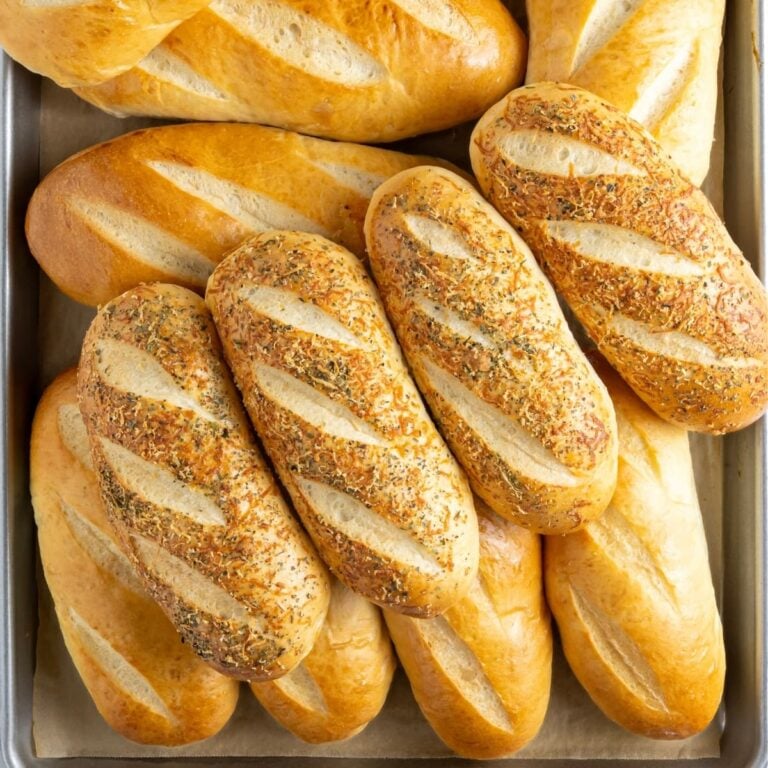
- Italian Herb and Cheese – sprinkle Italian Seasoning and Parmesan Cheese onto the rolls once you’ve egg washed them. Slash them after the topping has been added. If you love ordering Italian herb and cheese at Subway, make sure you also check out this Italian herb and cheese sourdough bread!
- Honey Wheat – use 20 g of honey in the dough instead of sugar and add 100 g of whole wheat flour in place of 100 g of bread flour. When the sandwich rolls are cooked, brush them with honey butter.
- Jalapeno Cheddar – add shredded cheddar cheese and jalapeno slices to the top of the rolls after the egg wash.
- Honey Oat – add around 50 to 100 g of oats to the dough and then top with oats before baking. Then brush with generous amounts of honey butter when you remove them from the oven. Heaven!
Filling Ideas for Sourdough Sandwich Rolls
We all have our favorite sandwich fillings and these sourdough sandwich rolls are perfect for filling with whatever you love to eat. Here are some of my faves:
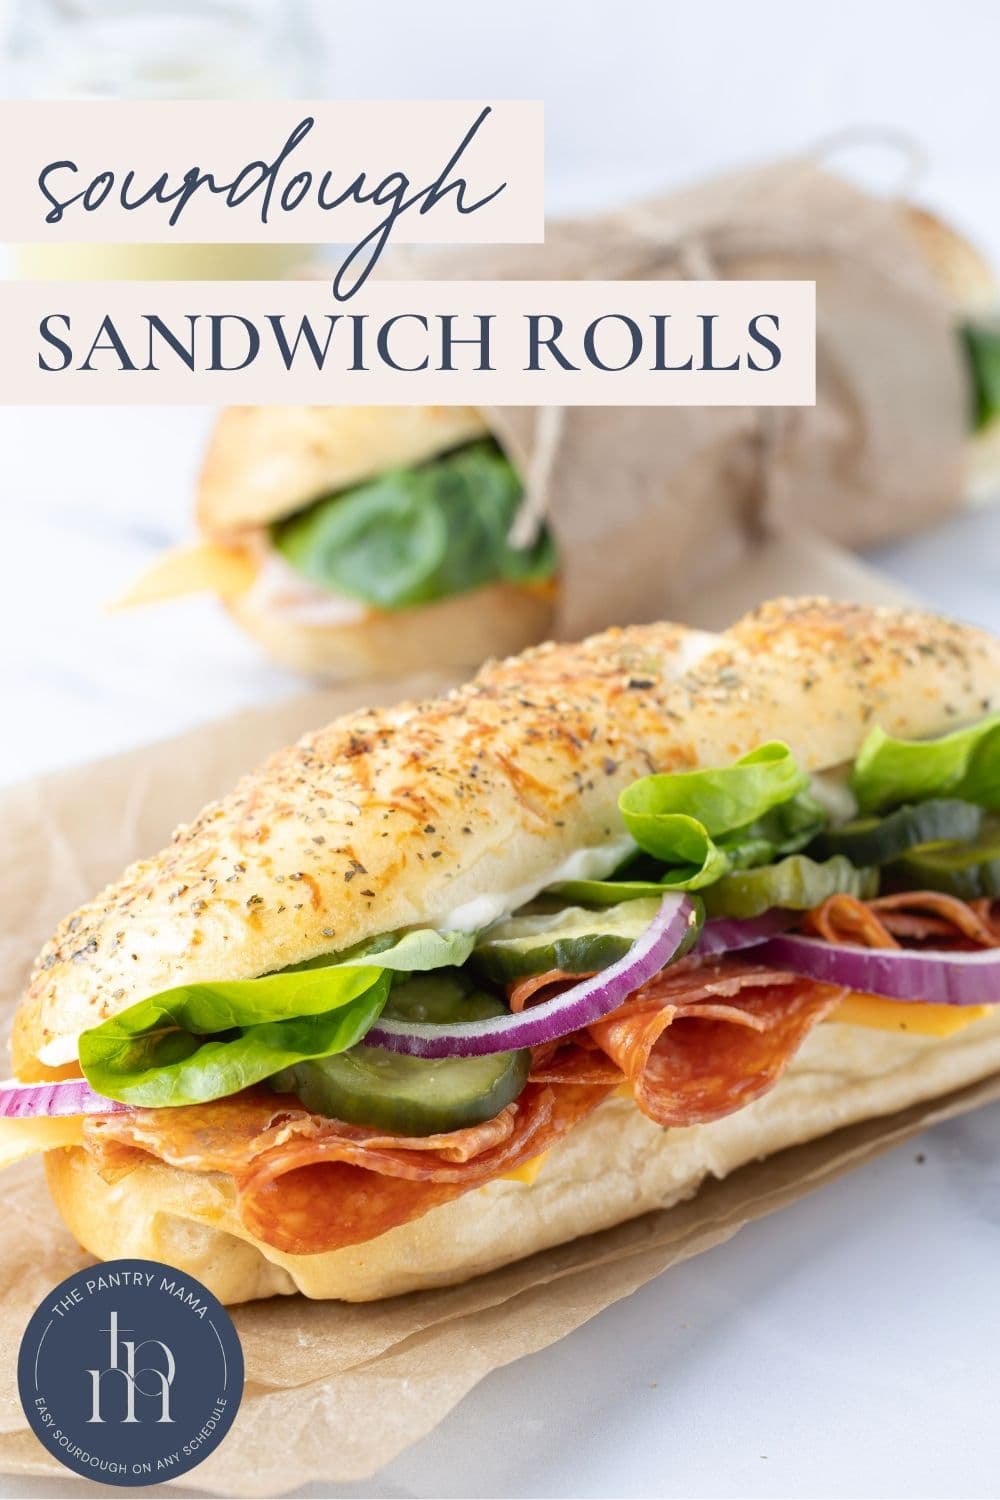
- Classic Italian Cold Cuts: Thinly sliced salami, ham, pepperoni, and provolone cheese, topped with crisp lettuce, juicy tomatoes, and tangy Italian dressing. Sooo good! You can really use any cold cuts you have in the fridge.
- Pork and Gravy: Tender roasted pork drizzled in warm gravy and sweet apple sauce.
- Turkey and Avocado: Roasted turkey slices with creamy avocado, crisp bacon, lettuce, tomato, and a drizzle of ranch dressing.
- Chicken Caesar: Grilled chicken breast, romaine lettuce, Parmesan cheese, and Caesar dressing. Add some croutons for an extra crunch!
- Veggie Sub: Packed with colorful veggies like cucumber, bell peppers, red onions, lettuce, tomatoes, and your choice of cheese. Add a spread like hummus or a tangy vinaigrette for extra flavor.
- Tuna Salad: A classic favorite made with flaky tuna, mixed with mayo, diced celery, and a touch of lemon juice. Top it with lettuce, tomato, and pickles for a delightful crunch.
- Meatball Sub: Juicy meatballs smothered in marinara sauce and topped with melted cheese. It’s a hearty and comforting choice that’s hard to resist!
- Roast Beef and Swiss: Thinly sliced roast beef layered with Swiss cheese, caramelized onions, and a creamy horseradish sauce for a flavorful and savory bite.
And if you love making sourdough rolls with your sourdough starter, why not try these soft sourdough dinner rolls, sourdough cibatta rolls, sourdough hotdog rolls, sourdough tiger rolls or these sweet sourdough Hawaiian rolls.
How To Store and Freeze
These sourdough sandwich rolls are best eaten within a few days of baking. I do find that they will stay soft for up to 48 hours when stored at room temperature in a resealable plastic bag.
You can freeze freshly baked sourdough sandwich rolls once they’re cooled. Place into a resealable plastic bag and store in the freezer for up to 4 months.
Sourdough Sandwich Rolls
Ingredients
- 100 g Sourdough Starter, (fed and bubbly)
- 20 g Sugar
- 250 g Water
- 30 g Olive Oil
- 500 g Bread Flour
- 10 g Salt
Instructions
- Add the sourdough starter, sugar and water to a mixing bowl and stir until dissolved.
- Now pour the oil in, then add the flour and salt on top of that.
- Bring the ingredients together into a dry, shaggy dough. Cover the bowl and allow to sit for around an hour.
- Now, tip the dough out onto a clean surface and knead it until the dough is soft and elastic. You can easily knead this dough by hand, but if you prefer, you can use a stand mixer with a dough hook on low speed or a Thermomix on the dough knead setting.I find it takes around 10 minutes to knead the dough sufficiently by hand.
- Once the dough is smooth and supple, place it back into a covered bowl and place it somewhere warm to bulk ferment. For these rolls, you don't want the dough to double, you want it to rise around 50%.
- When the dough is ready, tip it out onto a clean surface and divide the dough into four equal pieces. I weigh my dough and usually make them around 200 to 225g each (depending on my final dough weight).
- Pull each piece of dough into a rough rectangle, with the long edge in front of you. Then roll the dough up into a log and gently pinch the ends to seal them off. Repeat this for each piece of dough.
- Use a dough scraper to transfer the sourdough sandwich rolls to a baking tray lined with parchment paper. Use your finger tips to flatten the dough out a little so that there is more surface area. Cover with a damp kitchen towel and allow them to proof. They need to get really soft and puffy before you bake them.
- When you're ready to bake the sandwich rolls, preheat your oven to 200ºC/390ºF. Lightly egg wash the rolls and then slash them with a lame or sharp knife.
- Bake them in the oven at 200ºC/390ºF until just golden. This will take around 25 to 30 minutes depending on your oven. You don't want to over bake them or they will be too crispy on the outside.
- To keep the outside soft, brush the sourdough sandwich rolls with butter as soon as they come out of the oven.
- Allow baked sourdough sandwich rolls to cool on a wire rack.
Notes
- Italian Herb and Cheese – sprinkle Italian Seasoning and Parmesan Cheese onto the rolls once you’ve egg washed them. Slash them after the topping has been added.
- Honey Wheat – use 20g of honey in the dough instead of sugar and add 100g of whole wheat flour in place of 100g of bread flour. When the sandwich rolls are cooked, brush them with honey butter.
- Jalapeno Cheddar – add shredded cheddar cheese and jalapeno slices to the rolls after the egg wash.
- Honey Oat – add around 50 to 100g of oats to the dough and then top with oats before baking. Then brush with generous amounts of honey butter when you remove them from the oven. Heaven!
Nutrition
Nutrition information is automatically calculated, so should only be used as an approximation.
Like this? Rate and comment below!










My go to recipe for Philly cheesesteak night. So delicious. I use discard and yeast.
These rolls are amazing! I made 8 instead of 4. Might make into 9 or 10 next time. It is definitely a keeper!
I completely forgot step 3 and did step 4. did I mess it up?
Kneading the dough is essential for this recipe so I would definitely go back and knead it if you can 🙂
if I make the rolls in rhe evening can I put them in the fridge overnight then bake the next day?
Yes you can hold them overnight in the fridge, just make sure they are soft and puffy before you bake them (so you’d need to allow them to come to room temperature) x
This experience was my first time creating these! Only hard part was the measuring actually. I made it Italian herb & cheese. I will for sure make these many more times. Is there any type of weighing before it bulk ferments to rise 50%? I was thinking about doing that then figure out how much it weighs to be rose for 50%. Definitely worth it!
love ❤️ ❤️ ❤️ this recipe! making 2x for the 2nd time.
Thanks
Lindi Bess
Love the recipe. Approx. how long for for the rolls to proof and become soft and puffy at room temperature?
So glad you love the recipe. It does take at least 2 hours for the rolls to proof – however it will depend on how warm your kitchen is. I often pop them in my oven using the defrost setting to proof them more quickly 🙂
These are so good and quick to make when you have a day at home! Is it possible to reduce or omit the sugar?
You can reduce the sugar if you prefer yes 🙂
wonderful flavor and crumb, everytime!
Hi 🙂 can I swap the 20g of sugar for honey or maple syrup??
Thanks
Absolutely 🙂
How could I adjust the timing so that I can bake them in the late morning of the day I want to use them and not night time?
These came out a bit heavy, I think I will need to let them proof longer next time.
Yes absolutely the key is to make sure they’re lovely and puffy and soft before you bake them – otherwise they will be dense and under proofed 🙂
Going to try these this week.
You noted that these freeze well; do you freeze them before or after baking? Any specific instructions for freezing and thawing??
You’ll love them Stan! I freeze mine after baking 🙂 I just pop them into a ziplock bag and seal well. When I want to use them I thaw at room temperature or if I need them in a hurry, a short defrost cycle in the microwave xx
Hi! Is there an internal temp we should bake these till so we know they’re done?
No, I don’t use internal temperatures, just bake until they’re just golden, not too dark or they won’t stay nice and soft. You’ll know when they’re done 🙂 You can read about why I don’t like using internal temperatures here.
These came out so delicious! I live in high altitude, about 6,300 ft. So I was worried about these turning out. I just added some extra water, about 10-15 grams, and let the dough initially rest with a damp towel over it before kneading and it all came together perfect! I can’t go back to store made bread anymore, especially after these
love the taste of the bread. however in the center on the bottom is a gummy layer. not sure what I did wrong to cause that.
This problem is generally caused by under proofing – you want to make sure the rolls are really puffy before you bake them 🙂
Can I use AP flour instead of bread flour? Or will that completely ruin them?
It’s always better to use high protein bread flour, however if you want to use AP, then I would reduce the water a bit to account for the fact that AP won’t absorb as much water 🙂
What is the equivalent oven temp in Fahrenheit?
200ºC/390ºF
What if I wanted to include a cold fermented? Would the right time for that be after shaping? Or would you not recommend pursuing a cold ferment at all?
You can cold ferment these after shaping. The trick is to make sure that when you go to bake them they are still light and puffy, so you’d want to do the second rise after they’ve been in the fridge, not before 🙂 These are a little different to a sourdough loaf where you don’t have a second rise 🙂
this is a keeper, crust and crumb.
amazing chewy yet soft and almost sweet
They turned out fabulous! Have made several times now and they are always a hit. The French dip sandwich we made with this bread didn’t get soggy and was delicious!
These were very easy to make and had great flavor. I did an egg wash and cheese on the top. Yummy!
these bake up beautifully, do i like the long bf process? nope, but it’s worth it for sure!
Amazing rolls! These are a must make. Soft and pillowy bread rolls.
Thank you so much for this recipe! I make bagels 3 times and these sub rolls twice per month. They turn out so beautiful! I have knead the rolls, I have used my stand mixer, I have bulk fermented in the fridge for up to 36 hours…perfect everytime! There’s just two of us, so my husband and I split one which works perfect for 2 hamburgers. I like to slice 3 of them in half lengthwise, and take one and make slices for bruschetta – I put tiny pieces of parchment between those slices so I can just take a few if the mood strikes me! I freeze all 4 this way as soon as they cool, I can pull out what I want, microwave for 30 seconds, the toast lightly….tastes exactly like fresh! I definitely put butter on the tops so they are nice and soft. Don’t hesitate, make these right away, you will LOVE them!
Thank you so much for your tips and review, Melanie! 🙂
I made the original recipe and it is great! I am intrigued by the honey wheat and honey oat suggestions. Do I need to adjust the water for either of those flavors? And for the oat option, do I need to presoak the oats?
So glad you love the recipe! No, you don’t need to adjust anything and no need to pre soak the oats 🙂 Enjoy xo
I made these last week. Your directions were easy to follow. They were such a success. I’m making a double batch today. Thank you very much!
If I start the bulk fermentation but can’t finish the rolls tonight can I finish the bulk fermentation in the fridge?
Bulk fermentation is not done in the fridge. If it was me, I’d shape the rolls and then put them in the fridge. When you want to bake them the next day, take them out of the fridge and let them become soft and puffy at room temperature before placing them in the oven 🙂 Enjoy xo
While I’ve never done these before now, I’ve been baking sourdough for six years. I realize bulk fermentation and then the rise after shaping times will vary from kitchen to kitchen and season to season, it would be helpful if you included approximate times in your recipe. I’m making them for tomorrow and am at a loss as to how to plan this out.
I understand your frustration with the timing, but I don’t add approximate timings because it really does depend on temperatures, the amount of starter you use etc. I have included a sample timeline which you can follow loosely and adjust for your own schedule. I always say to watch your dough, rather than going by someone else’s timings. Once you’ve made these once, you’ll understand how your dough behaves and be able to put together a loose timeline that you can follow. Let me know if I can help you further 🙂 xo
Not sure what happened, but these are not rising after shaping???
This is an enriched dough so it can be slower to proof and rise. How long did you leave the dough to proof?